# HassBeam – Hardware
## Contents
- [Parts](#parts)
- [Assembly Options](#assembly-options)
- [Case](#case)
---
## Parts
To build the ESPHome Universal Remote, you’ll need:
- **Resistors**
Limit current through the IR LED and transistor. In this build: 11 Ohms for the LED, 1k Ohms for the transistor and 100 Ohms for the IR-Receiver. Choose a value based on the datasheets of your components.
- **Capacitor** (optional)
A capacitor is used to filter high frequency noise. this improves reliability of the IR Receiver but is completely optional. In this example I'm using a 100nF capacitor.
- **IR LED**
Emits the infrared signals. Use a 940 nm LED for best compatibility. Narrow beam for focused control, wide for room coverage.
- **NPN Transistor**
Used to drive the LED safely, as ESPs GPIO pins can't handle high current.
- **IR Receiver**
Allows reading commands from existing remotes. The carrier frequency of most common IR protocols is 38kHz, so the receiver you pick should support that. In this example I'm using a TSOP4838
- **ESP microcontroller**
Any ESP microcontroller supported by ESPHome can be used, but you may need to adjust the wiring and case design to accommodate differences in pin layout and physical dimensions. In this example, an ESP32 WROOOM32 devboard is used
- **(Optional) Pin Headers**
Useful for detachable power or signal connections. If you want to build multiple HassBeams, you can make the receiver circuit modular to save cost and make the device smaller.
---
## Assembly Options
### Breadboard / Perfboard
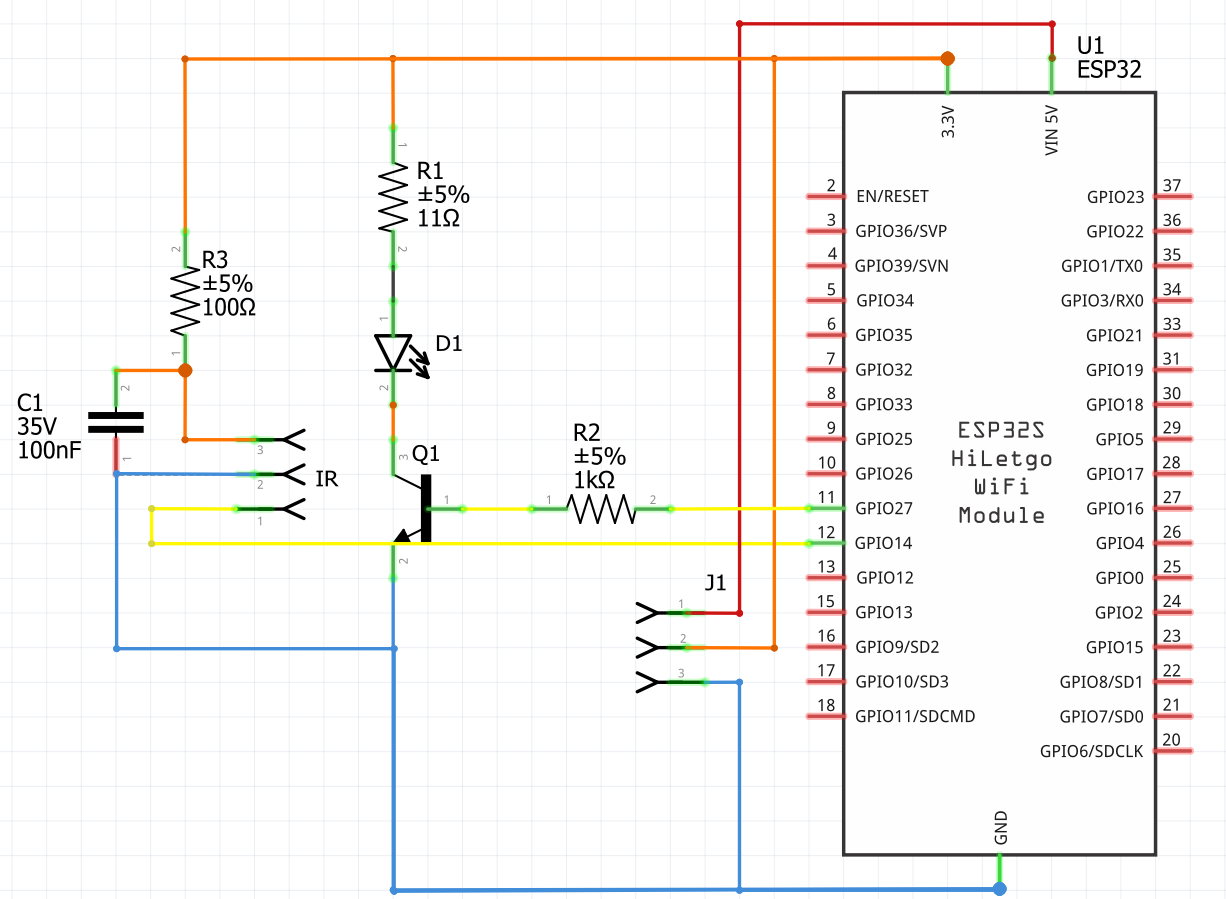
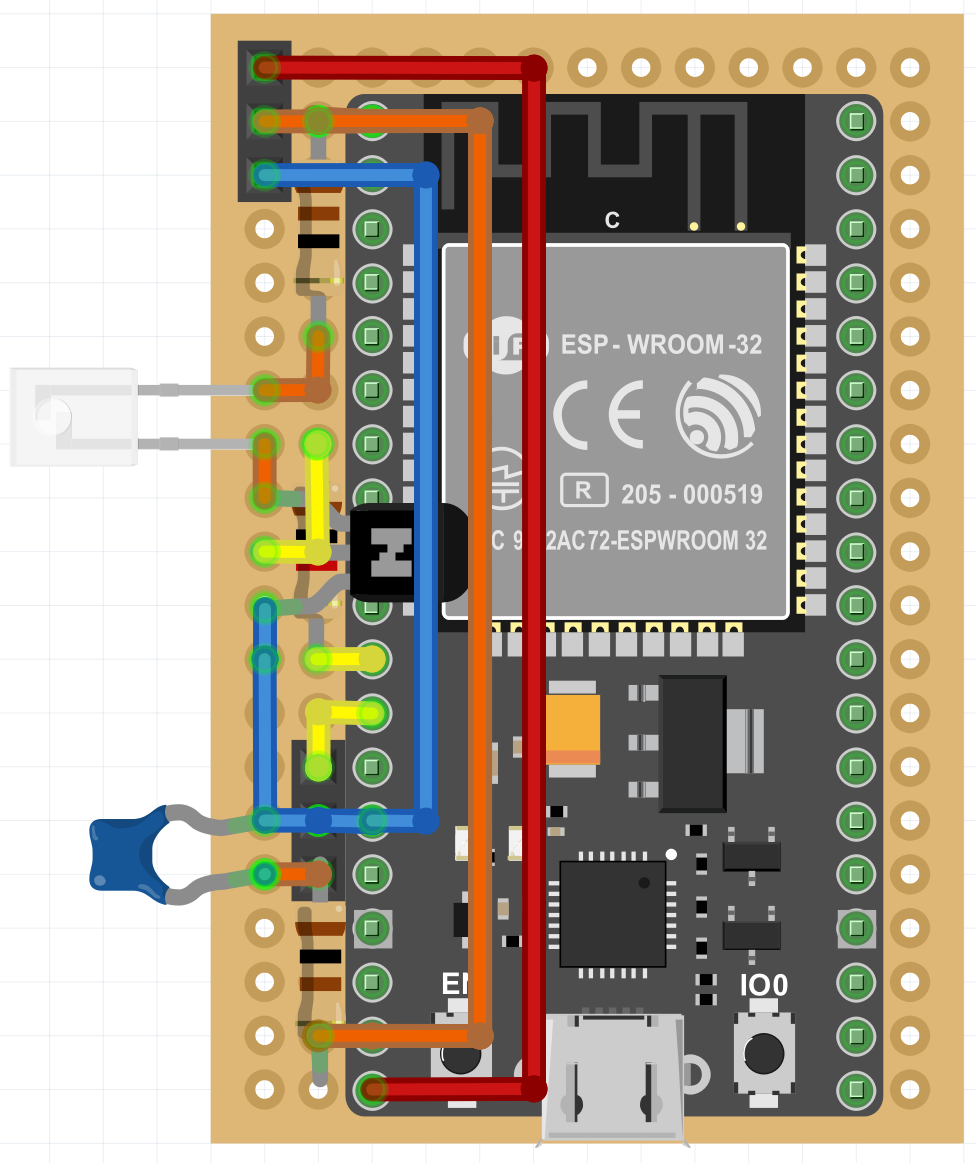
The circuit can be assembled on a breadboard for prototyping. For a more permanent installation, you can solder the components onto a perfboard or use a custom PCB.
The images below serve as wiring references, and the included Fritzing file can be viewed or edited as needed.
### Custom PCB
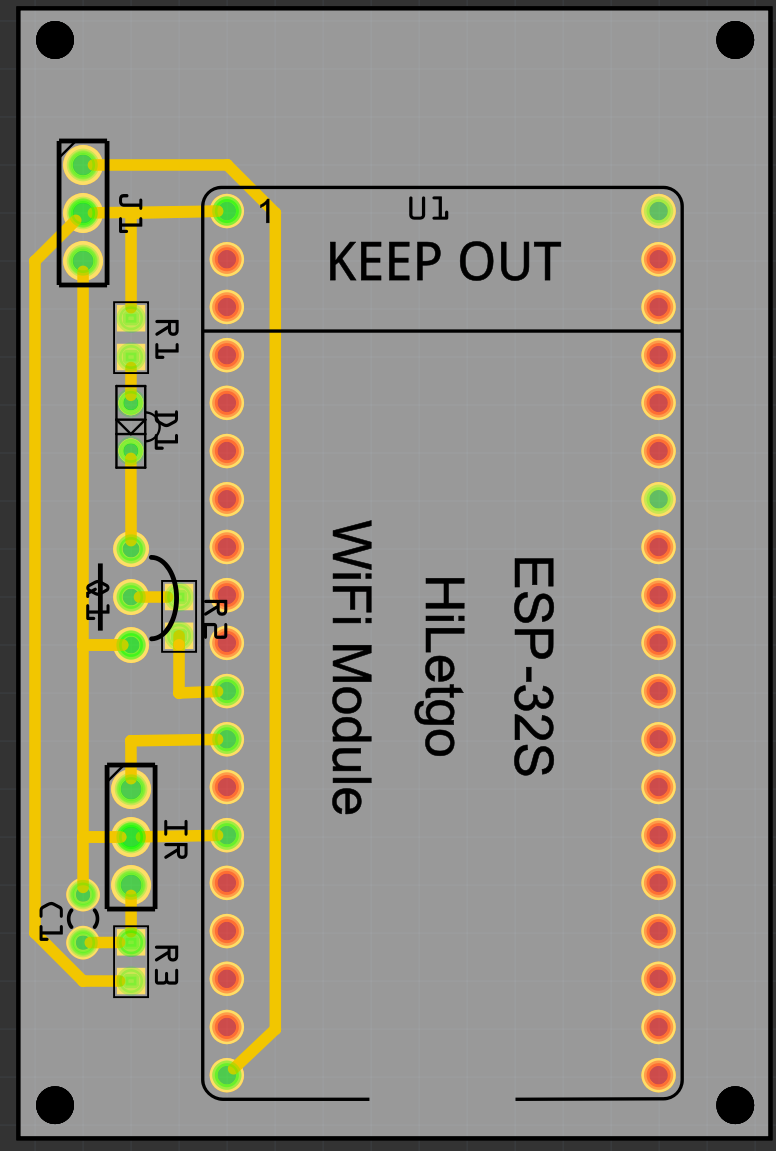
A [PCB design is provided](hardware/PCB) with Gerber files ready for fabrication. The single layer layout is simple and affordable to order.
The provided board was not tested in combination with the provided case yet, so if you want to use them together please double check the dimensions before ordering.
---
## Case
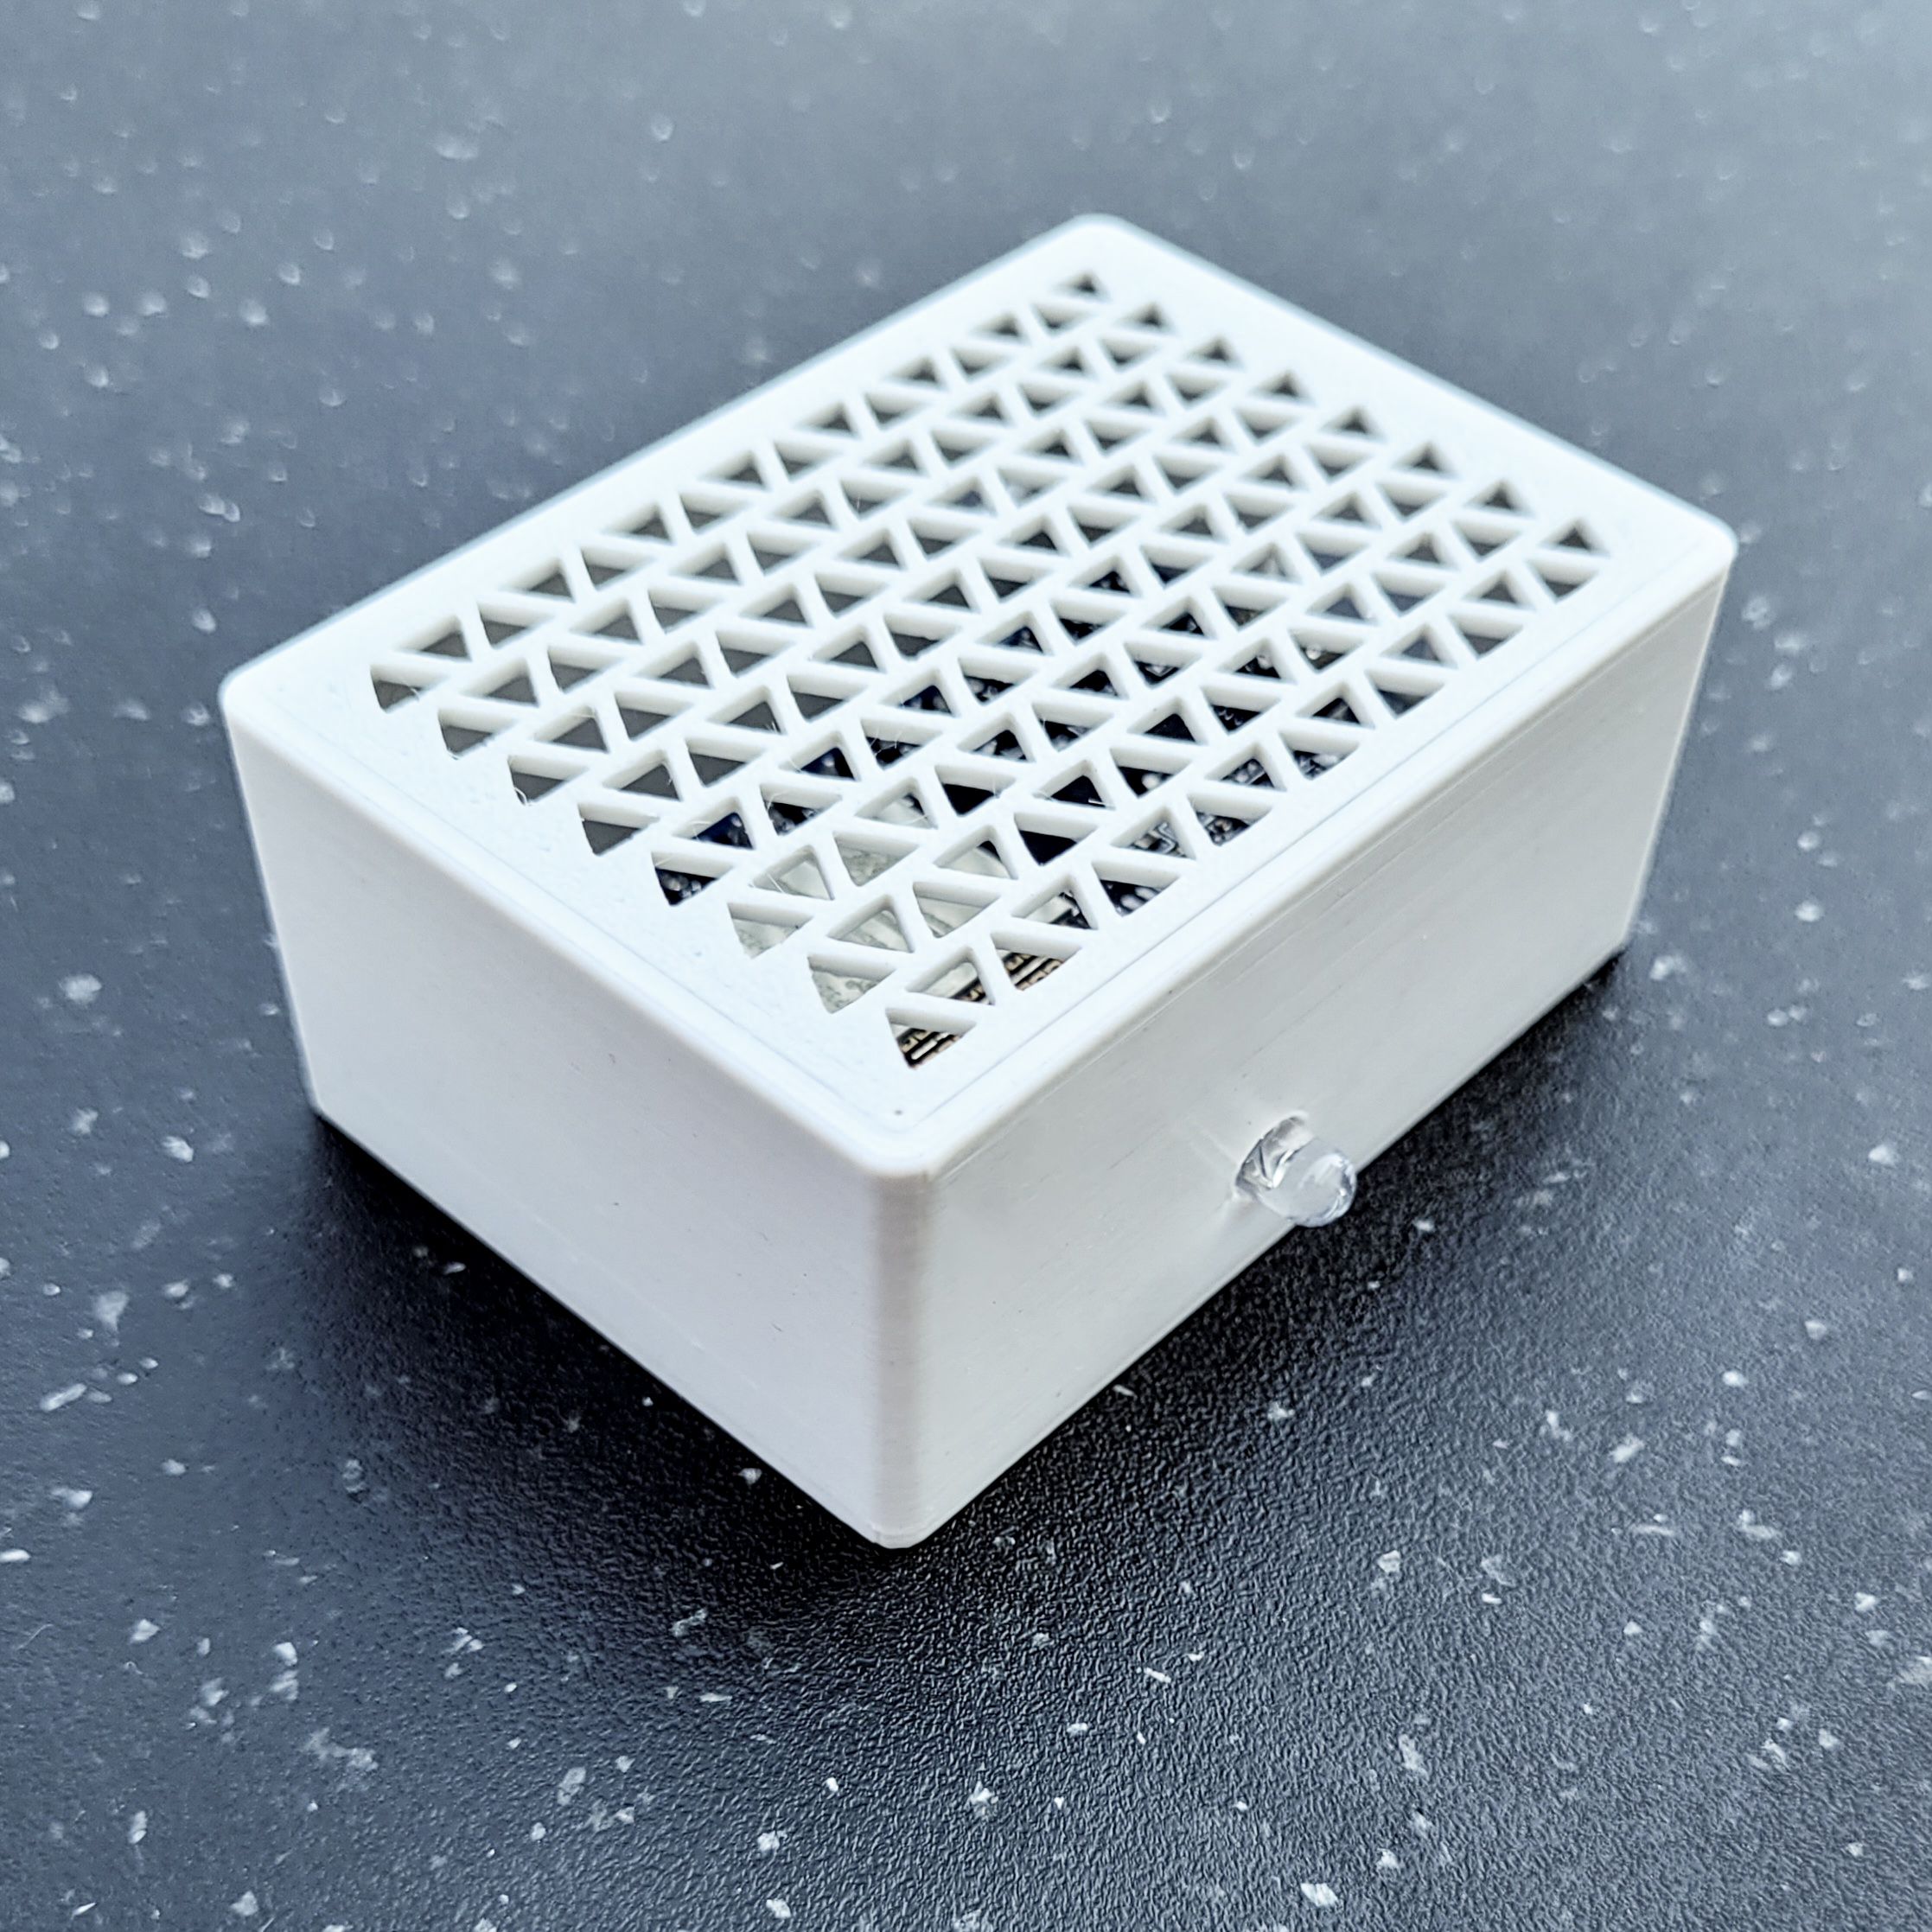
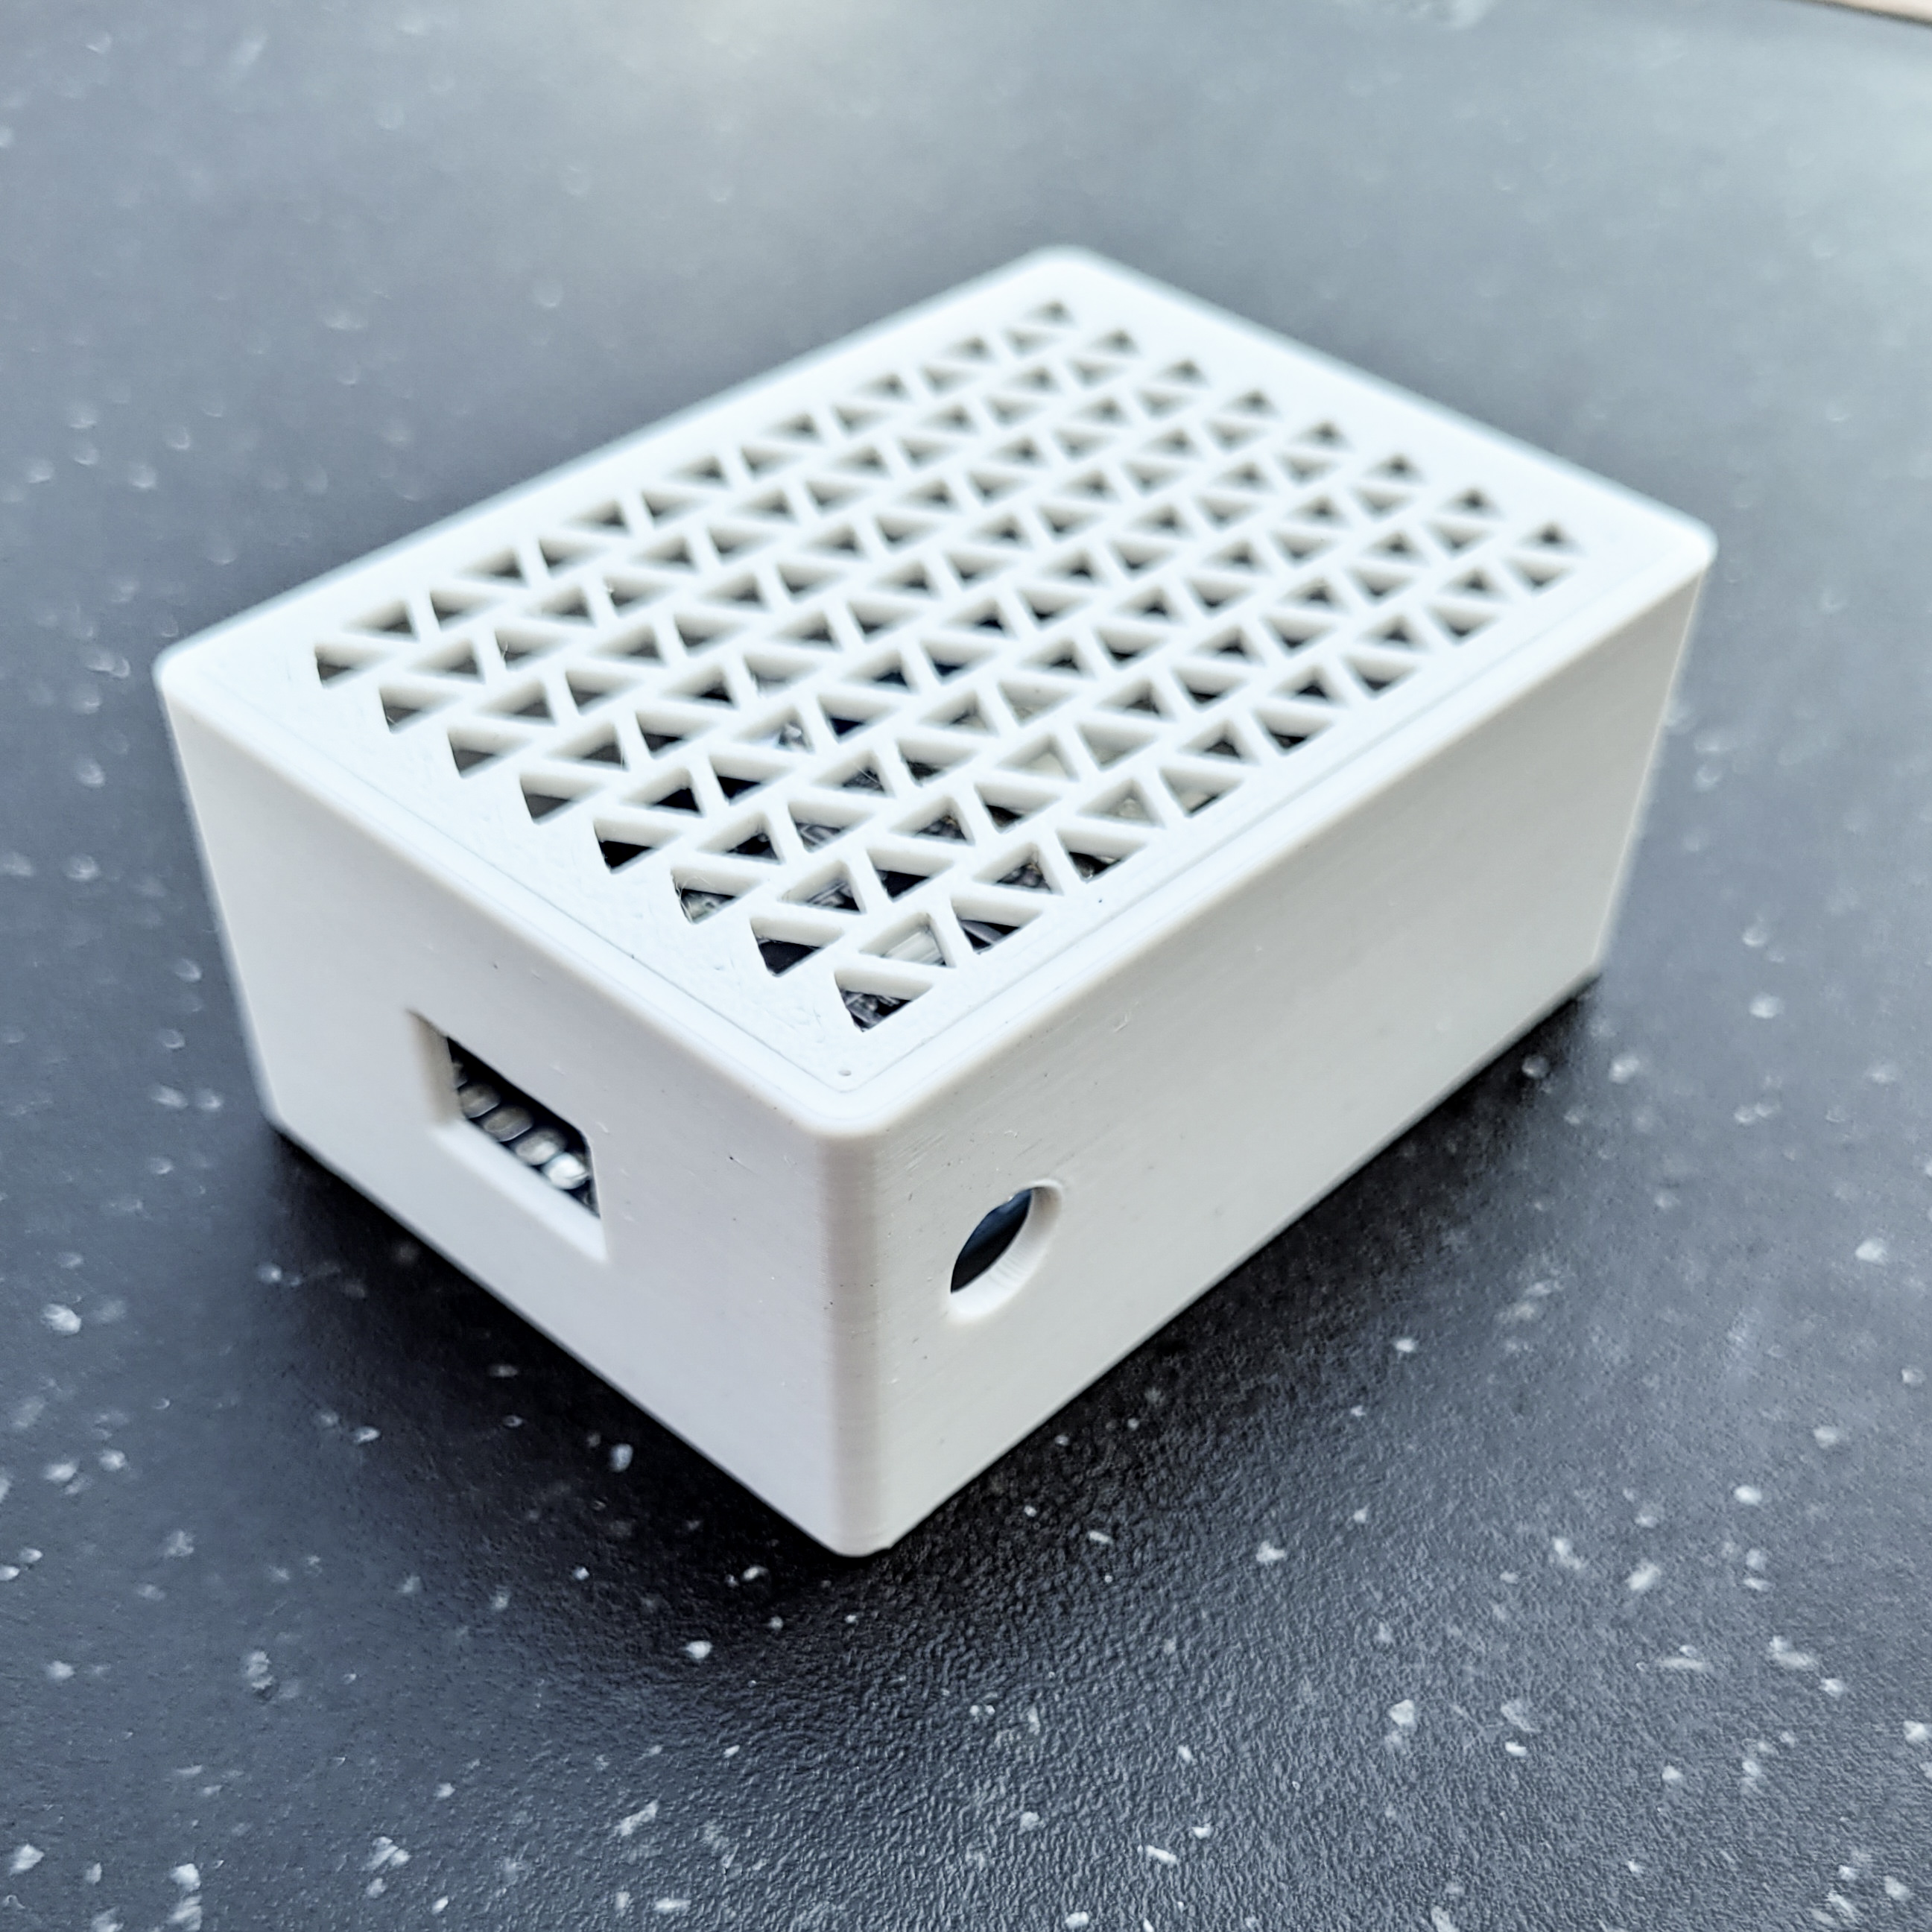
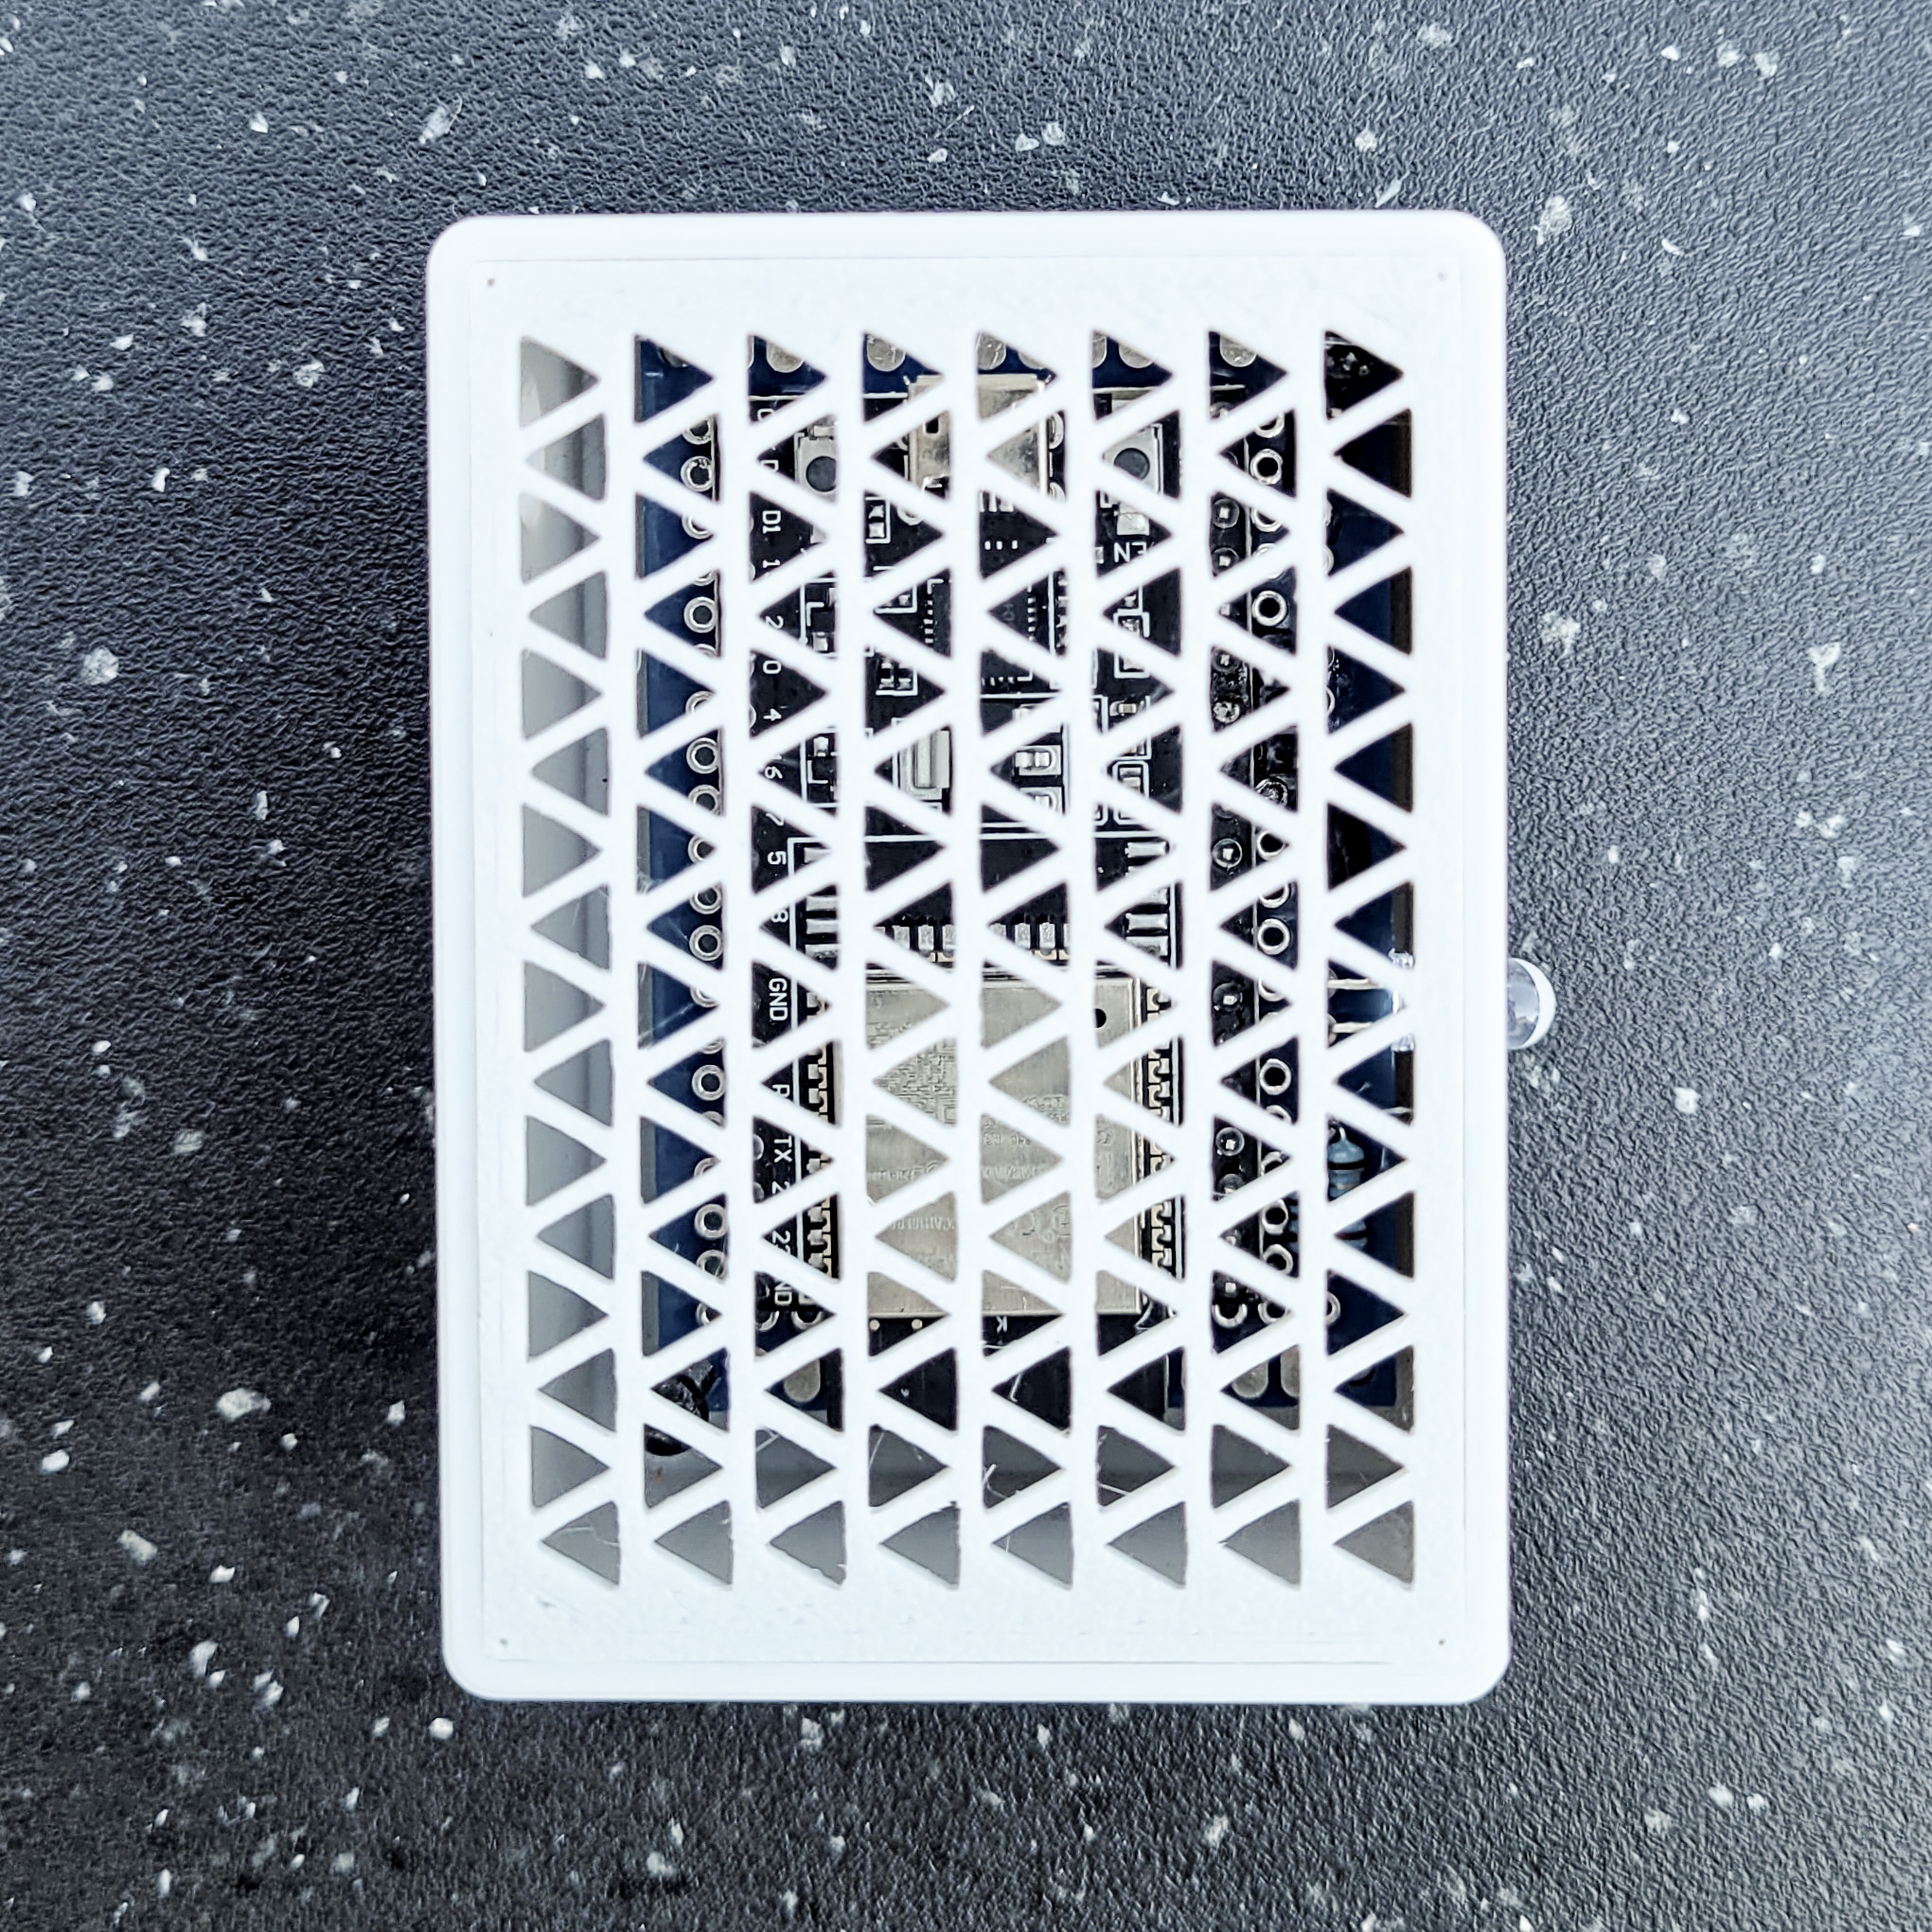
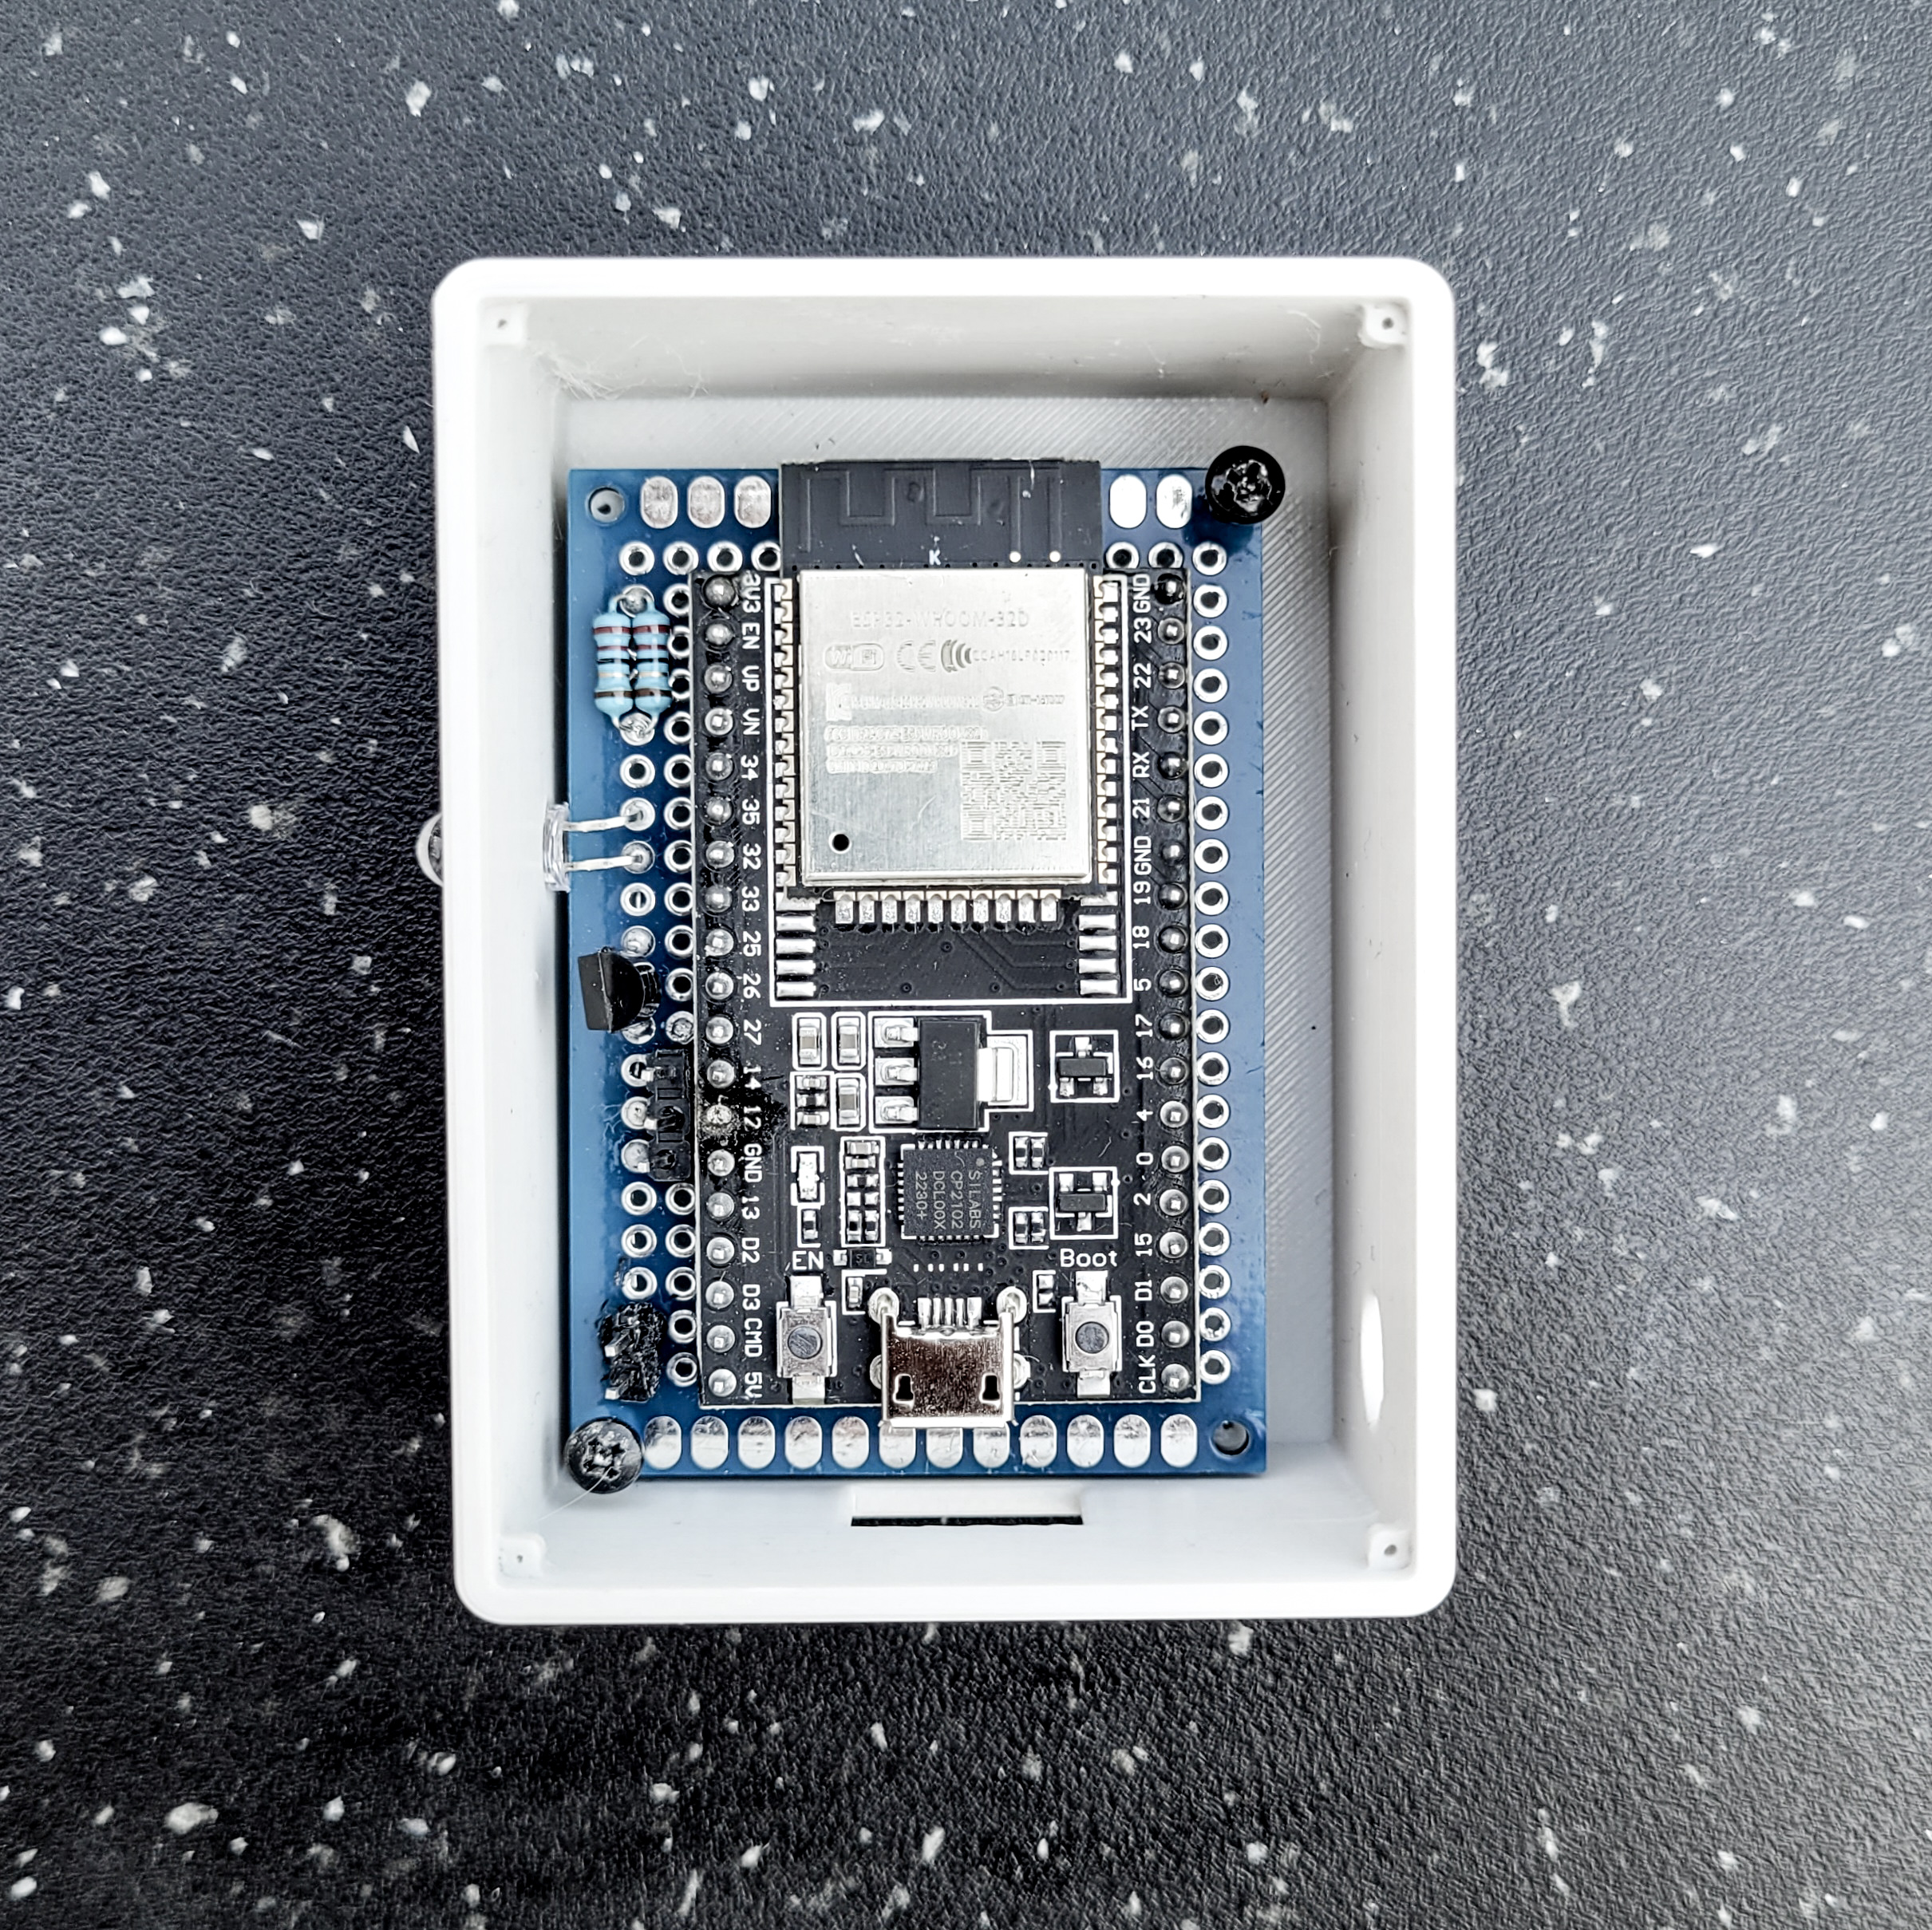
A 3D-printable case is available to protect and mount the remote. It’s optional but recommended for permanent or visible installations.
This case is intended for the use of an ESP32 development board and a 4 x 6 cm (in this case 14 x 20 holes) perf board or PCB.
### Download
The case is available in the following formats:
- [Fusion 360 - f3d](hardware/case/f3d)
- [Object File - obj](hardware/case/obj)
- [STEP - stp](hardware/case/stp)
### Pictures
### 🛠️ Setup Guide
Once your hardware is ready, continue with the [Setup Guide](setup.md) to learn how to install and use the project.