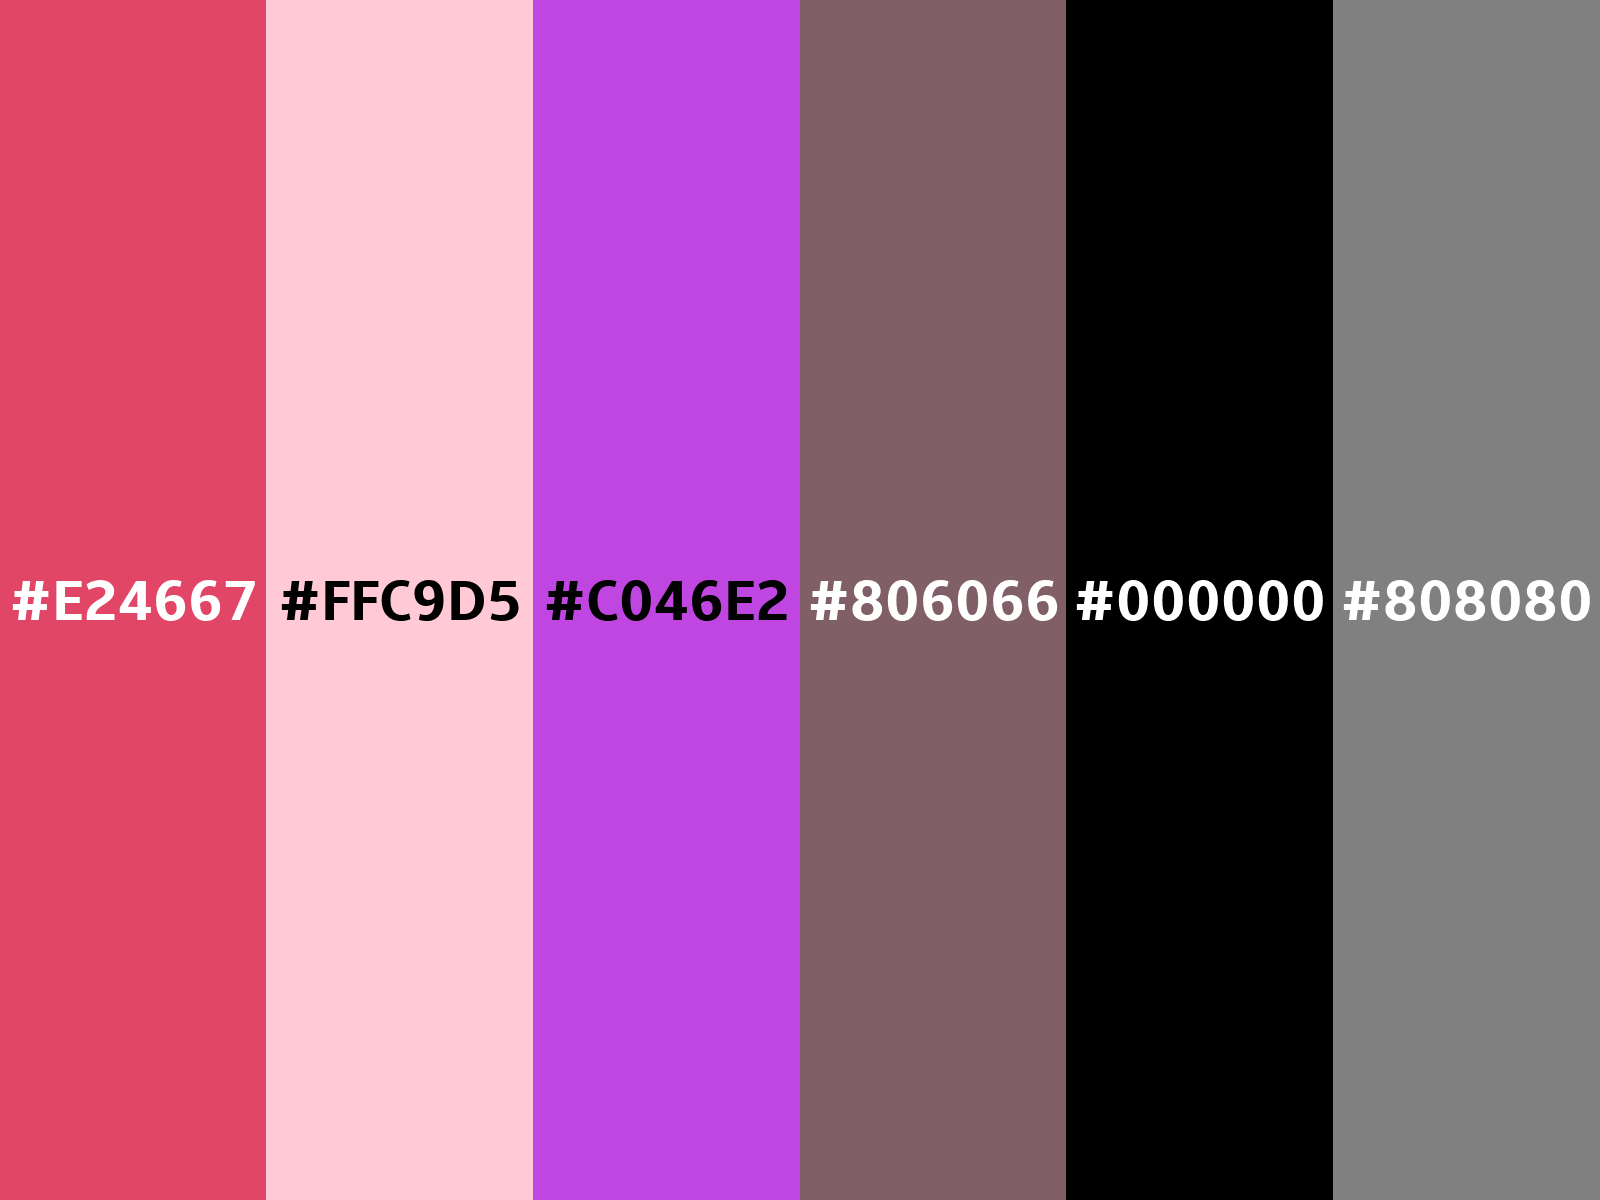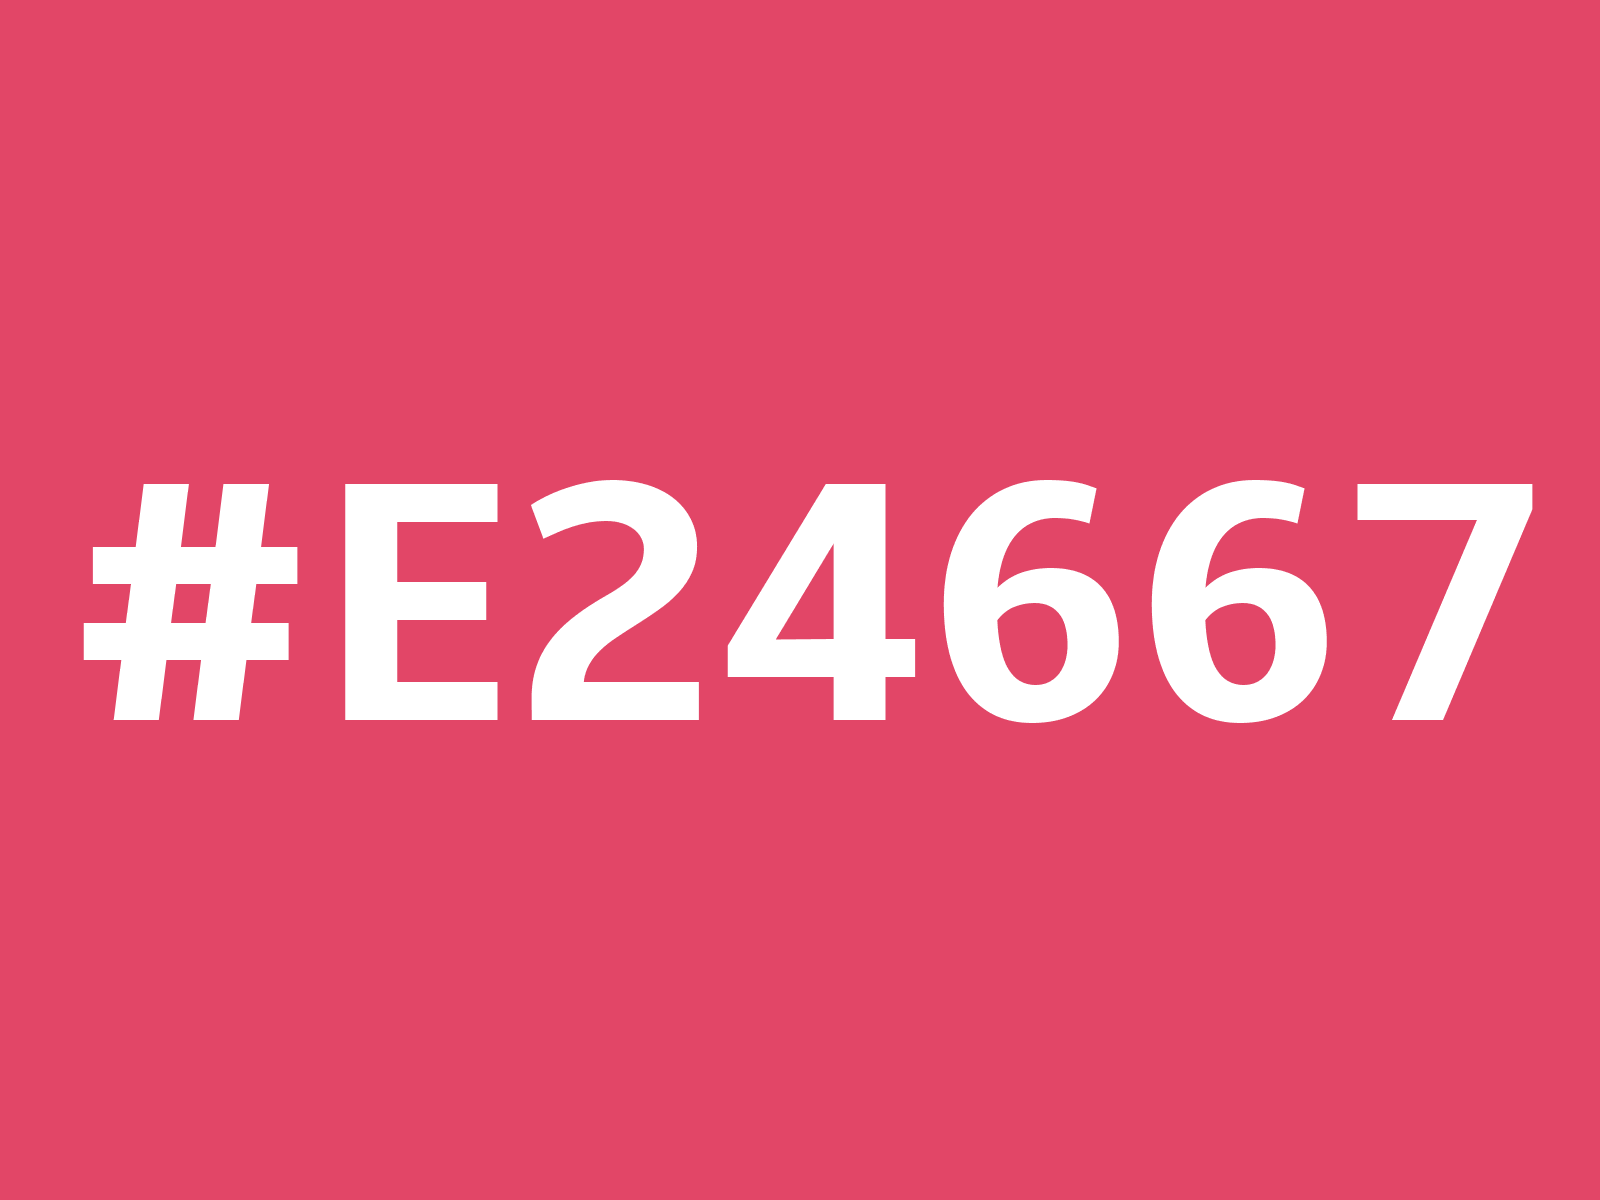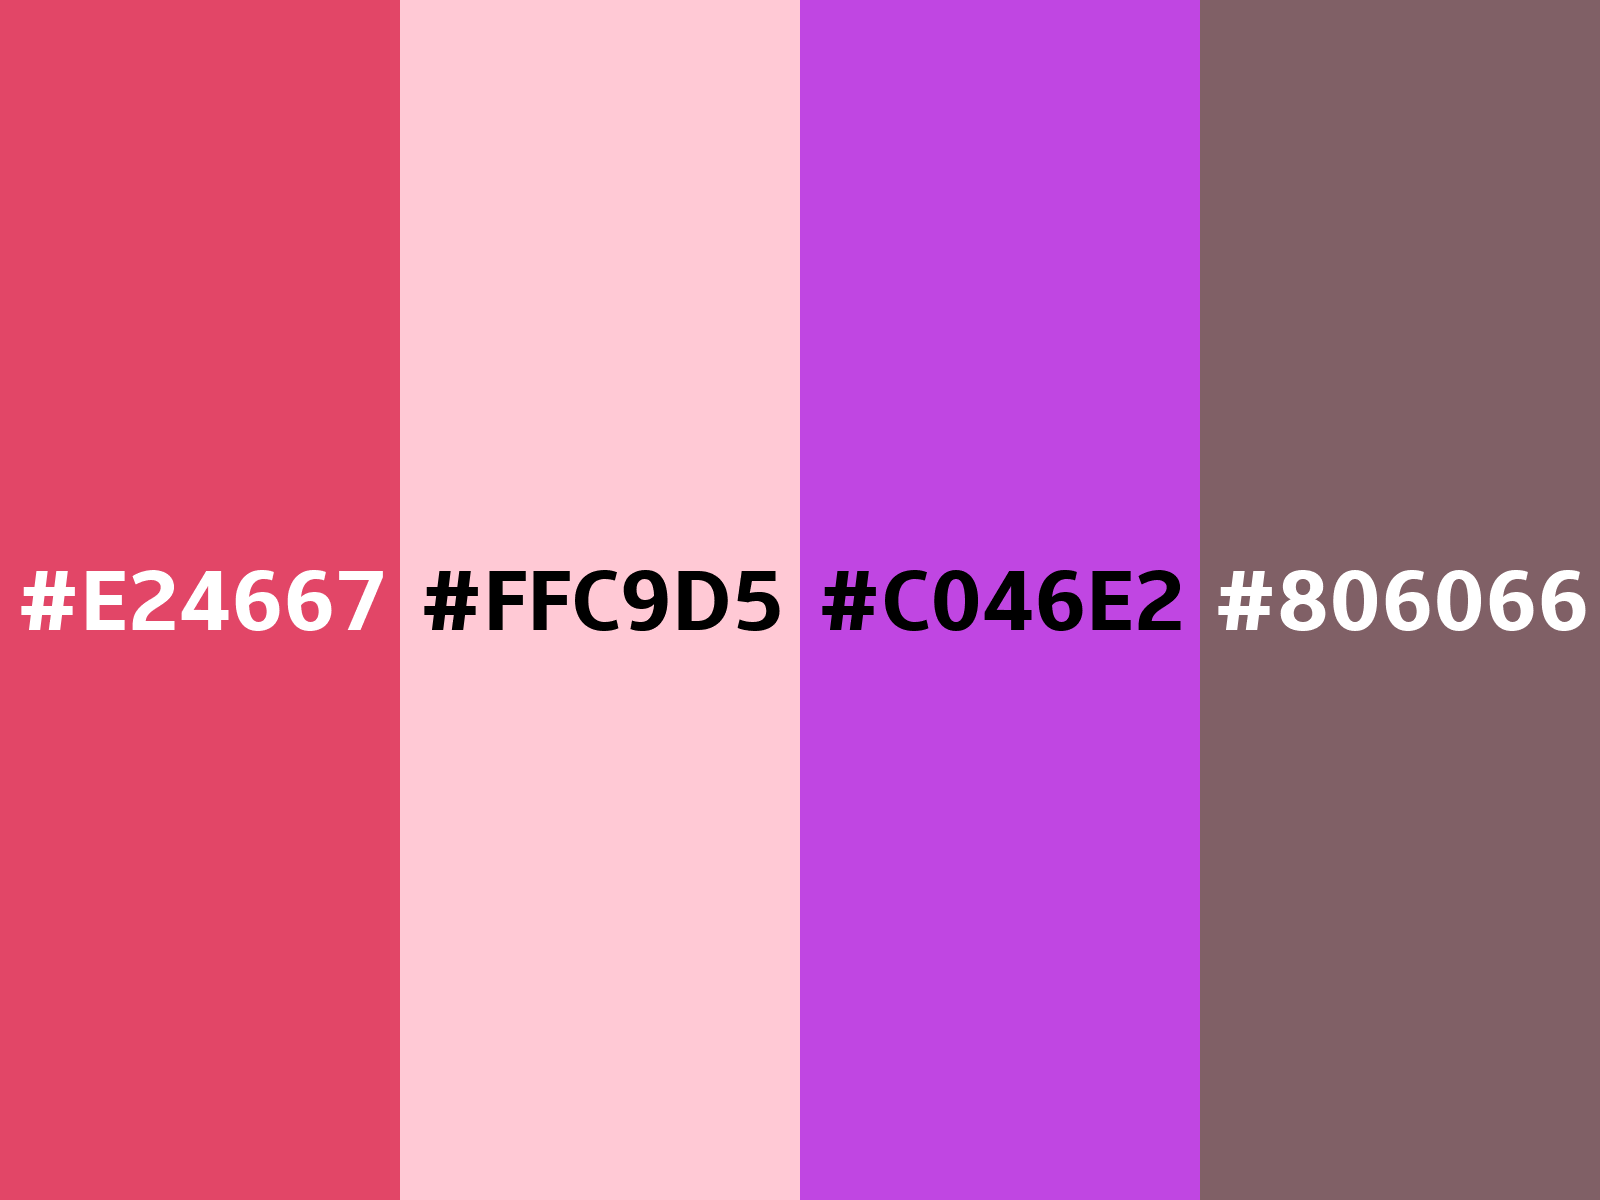
As a source for our image, we take a PHP array which contains the HEX values of the background and text colors we want to use for our image.
<?php
				$aColors = [
					[
						'background' => 'E24667',
						'text'       => 'FFFFFF'
					],
					[
						'background' => 'FFC9D5',
						'text'       => '000000'
					],
					[
						'background' => 'C046E2',
						'text'       => '000000'
					],
					[
						'background' => '806066',
						'text'       => 'FFFFFF'
					],
					[
						'background' => '000000',
						'text'       => 'FFFFFF'
					],
					[
						'background' => '808080',
						'text'       => 'FFFFFF'
					]
				];
Via array_walk, we add the RGB versions of the colors to the array by adding two new keys, background_rgb and text_rgb. We also add the text message we want to see on the image with the key text_msg.
array_walk($aColors, function(&$aColor, $key){Within the array_walk, we convert the HEX color value to RGB. For details on the conversion, please see the blog post Convert HEX to RGB with PHP .
    list(
					$iBackgroundRed,
					$iBackgroundGreen,
					$iBackgroundBlue
				) = array_map(
					'hexdec',
					str_split($aColor['background'], 2)
				);
Again we convert the HEX color, but this time for the text color.
    list(
					$iTextRed,
					$iTextGreen,
					$iTextBlue
				) = array_map(
					'hexdec',
					str_split($aColor['text'], 2)
				);
Then we add these values to our $aColor array and finally set the text message to the background HEX color.
    $aColor['background_rgb'] = [
					'red'   => $iBackgroundRed,
					'green' => $iBackgroundGreen,
					'blue'  => $iBackgroundBlue
				];
				$aColor['text_rgb'] = [
					'red'   => $iTextRed,
					'green' => $iTextGreen,
					'blue'  => $iTextBlue
				];

				$aColor['text_msg'] = '#' . $aColor['background'];
			});
After the extension of the array with the RGB color values, we define a new image object with the imagecreate function. The width of the image is 1600 and the height 1200 pixel.
$oImage = imagecreate(1600, 1200);We store the width and height in separate variables because we need them later for some calculations. Also, in that way, if you want to change the image size, you only need to change it in one place (the imagecreate call).
$iImageWidth    = imagesx($oImage);
			$iImageHeight   = imagesy($oImage);
For the text message we want to display, we need to have some font file for it. In this example, I use the Amble font, which you can find here.
$sFontFile = 'fonts/amble/Amble-Bold.ttf';In the case we have multiple colors in our array, we want to show a color palette. If only one color is there, we show this color over the full image. For that, we need to divide the image width with the number of colors, so we get to know how wide each color section should be.
$iColorWidth = $iImageWidth / count($aColors);In each of these sections, we display the colors HEX code as a text message, and the length of the text should not overflow the width of a single color. Therefore we adjust the font size by dividing the color width by 6.
$iFontSize = $iColorWidth / 6;To know in our loop at which color we are right now, we also define a counter.
$iColorCount = 0;Now we can finally loop through the colors and put the colors and messages on the picture. First, we need to allocate the color for the image. That is also why we needed to convert our HEX values to RGB.
foreach($aColors as $aColor){

				$iBackgroundColor = imagecolorallocate(
					$oImage,
					$aColor['background_rgb']['red'],
					$aColor['background_rgb']['green'],
					$aColor['background_rgb']['blue']
				);
				$iTextColor       = imagecolorallocate(
					$oImage,
					$aColor['text_rgb']['red'],
					$aColor['text_rgb']['green'],
					$aColor['text_rgb']['blue']
				);
Now it is time to set the background color on the correct pixels, and for this, we use imagesetpixel. We loop through all pixels for this color's width, and the image height as all colors should show from top to bottom.
    for($iX = 0; $iX < $iColorWidth; $iX++){
					for($iY = 0; $iY < $iImageHeight; $iY++){
						imagesetpixel(
							$oImage,
							$iX + ($iColorCount * $iColorWidth),
							$iY,
							$iBackgroundColor
						);
					}
				}
To figure out where to place our text, so it is in the center of the color section (color width and image height), we get the bounding box (imagettfbbox) of our text message using the font file we defined above.
$aBoundingBox = imagettfbbox($iFontSize, 0, $sFontFile, $aColor['text_msg']);Now we take the lower right corner, X position ($aBoundingBox[2]) and the upper right corner, X position ($aBoundingBox[4]), and get the higher value via the max function, abs returns us an absolute value of the higher number. This way, we get the width of the text.
Same we do for the upper right corner, Y position ($aBoundingBox[5]) and the upper left corner, Y position ($aBoundingBox[7]). With this, we get the height of our text message.
    $iTextWidth  = abs(max($aBoundingBox[2], $aBoundingBox[4]));
				$iTextHeight = abs(max($aBoundingBox[5], $aBoundingBox[7]));
With the help of the text size, we can calculate the X and Y coordinates of the messages on our main image.
    $iTextXCoordinate = intval(($iColorWidth - $iTextWidth) / 2);
				$iTextYCoordinate = intval(($iImageHeight + $iTextHeight) / 2);
Lastly, we set the text on the actual image, and at the end of the foreach loop through the colors, the counter gets increased.
    imagettftext(
					$oImage,
					$iFontSize,
					0,
					($iTextXCoordinate + ($iColorCount * $iColorWidth)),
					$iTextYCoordinate,
					$iTextColor,
					$sFontFile,
					$aColor['text_msg']
				);

				$iColorCount++;
			}
If we directly want to show the image, then we need to set the Content-Type via the header function and print the image with the imagepng function.
header("Content-Type: image/png");
			imagepng($oImage);
If the image should be stored instead, we need to pass the file path for the new image as the second parameter to the imagepng function.
imagepng($oImage, 'myimage.png');After showing or storing the image, we destroy it to free any memory associated with the image object.
imagedestroy($oImage);The Result
One Color

Two Colors

Four Colors

Six Colors

The Complete Code
<?php
				$aColors = [
					[
						'background' => 'E24667',
						'text'       => 'FFFFFF'
					],
					[
						'background' => 'FFC9D5',
						'text'       => '000000'
					],
					[
						'background' => 'C046E2',
						'text'       => '000000'
					],
					[
						'background' => '806066',
						'text'       => 'FFFFFF'
					],
					[
						'background' => '000000',
						'text'       => 'FFFFFF'
					],
					[
						'background' => '808080',
						'text'       => 'FFFFFF'
					]
				];

				array_walk($aColors, function(&$aColor, $key){
					list(
						$iBackgroundRed,
						$iBackgroundGreen,
						$iBackgroundBlue
					) = array_map(
						'hexdec',
						str_split($aColor['background'], 2)
					);

					list(
						$iTextRed,
						$iTextGreen,
						$iTextBlue
					) = array_map(
						'hexdec',
						str_split($aColor['text'], 2)
					);

					$aColor['background_rgb'] = [
						'red'   => $iBackgroundRed,
						'green' => $iBackgroundGreen,
						'blue'  => $iBackgroundBlue
					];
					$aColor['text_rgb'] = [
						'red'   => $iTextRed,
						'green' => $iTextGreen,
						'blue'  => $iTextBlue
					];

					$aColor['text_msg'] = '#' . $aColor['background'];
				});

				$oImage         = imagecreate(1600, 1200);
				$iImageWidth    = imagesx($oImage);
				$iImageHeight   = imagesy($oImage);

				$sFontFile      = 'fonts/amble/Amble-Bold.ttf';
				$iColorWidth    = $iImageWidth / count($aColors);
				$iFontSize      = $iColorWidth / 6;
				$iColorCount    = 0;

				foreach($aColors as $aColor){
					$iBackgroundColor = imagecolorallocate(
						$oImage,
						$aColor['background_rgb']['red'],
						$aColor['background_rgb']['green'],
						$aColor['background_rgb']['blue']
					);
					$iTextColor       = imagecolorallocate(
						$oImage,
						$aColor['text_rgb']['red'],
						$aColor['text_rgb']['green'],
						$aColor['text_rgb']['blue']
					);

					for($iX = 0; $iX < $iColorWidth; $iX++){
						for($iY = 0; $iY < $iImageHeight; $iY++){
							imagesetpixel(
								$oImage,
								$iX + ($iColorCount * $iColorWidth),
								$iY,
								$iBackgroundColor
							);
						}
					}

					$aBoundingBox = imagettfbbox($iFontSize, 0, $sFontFile, $aColor['text_msg']);

					$iTextWidth  = abs(max($aBoundingBox[2], $aBoundingBox[4]));
					$iTextHeight = abs(max($aBoundingBox[5], $aBoundingBox[7]));

					$iTextXCoordinate = intval(($iColorWidth - $iTextWidth) / 2);
					$iTextYCoordinate = intval(($iImageHeight + $iTextHeight) / 2);

					imagettftext(
						$oImage,
						$iFontSize,
						0,
						($iTextXCoordinate + ($iColorCount * $iColorWidth)),
						$iTextYCoordinate,
						$iTextColor,
						$sFontFile,
						$aColor['text_msg']
					);

					$iColorCount++;
				}

				header("Content-Type: image/png");
				imagepng($oImage);
				imagedestroy($oImage);