# Proxmox + Home Assistant OS
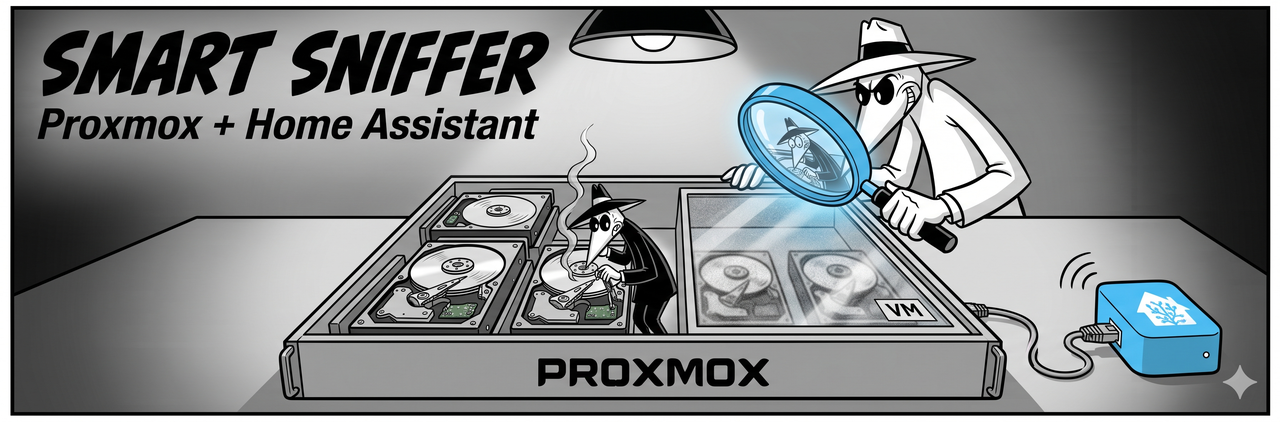
Proxmox VE is one of the most common ways to run Home Assistant OS as a virtual machine. SMART Sniffer works great in this setup -- you just need to put the pieces in the right places.
## The short version
1. Install the **agent** on the **Proxmox host** (bare metal, where the drives are)
2. Install the **integration** in the **HA VM** (via HACS)
3. The agent advertises over mDNS, the integration discovers it, done
You do **not** need the SMART Sniffer App (the HA add-on) in this setup. The App is for bare metal HA installs where HA has direct hardware access. In a Proxmox VM, the App can only see the virtual disk -- which isn't useful.
## Why VMs can't see SMART data
Virtual disks are, well, virtual. SMART data lives in the physical drive's firmware, and virtual disk controllers (virtio-scsi, virtio-blk) don't pass those commands through. This is true of all hypervisors -- Proxmox/KVM, VMware ESXi, Hyper-V, VirtualBox.
If you install the agent inside the VM, it will find `/dev/sda` (the virtual disk), open it successfully, but every SMART query will fail with exit code 4. The drive shows up as UNSUPPORTED because there's nothing to sniff.
The fix: run the agent on the Proxmox host, where it can talk to the drive firmware directly.
## Step 1: Install the agent on the Proxmox host
SSH into your Proxmox host and run:
```bash
curl -sSL https://raw.githubusercontent.com/DAB-LABS/smart-sniffer/main/install.sh | sudo bash
```
The installer will:
- Detect your OS and architecture
- Install smartmontools if missing
- Prompt for port (default 9099), optional bearer token, scan interval
- Ask which mountpoints to monitor for disk usage (opt-in)
- Present a network interface picker for mDNS
**Important: pick the right mDNS interface.** Proxmox hosts typically have multiple interfaces -- the physical NIC (`eno1`, `enp0s25`, etc.), the bridge (`vmbr0`), and possibly Docker/Tailscale/ZeroTier interfaces. Pick `vmbr0` (or your main bridge) so the HA VM can see the mDNS advertisement. If you pick the physical NIC, the VM may not see it depending on your network topology.
Verify the agent is running:
```bash
sudo systemctl status smartha-agent
curl http://localhost:9099/api/health
```
The health endpoint should return JSON with your agent version, OS, and uptime. If it does, the agent side is good.
## Step 2: Install the integration in Home Assistant
The integration connects to the agent over the network and creates HA entities for each drive.
**Via HACS (recommended):**
1. Open HACS in your HA instance
2. Three-dot menu --> **Custom repositories**
3. Add `https://github.com/DAB-LABS/smart-sniffer` with category **Integration**
4. Download **SMART Sniffer** --> Restart HA
**Manual:** Copy `custom_components/smart_sniffer/` into your HA `custom_components/` directory and restart.
## Step 3: Connect to the agent
**Auto-discovery (recommended):** The agent advertises via mDNS. After a few seconds, Home Assistant will show a discovery notification. Click **Add** and you're done. If the agent has a bearer token, you'll be prompted for it.
**Manual fallback:** If auto-discovery doesn't fire within a minute or two:
**Settings --> Devices & Services --> Add Integration --> SMART Sniffer**
Enter your Proxmox host's IP address and port `9099` (or whatever you configured).
Once connected, every physical drive on the Proxmox host appears as its own device in HA -- full SMART data, attention alerts, standby detection, the works.
## Troubleshooting
### Auto-discovery doesn't work
mDNS is link-local multicast. For discovery to work, the HA VM and the Proxmox host need to be on the same Layer 2 network. Common reasons it fails:
**1. HA VM is on a different bridge or VLAN**
Check your VM's network config in the Proxmox web UI. The VM should be on the same bridge as the host's management interface (usually `vmbr0`). If it's on a different bridge, different VLAN tag, or using NAT, mDNS won't cross the boundary. Use manual setup instead.
**2. Proxmox firewall is blocking mDNS or the agent port**
If you have the Proxmox firewall enabled (Datacenter --> Firewall), make sure these are open:
| Port | Protocol | Purpose |
|------|----------|---------|
| 9099 | TCP | Agent API (data endpoint) |
| 5353 | UDP | mDNS (auto-discovery) |
The agent port (TCP 9099) must be open even if you use manual setup -- that's how the integration pulls data.
**3. Agent is advertising on the wrong interface**
Check what the agent is doing:
```bash
journalctl -u smartha-agent | grep mDNS
```
You should see something like:
```
mDNS: interfaces: vmbr0
mDNS: advertising proxmox._smartha._tcp.local. on port 9099
```
If it says a different interface (like `eno1` or `docker0`), edit the config:
```bash
sudo nano /etc/smartha-agent/config.yaml
```
Set:
```yaml
advertise_interface: vmbr0
```
Then restart:
```bash
sudo systemctl restart smartha-agent
```
### Agent health check works locally but HA can't connect
Test network connectivity from the HA VM. In your HA terminal (or SSH add-on):
```bash
curl http://:9099/api/health
```
If this times out, it's a network or firewall issue between the host and VM. If it returns JSON, the network path is fine and the issue is mDNS-specific -- use manual integration setup.
### I installed the App and only see a virtual disk
That's expected. The App (SMART Sniffer App from the HA add-on store) runs smartctl inside the VM, where it can only see virtual disks. You don't need the App in a Proxmox setup. Remove it and use the integration + agent-on-host pattern described above.
### Can I use PCI passthrough instead?
Yes. If you pass the physical SATA or NVMe controller through to the VM via Proxmox's PCI passthrough (IOMMU), the VM gets direct hardware access. SMART data will work, and you could run the agent inside the VM. But this ties the physical controller to one VM and is more complex to set up. The agent-on-host approach is simpler and is how most Proxmox users run SMART Sniffer.
### iSCSI or network-attached storage shows warnings in the log
If your Proxmox host mounts iSCSI LUNs, Ceph RBDs, or NFS datastores, smartctl will attempt to read SMART data from those block devices and fail -- iSCSI targets don't support SMART passthrough (the SCSI commands hit the target daemon, not a physical drive). This causes repeated log warnings and exit code 4 errors.
The fix is to exclude those devices. If you're running the installer fresh, the drive picker detects iSCSI and other remote transports automatically and pre-excludes them. For existing installs, add the device paths to your config:
```yaml
exclude_devices:
- /dev/sdb # iSCSI LUN
```
Then restart: `sudo systemctl restart smartha-agent`. Run `smartha-agent --discover` to confirm which drives are local and which are remote.
## Example config
A typical Proxmox host `config.yaml` at `/etc/smartha-agent/config.yaml`:
```yaml
port: 9099
scan_interval: 120
advertise_interface: vmbr0
exclude_devices:
- /dev/sdb # iSCSI LUN -- no SMART passthrough
```
No `device_overrides` needed unless you have a hardware RAID controller. Standard SATA and NVMe drives are detected automatically.
## Related
- [Virtual Machines guide](virtual-machines.md) -- generic VM guidance for ESXi, Hyper-V, VirtualBox
- [Platform Install Paths](../platform-install-paths.md) -- where the agent installs on different OSes
- [Main README](../../README.md) -- full feature list, entity reference, roadmap