# ComfyUI-HaiperAI-API

This is custom nodes allow you to access [Haiper AI](https://haiper.ai/) in ComfyUI with [Haiper AI API](https://docs.haiper.ai/api-reference/).
## Requirements
1. Get your own **HAIPER_KEY** from [Haiper API](https://haiper.ai/haiper-api).
2. Check out the [API Documentation](https://docs.haiper.ai/api-reference) to understand how to set up the parameters.
## Installation
### Installing manually
1. Go to the `ComfyUI/custom_nodes` directory.
2. Clone the repository:
```
git clone https://github.com/Haiper-ai/ComfyUI-HaiperAI-API.git
```
The path should be `ComfyUI/custom_nodes/ComfyUI-HaiperAI-API/*`, where `*` represents all the files in this repo.
3. Install the dependencies:
- Linux or macOS: `cd ComfyUI-HaiperAI-API && pip install -r requirements.txt`
- Windows (ComfyUI portable): `.\python_embeded\python.exe -m pip install -r ComfyUI\custom_nodes\ComfyUI-HaiperAI-API\requirements.txt`
4. Set HAIPER_KEY in the `.env` file. (Don't share the .env file to public)
5. Start ComfyUI and enjoy your creation.
### Installing with ComfyUI-Manager
1. Open ComfyUI-Manager and install the Haiper AI API node `ComfyUI-HaiperAI-AP`.
## Nodes
### Haiper Image to Video
This node is used to generate a video from an image.
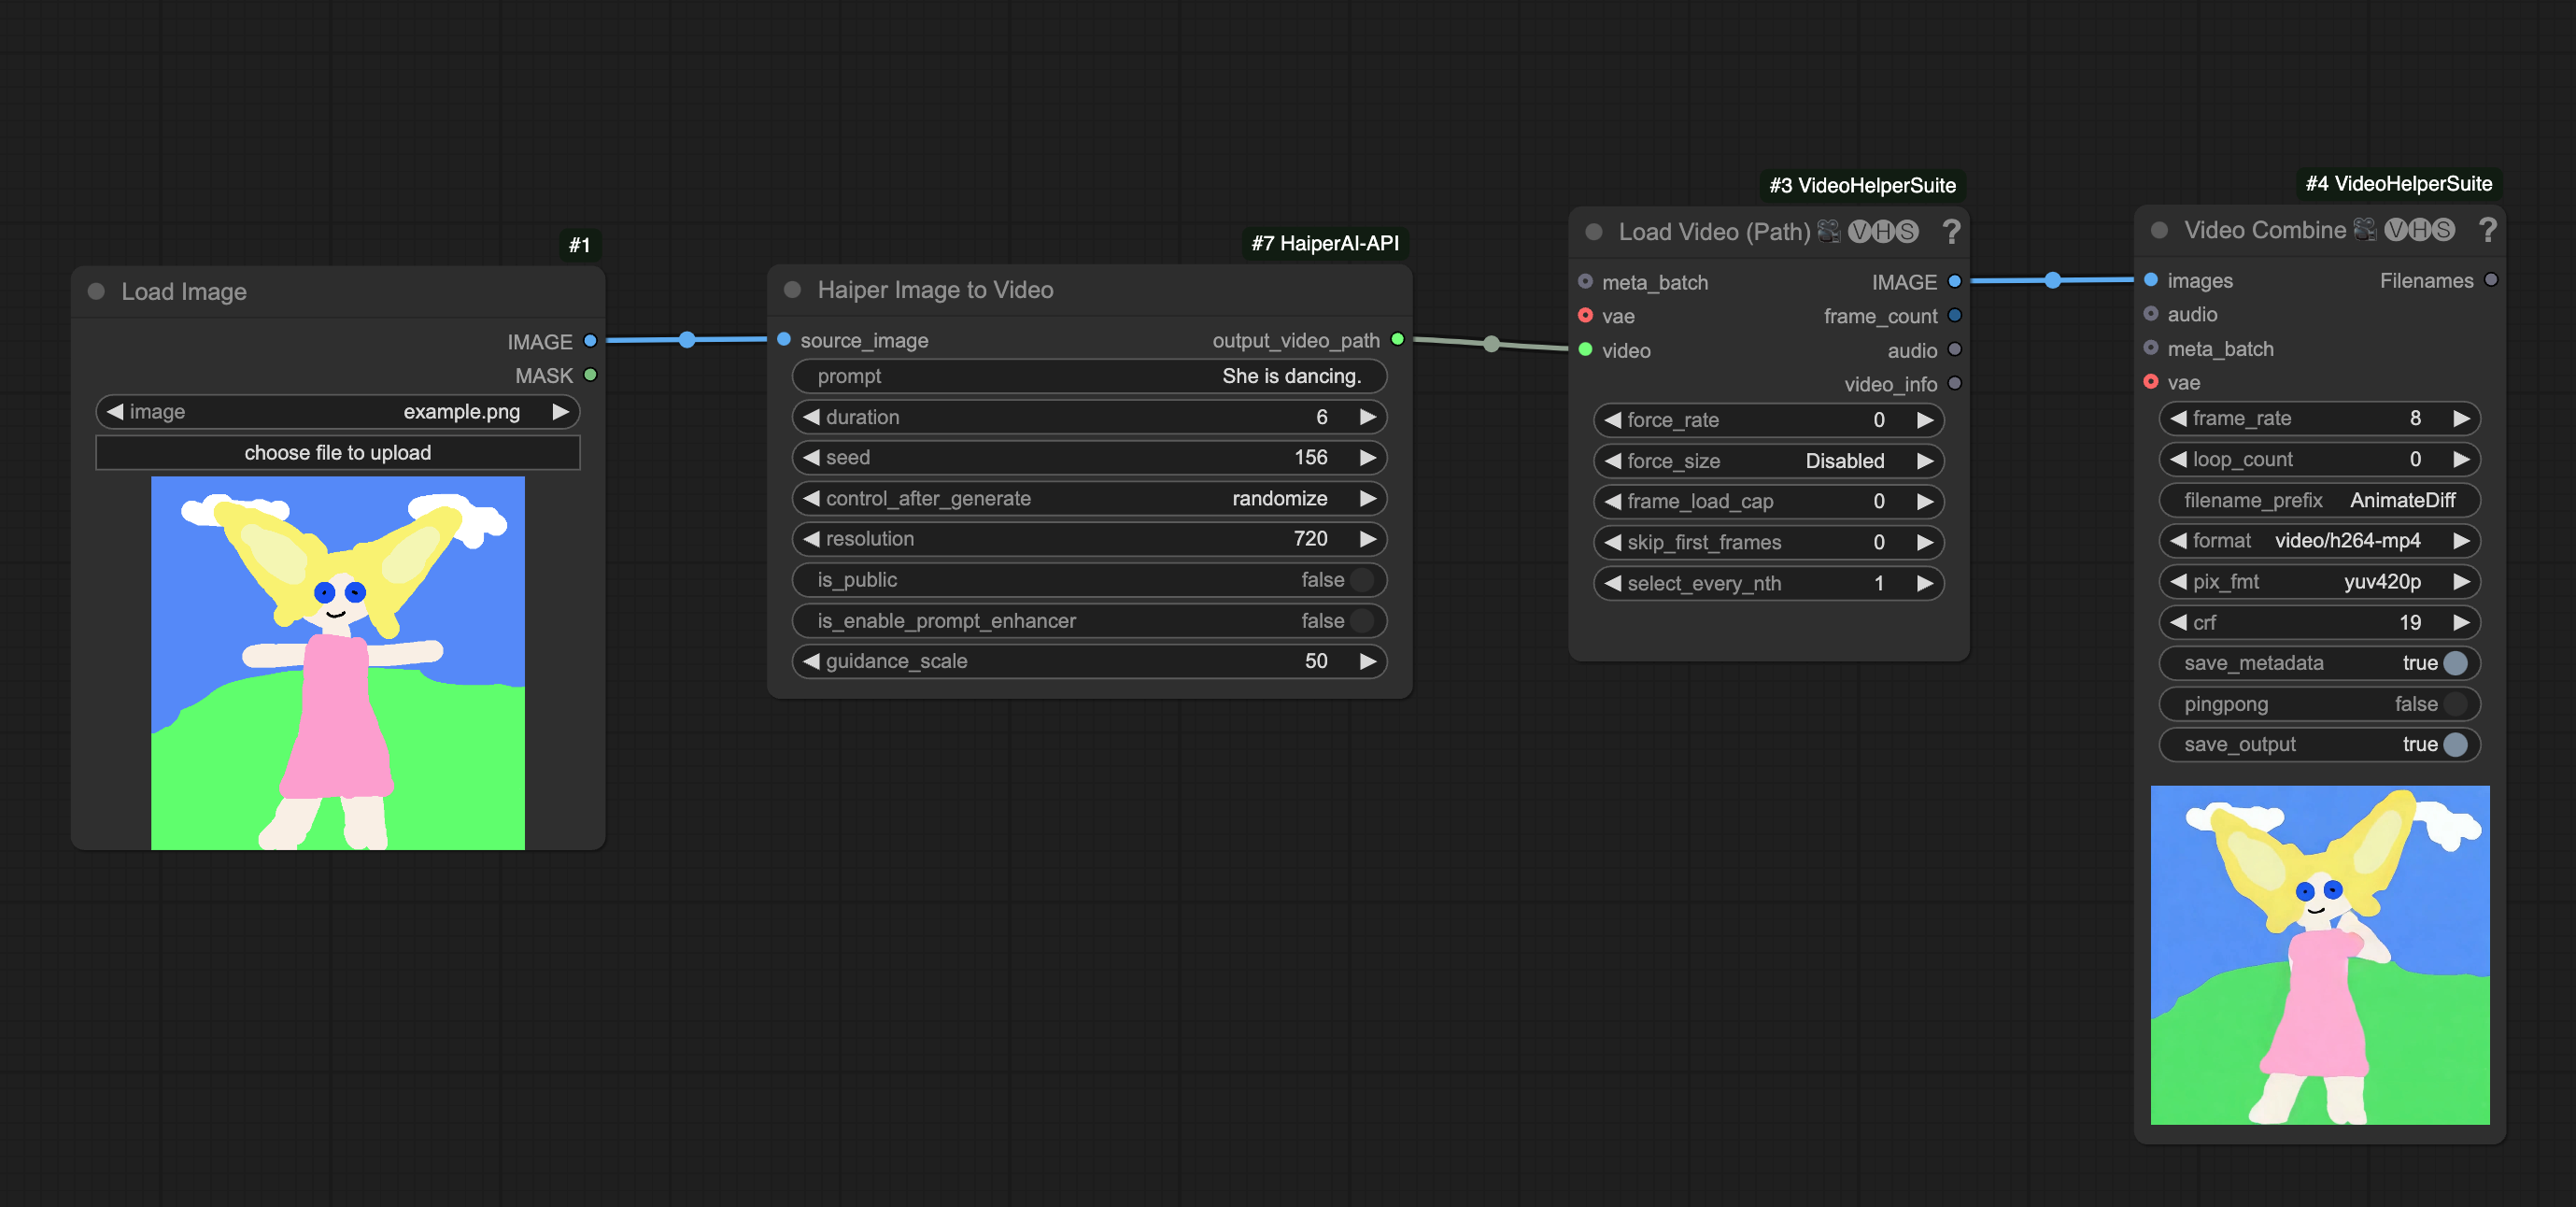
### Haiper Text to Video
This node is used to generate a video from a text prompt.
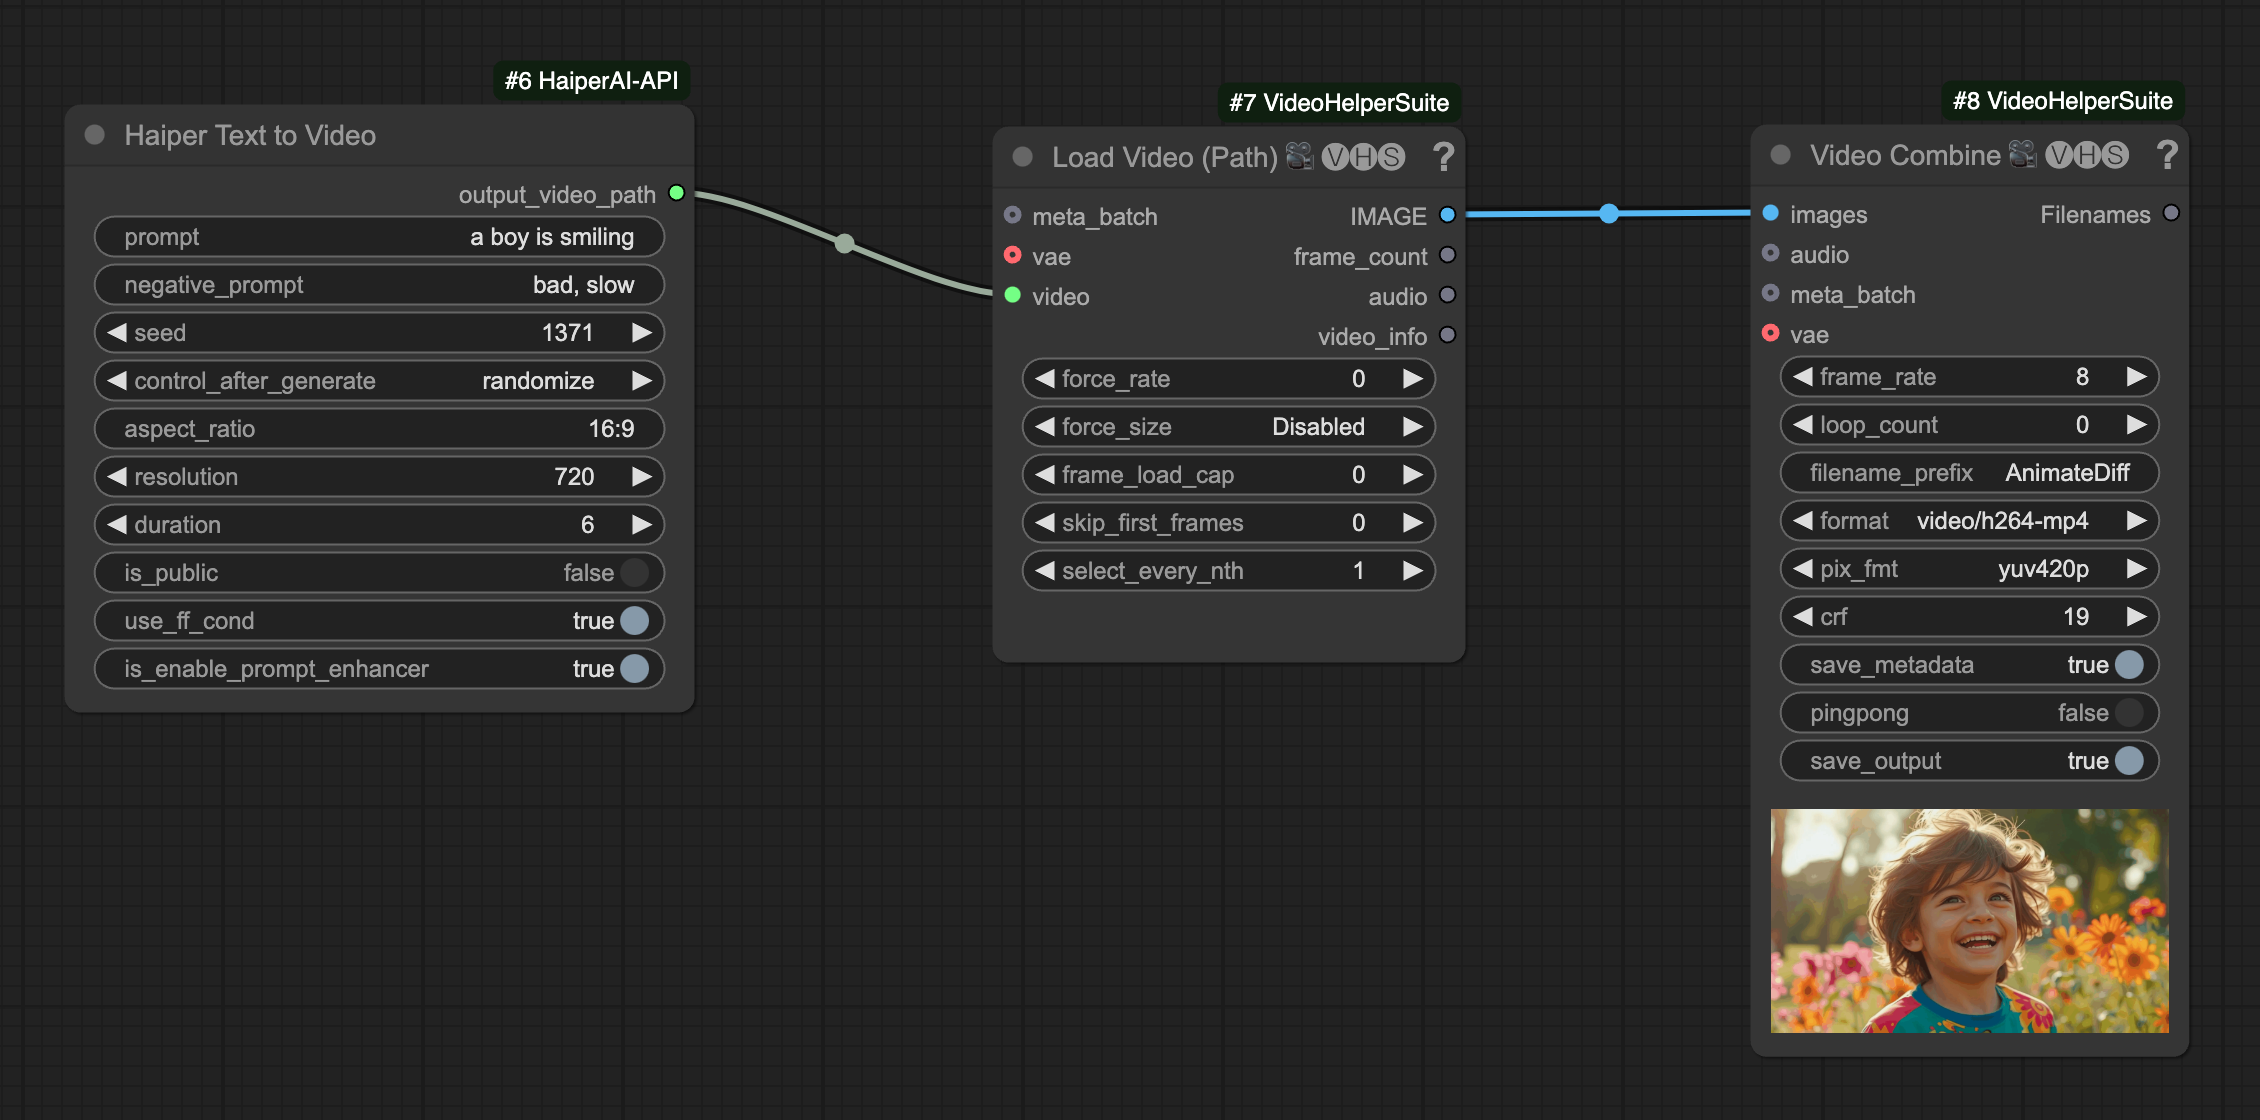
### Haiper Text to Image
This node is used to generate four images from a text prompt.
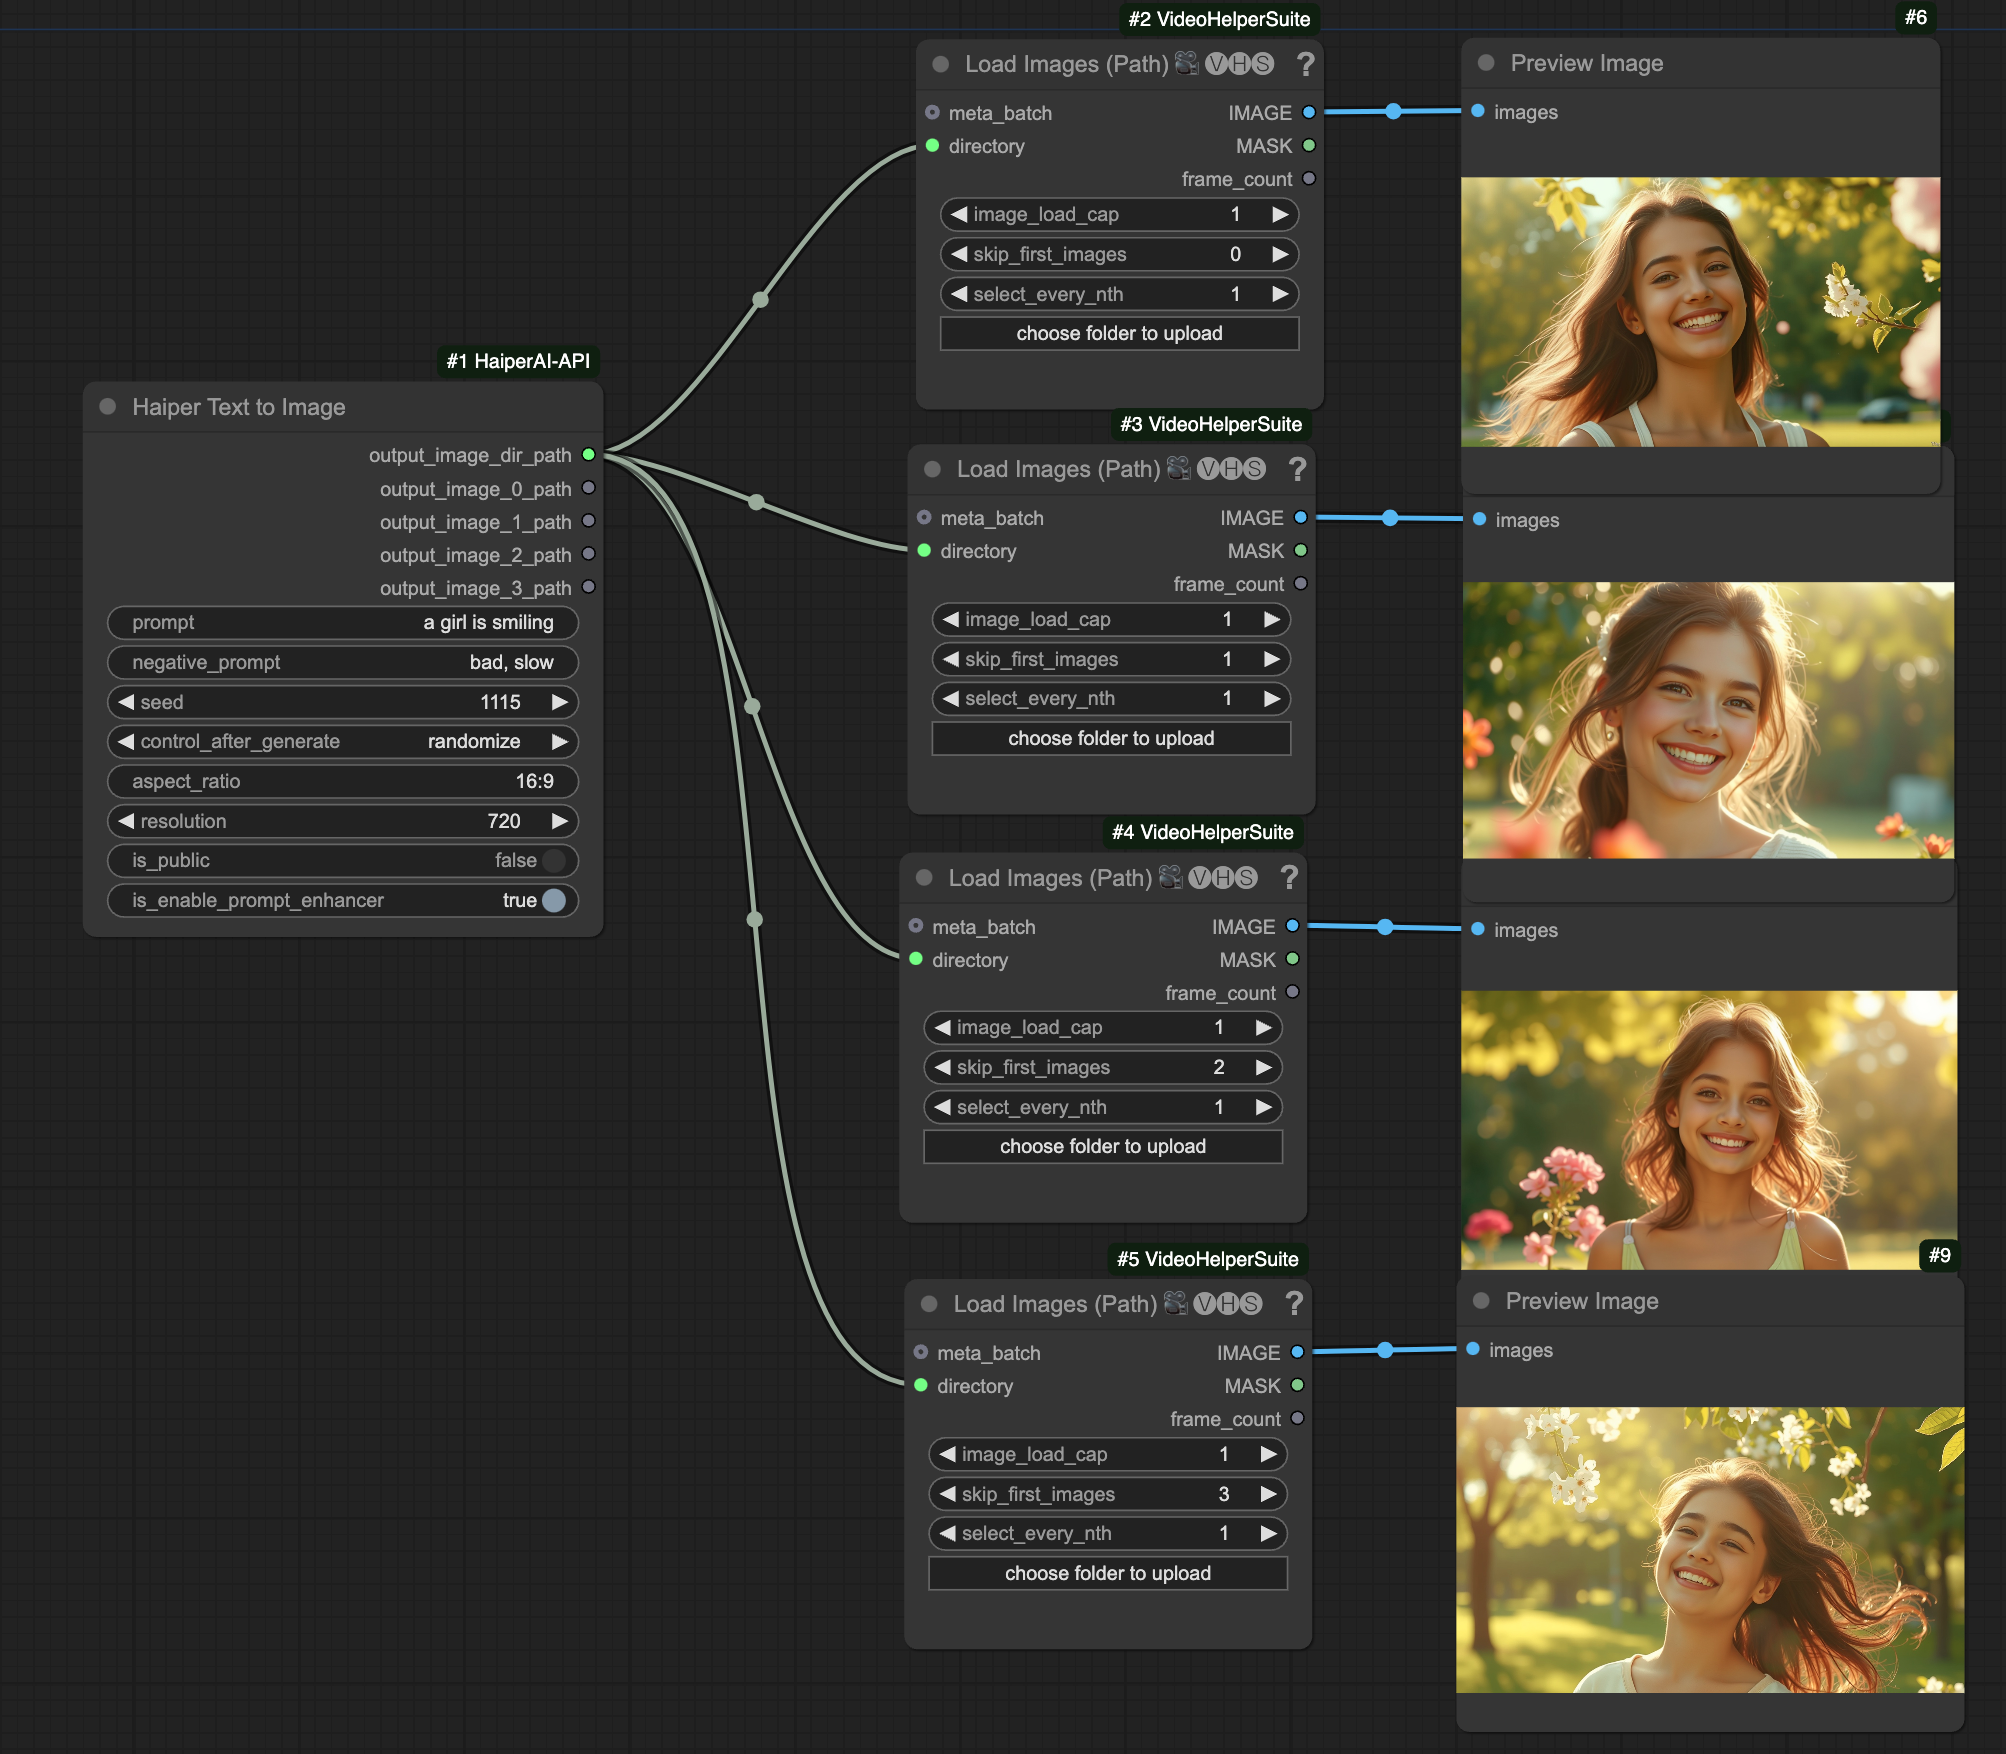
### Haiper Keyframe Conditioning
This node is designed to control video generation through keyframe-based conditioning.
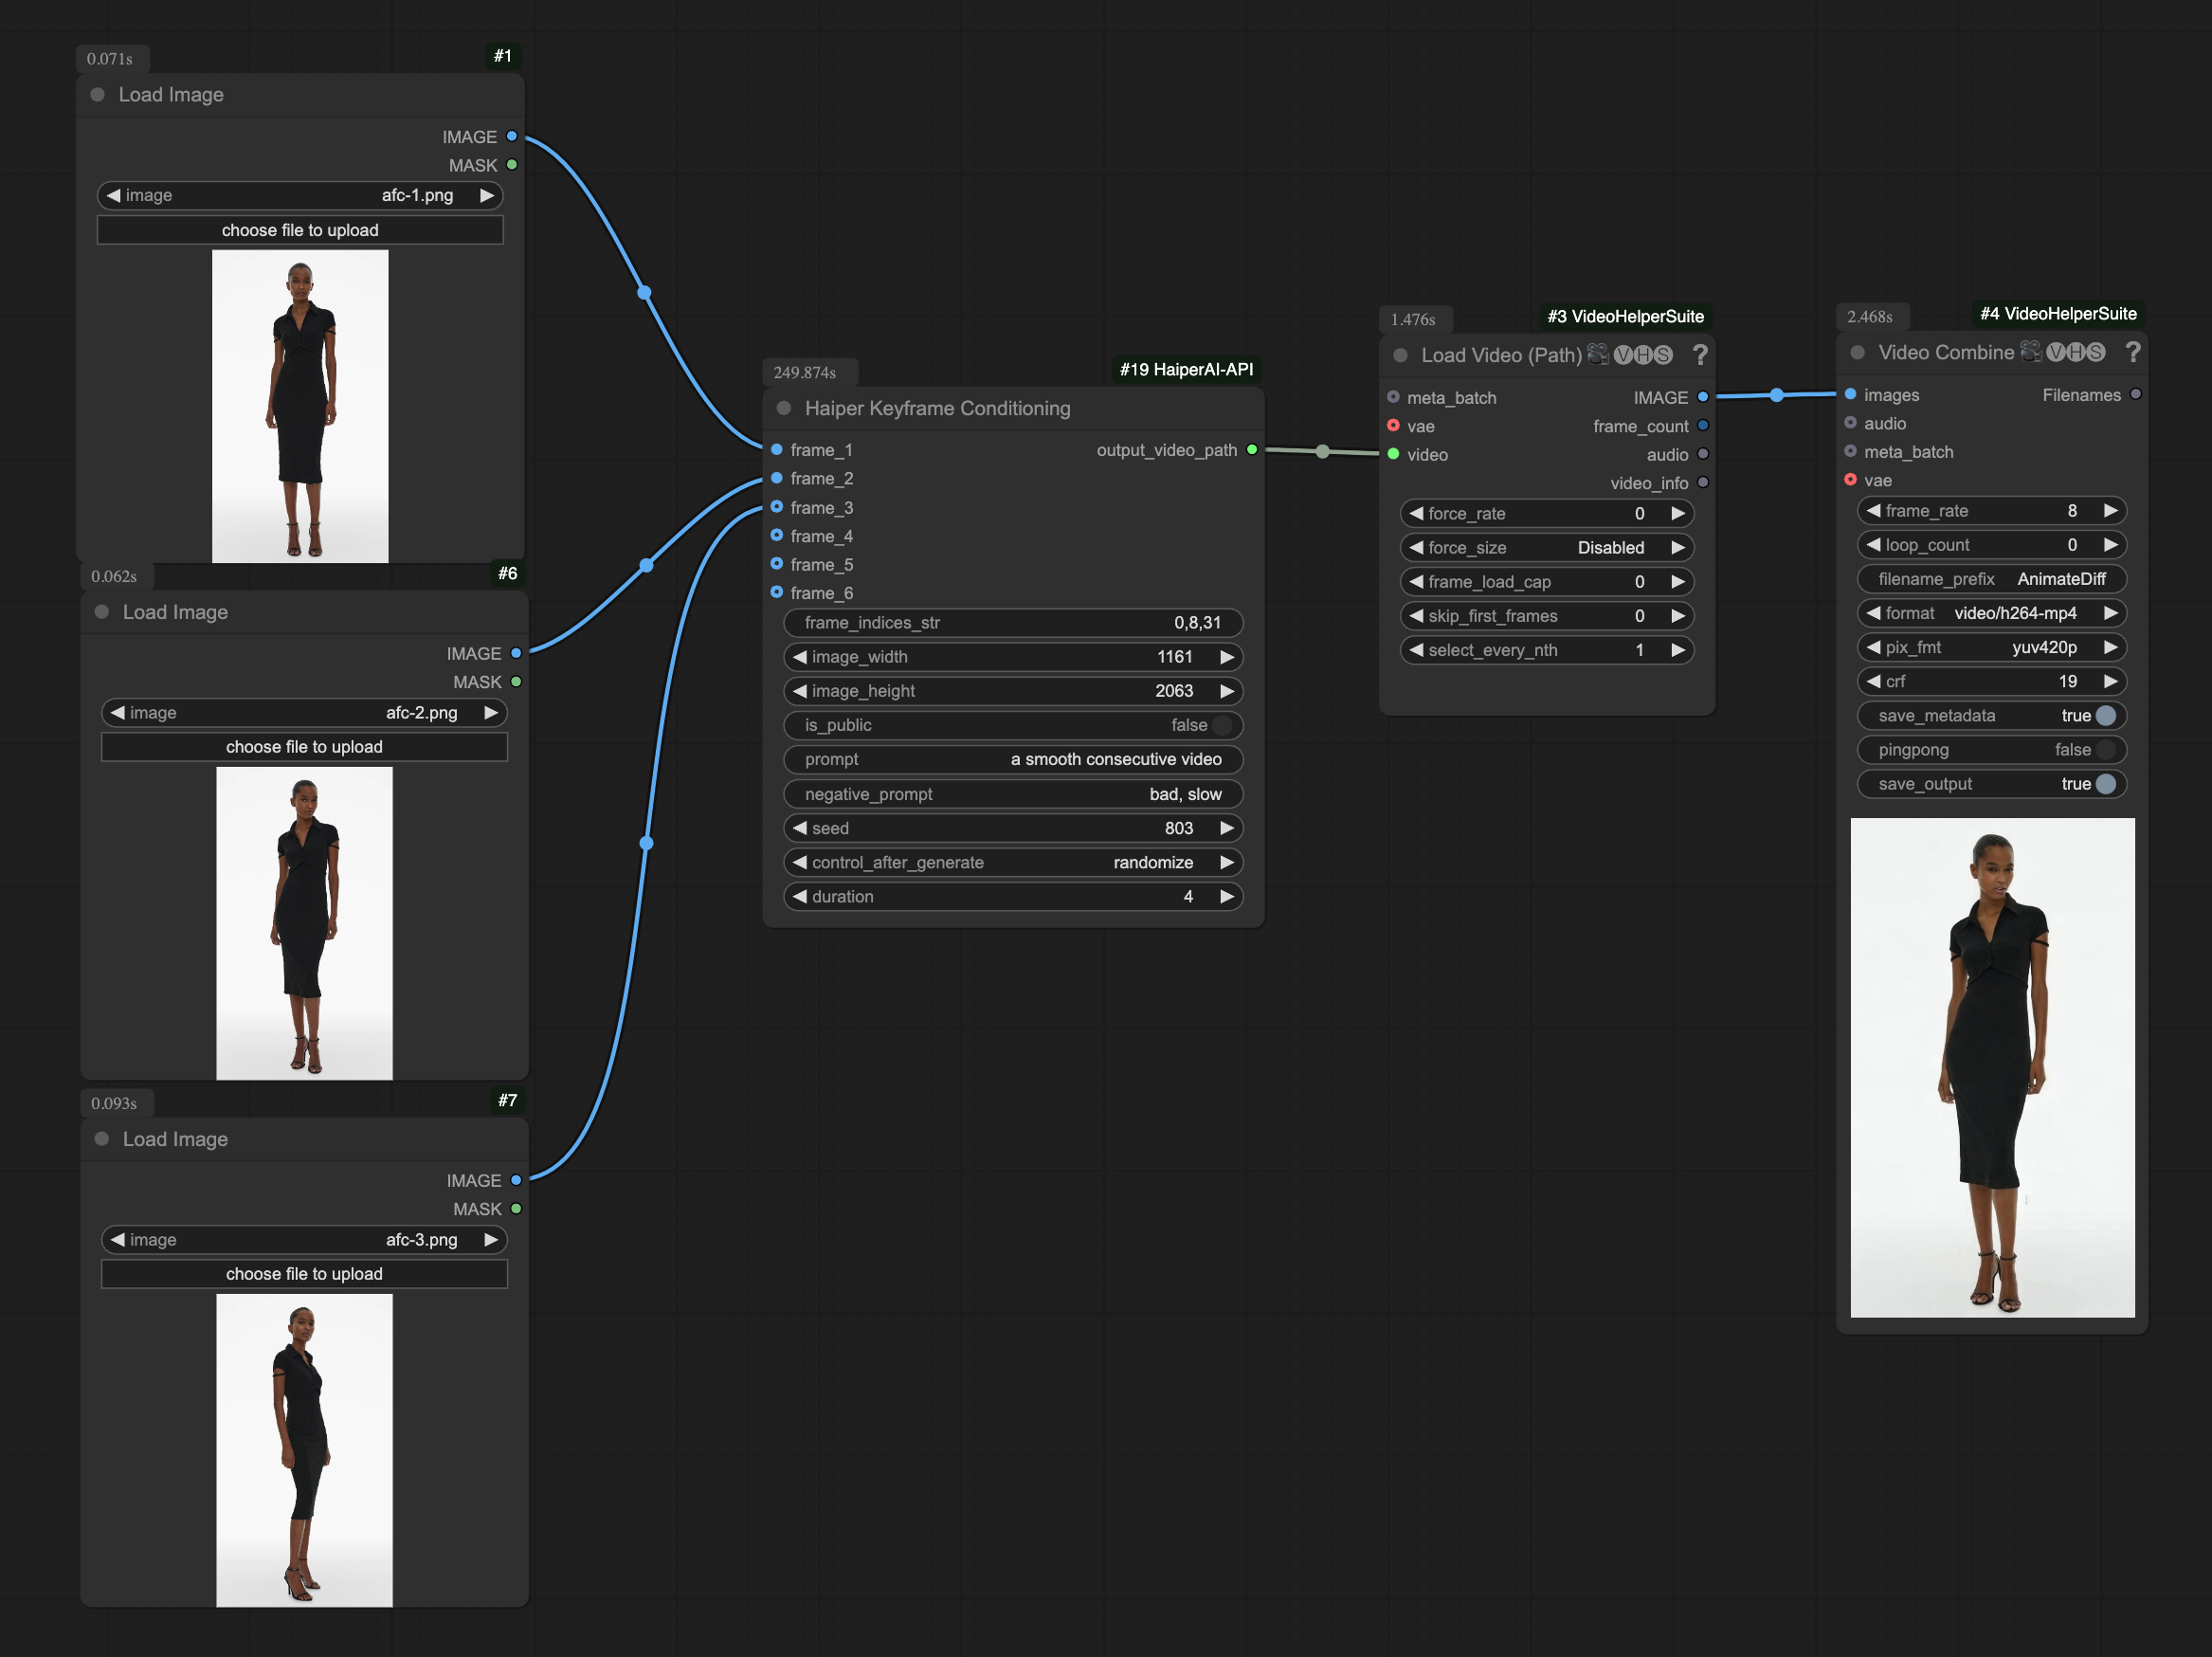
## Examples
Check out [workflows folder](./workflows). You need to install [ComfyUI-VideoHelperSuite](https://github.com/Kosinkadink/ComfyUI-VideoHelperSuite) first, then download the workflow json and import it into ComfyUI.
## API Documentation
For more information about the Haiper AI API: [Haiper AI API Documentation](https://docs.haiper.ai/api-reference).
## Pricing
Pricing of API on Haiper AI: [Haiper AI Pricing](https://haiper.ai/enterprise-api).