# Getting started
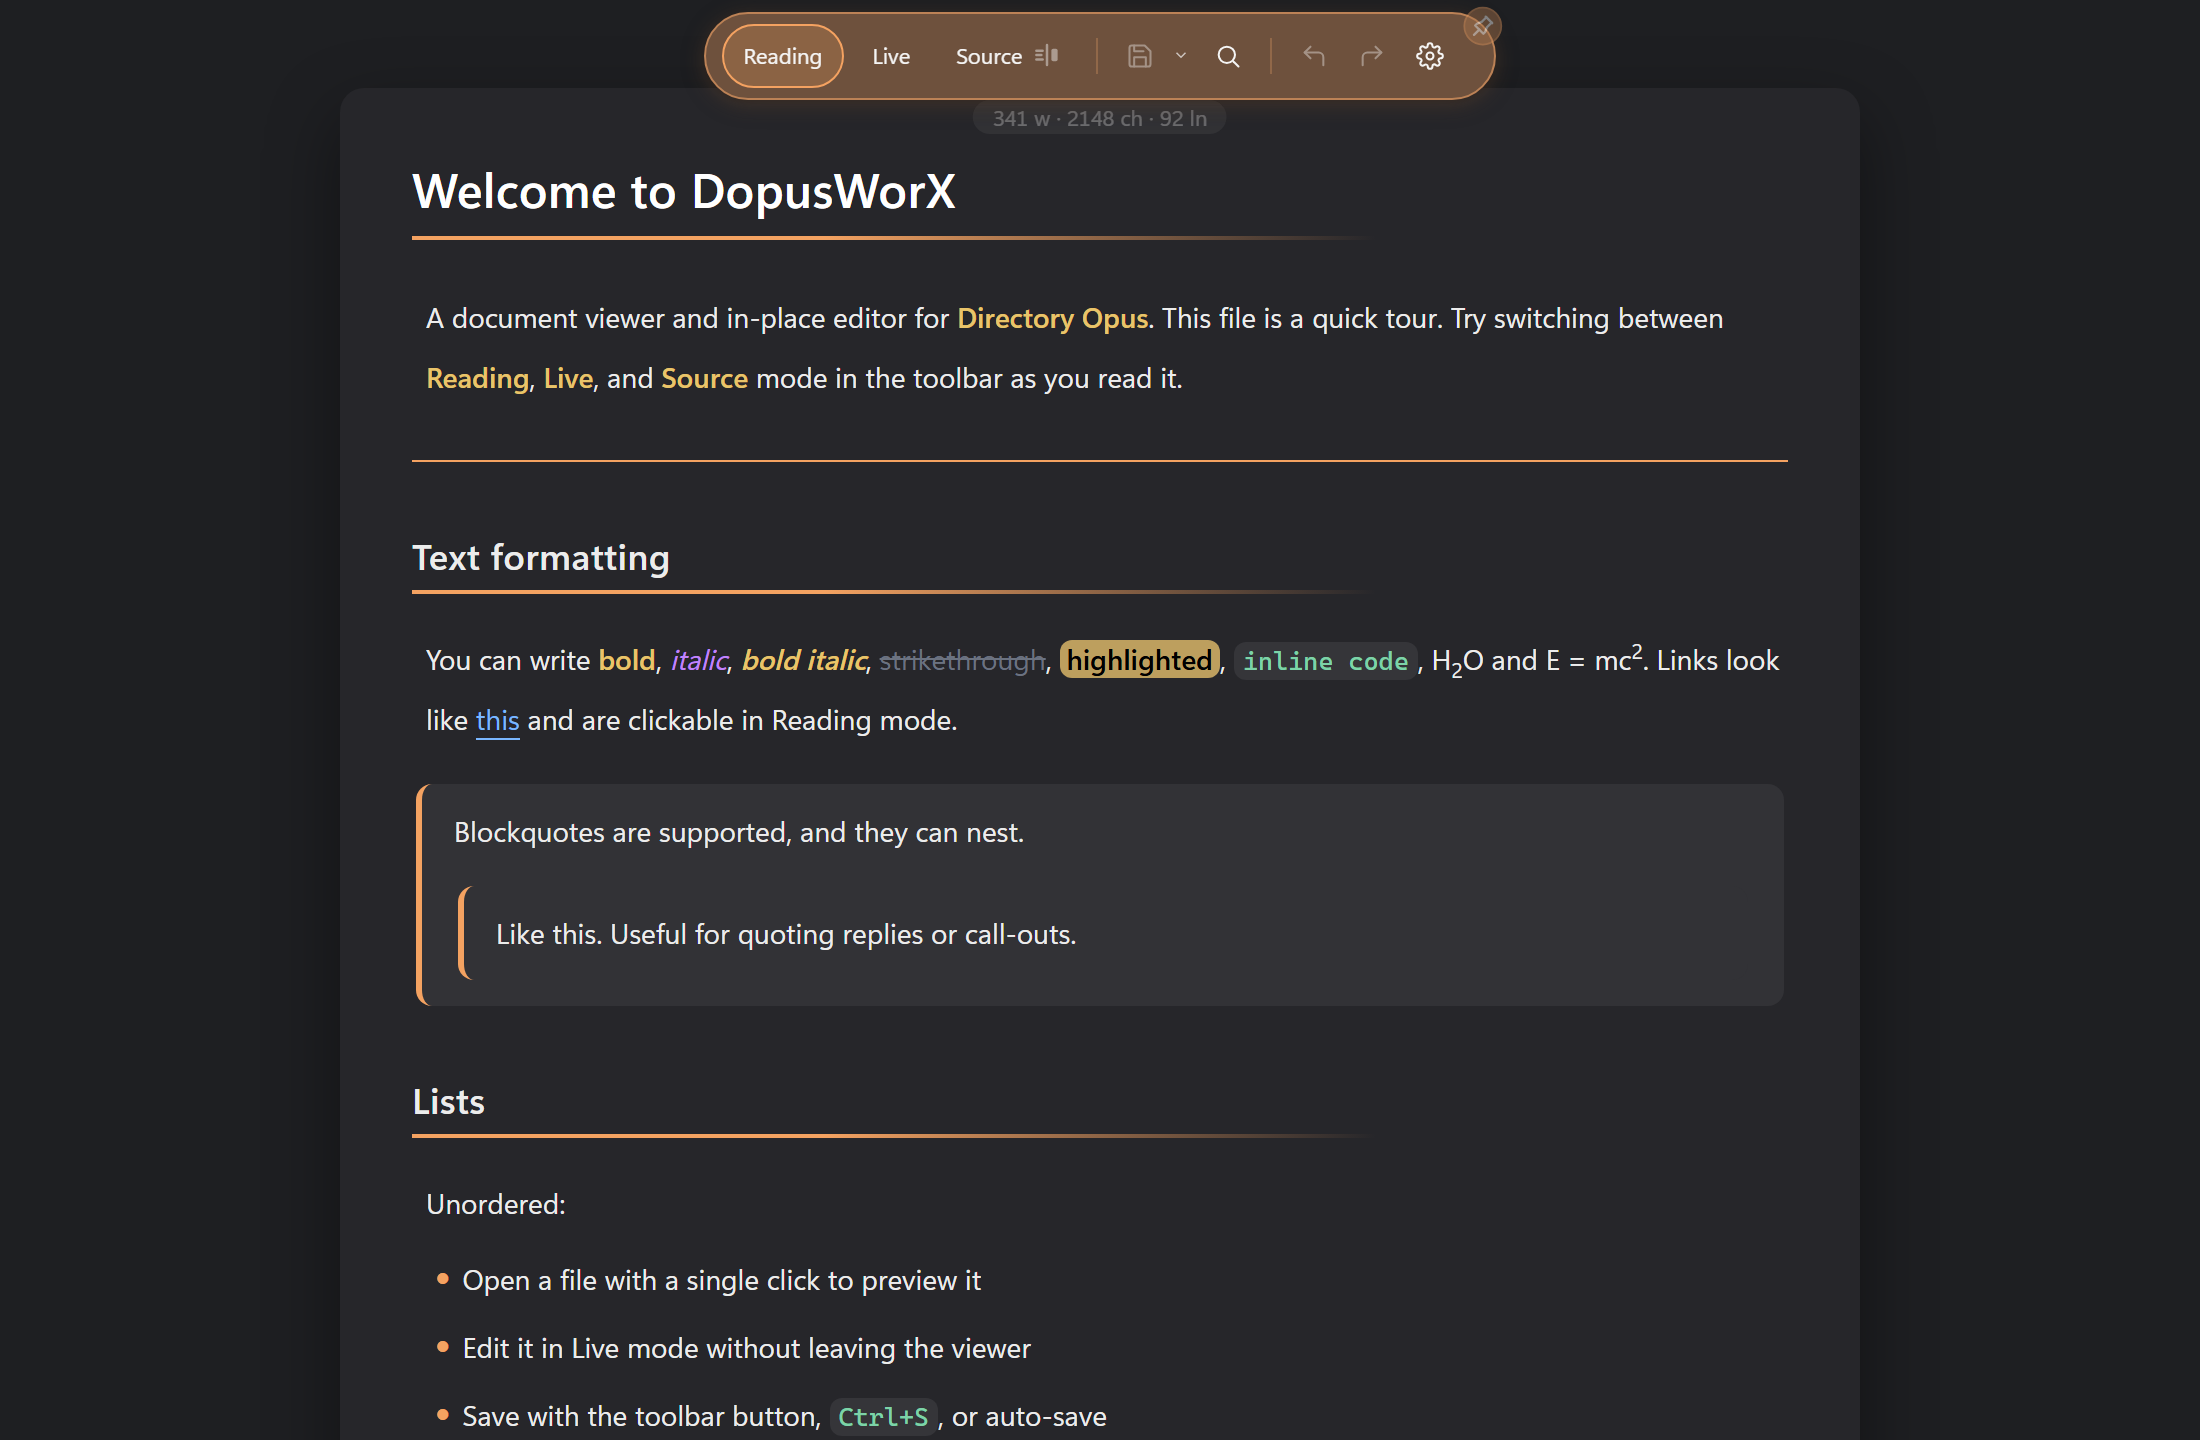
1. Install DopusWorX (see the main README), then open any supported file in the
Directory Opus viewer pane or the pop-out viewer window. The pop-out window
has a subtle translucent button in its top-right corner that toggles full
screen -- the icon switches between expand and collapse arrows to show the
current state. F11 does the same thing from the keyboard.
2. For a Markdown file, switch between **Reading**, **Live** and **Source** in the
top toolbar. Click Source again for the split preview. You can set which of
these a Markdown file opens in by default.
3. Edit in Live or Source and save with the toolbar Save button, or turn on
auto-save. Save As and Save a Copy are on the Save menu. Turn on spell check
in Settings if you want misspelled words underlined while you type.
4. Right-click anywhere for the context menu. It works with the mouse, the
keyboard (arrow keys to move, Enter to choose, Escape to close) and a press
and hold on a touchscreen. On a Markdown file it also offers Set banner image,
which searches for a picture and sets it as the note's banner for you. Press
**F1** at any time (or **?** in Reading mode) for the keyboard shortcut guide;
it is also on the right-click menu.
5. Move between the files you have opened with the mouse back and forward buttons,
or Ctrl+Alt+Left and Ctrl+Alt+Right, the same way a browser does.
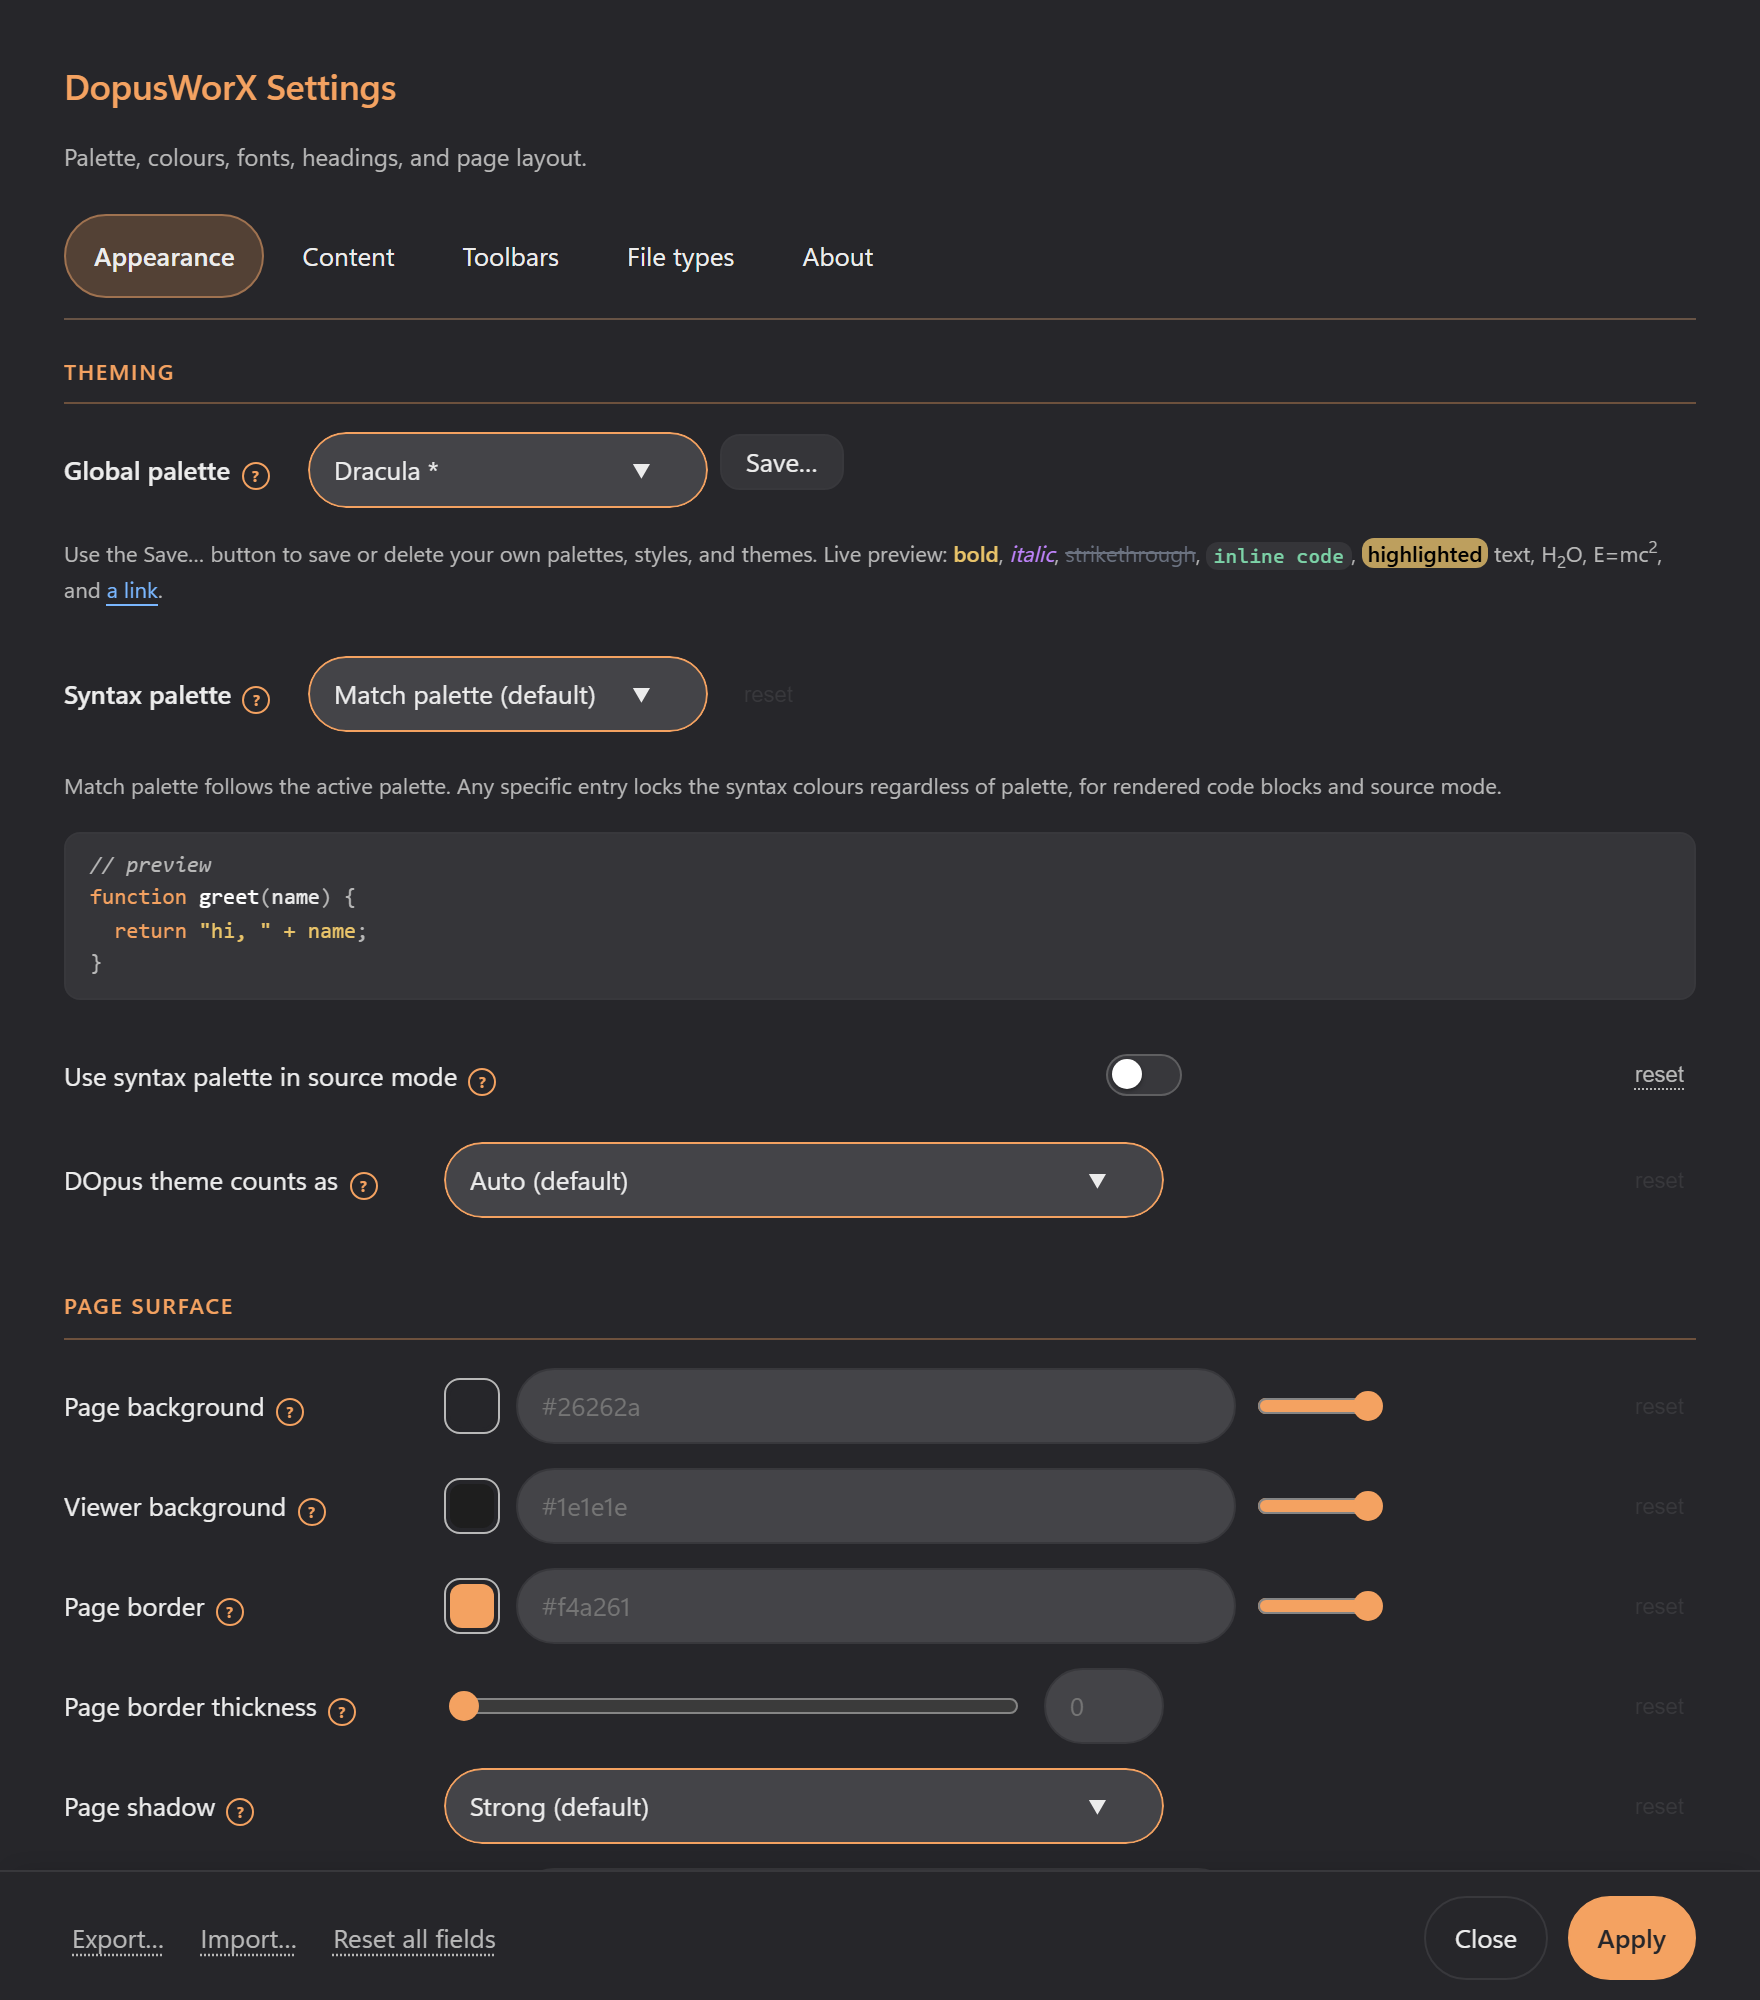
6. Open **Settings** (the gear icon) to choose a palette, set fonts and spacing,
pick the spell-check dictionaries, adjust the Mermaid diagram options, pick
which view Markdown opens in, customise the toolbar, map which file types
open in DopusWorX, and, on the Content tab under **Advanced**, pick which
graphics card the viewer renders on (handy on a laptop that has both an
integrated and a dedicated GPU; this one takes effect the next time DopusWorX
starts rather than straight away). Under that setting DopusWorX shows which card
it is drawing on right now, so you can see what Auto chose or check that your
choice took hold. Changes take effect when you press **Apply**; if you close
the dialog with changes you have not applied, it asks before discarding them.
The one exception is the file-type grid: its tick boxes and custom types only
take effect when you press **Apply file associations**, and any you have not
applied are dropped quietly when you close. The **About** tab also has a
**Check for updates** button; if a newer release is found, an **Install
update** button appears -- click it and DopusWorX downloads, verifies, and
installs the update for you, so you do not need to download and run the installer yourself.
DopusWorX also checks for a new release on its own shortly after it starts. When one is
waiting it puts a small dot on the **About** tab and shows a slim notice at the top of
Settings the first time; dismiss the notice and it stays gone for that version. Installing
is still up to you -- the automatic check only tells you an update is there.
## More
- [File types and views](02-file-types.md) - what each kind of file does.
- [Editing](03-editing.md) - modes, the formatting toolbar, find and replace, saving.
- [Maths](04-maths.md) - LaTeX, AsciiMath, the symbol panel and macros.
- [Diagrams](08-mermaid.md) - Mermaid flowcharts, sequence, class, state and more.
- [CSV grids](05-csv.md) - sorting, editing, filtering, freezing and more.
- [Context menus](06-context-menus.md) - the right-click menus, by mouse, keyboard or touch, and the Save menu.
- [Palettes](07-palettes.md) - the built-in palettes and the Appearance settings.
- [Binary inspector](09-binary-inspector.md) - the hex view, the data inspector and the opt-in byte editor.