# Making your first game
This guide starts at this
[minimal example](https://github.com/JellyfishJS/template-minimal)
which has everything installed,
and the minimum code needed to run Jellyfish.
It will get you to this
[multiplayer example](https://github.com/JellyfishJS/template-multiplayer),
which is a working multiplayer game
with a circle you can move around.
## Contents
1. [Prerequisites](#prerequisites)
2. [Installing the minimal example](#installing-the-minimal-example)
3. [Running the minimal example](#running-the-minimal-example)
4. [What we have so far](#what-we-have-so-far)
5. [Adding a character](#adding-a-character)
6. [Adding controls](#adding-controls)
7. [Adding multiplayer](#adding-multiplayer)
8. [You're done!](#youre-done)
## Prerequisites
This tutorial assumes you know how to use, and have the following available:
- Javascript,
- npm,
- node,
- bash, or some similar shell.
If you do not, many fantastic tutorials are available online.
## Installing the minimal example
You can find the minimal example here: [github.com/JellyfishJS/template-minimal](https://github.com/JellyfishJS/template-minimal).
You can download it [here](https://github.com/JellyfishJS/template-minimal/archive/refs/heads/main.zip),
or, if you prefer, use GitHub's "Use this template" feature.
Then, unzip the project, and open it in your favourite editor.
## Running the minimal example
In the directory, run the following command
to install Jellyfish and the other dependencies:
```bash
npm install
```
Then, to build and run the game, run
```sh
npm run build
npm start
```
It will print the URL [localhost:3000](http://localhost:3000),
where you should be able to view your game.
For now, it's just a black rectangle.
## What we have so far
`src/index.js` is the file we'll be editing in this tutorial.
Currently it has the following code:
```js
const { game, serve } = require('jellyfish.js');
game.setCanvasByID('game');
game.start();
serve();
```
Here's how it works:
```js
const { game, serve } = require('jellyfish.js');
```
This imports Jellyfish's `game`,
which lets you run a game.
It also imports Jellyfish's `serve`,
which starts up the webpage you can view the game on.
```js
game.setCanvasByID('game');
```
This makes Jellyfish display the game
in the canvas with the ID 'game',
which is what `serve` uses by default.
```js
game.start();
```
This starts the game.
```js
serve();
```
This starts a server where you can see the game on port 3000.
Jellyfish can be used with any type of web server,
but a simple `serve()` is good enough for this tutorial.
This is how it should look:
## Adding a character
Let's add a character to your screen!
After this step, your `src/index.js` will look like this:
```js
const {
GameObject,
ImageSprite,
Vector,
game,
serve
} = require('jellyfish.js');
class Player extends GameObject {
onCreate() {
this.position = Vector.xy(100, 300);
this.sprite = this.createSprite(ImageSprite, '/assets/player.png');
this.sprite.following = this;
}
}
game.registerClass(Player);
game.createObject(Player);
game.setCanvasByID("game");
game.start();
serve();
```
Here's what changed:
```js
const {
GameObject,
ImageSprite,
Vector,
game,
serve
} = require('jellyfish.js');
```
We have some new imports:
- `GameObject` is a superclass for pretty much any object in your game.
You can subclass it to make anything —
players, bullets, cars, enemies, buttons,
or whatever else you want.
- `ImageSprite` is for displaying an image in your game.
- `Vector` is a 2 dimensional vector —
if you haven't taken physics,
this is anything with a direction and a magnitude.
It's useful for keeping track of location, velocity,
gravity, forces, and anything like that.
```js
class Player extends GameObject {
```
We also have a Player class, our first GameObject.
```js
onCreate() {
```
Anything inside the `onCreate` hook is run
when the object is first created.
```js
this.position = Vector.xy(100, 300);
```
This puts the player 100 pixels from the left,
and 300 pixels from the top of the screen.
```js
this.sprite = this.createSprite(ImageSprite, '/assets/player.png');
```
This creates a `Sprite` for the player.
Sprite is just a fancy term for something that shows up on the screen.
This `Sprite` is an `ImageSprite`,
which means it shows an image,
and the image can be found at `/assets/player.png`.
If you look in the assets folder,
you'll find the jellyfish logo named `player.png`.
```js
this.sprite.following = this;
```
This makes the `Sprite` follow the `Player` object.
Sprites can follow any object with a position.
```js
game.registerClass(Player);
```
This registers the `Player` class with Jellyfish.
You need to do this with every class you make,
so that Jellyfish can work with them.
```js
game.createObject(Player);
```
This creates a player.
Now, if you
```sh
npm run build
npm start
```
and go to [localhost:3000](http://localhost:3000),
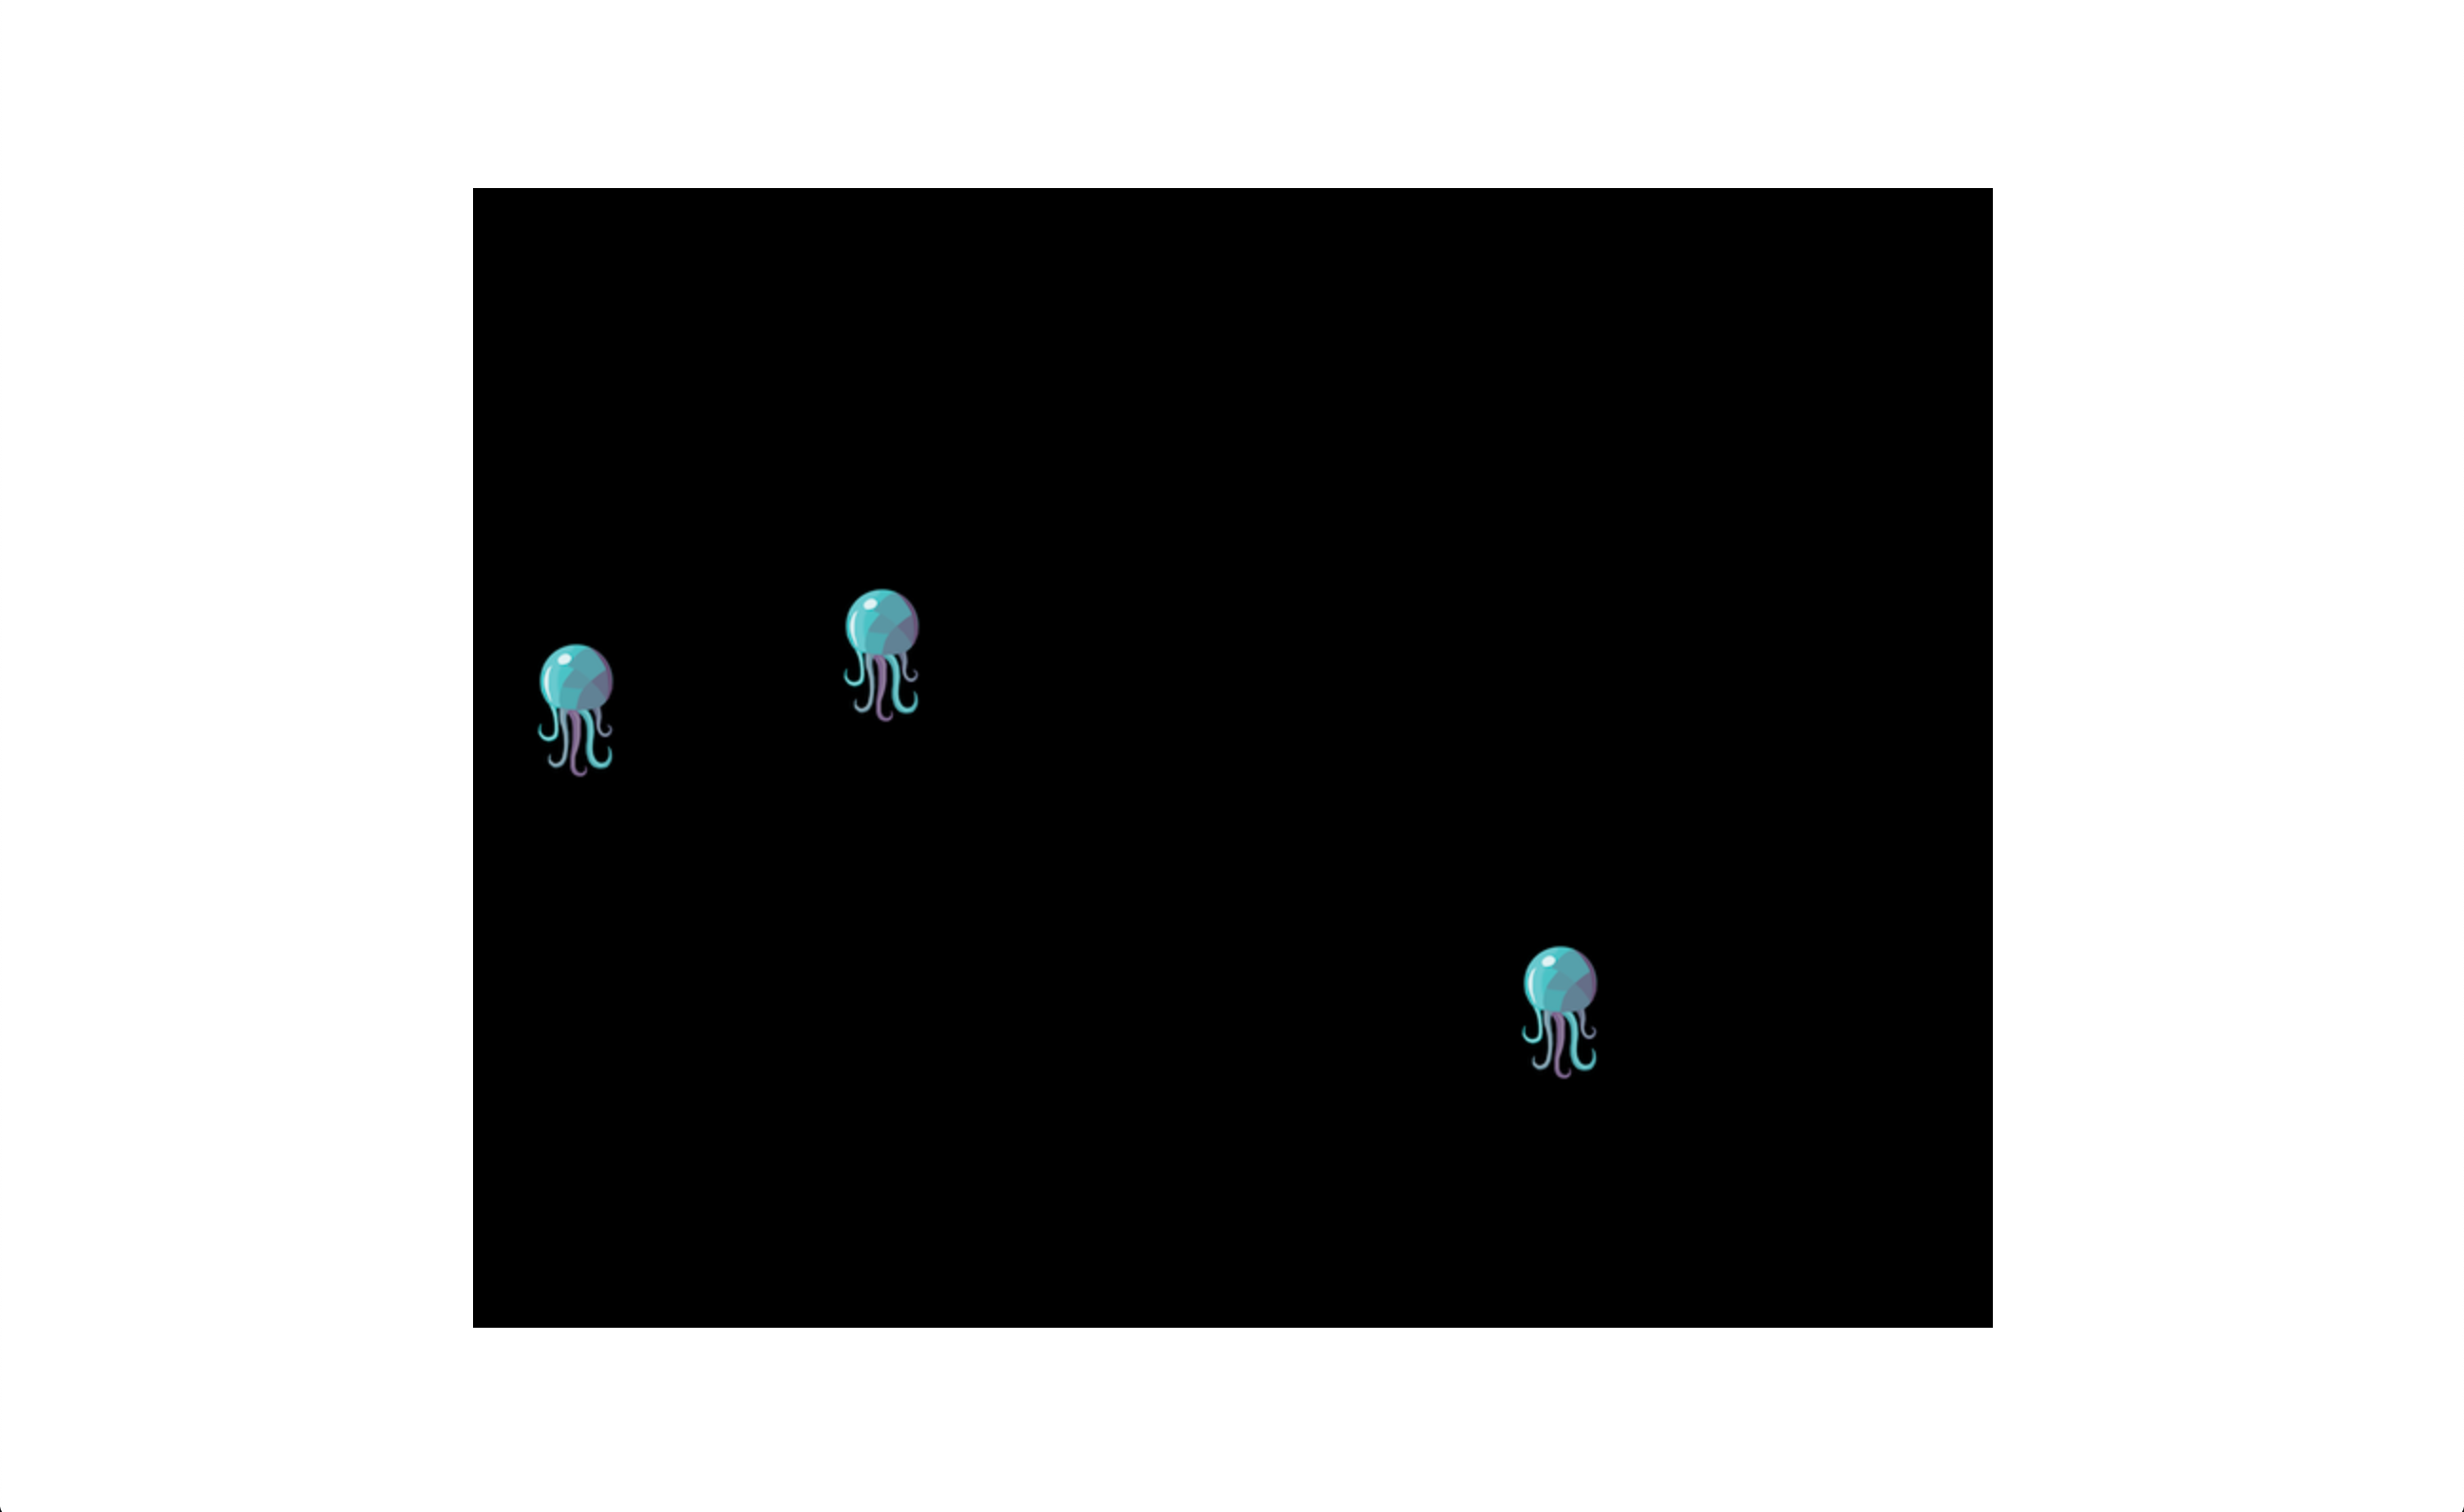
you should see a Jellyfish.
## Adding controls
Now, we'll add a way to move the player.
After this step, your `src/index.js` will look like this:
```js
const {
GameObject,
ImageSprite,
Vector,
game,
serve
} = require('jellyfish.js');
class Player extends GameObject {
onCreate() {
this.position = Vector.xy(100, 300);
this.sprite = this.createSprite(ImageSprite, '/assets/player.png');
this.sprite.following = this;
}
keyHeld(keycode) {
let movement = Vector.zero;
switch (keycode) {
case 40: movement = Vector.up; break;
case 38: movement = Vector.down; break;
case 37: movement = Vector.left; break;
case 39: movement = Vector.right; break;
}
this.position = this.position.plus(movement);
}
}
game.registerClass(Player);
game.createObject(Player);
game.setCanvasByID("game");
game.start();
serve();
```
Here's what changed:
```js
keyHeld(keycode) {
```
This hook is called whenever a key on the keyboard is held.
The keycode is a number that represents the key that is pressed.
You can find tables of keycodes on google,
or, more easily, you can just press keys and see what you get.
```js
let movement = Vector.zero;
switch (keycode) {
case 40: movement = Vector.up; break;
case 38: movement = Vector.down; break;
case 37: movement = Vector.left; break;
case 39: movement = Vector.right; break;
}
```
Here, we set `movement`
to be a vector in the direction we want to move.
The numbers represent arrow keys —
for example, 40 is the up arrow key.
```js
this.position = this.position.plus(movement);
```
This updates the position of the game object
while a key is held.
The movement vectors always have a length of 1.
If you want to move twice as fast, you could do this instead:
```js
this.position = this.position.plus(movement.times(2));
```
Now, if you
```sh
npm run build
npm start
```
and go to [localhost:3000](http://localhost:3000),
you should be able to move your Jellyfish.
## Adding multiplayer
Normally, adding multiplayer to a game
involves redesigning it around multiplayer.
With Jellyfish, though, it's an easy change.
At the end of this step, your `src/index.js`
should look like this:
```js
const {
GameObject,
ImageSprite,
Vector,
Server,
Client,
isServer,
game,
serve
} = require('jellyfish.js');
class Player extends GameObject {
onCreate() {
this.position = Vector.xy(100, 300);
this.sprite = this.createSprite(ImageSprite, '/assets/player.png');
this.sprite.following = this;
}
keyHeld(keycode) {
if (!this.isOwnedByCurrentUser()) { return; }
let movement = Vector.zero;
switch (keycode) {
case 40: movement = Vector.up; break;
case 38: movement = Vector.down; break;
case 37: movement = Vector.left; break;
case 39: movement = Vector.right; break;
}
this.position = this.position.plus(movement);
}
}
game.registerClass(Player);
class GameServer extends Server {
onCreate() { this.start(); }
}
game.registerClass(GameServer);
class GameClient extends Client {
onCreate() { this.connect(); }
onRegistered() {
const player = this.createObject(Player);
player.setOwner(this.user());
}
}
game.registerClass(GameClient);
if (isServer) { game.createObject(GameServer); }
else { game.createObject(GameClient); }
game.setCanvasByID("game");
game.start();
serve();
```
Here's what changed:
```js
const {
GameObject,
ImageSprite,
Vector,
Server,
Client,
isServer,
game,
serve
} = require('jellyfish.js');
```
We have some new imports.
`Server` is a `GameObject`
that acts as a server for the game.
This is what runs on the backend,
that everyone connects to.
`Client` is a `GameObject`
that acts as a client for the game.
Every user has a `Client` object
in their web browser.
`isServer` is `true` on the server
and `false` on the client.
```js
if (!this.isOwnedByCurrentUser()) { return; }
```
Here, if the player isn't owned by the current user,
it's a player controlled by someone else.
Since you cannot move other players,
it returns, instead of moving the Jellyfish.
```js
class GameServer extends Server {
onCreate() { this.start(); }
}
game.registerClass(GameServer);
```
Here, we make our own server.
When it's created,
the `onCreate` hook starts the server.
Since this is a simple game, we don't need to do anything else here.
```js
class GameClient extends Client {
onCreate() { this.connect(); }
onRegistered() {
const player = this.createObject(Player);
player.setOwner(this.user());
}
}
game.registerClass(GameClient);
```
Here, we make our own client.
When it's created,
the `onCreate` hook connects to the server.
The `onRegistered` hook is called when the client
has connected to the server,
and the server is ready to interact with the client.
Here, we create a player for the client,
and set its owner to the client's user.
Only the owner of an object can control it directly.
```js
if (isServer) { game.createObject(GameServer); }
else { game.createObject(GameClient); }
```
Finally, instead of creating a player direct,
here, we create a `GameServer` object if we're on a server
and a `GameClient` object if we're on a client.
Now, if you
```sh
npm run build
npm start
```
and go to [localhost:3000](http://localhost:3000),
you can play this game in multiplayer.
If you open it in multiple windows,
you'll have multiple jellyfish.
If you rent a server and run it there,
your friends can connect and you can play together!
## You're done!
That's it! You've made your first multiplayer Jellyfish game!
From here, you can make anything.