






# OpenAI Translator
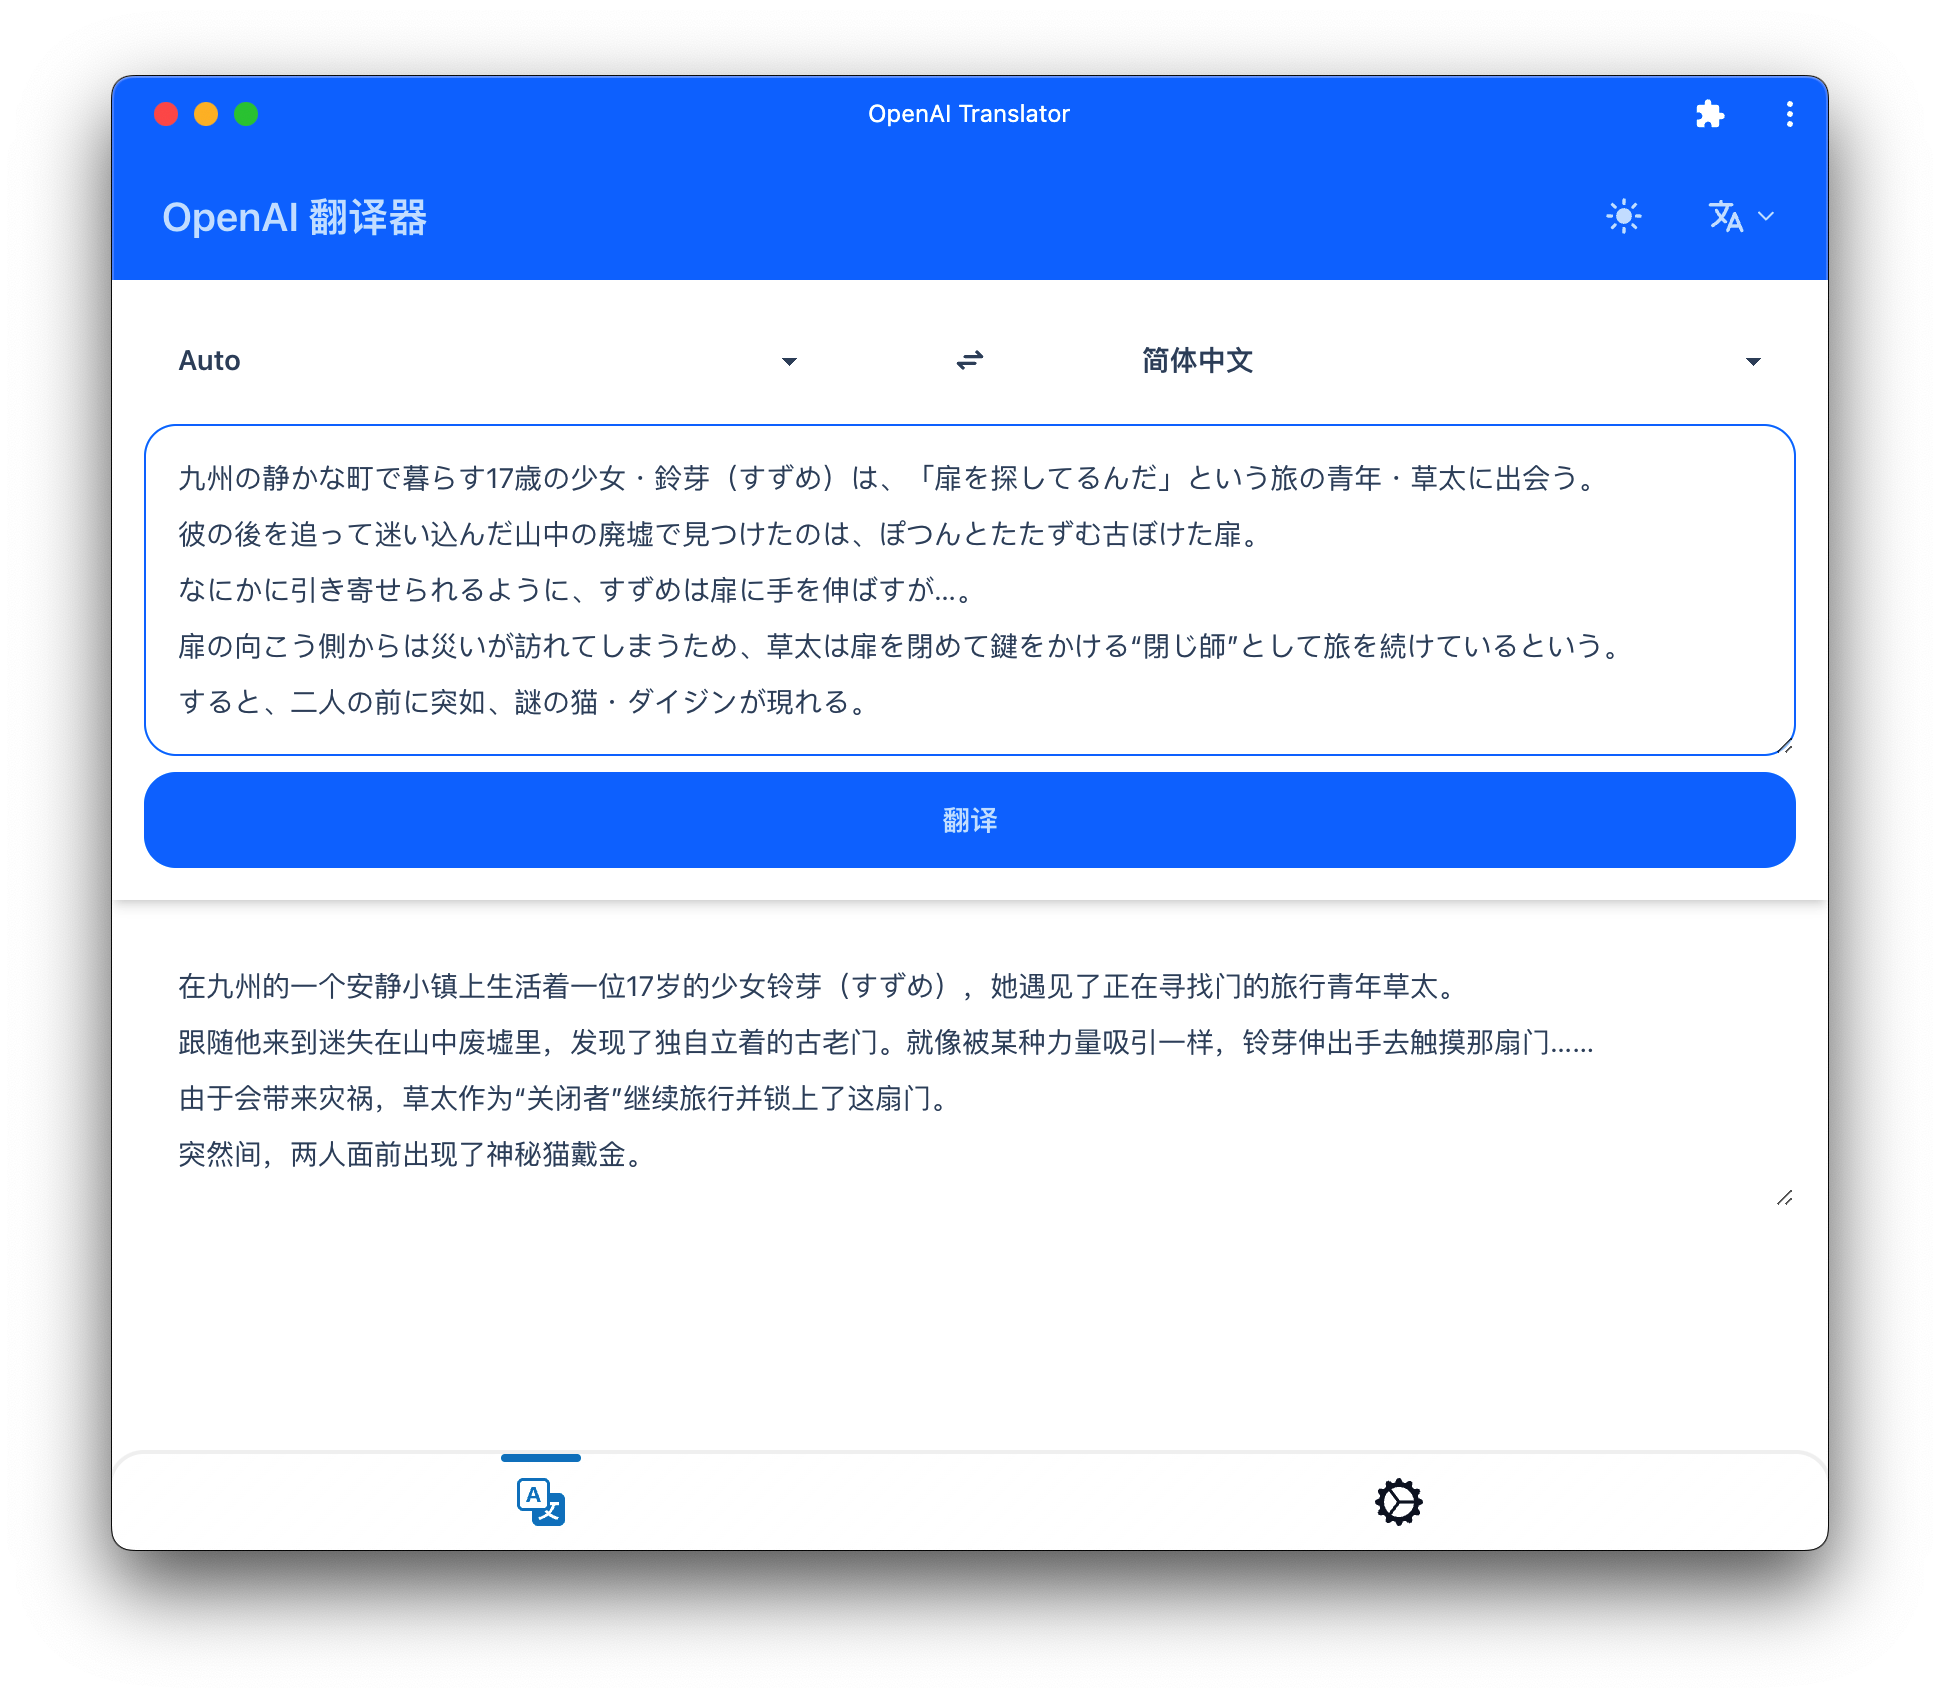
A translator app built using OpenAI GPT model to translate between languages. It is a PWA that can be installed on your phone or desktop.
https://translator.lance.moe/
Support models:
- GPT-4o
- GPT-4o Mini
- GPT-4 Turbo
- GPT-4
- GPT-3.5 Turbo
- And other OpenAI LLM models
 ## Tech Stack
- OpenAI API
- React 19
- Vite 6
- Tailwind CSS 3
- DaisyUI 4
- Axios
- React Router 7
- React Query 5
- PWA
- Cloudflare Pages
I think this project will help you learn these techniques.
If you like this project, please don't forget to give this project a star, thanks.
## Local Development
### 1. Install pnpm
Make sure that pnpm is installed on your computer. If it's not already installed, you can install it:
https://pnpm.io/installation
### 2. Download project dependencies
Navigate to the root directory of your project and run the following command to download project dependencies:
```bash
pnpm install
```
### 3. Start the local server
Run the following command to start the local development server:
```bash
pnpm dev
```
### 4. Open the application
Vite should automatically open your browser.
## Build the Project
### Docker Build
#### 1. Run docker build
Navigate to the root directory of your project in your command line interface and run the following command to build the Docker image:
```bash
docker build -t openai-translator-web .
```
Here, `openai-translator-web` is the name you want to give to the image, and the `.` at the end indicates the current directory.
#### 2. Start the Container
Run the following command to start the container and map the port to your local machine:
```bash
docker run -p 3000:80 openai-translator-web
```
Here, 3000 represents the local port you want to map to the container's 80 port. You can change this to any other port you prefer.
#### 3. Open the Application
In your browser, enter the following URL to access the application:
http://localhost:3000/
### Local Build
#### 1. Install pnpm
Make sure that pnpm is installed on your computer. If it's not already installed, you can install it:
https://pnpm.io/installation
#### 2. Download project dependencies
Navigate to the root directory of your project and run the following command to download project dependencies:
```bash
pnpm install
```
#### 3. Build
Run the following command to build your project:
```bash
pnpm build
```
The compiled files will be placed in the `dist` folder.
#### 4. Deploy
Now you can treat the files in the `dist` folder as a static website and deploy it on the server.
## Credit
- Inspired by https://github.com/yetone/bob-plugin-openai-translator
## Tech Stack
- OpenAI API
- React 19
- Vite 6
- Tailwind CSS 3
- DaisyUI 4
- Axios
- React Router 7
- React Query 5
- PWA
- Cloudflare Pages
I think this project will help you learn these techniques.
If you like this project, please don't forget to give this project a star, thanks.
## Local Development
### 1. Install pnpm
Make sure that pnpm is installed on your computer. If it's not already installed, you can install it:
https://pnpm.io/installation
### 2. Download project dependencies
Navigate to the root directory of your project and run the following command to download project dependencies:
```bash
pnpm install
```
### 3. Start the local server
Run the following command to start the local development server:
```bash
pnpm dev
```
### 4. Open the application
Vite should automatically open your browser.
## Build the Project
### Docker Build
#### 1. Run docker build
Navigate to the root directory of your project in your command line interface and run the following command to build the Docker image:
```bash
docker build -t openai-translator-web .
```
Here, `openai-translator-web` is the name you want to give to the image, and the `.` at the end indicates the current directory.
#### 2. Start the Container
Run the following command to start the container and map the port to your local machine:
```bash
docker run -p 3000:80 openai-translator-web
```
Here, 3000 represents the local port you want to map to the container's 80 port. You can change this to any other port you prefer.
#### 3. Open the Application
In your browser, enter the following URL to access the application:
http://localhost:3000/
### Local Build
#### 1. Install pnpm
Make sure that pnpm is installed on your computer. If it's not already installed, you can install it:
https://pnpm.io/installation
#### 2. Download project dependencies
Navigate to the root directory of your project and run the following command to download project dependencies:
```bash
pnpm install
```
#### 3. Build
Run the following command to build your project:
```bash
pnpm build
```
The compiled files will be placed in the `dist` folder.
#### 4. Deploy
Now you can treat the files in the `dist` folder as a static website and deploy it on the server.
## Credit
- Inspired by https://github.com/yetone/bob-plugin-openai-translator