# Get started
Malvid can be integrated into your project in two ways: Using the CLI *or* using the API of Malvid. This guide covers the first way and shows you how to create a simple project.
## 1. Setup your project
Create a new folder called `src` and a folder called `button` inside the `src` folder. Than add a `button.html`, `button.ejs` and `button.data.json` to it.
You can fill them with the following content:
```html
Button
```
```ejs
<%= label %>
```
```json
{
"href": "#",
"label": "Button"
}
```
This is just an example. The `button.html` should be generated by combining the `button.ejs` and `button.data.json`. This is your part and you can use whatever you want to generate the HTML. Typing the file by hand is okay for this guide, but you don't want to manually write your `button.html` in a real project.
It's also worth to note that you don't want to make the layout (``, `` etc.) part of your component. The layout should be wrapped around the components during your compilation process to make them reusable.
## 2. Create a configuration
Your first component is ready. You can now create a [configuration file](Get%20started.md) to adjust the UI of Malvid to your needs. This step is optional and can be skipped if you wish to stay with the default configuration.
Create a file named `malvidfile.json` in the root folder of your project.
```json
{
"src": "src/",
"pattern": "**/*.ejs"
}
```
- `src` specifies the folder Malvid should look into. It typically contains your project or components.
- `pattern` uses the same [patterns the shell uses](https://github.com/isaacs/node-glob). It specifies the component files Malvid should look for. The given pattern will match all files inside the `src` folder ending with `ejs`.
## 3. Run Malvid
First, install or update to the newest version of [Node.js](https://nodejs.org). Malvid is written in Node.js, but you only need to know the basics of Node.js and JavaScript to use it.
You can install Malvid using `npm` or you can run it directly using `npx`. If you wonder what `npm` or `npx` are: Both tools ship with Node.js and you should already have them installed now. The first one (`npm`) is a package manager while `npx` is a shortcut to run packages from `npm`.
The command should be executed from your project's root.
```sh
npx malvid src/index.html src/index.html.json
```
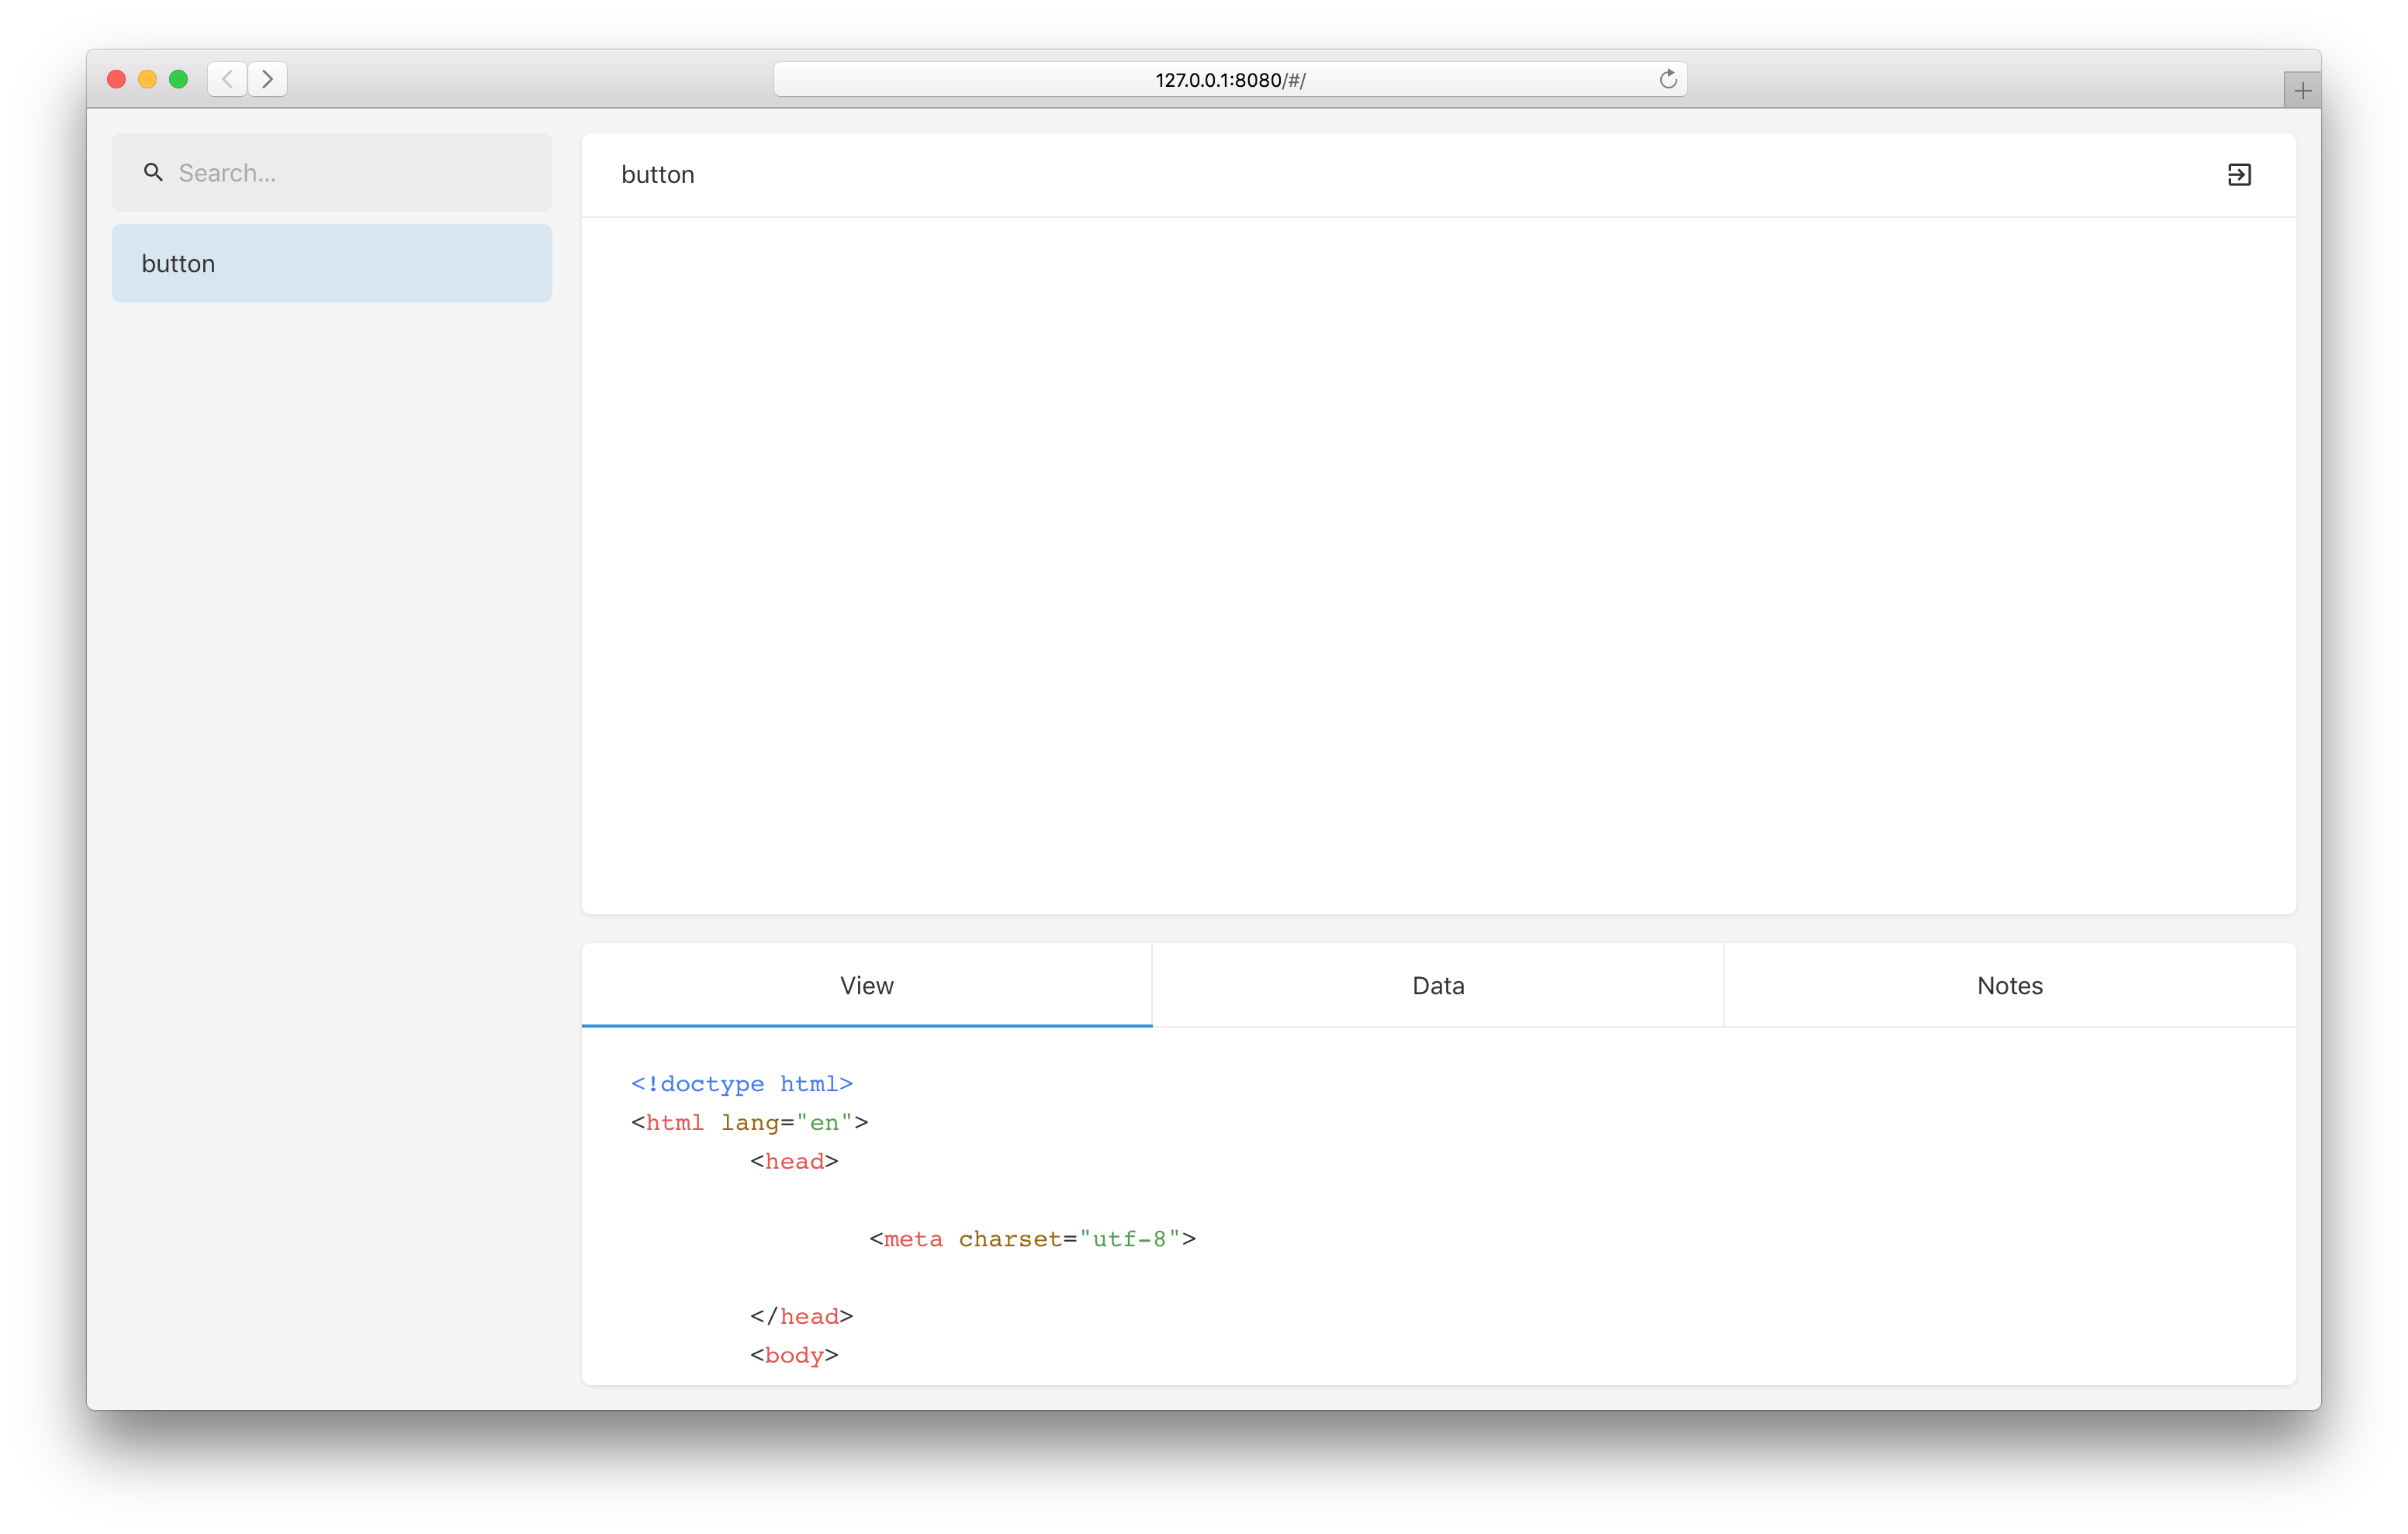
## 4. View the UI
Your project now contains two files generated by the Malvid CLI: `index.html` and `index.html.json`. The complete structure should look like this:
```
.
├── malvidfile.json
├── (node_modules)
├── (package.json)
├── src
│ ├── index.html
│ ├── index.html.json
│ ├── button
│ │ ├── button.html
│ │ ├── button.ejs
│ │ └── button.data.json
```
Fire up a static file server of your choice and navigate to the HTML file. Here's an example using [`http-server`](https://github.com/indexzero/http-server) with the entry folder pointing to `src/` and caching disabled:
```sh
npx http-serve ./src -c-1
```
## What's next
This was just a taste of what Malvid can do for you. Try the official [Skeleton](https://github.com/electerious/Skeleton-Components) project for a more practical example. Skeleton is a HTML5 Boilerplate built upon Rosid and Malvid. JS (with Babel, UglifyJS), SASS (with cssnano, Autoprefixer) and Nunjucks can be used right out of the box.