Understand a project, make changes, and run tests from your terminal. Use your MiniMax account or bring your own model, with search, plugins, and multimodal tools in the same workflow.
[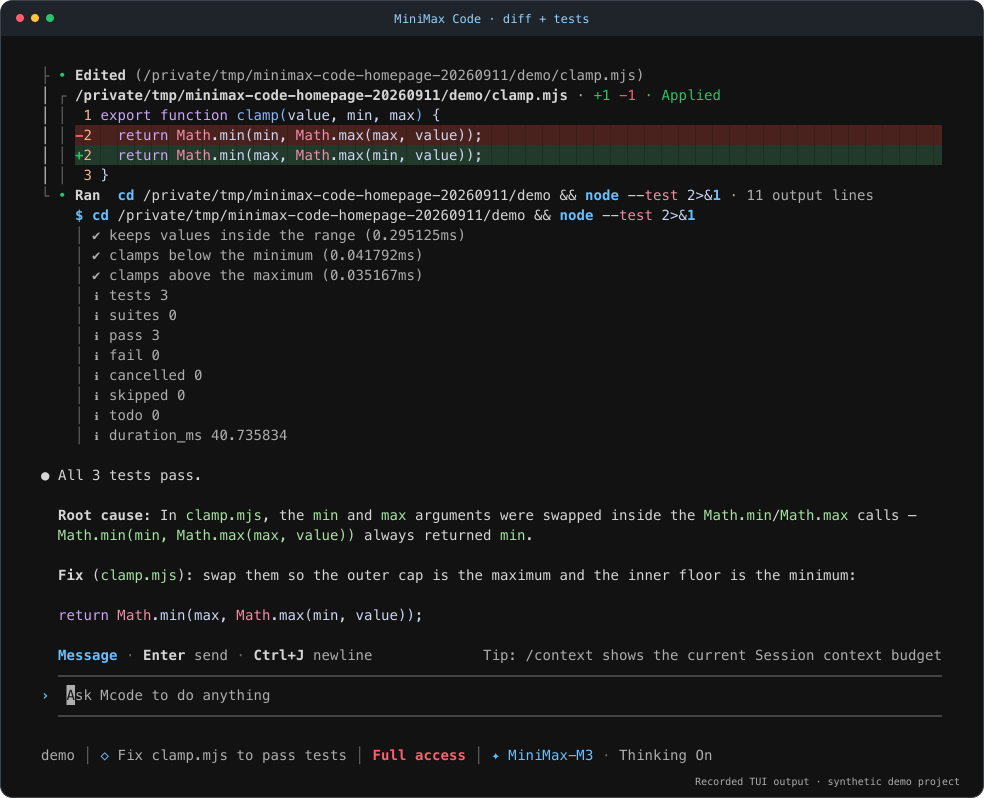](docs/demo.md)
## Quick start
### 1. Install MCode
Use the official installer for your platform. It installs the latest CLI, prepares a compatible Node.js runtime when needed, and does not require `sudo` or administrator privileges. Alpine / musl Linux is not supported by the one-command installer.
**macOS / Linux / WSL**
```bash
curl -fsSL https://filecdn.minimax.chat/public/install.sh | bash
```
**Windows (PowerShell)**
```powershell
irm https://filecdn.minimax.chat/public/install.ps1 | iex
```
**npm** — if you already have **Node.js 22.19+ (22.x), 24.2+ (24.x), 25, or 26**:
```bash
npm install -g @minimax-ai/code@latest --registry=https://registry.npmjs.org/ --ignore-scripts=false --include=optional --allow-scripts=@minimax-ai/code,better-sqlite3
```
The npm command uses the public registry, includes the optional SQLite dependency, and permits the package and SQLite installation scripts. See the [installation guide](docs/installation.md) for version pinning and Node.js compatibility.
Reopen your terminal and check the installation:
```bash
mcode --version
mcode --help
```
See the official [quick start](https://agent.minimax.io/docs/cli/quick-start), [features](https://agent.minimax.io/docs/cli/features), and [troubleshooting](https://agent.minimax.io/docs/cli/faq).
### 2. Sign in or bring your own API key
For a mainland China account:
```bash
mcode login
```
For a Global account:
```bash
mcode login --region global
```
Complete sign-in in your browser, then open `mcode` and use `/status` to check your account and `/provider` to choose a model. Run `mcode logout` to sign out.
Token Plan requires an account with available credits. User data is stored in `~/.minimax-code` by default.
Use your own API key (BYOK)
BYOK does not require a MiniMax login. Set `MCODE_PROVIDER_API_KEY` in your current shell, then add a provider. Replace the example URL and model name with your provider's values:
```bash
mcode provider add --name my-provider --base-url https://example.com/v1 \
--api-format openai-completions --model my-model \
--api-key-env MCODE_PROVIDER_API_KEY --use
mcode
```
Supported API formats: `openai-completions`, `openai-responses`, and `anthropic-messages`. See the [model examples](docs/examples.md#2-choose-your-own-model) for environment variable setup, connection checks, and model overrides for a single run.
### 3. Run your first task
Open the project you want to work on:
```bash
cd /path/to/your/project
mcode
```
Describe your task in the TUI, or submit it directly when you launch MCode:
```bash
mcode "Find a failing test, fix the implementation, and run the relevant tests."
```
Use `mcode init .` to generate or update project guidance in `AGENTS.md`. Describe the expected result, allowed changes, and how to verify the task.
| Entry point | Command | Use it for |
| --- | --- | --- |
| Interactive TUI | `mcode [prompt]` | Explore code, continue a conversation, and review changes or permissions. |
| Headless | `mcode exec [prompt]` | Shell scripts, CI, batch work, and evaluations. |
| ACP | `mcode acp` | Editors and clients supporting Agent Client Protocol. |
### Continue your work
```bash
# Resume the latest session in the current workspace
mcode --continue
# Open the session picker
mcode --session
```
Inside the TUI, use `/sessions` to find previous sessions and `/help` to see all commands and shortcuts.
| Action | Shortcut |
| --- | --- |
| Send a message or steer the running task | `Enter` |
| Queue a follow-up while a task is running | `Alt+Enter` |
| Insert a newline | `Shift+Enter` |
| Reference a workspace file or directory | `@` |
| Toggle Plan Mode | `Shift+Tab` |
| Switch permission modes | `Alt+M` |
| Close a panel or interrupt a running task | `Esc` |
## What you can do
| Task | Capabilities |
| --- | --- |
| **Edit and verify code** | Read files, inspect diffs, run shell commands and tests, and control tool execution with permissions and sandboxing. |
| **Choose your model** | Use a MiniMax account / Token Plan, or custom providers with OpenAI- or Anthropic-compatible API formats. |
| **Search and work with media** | Use built-in search, `mcode-tools` media tools, MCP, and managed connectors, subject to account access and service credits. |
| **Keep work moving** | Resume sessions, plan tasks, use subagents, and extend the agent with official, local, or GitHub plugins and built-in skills. |
| **Connect your workflow** | Run scripted tasks with the headless CLI, or connect compatible editors and clients through ACP. |
Account features, updates, feedback, and diagnostics are also included. Managed tools require network access and the relevant authorization. See [capabilities and service boundaries](docs/tui-capabilities.md) for details.
## Try it
Start the TUI in a copy of the example project and enter:
> Read clamp.mjs and clamp.test.mjs. Run node --test to reproduce the failure, fix clamp without changing the tests, then run the tests again.
The [small, reproducible project](examples/clamp) is the same task used in the demo above. [More examples](docs/examples.md) cover switching models, calling real search, and using your own image inputs.
## Build from source
To develop MCode or run this source checkout, you need Git, **Node.js 22.19+ (22.x), 24.2+ (24.x), 25, or 26**, and **pnpm 9.12.0**.
```bash
git clone https://github.com/MiniMax-AI/minimax-code.git
cd minimax-code
pnpm install --frozen-lockfile
pnpm build
pnpm mcode
```
The first build requires an internet connection. Dependencies and the integrity-checked `mcode-tools` bundle come from public npm. See the [source installation guide](docs/installation.md) for pnpm setup, system dependencies, and updates.
From the source directory, use `pnpm mcode` in place of `mcode` in the examples above. To work on your own project, open its directory and launch the built CLI:
```bash
node /absolute/path/to/minimax-code/dist/cli.js
```
This repository targets the **0.4.12 source preview**. Installing the published package and building this checkout are separate paths. Matching versions do not prove identical build provenance; see the [version and evidence baseline](docs/open-source-status.md#version-and-evidence-baseline).
## Documentation and contributing
- [Installation and updates](docs/installation.md) · [Examples](docs/examples.md) · [TUI status line](packages/tui/docs/status-line-config.md)
- [Contributor guide](CONTRIBUTING.md) · [Report a bug or propose an idea](https://github.com/MiniMax-AI/minimax-code/issues/new/choose) · [Report a security issue](SECURITY.md)
- [All documentation](docs/README.md): architecture, capability coverage, verification records, source synchronization, and release preparation.
English is the primary documentation language. The [Chinese README](README_ZH.md) mirrors this page.
For now, code and documentation pull requests are accepted only from repository collaborators. If you are not a collaborator but have an idea or proposal, please [open an issue](https://github.com/MiniMax-AI/minimax-code/issues/new/choose) so we can discuss it. Remove secrets, account details, and private project content from reports.
## Desktop app and support
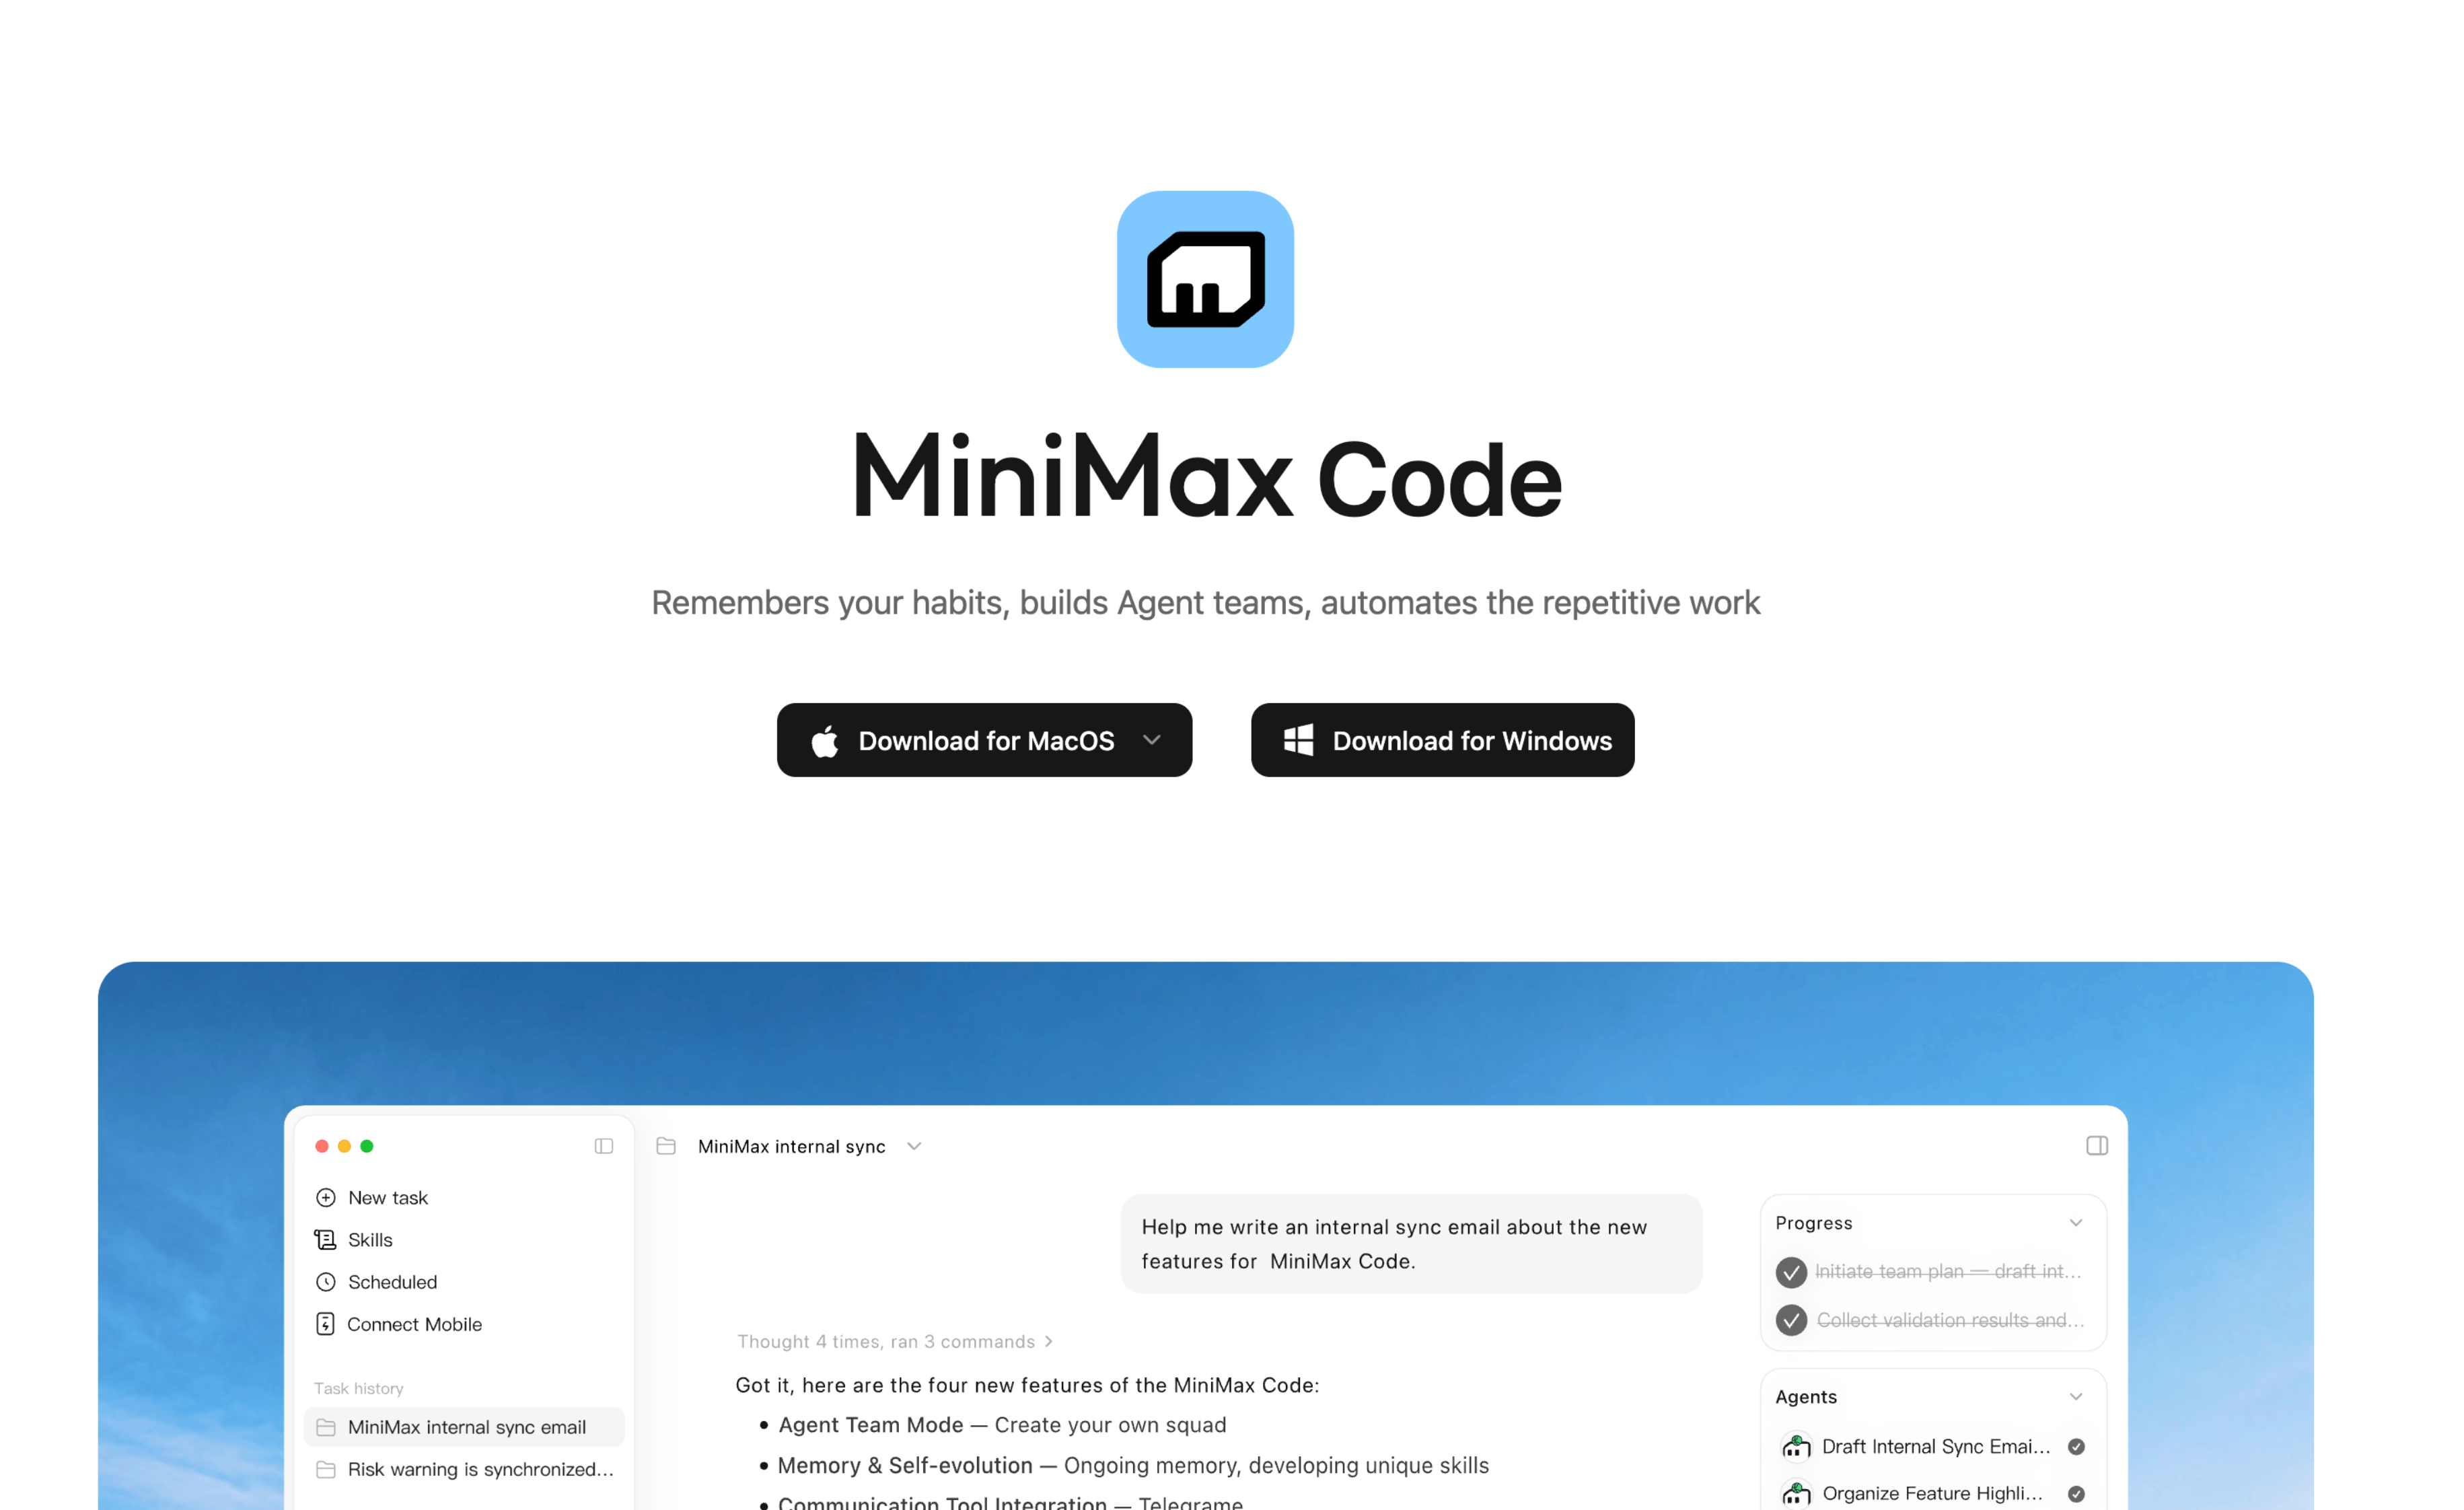
[Download for macOS or Windows](https://agent.minimax.io/download) · [Report a problem or ask a question](https://github.com/MiniMax-AI/minimax-code/issues/new/choose)
This repository also hosts issue reporting for the MiniMax Code desktop app. The published source covers the terminal TUI, headless CLI, and ACP; it does not include the desktop application's source. Select the affected product when filing an issue. For a desktop bug, include the app version, operating system, and a log upload ID if available from **Settings → General → Upload logs**. For a CLI bug, include `mcode --version`, your interface, and a minimal reproduction. Remove credentials and private project content from reports.
## License
First-party code defaults to [MIT](LICENSE). Existing file-level and package-level licenses remain in place. See [third-party notices](THIRD_PARTY_NOTICES.md) and [license status](LICENSE-STATUS.md) for dependencies, assets, and `mcode-tools`.




 [Download for macOS or Windows](https://agent.minimax.io/download) · [Report a problem or ask a question](https://github.com/MiniMax-AI/minimax-code/issues/new/choose)
This repository also hosts issue reporting for the MiniMax Code desktop app. The published source covers the terminal TUI, headless CLI, and ACP; it does not include the desktop application's source. Select the affected product when filing an issue. For a desktop bug, include the app version, operating system, and a log upload ID if available from **Settings → General → Upload logs**. For a CLI bug, include `mcode --version`, your interface, and a minimal reproduction. Remove credentials and private project content from reports.
## License
First-party code defaults to [MIT](LICENSE). Existing file-level and package-level licenses remain in place. See [third-party notices](THIRD_PARTY_NOTICES.md) and [license status](LICENSE-STATUS.md) for dependencies, assets, and `mcode-tools`.
[Download for macOS or Windows](https://agent.minimax.io/download) · [Report a problem or ask a question](https://github.com/MiniMax-AI/minimax-code/issues/new/choose)
This repository also hosts issue reporting for the MiniMax Code desktop app. The published source covers the terminal TUI, headless CLI, and ACP; it does not include the desktop application's source. Select the affected product when filing an issue. For a desktop bug, include the app version, operating system, and a log upload ID if available from **Settings → General → Upload logs**. For a CLI bug, include `mcode --version`, your interface, and a minimal reproduction. Remove credentials and private project content from reports.
## License
First-party code defaults to [MIT](LICENSE). Existing file-level and package-level licenses remain in place. See [third-party notices](THIRD_PARTY_NOTICES.md) and [license status](LICENSE-STATUS.md) for dependencies, assets, and `mcode-tools`.