---
title: Install Redis on Windows
---
The [ServiceStack/redis-windows](https://github.com/ServiceStack/redis-windows) project contains the binary releases of MS Open Tech redis port of windows as well as a vagrant configuration for redis letting you run the native version of Redis in a Virtual Box VM.
Whilst it's recommended to use [Redis](https://redis.io) on Linux in production, it is often useful for developers on Windows platforms to have their own local version of redis running to develop with.
The 3 most popular ways of running redis on windows is to use the binary releases of [Microsoft's native port of redis](https://github.com/msopentech/redis), but as this is an unofficial port it always lags behind the latest official development of redis on Linux/OSX.
Thanks to [Vagrant](https://www.vagrantup.com/) you can choose to run the latest linux version inside a Virtual Box Linux VM where you'll be able to run the official native version of redis.
Or from **Windows 10** you can install [Bash on Ubuntu on Windows](https://msdn.microsoft.com/en-us/commandline/wsl/about) which will let you run the official version of Redis on Ubuntu on Windows :) This is our preferred approach as it lets you run native Ubuntu binaries on Windows more efficiently than a VM of Linux.
## Option 1) Install Redis on Ubuntu on Windows
#### [Install Windows Subsystem for Linux (WSL)](https://learn.microsoft.com/en-us/windows/wsl/install)
From Command Line:
:::sh
wsl --install
:::
From GUI:
1) From Start, search for **Turn Windows features on or off** (type `turn`)
2) Select **Windows Subsystem for Linux**
Once installed you can run bash on Ubuntu by typing **bash** from a Windows Command Prompt, then you can install recent stable versions of Redis from the official `packages.redis.io` APT repository with:
```bash
curl -fsSL https://packages.redis.io/gpg | sudo gpg --dearmor -o /usr/share/keyrings/redis-archive-keyring.gpg
echo "deb [signed-by=/usr/share/keyrings/redis-archive-keyring.gpg] https://packages.redis.io/deb $(lsb_release -cs) main" | sudo tee /etc/apt/sources.list.d/redis.list
sudo apt-get update
sudo apt-get install redis
```
After install, start the Redis server with:
:::sh
sudo service redis-server start
:::
Then test that it's running with:
```bash
$ redis-cli
$ 127.0.0.1:6379> SET foo bar
OK
$ 127.0.0.1:6379> GET foo
"bar"
```
### Install latest from source
To install the latest version of Redis we first need to install some prerequisites:
```bash
$ sudo apt-get update
$ sudo apt-get install make
$ sudo apt-get install gcc
```
Then follow the [official installation guide](https://redis.io/topics/quickstart)
to download, build and install the latest stable version. **NOTE:** Installing
the binaries using `make install` will not work. You need to copy them manually
to `/usr/bin` (just like described in the guide, except that they use
`/usr/local/bin` - which is the problem).
You'll then be able to launch redis with:
:::sh
redis-server --daemonize yes
:::
Which will run redis in the background freeing your shell so you can play with it using the redis client:
```bash
$ redis-cli
$ 127.0.0.1:6379> SET foo bar
OK
$ 127.0.0.1:6379> GET foo
"bar"
```
Which you can connect to from within bash or from your Windows desktop using the [redis-cli native Windows binary from MSOpenTech](#option-3-running-microsofts-native-port-of-redis).
## Option 2) Running the latest version of Redis with Vagrant
1. [Install Vagrant on Windows](https://docs.vagrantup.com/v2/getting-started/)
2. Download the [vagrant-redis.zip](https://raw.github.com/ServiceStack/redis-windows/master/downloads/vagrant-redis.zip) vagrant configuration
:::sh
wget https://raw.github.com/ServiceStack/redis-windows/master/downloads/vagrant-redis.zip
:::
3. Extract `vagrant-redis.zip` in any folder, e.g. in `c:\vagrant-redis`
4. Launch the Virtual Box VM with `vagrant up`
```bash
$ cd c:\vagrant-redis
$ vagrant up
```
This will launch a new Ubuntu VM instance inside Virtual Box that will automatically install and start the latest stable version of redis.
## Option 3) Running Microsoft's native port of Redis
These 64-bit binary releases are created by building the [Microsoft's native port of redis](https://github.com/msopentech/redis) which have also been published on [NuGet](https://www.nuget.org/packages/redis-64), but as it's more convenient we provide a zip of the 64-bit binaries here.
#### MS Open Announcements
- [MSOpenTech Redis on Windows 3.0 Release Notes](https://raw.githubusercontent.com/MSOpenTech/redis/3.0/Redis%20on%20Windows%20Release%20Notes.md)
- [MSOpenTech Redis on Windows 2.8 Release Notes](https://raw.githubusercontent.com/MSOpenTech/redis/2.8/Redis%20on%20Windows%20Release%20Notes.md)
- [MSOpenTech's Redis on Windows](https://github.com/ServiceStack/redis-windows/blob/master/docs/msopentech-redis-on-windows.md)
- [Updates Released for Redis on Windows (2.8.4)](https://msopentech.com/blog/2014/03/24/updates-released-redis-windows/)
### Current Version: 3.0.503 (June 28, 2016)
1. Download the [redis-latest.zip](https://github.com/ServiceStack/redis-windows/raw/master/downloads/redis-latest.zip) native 64bit Windows port of redis
:::sh
wget https://github.com/ServiceStack/redis-windows/raw/master/downloads/redis-latest.zip
:::
2. Extract `redis64-latest.zip` in any folder, e.g. in `c:\redis`
3. Run the `redis-server.exe` using the local configuration
```bash
$ cd c:\redis
$ redis-server.exe redis.windows.conf
```
4. Run `redis-cli.exe` to connect to your redis instance
```bash
$ cd c:\redis
$ redis-cli.exe
```
5. Start playing with redis :)
```bash
redis 127.0.0.1:6379> SET foo bar
OK
redis 127.0.0.1:6379> KEYS *
1) "foo"
redis 127.0.0.1:6379> GET foo
"bar"
redis 127.0.0.1:6379>
```
The MSOpenTech of Redis adds some useful extensions for better integration with Windows:
#### Running Redis as a Service
If you installed Redis using the MSI package, then Redis was already installed as a Windows service. Nothing further to do.
If you would like to change its settings, you can update the redis.windows-service.conf file and then restart the Redis
service (Run -> services.msc -> Redis -> Restart).
During installation of the MSI you can either use the installer’s user interface to update the port that Redis listens to and the firewall exception or run it silently without a UI. The following examples show how to install from the command line:
**default install (port 6379 and firewall exception ON):**
:::sh
msiexec /i Redis-Windows-x64.msi
:::
**set port and turn OFF firewall exception:**
:::sh
msiexec /i Redis-Windows-x64.msi PORT=1234 ADD_FIREWALL_RULE=""
:::
**set port and turn ON firewall exception:**
:::sh
msiexec /i Redis-Windows-x64.msi PORT=1234 ADD_FIREWALL_RULE =1
:::
**install with no user interface:**
:::sh
msiexec /quiet /i Redis-Windows-x64.msi
:::
If you did not install Redis using the MSI package, then you still run Redis as a Windows service by following these instructions:
In order to better integrate with the Windows Services model, new command line arguments have been introduced to Redis.
These service arguments require an elevated user context in order to connect to the service control manager.
If these commands are invoked from a non-elevated context, Redis will attempt to create an elevated context in which to execute these commands.
This will cause a User Account Control dialog to be displayed by Windows and may require Administrative user credentials in order to proceed.
#### Installing the Service
```
--service-install
```
This must be the first argument on the redis-server command line. Arguments after this are passed in the order they occur to Redis when the service is launched.
The service will be configured as Autostart and will be launched as "NT AUTHORITY\NetworkService". Upon successful installation, a success message will be displayed and Redis will exit.
This command does not start the service.
For instance:
:::sh
redis-server --service-install redis.windows.conf --loglevel verbose
:::
#### Uninstalling the Service
```
--service-uninstall
```
This will remove the Redis service configuration information from the registry. Upon successful uninstallation, a success message will be displayed and Redis will exit.
This does command not to stop the service.
For instance:
:::sh
redis-server --service-uninstall
:::
#### Starting the Service
```
--service-start
```
This will start the Redis service. Upon successful startup, a success message will be displayed and Redis service will be started.
For instance:
:::sh
redis-server --service-start
:::
#### Stopping the Service
```
--service-stop
```
This will stop the Redis service. Upon successful termination, a success message will be displayed and Redis will exit.
For instance:
:::sh
redis-server --service-stop
:::
#### Naming the Service
```
--service-name name
```
This optional argument may be used with any of the preceding commands to set the name of the installed service. This argument should follow the service-install, service-start, service-stop or service-uninstall commands, and precede any arguments to be passed to Redis via the service-install command.
The following would install and start three separate instances of Redis as a service:
```bash
$ redis-server --service-install –service-name redisService1 –port 10001
$ redis-server --service-start –service-name redisService1
$ redis-server --service-install –service-name redisService2 –port 10002
$ redis-server --service-start –service-name redisService2
$ redis-server --service-install –service-name redisService3 –port 10003
$ redis-server --service-start –service-name redisService3
```
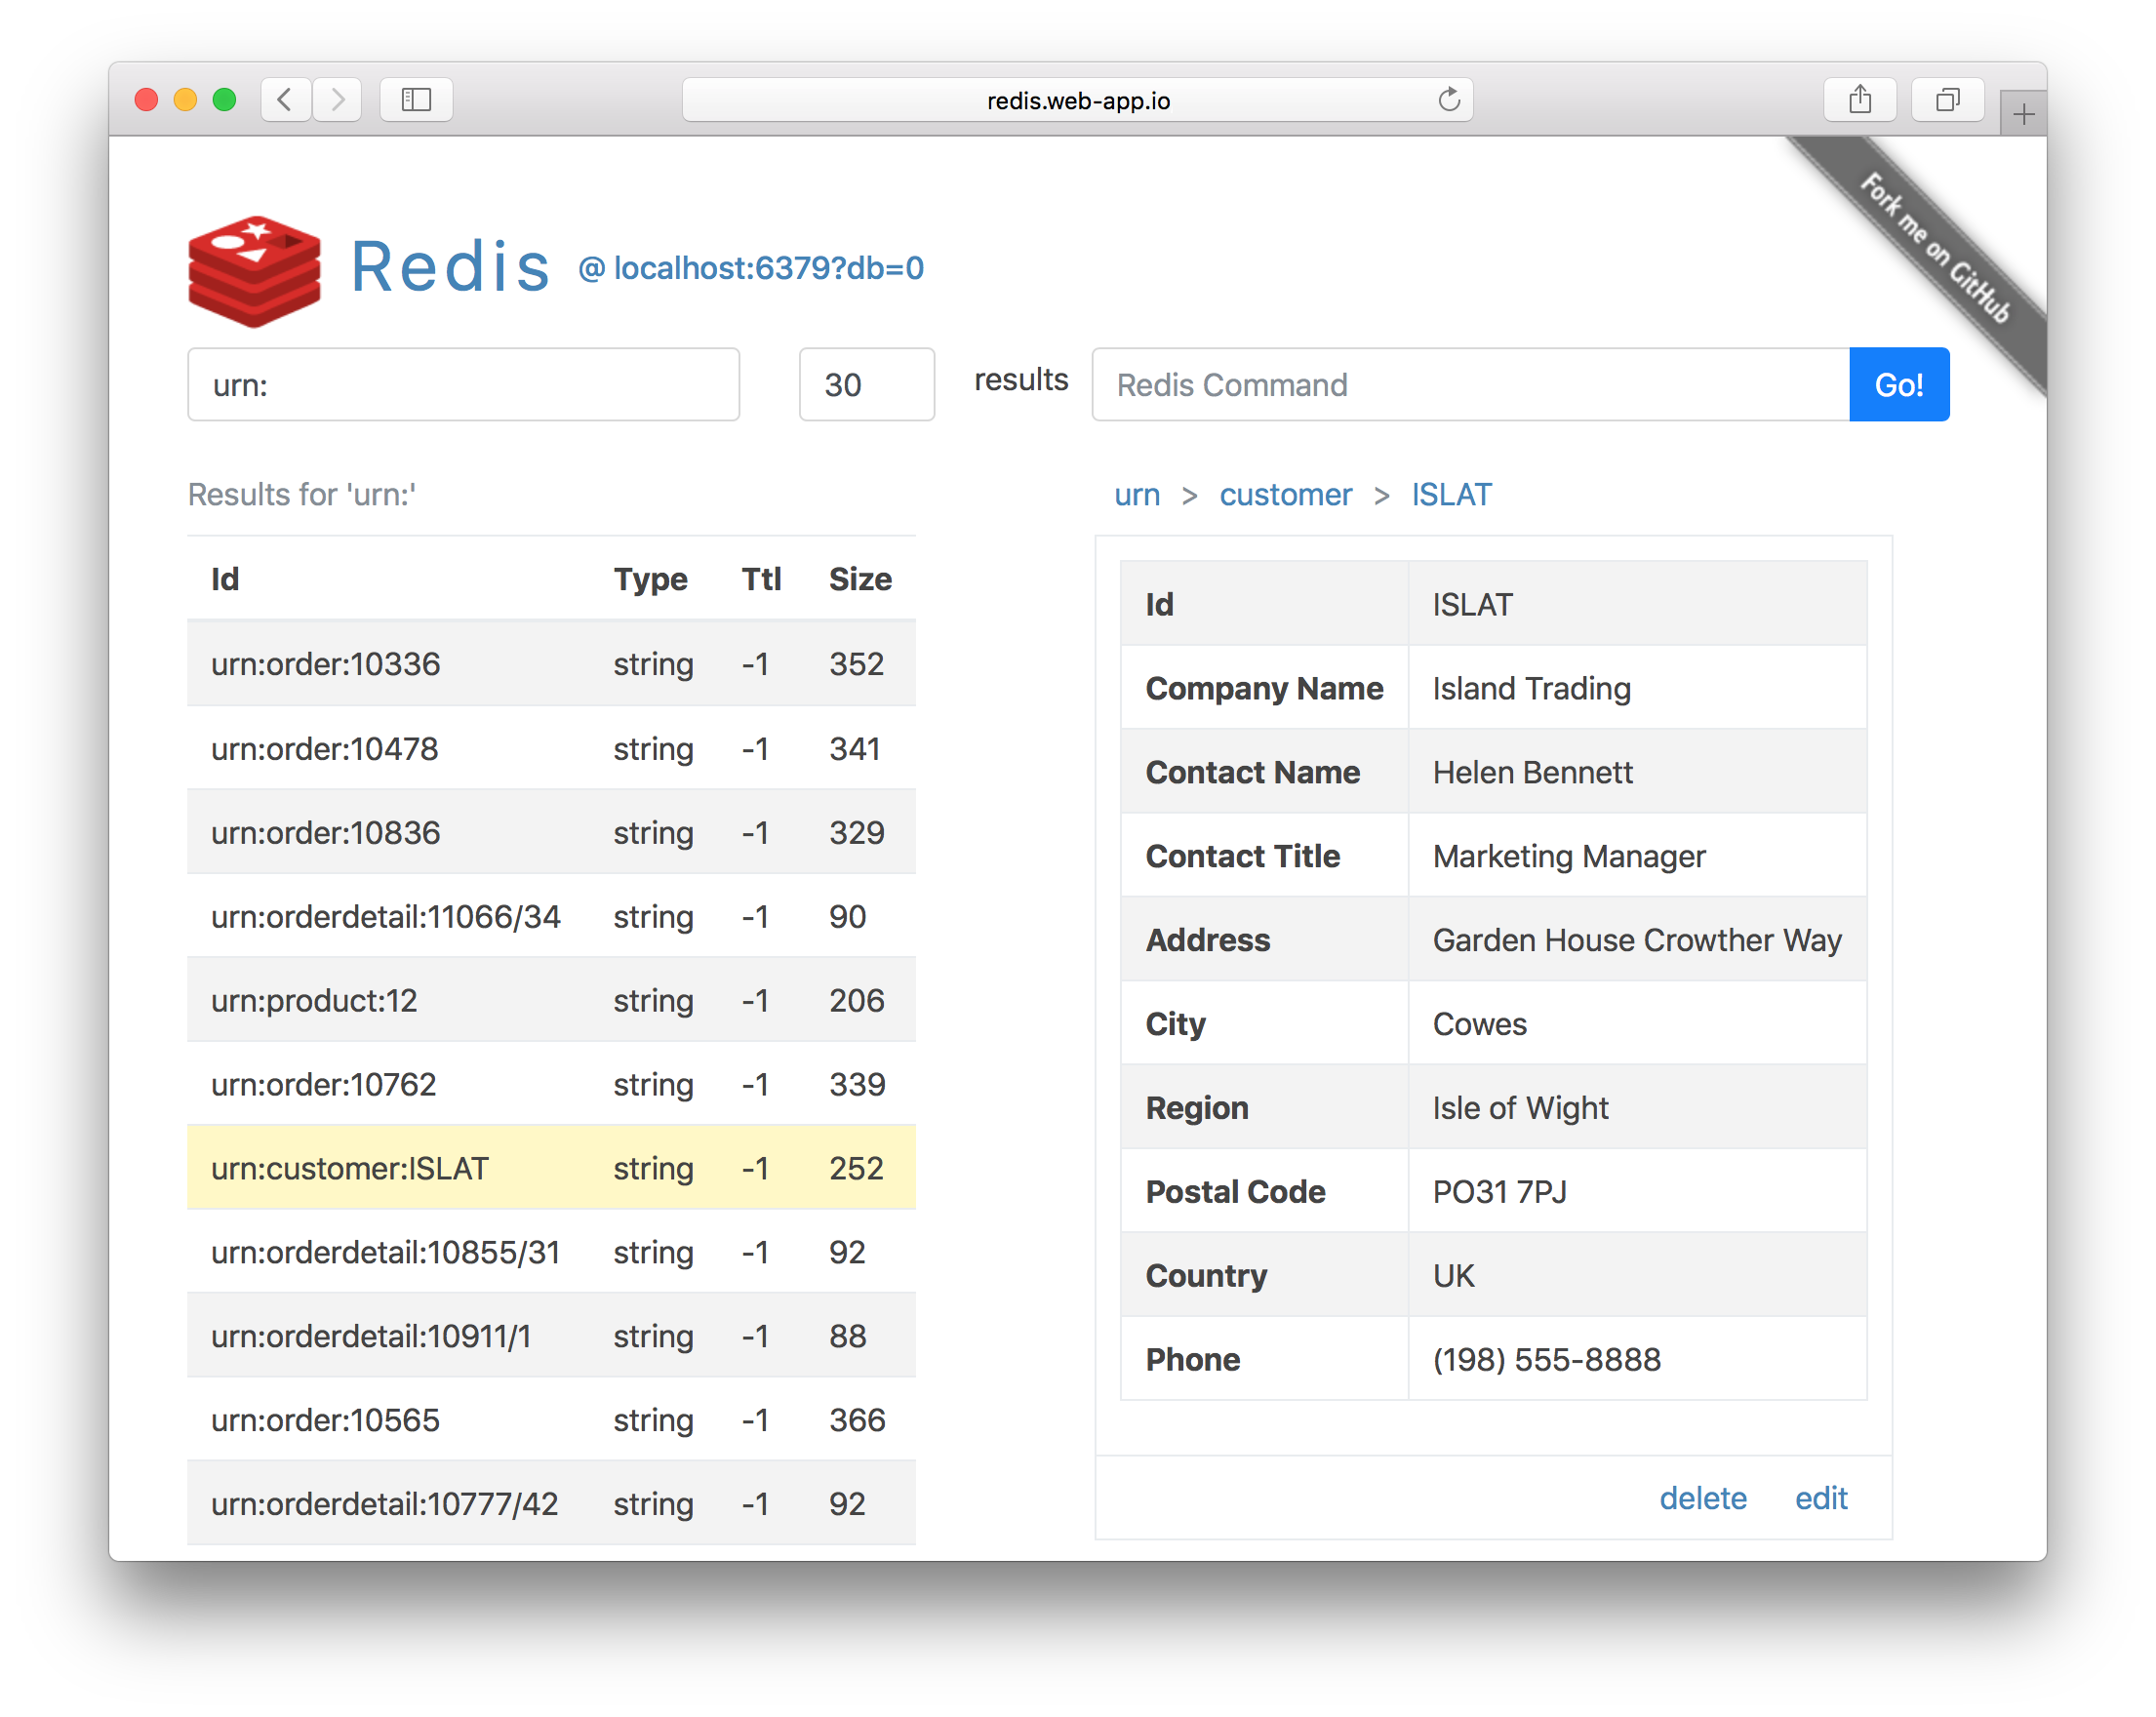
## Redis Admin Desktop App
::include redis-admin.md::
## [Redis Vue](https://sharpscript.net/sharp-apps/redis#redis-vue)
Redis Vue is a simple, lightweight, versatile Redis Admin UI developed using [Vue](https://vuejs.org/v2/guide/) and ServiceStack [Sharp Apps](https://sharpscript.net/sharp-apps/). It supports Redis's core **Strings**, **Lists**, **Sets**, **Sorted Sets** and **Hash** data structures and custom Redis commands with its entire functionality contained in a single [/index.html](https://gist.github.com/gistlyn/6de7993333b457445793f51f6f520ea8#file-index-html) using the dynamic [#Script](https://sharpscript.net) language, making it easy to customize and further enhance.
After [app](/netcore-windows-desktop) install, open the Redis Vue Desktop App from your browser at:
Or from the command-line with:
:::sh
app open redis-vue
:::
### Run headless on macOS, Linux and Windows
Non Windows OS can install the cross-platform [x dotnet tool](/dotnet-tool) then launch from Command Line with:
:::sh
x open redis-vue
:::
Where you can view it with your preferred browser at `http://localhost:5000`
## [Configure Redis Sentinel Servers](https://github.com/ServiceStack/redis-config)
[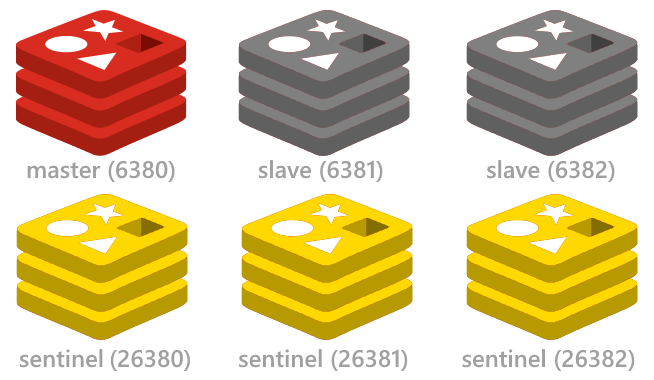](https://github.com/ServiceStack/redis-config)
See the
[redis config project](https://github.com/ServiceStack/redis-config) for a quick way to setup up
the minimal
[highly available Redis Sentinel configuration](https://github.com/ServiceStack/redis-config/blob/master/README.md#3x-sentinels-monitoring-1x-master-and-2x-slaves)
including start/stop scripts for instantly running multiple redis instances on a single (or multiple)
Windows, OSX or Linux servers.
