<!doctype html> <html lang="en"> <head> <!-- Required meta tags --> <meta charset="utf-8"> <meta name="viewport" content="width=device-width, initial-scale=1, shrink-to-fit=no"> <title>Android Studio Describe</title> <link rel="icon" href="https://raw.githubusercontent.com/TutorialsAndroid/tutorialsandroid.github.io/master/img/favicon.png"> <!-- Bootstrap CSS --> <link rel="stylesheet" href="https://cdn.jsdelivr.net/gh/TutorialsAndroid/tutorialsandroid.github.io@b84b571/css/bootstrap.min.css"> <!-- CSS --> <link rel="stylesheet" href="https://cdn.jsdelivr.net/gh/TutorialsAndroid/tutorialsandroid.github.io@b84b571/css/main.css"/> </head> <body> <!--================Blog Area =================--> <section class="blog_area single-post-area section_padding"> <div class="container"> <div class="row"> <div class="col-lg-8 posts-list"> <div class="single-post"> <div class="feature-img"> <img class="img-fluid" src="https://raw.githubusercontent.com/TutorialsAndroid/tutorialsandroid.github.io/master/img/blog/blog04/android-banner.png" alt=""> </div> <div class="blog_details"> <h2>
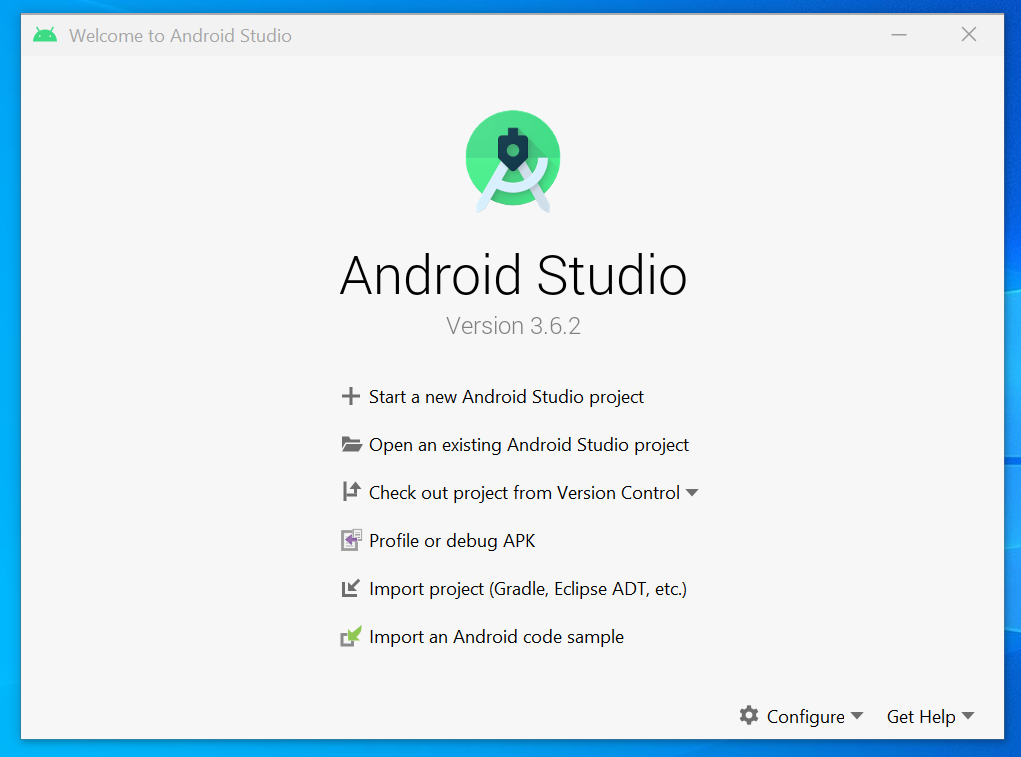
DESCRIBING ANDROID STUDIO MAIN SCREEN BREIFLY: </h2> <hr> <p class="excert"> Now i will explain android studio main screen briefly. As my aim is to give you a perfect knowledge in detail. So let's start from scratch. </p> <div class="quote-wrapper"> <div class="quotes"> <center><img id="myImg8" src="https://raw.githubusercontent.com/TutorialsAndroid/tutorialsandroid.github.io/master/img/blog/blog04/Image01.png" style="width:100%;max-width:300px;"></center> </div> <!-- The Modal --> <div id="myModal8" class="modal8"> <span class="close8">×</span> <img class="modal-content8" id="img08"> <div id="caption8"></div> </div> </div> <h2>Start a new android studio project option:</h2> <hr> <p> This option is for when you want to start a new android app project then you can go for this option. When you click on it you will see a built-in few basic templates that android studio has provided us. We will later discuss about it. </p> <h2>Open an existing android studio project option:</h2> <hr> <p> This option is for when you want to open an existing android app project from your hard-drive. </p> <h2>Check out version from version control:</h2> <hr> <p> This option is for when you want to open an project from git , google cloud , mercurial , subversion. Ok i will only tell about the git option because i never used other option's like google cloud and all etc. When you want clone a github android app project then just you have to put the git url for example: <div class="quote-wrapper"> <div class="quotes"> <p>https://github.com/TutorialsAndroid/BackgroundAppUpdater.git</p> <p>Above is the example of a git url of a specific repo from github. Now when you put this url in the dialog the repo of android app project will get cloned and save into your system. So that you can make changes to the android app project that you got from git (Github). </p> </div> </div> </p> <h2>
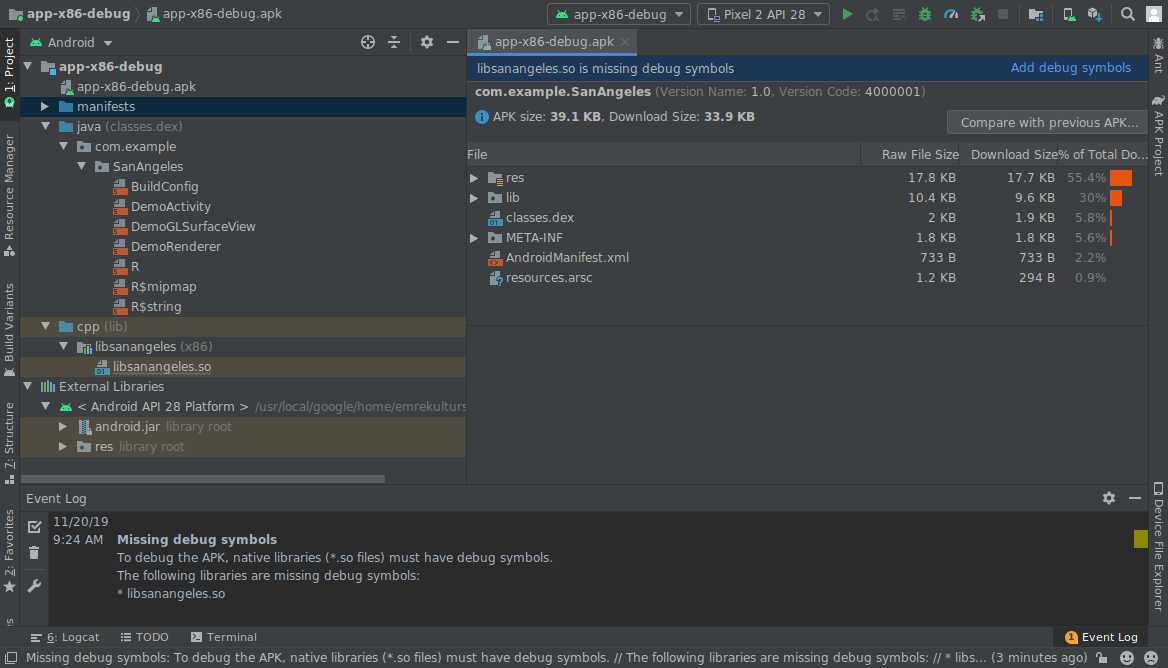
Profile or debug apk:</h2> <hr> <p> This option is for when you want to open and analyze a specific apk file. See the below screenshot when you open apk file in profile or debug apk you will get this following files: <li>Manifests: Contains the app manifests that are extracted from the APK. We will discuss what is manifest on later topic's.</li> <li>Java Class Files: Contains Kotlin/Java code that Android Studio disassembles (into .smali files) from your APK’s DEX files. Each .smali file in this directory corresponds to a Kotlin/Java class.</li> <li>CPP: If your app includes native code, this directory contains your APK’s native libraries (.so files).</li> <li>External Libraries: Contains the Android SDK.</li> <div class="quotes"> <center><img id="myImg9" src="https://raw.githubusercontent.com/TutorialsAndroid/tutorialsandroid.github.io/master/img/blog/blog04/import_apk.png" style="width:100%;max-width:300px;"></center> </div> <!-- The Modal --> <div id="myModal9" class="modal9"> <span class="close9">×</span> <img class="modal-content9" id="img09"> <div id="caption9"></div> </div> </p> <h2>Import project (Gradle,Eclipse,ADT,etc.):</h2> <hr> <p> I never tried this option's but as i said on my previous blogs you can use Eclipse too for android app development so this option can help. if you have started development on eclipse and want to move on android studio then you can import eclipse project in android studio. </p> <h2>Import an android code sample:</h2> <hr> <p> And this is our last option. So in this option you will get lots of built-in project from android studio like a music player app or a camera app and many more you get from this but note. this built-in projects are just demo app's. built-in projects only provide a workable code for your app after all its on you how to make changes to the app. </p> </div> </div> </div> </div> </div> </div> </div> </section> <!--================Blog Area end =================--> <!-- footer part start--> <footer class="footer-area"> <div class="copyright_part"> <div class="container"> <div class="row align-items-center"> <center><p> Copyright ©<script>document.write(new Date().getFullYear());</script> All rights reserved | This Page Developed And Managed With <i class="ti-heart" aria-hidden="true"></i> By Tushar Masram</p></center> </div> </div> </div> </footer> <!-- footer part end--> <!-- Global site tag (gtag.js) - Google Analytics --> <script async src="https://www.googletagmanager.com/gtag/js?id=UA-163881002-1"></script> <script> window.dataLayer = window.dataLayer || []; function gtag(){dataLayer.push(arguments);} gtag('js', new Date()); gtag('config', 'UA-163881002-1'); </script> <script src="https://cdn.jsdelivr.net/gh/TutorialsAndroid/tutorialsandroid.github.io@b84b571/js/jquery-3.5.0.min.js"></script> <script> // Get the modal var modal = document.getElementById("myModal8"); // Get the image and insert it inside the modal - use its "alt" text as a caption var img = document.getElementById("myImg8"); var modalImg = document.getElementById("img08"); var captionText = document.getElementById("caption8"); img.onclick = function(){ modal.style.display = "block"; modalImg.src = this.src; captionText.innerHTML = this.alt; } // Get the <span> element that closes the modal var span = document.getElementsByClassName("close8")[0]; // When the user clicks on <span> (x), close the modal span.onclick = function() { modal.style.display = "none"; } // Get the modal var modal = document.getElementById("myModal9"); // Get the image and insert it inside the modal - use its "alt" text as a caption var img = document.getElementById("myImg9"); var modalImg = document.getElementById("img09"); var captionText = document.getElementById("caption9"); img.onclick = function(){ modal.style.display = "block"; modalImg.src = this.src; captionText.innerHTML = this.alt; } // Get the <span> element that closes the modal var span = document.getElementsByClassName("close9")[0]; // When the user clicks on <span> (x), close the modal span.onclick = function() { modal.style.display = "none"; } </script> </body> </html>