
Installing JAVA JDK8 And Android Studio:
Now you will install java jdk8 and android studio on your system. If you already installed these both then you can skip this section.Now firstly you will install java. So let's start.
If you have downloaded java jdk8 setup then click run on the setup. So below i have putten step by step screenshot so you will not have any trouble in installing java,
Windows:
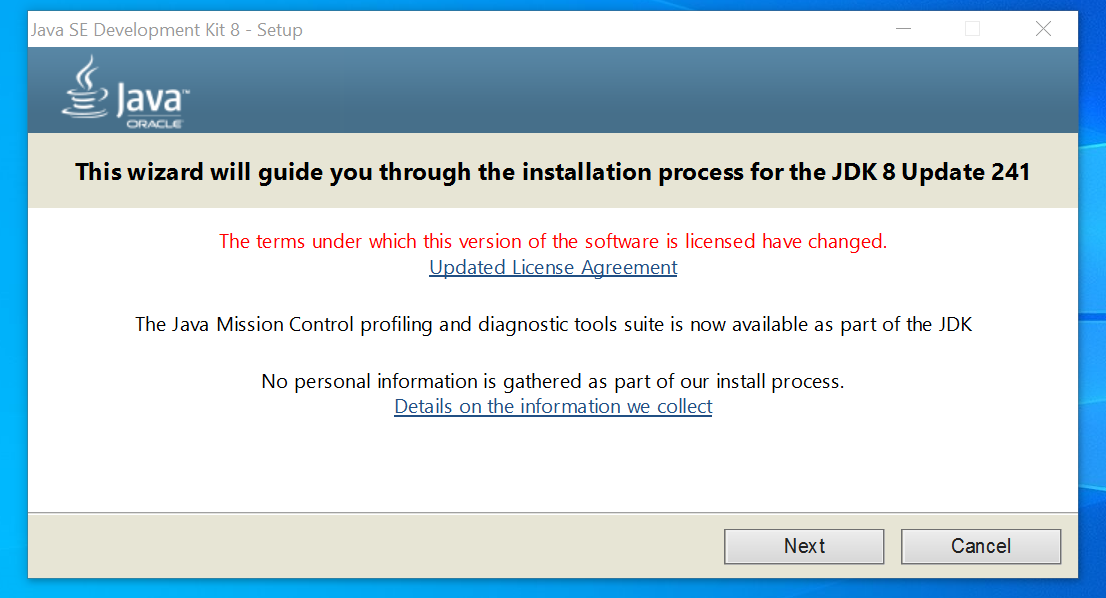
This screen will appear when you run java setup. So click on the next on your setup to continue
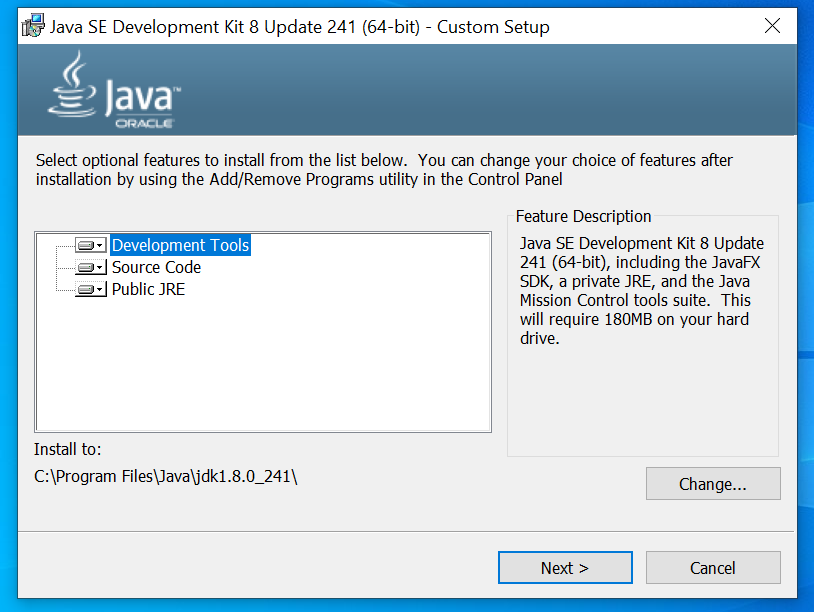
In next screen you can change installation folder if you want to change or let it be to default location only. On Clicking next it will install java jdk
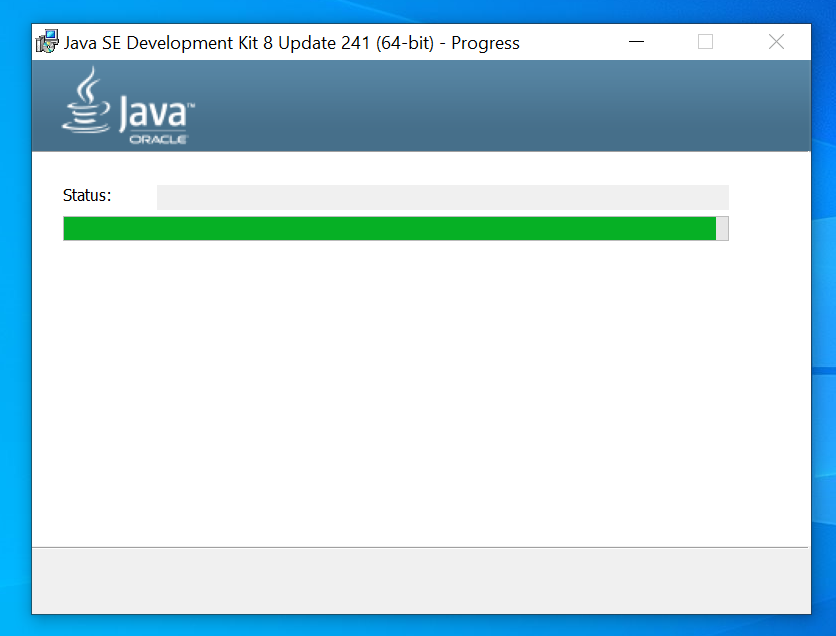
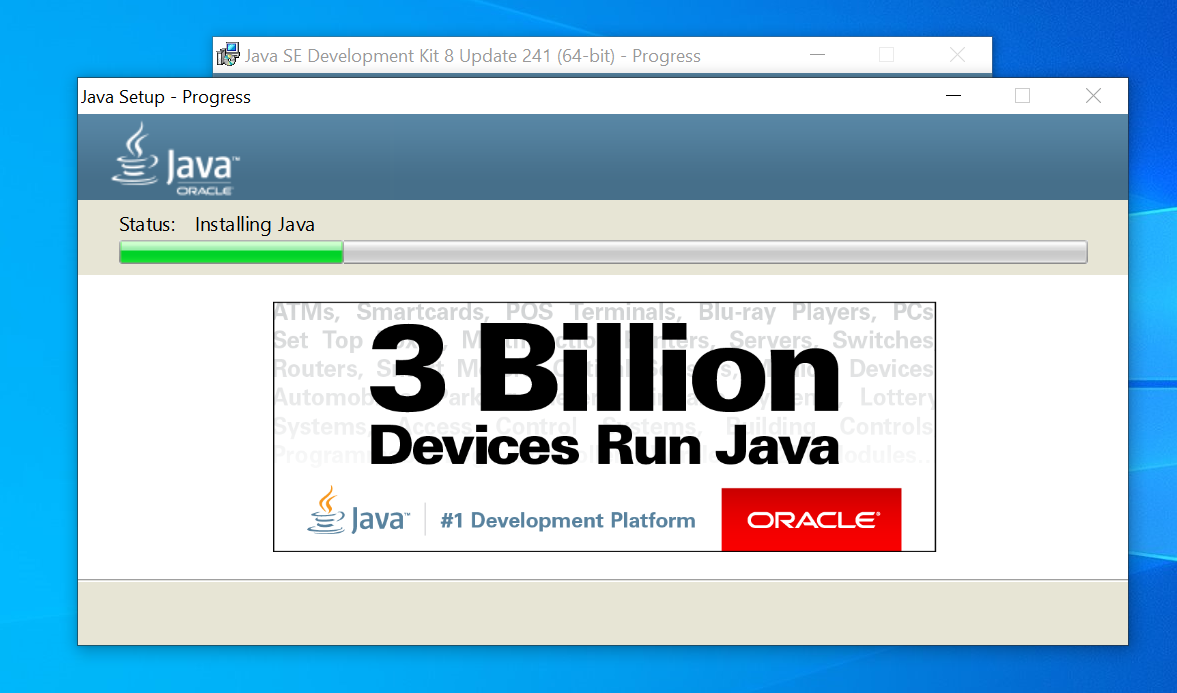
The process of java jdk installation will start. After few seconds a new window will appear for java jre installation.Now you will have a question what is java jdk and java jre. I will explain you this both at the end of this article.
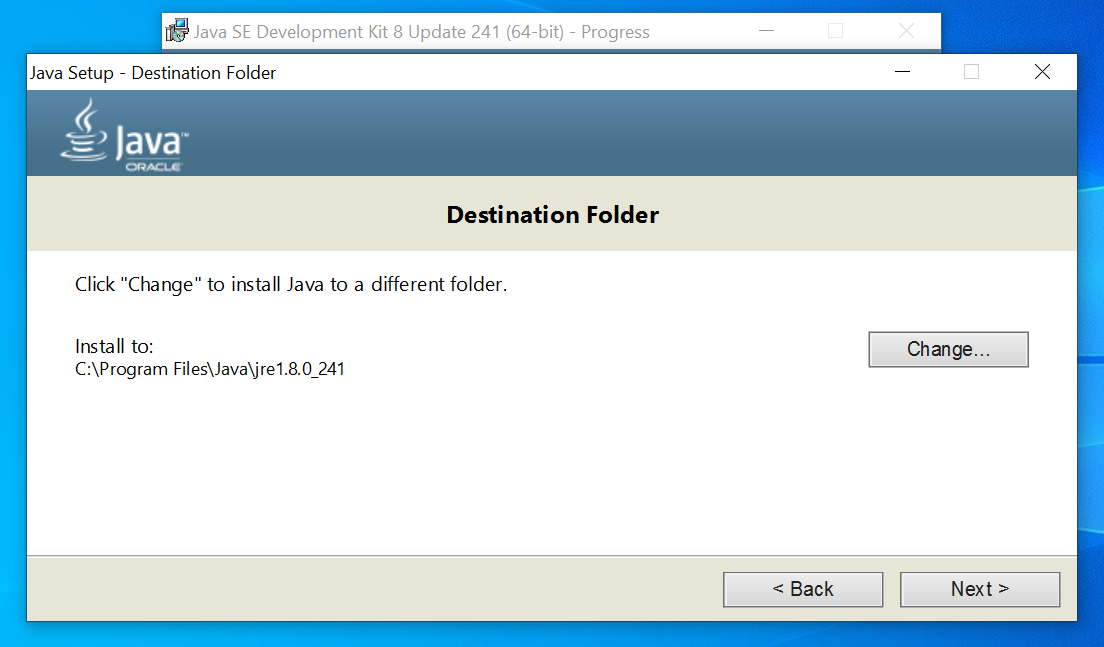
Now a java jre installation window will appear. And if you want to change the path of jre installation you can change it.. but i prefer to use the default path as given. Click on next to start java jre installation.
Now java jre installation process will began.
Hooray! You have successfully installed java.

Now we will install android studio if you haven't downloaded setup. Then download now.
Windows:
To install Android Studio on Windows, proceed as follows:
1.If you downloaded an .exe file (recommended), double-click to launch it.
If you downloaded a .zip file, unpack the ZIP, copy the android-studio folder into your Program Files folder, and then open the android-studio > bin folder and launch studio64.exe (for 64-bit machines) or studio.exe (for 32-bit machines).
2.Follow the setup wizard in Android Studio and install any SDK packages that it recommends.
That's it. The following video shows each step of the setup procedure when using the recommended .exe download.
Mac:
To install Android Studio on your Mac, proceed as follows:
1.Launch the Android Studio DMG file.
2.Drag and drop Android Studio into the Applications folder, then launch Android Studio.
3.Select whether you want to import previous Android Studio settings, then click OK.
4.The Android Studio Setup Wizard guides you through the rest of the setup, which includes downloading Android SDK components that are required for development.
5.That's it. The following video shows each step of the recommended setup procedure.
Linux:
To install Android Studio on Linux, proceed as follows:
1.Unpack the .zip file you downloaded to an appropriate location for your applications, such as within /usr/local/ for your user profile, or /opt/ for shared users.
2.If you're using a 64-bit version of Linux, make sure you first install the required libraries for 64-bit machines.
3.To launch Android Studio, open a terminal, navigate to the android-studio/bin/ directory, and execute studio.sh
4.Select whether you want to import previous Android Studio settings or not, then click OK.
5.The Android Studio Setup Wizard guides you through the rest of the setup, which includes downloading Android SDK components that are required for development.
Tip: To make Android Studio available in your list of applications, select Tools > Create Desktop Entry from the Android Studio menu bar.
If you are running a 64-bit version of Ubuntu, you need to install some 32-bit libraries with the following command:
sudo apt-get install libc6:i386 libncurses5:i386 libstdc++6:i386 lib32z1 libbz2-1.0:i386
sudo yum install zlib.i686 ncurses-libs.i686 bzip2-libs.i686
Chrome OS:
Follow these steps to install Android Studio on Chrome OS:
1.If you haven't already done so, install Linux for Chrome OS.
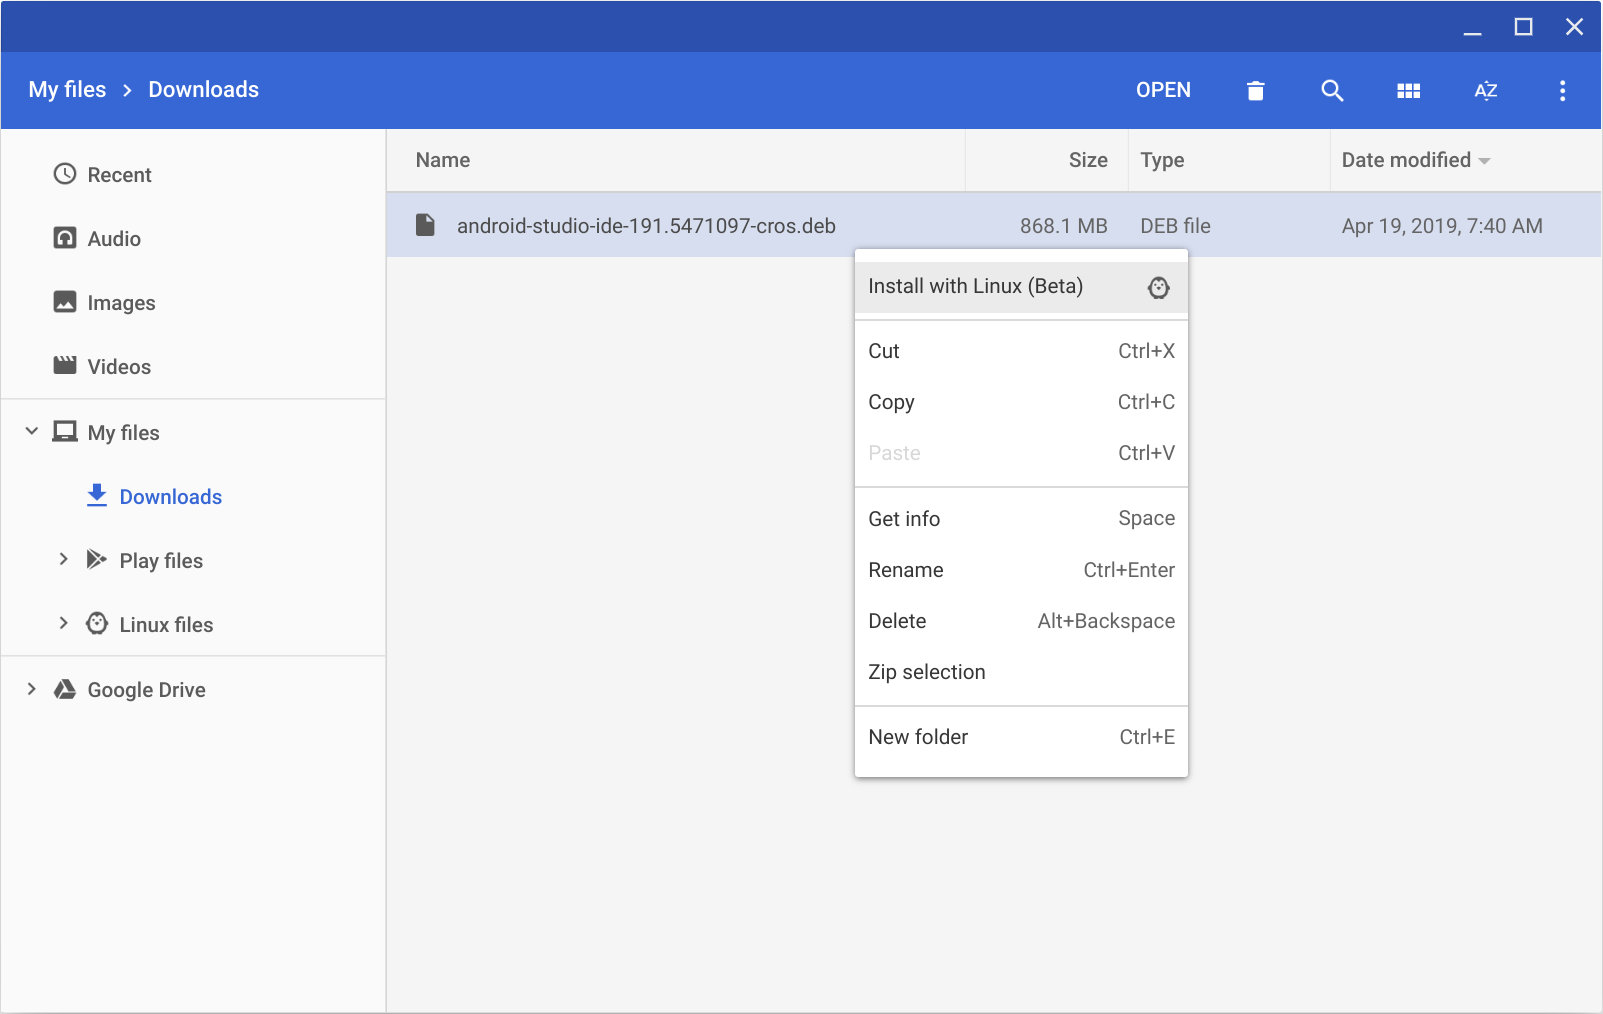
2.Open the Files app and locate the DEB package you downloaded in the Downloads folder under My files.
3.Right-click the DEB package and select Install with Linux (Beta).
5.After installation is complete, launch Android Studio either from the Launcher, or from the Chrome OS Linux terminal by running studio.sh in the default installation directory:
/opt/android-studio/bin/studio.sh
That's it now you have successfully installed android studio on your system. Now it's time to explain what's the difference between java jdk and java jre. As i above mentioned i will explain this both at the last of this article.
The JRE is the Java Runtime Environment. It is a package of everything necessary to run a compiled Java program, including the Java Virtual Machine (JVM), the Java Class Library, the java command, and other infrastructure. However, it cannot be used to create new programs.
The JDK is the Java Development Kit, the full-featured SDK for Java. It has everything the JRE has, but also the compiler (javac) and tools (like javadoc and jdb). It is capable of creating and compiling programs.
Usually, if you only care about running Java programs on computer you will only install the JRE. It's all you need. On the other hand, if you are planning to do some Java programming, you need to install the JDK instead.
Sometimes, even if you are not planning to do any Java development on a computer, you still need the JDK installed. For example, if you are deploying a web application with JSP, you are technically just running Java programs inside the application server. Why would you need the JDK then? Because the application server will convert JSP into Java servlets and needs to use the JDK to compile the servlets. I am sure there are be more examples.
And I'm sorry for not providing tutorial of how to install java jdk8 on Mac OS X, Linux