Follow the steps below to install Archcraft on a UEFI system (with optional encryption).
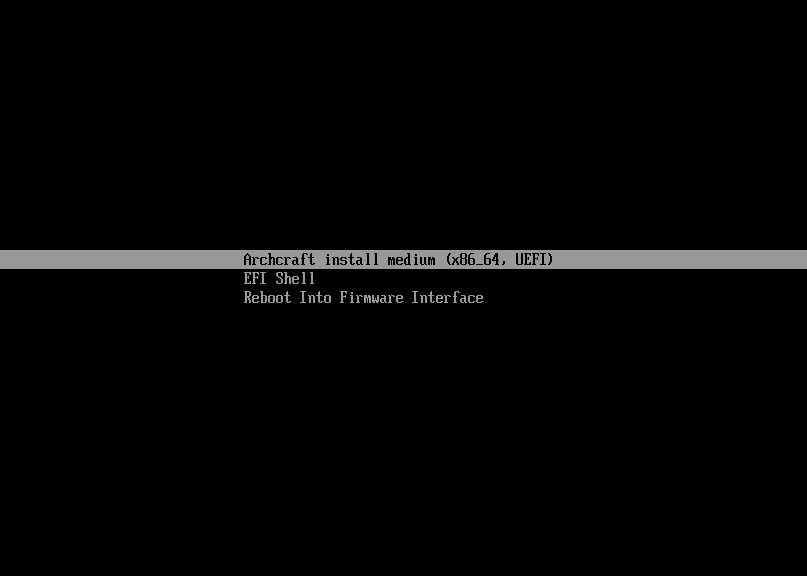
"Archcraft install medium".
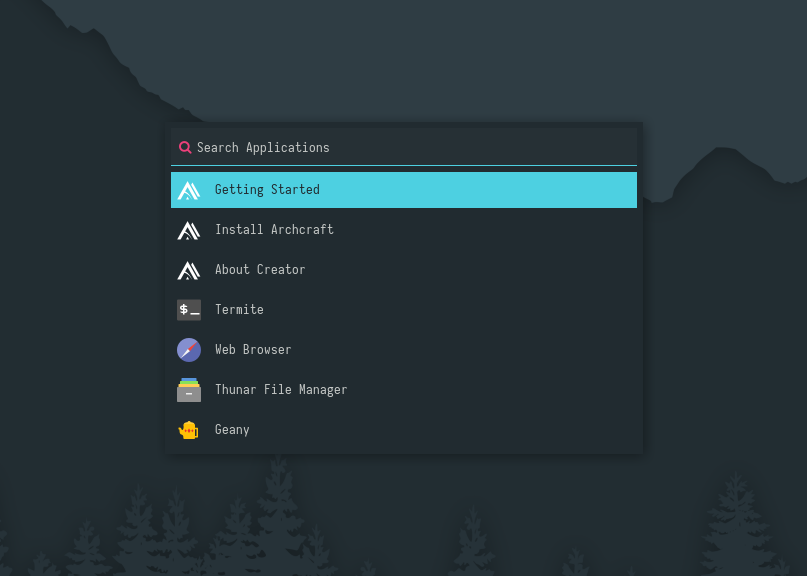
"liveuser" as the password & login to openbox desktop.

"Install Archcraft" & launch installer.
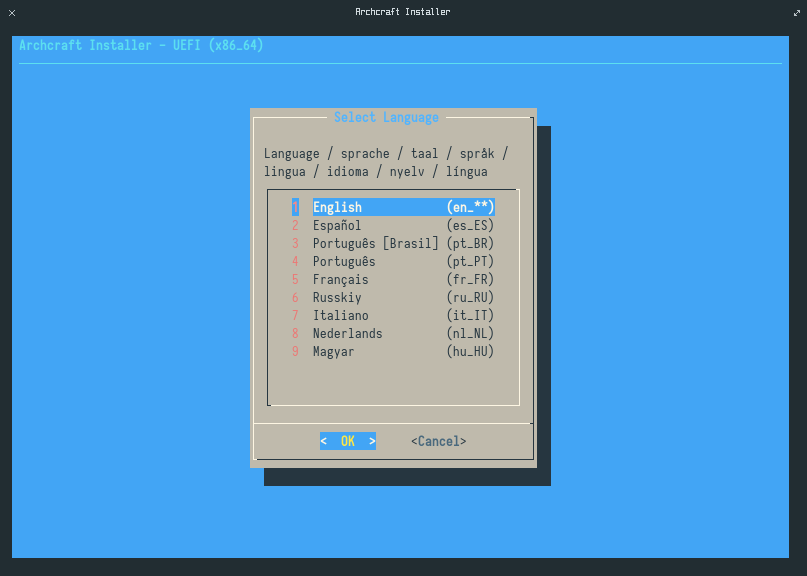
"All checks passed!"
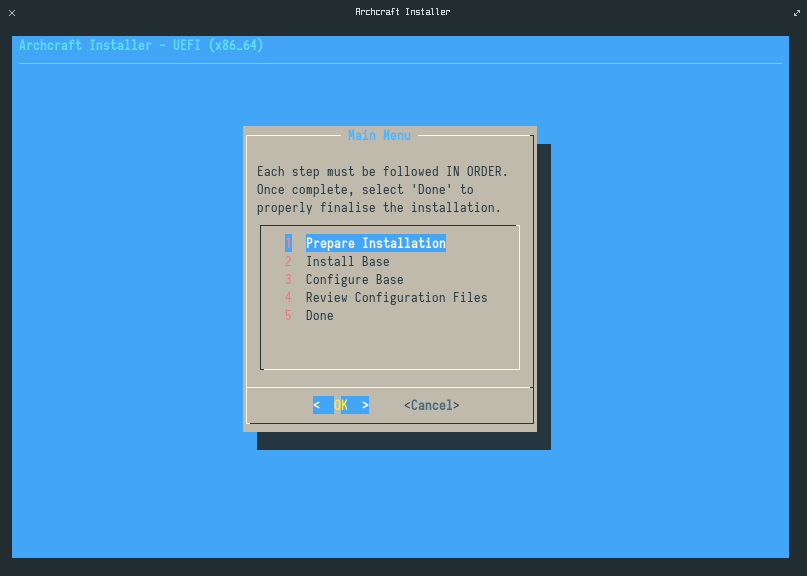
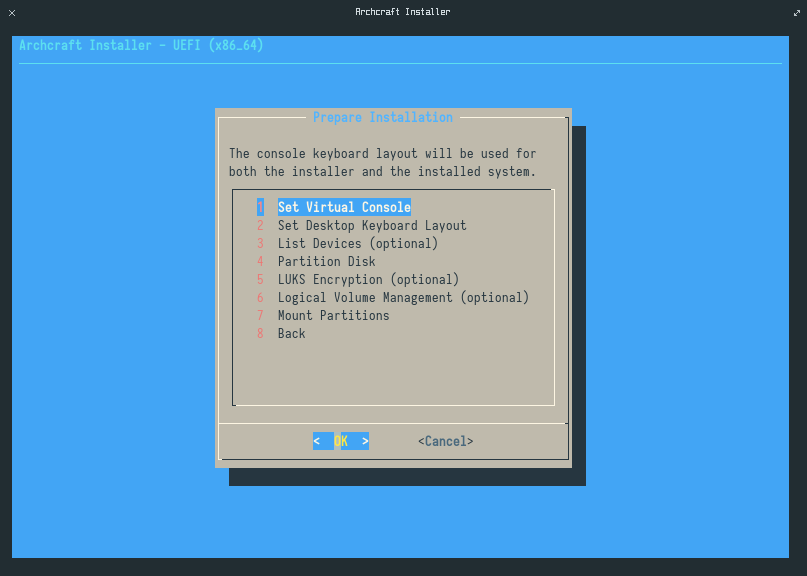
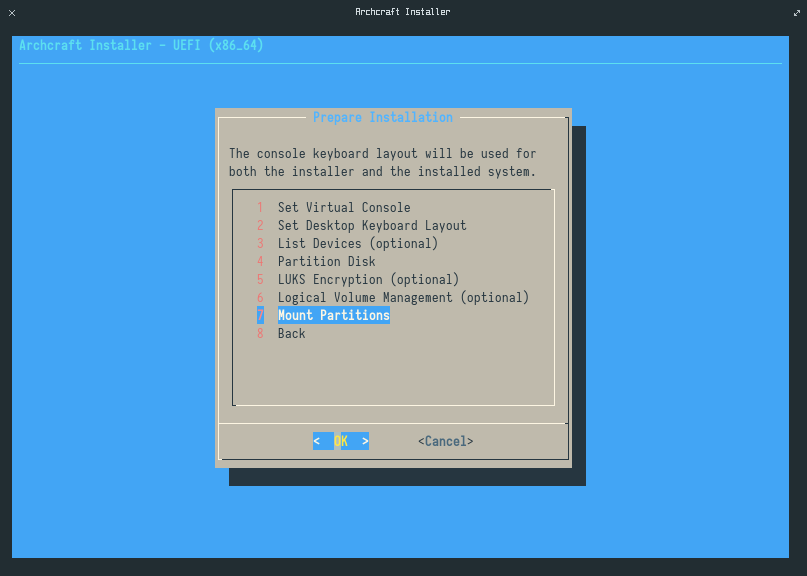
"Prepare Installation" & press Enter.
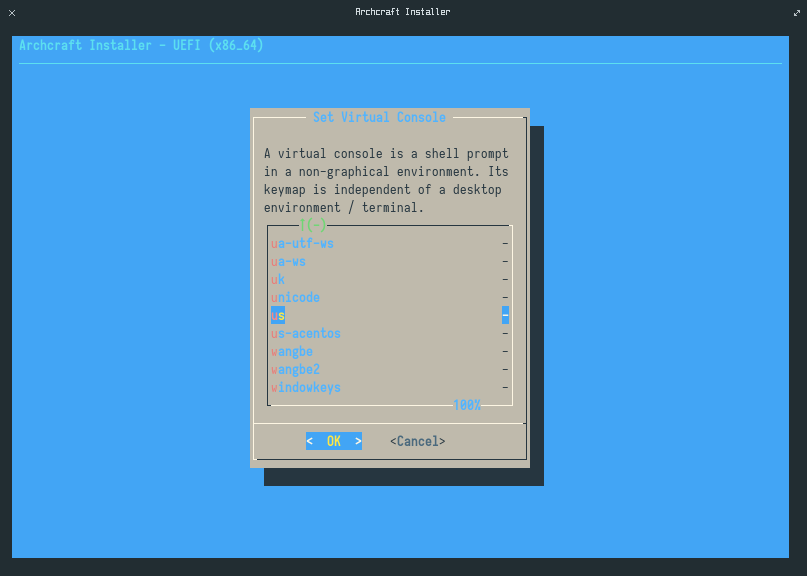
"Set Virtual Console" & press Enter.
"US". Choose whichever you prefer & press Enter.
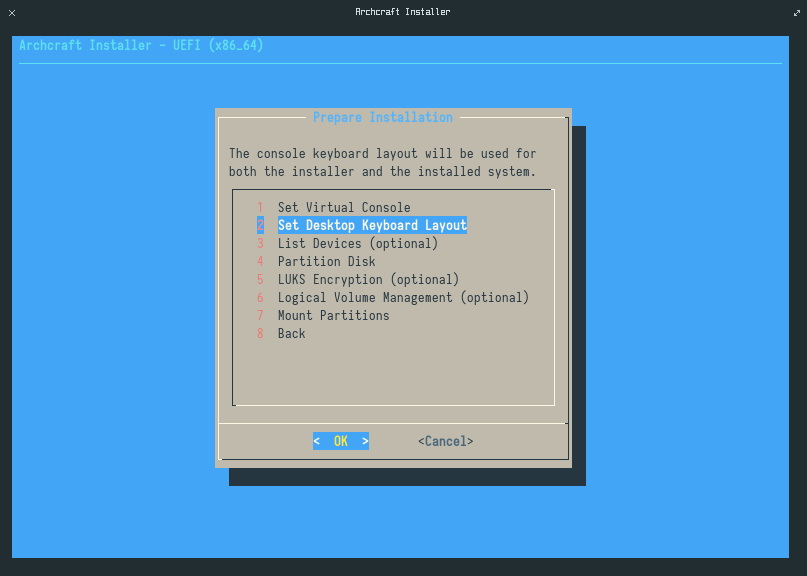
"Set Desktop Keyboard Layout" & press Enter.
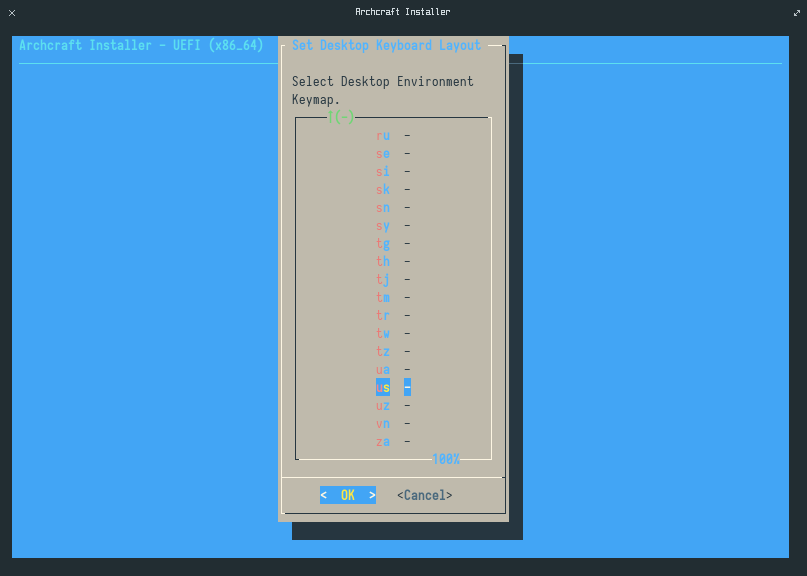
"US".
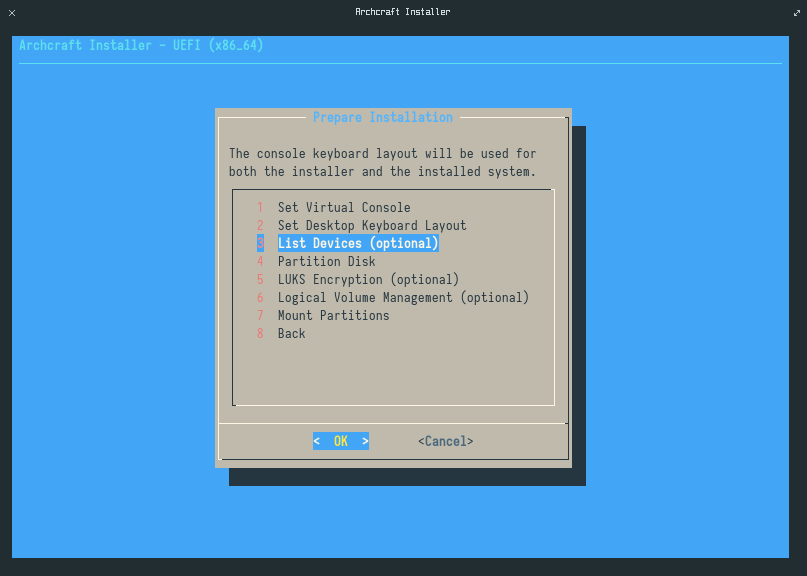
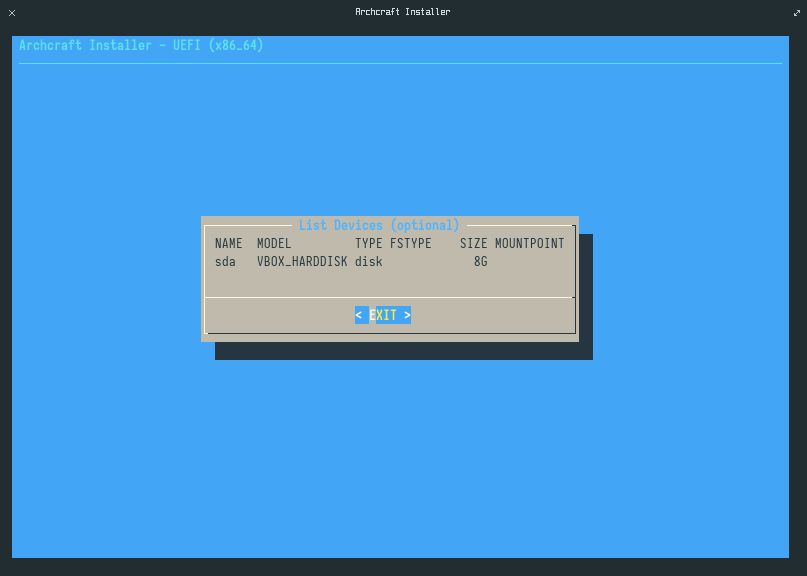
"List Devices (optional)" & press Enter.
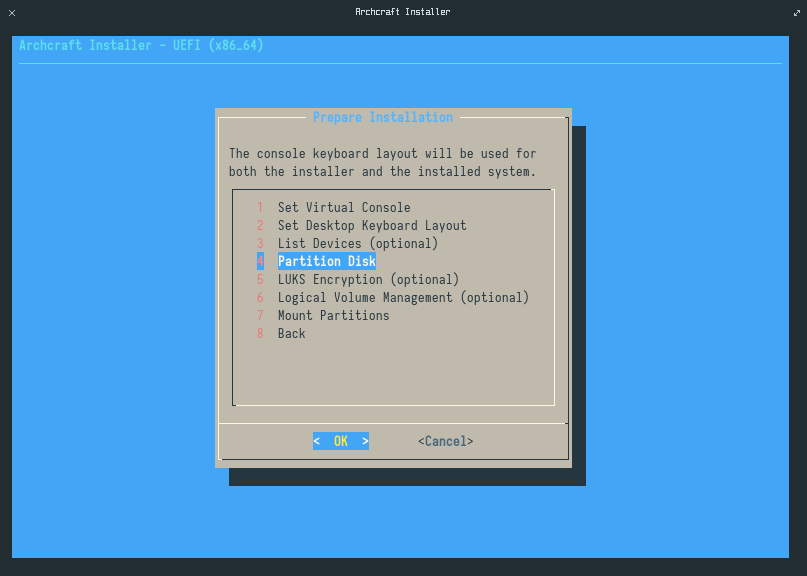
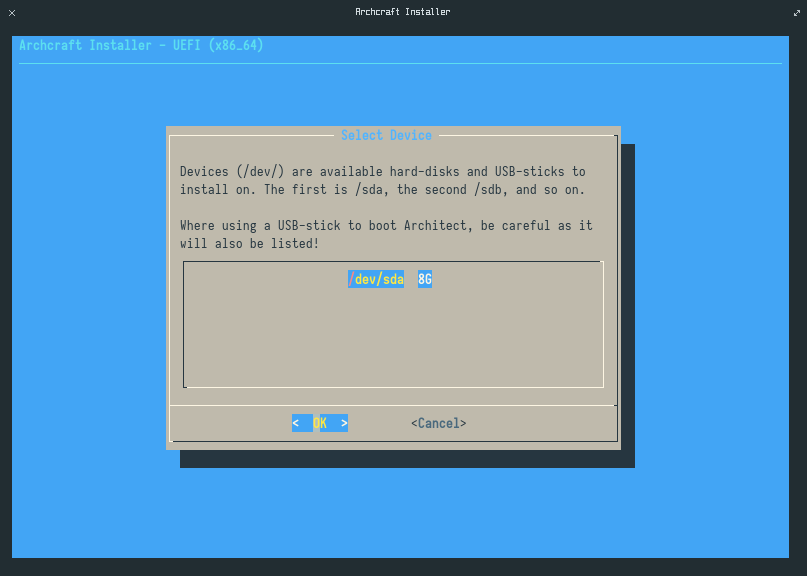
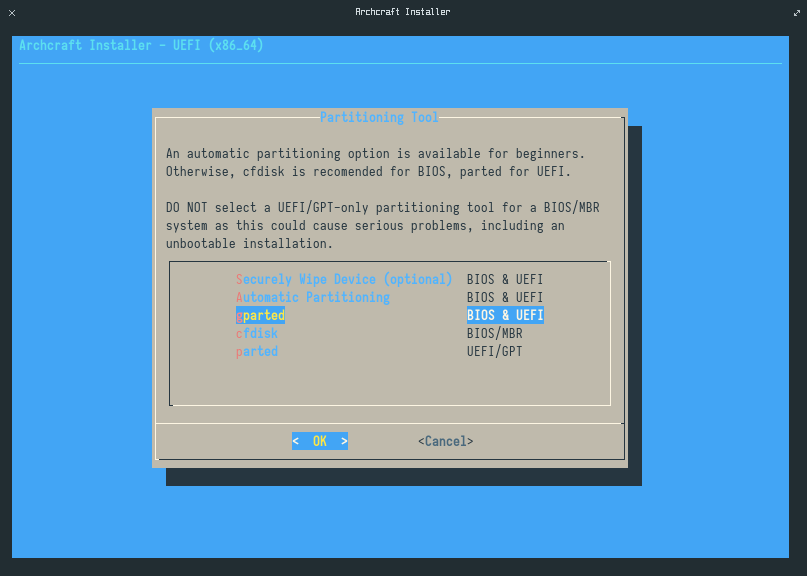
"Partition Disk" & press Enter.
"gparted" & press Enter. You can also use "parted" if you prefer CLI.
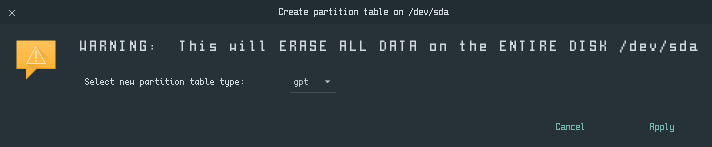
"gpt" & APPLY.
root, boot, home and swap partitions. When done partitioning, write the changes & exit gparted.
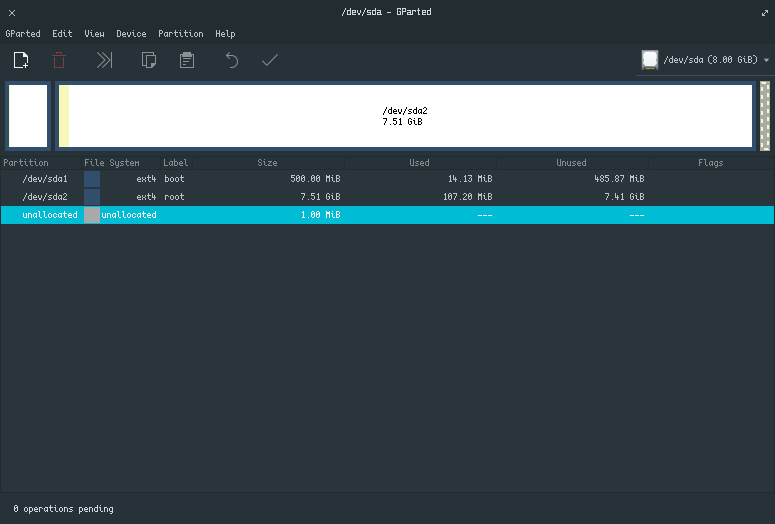
boot and a root partition. I need a separate boot partition for UEFI and encryption.
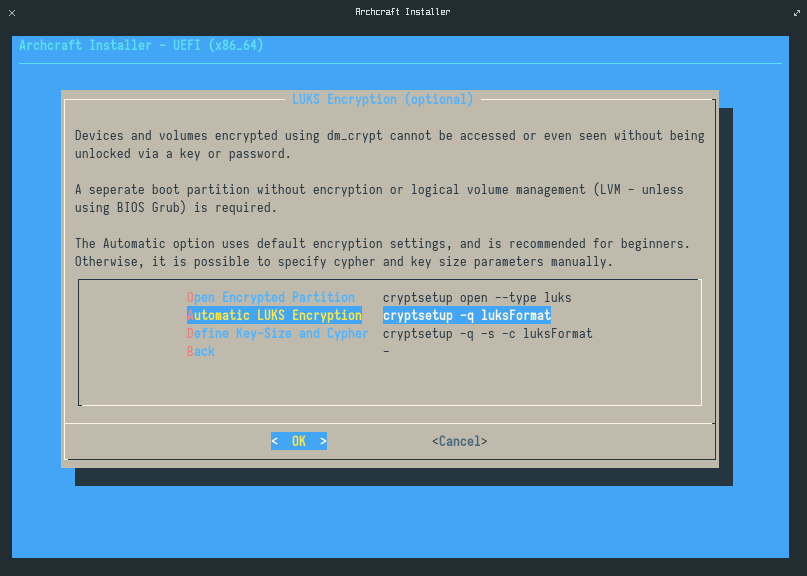
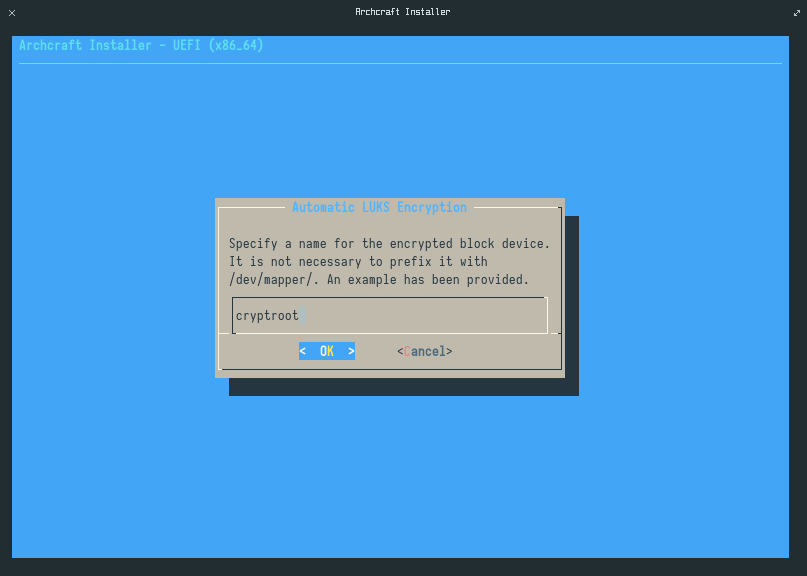
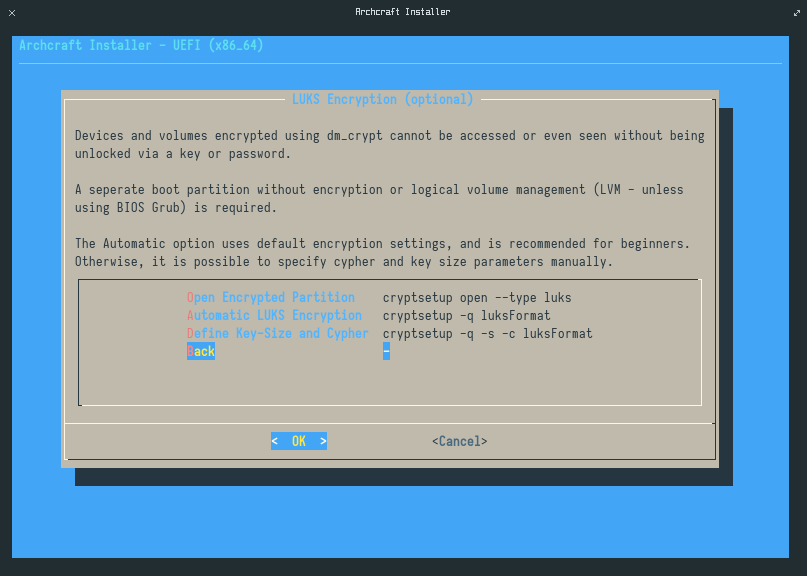
"LUKS Encryption" & press Enter. If you don't want to use encryption, you can skip these steps & jump to Step 28 "Mount Partitions".

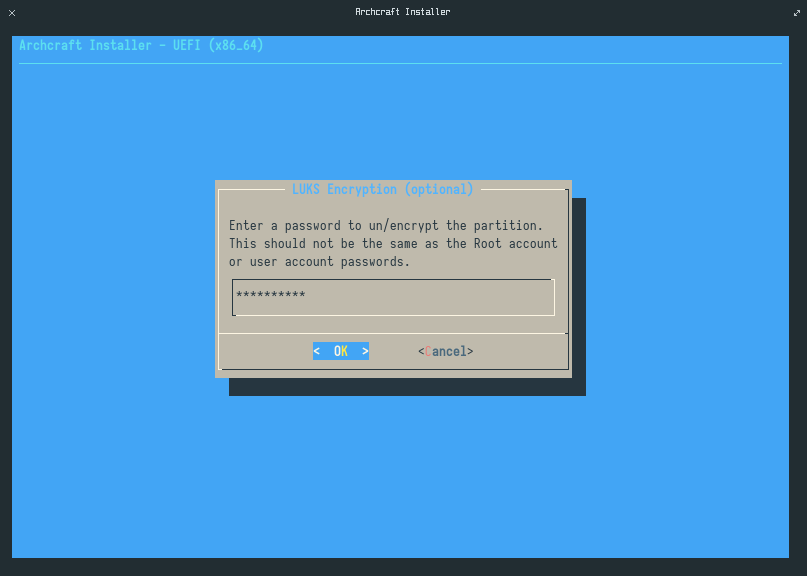
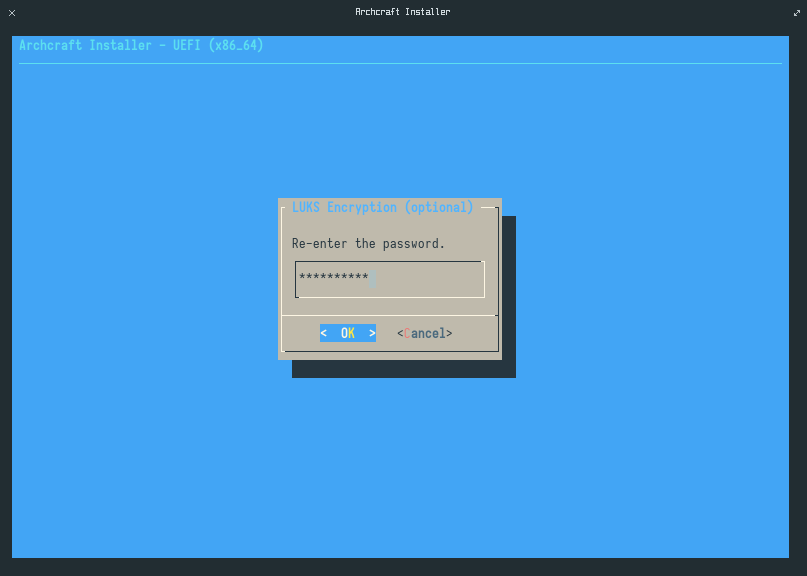
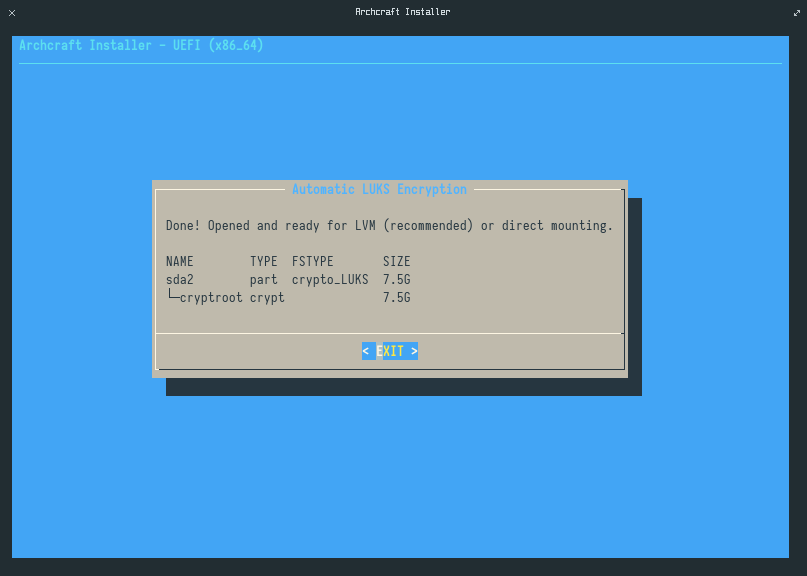
"Automatic LUKS Encryption". Again choice is yours, select whichever you prefer & press Enter.
root partition & press Enter. (In my case it's /dev/sda2)

"back" to exit this screen.
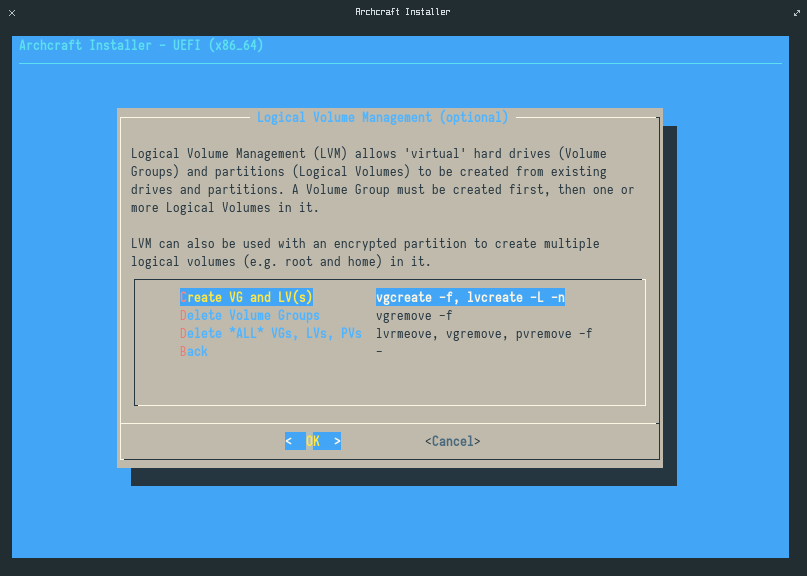
"Logical Volume Management" & press Enter.

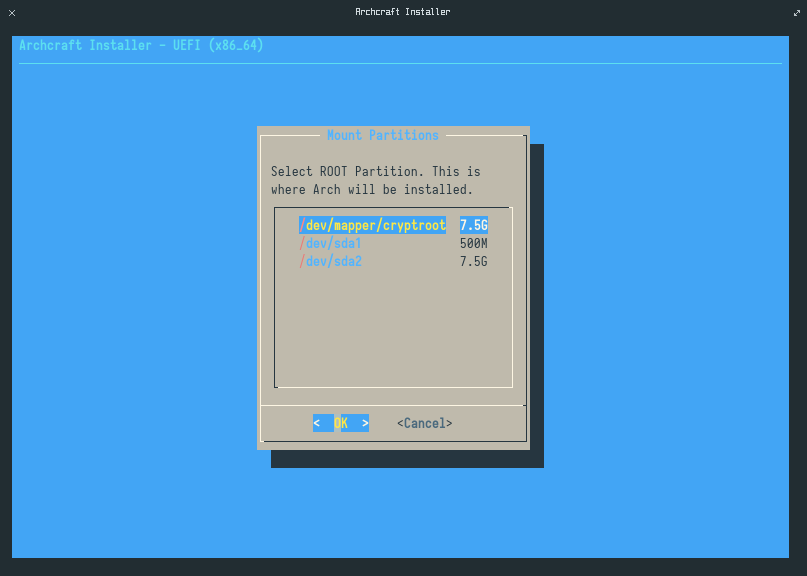
"Mount Partitions" & press Enter.
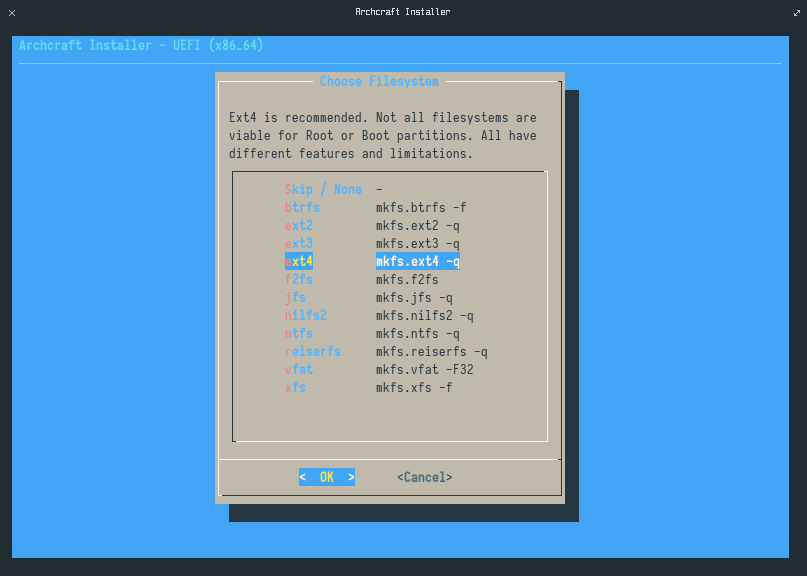
"/dev/mapper/cryptroot", otherwise just select "/dev/sda2" to mount as ROOT & press Enter.
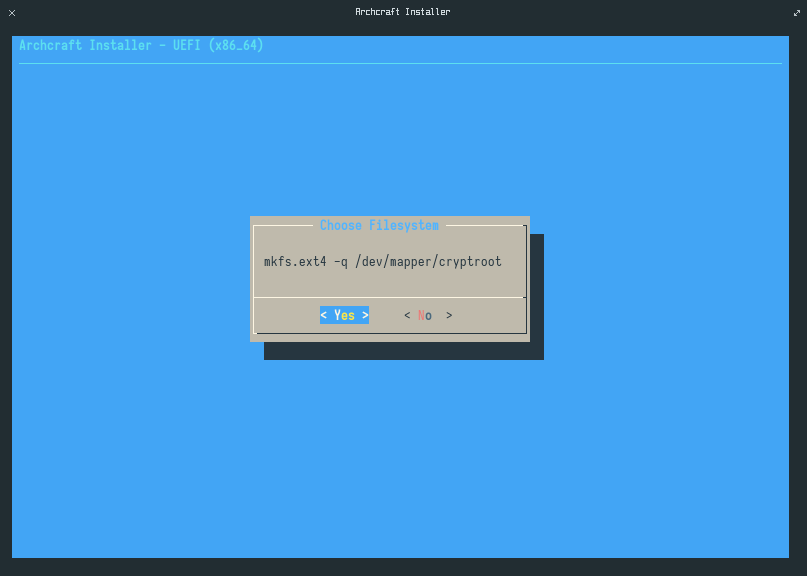
"ext4" & press Enter.
"Yes" & press Enter.
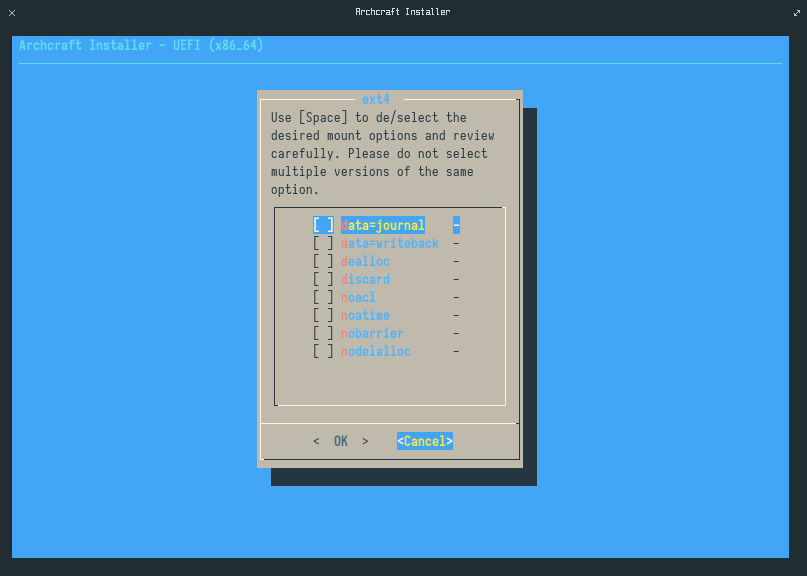
Cancel and ignore it. Or, if you know what you're doing, choose what you want.
swap partition (if you've created any). I'm using a swapfile here.
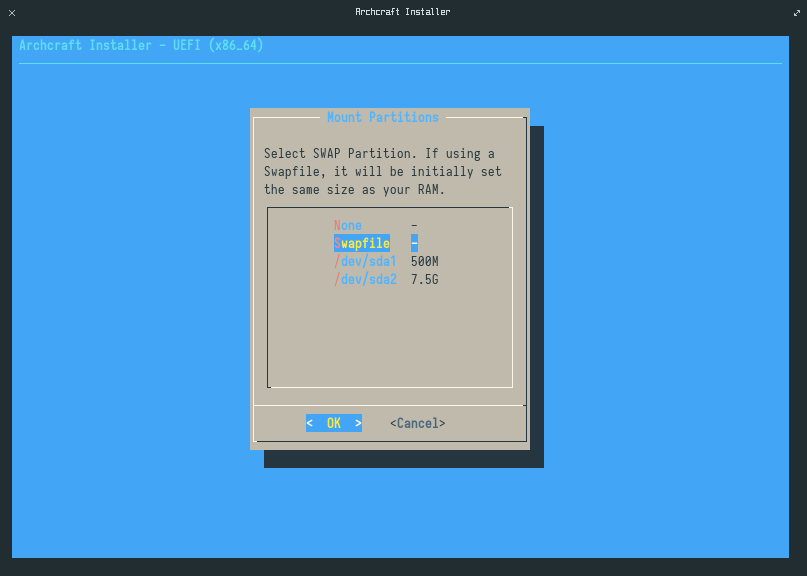
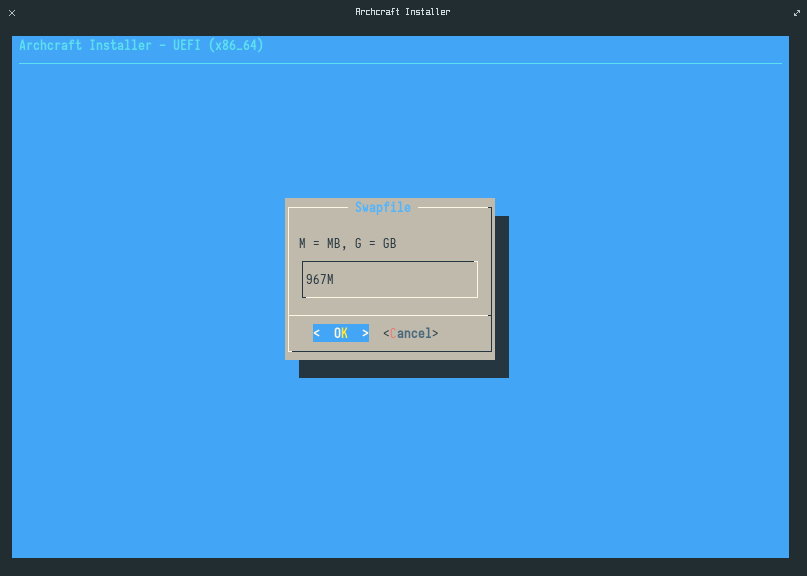
"System Memory (RAM)") & press Enter.
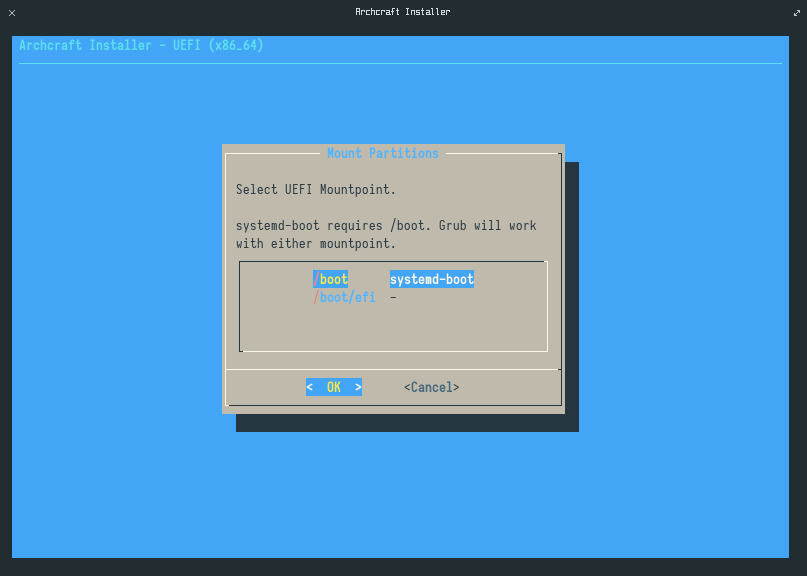
boot partition. Select "/dev/sda1" & press Enter.

"/boot" & press Enter.
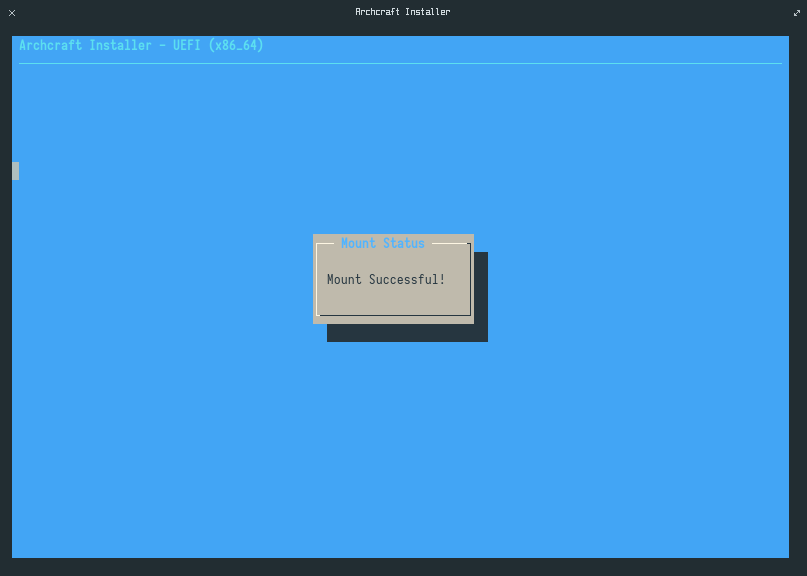
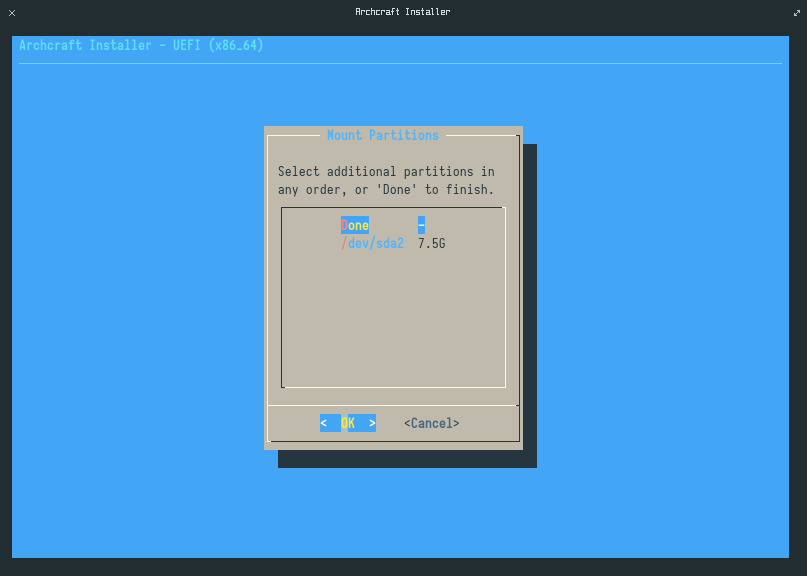
"Done" & press Enter.
"Back" & move to next step.

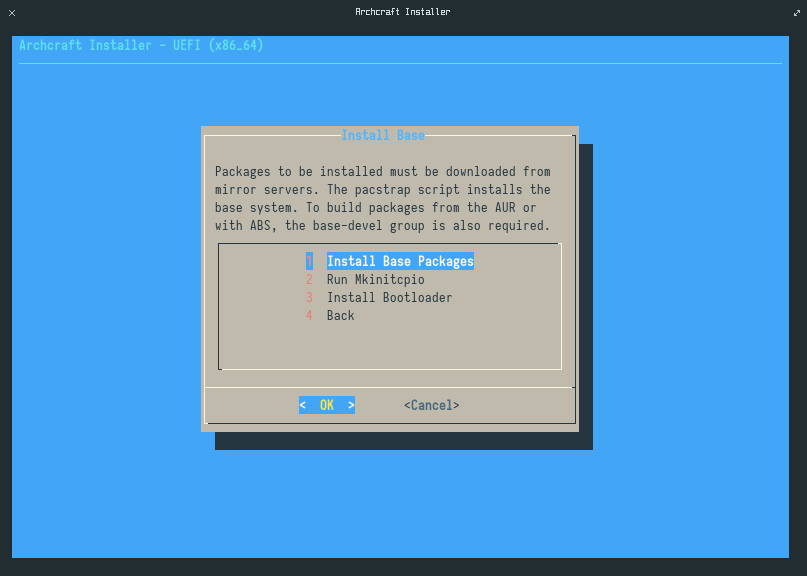
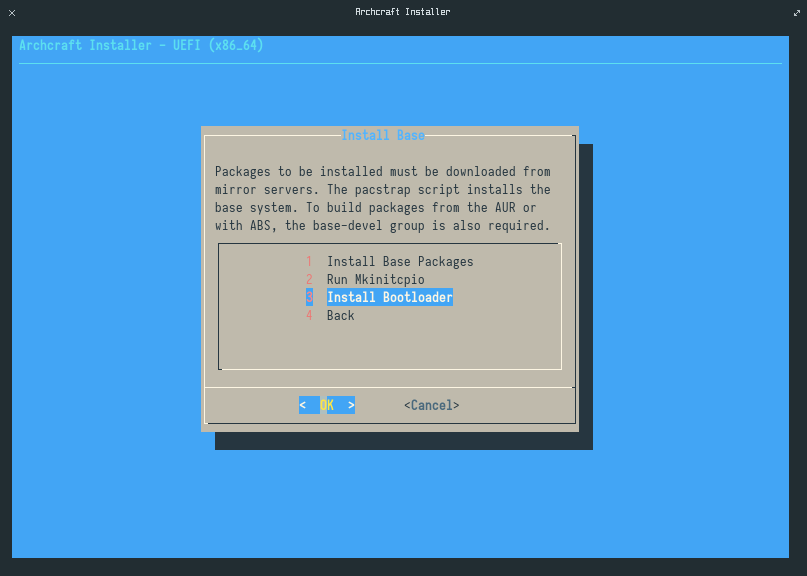
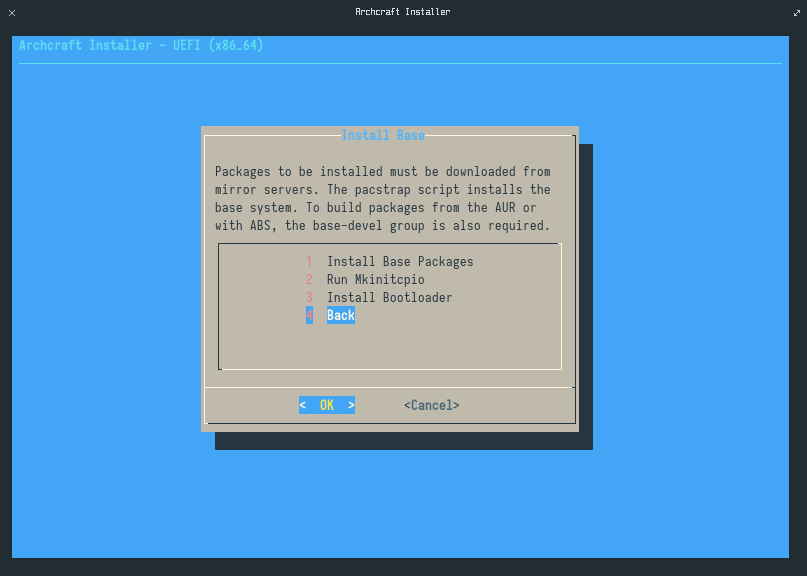
"Install Base" & press Enter.

"Install Base Packages" & press Enter. It will copy the rootfs to your root partition.
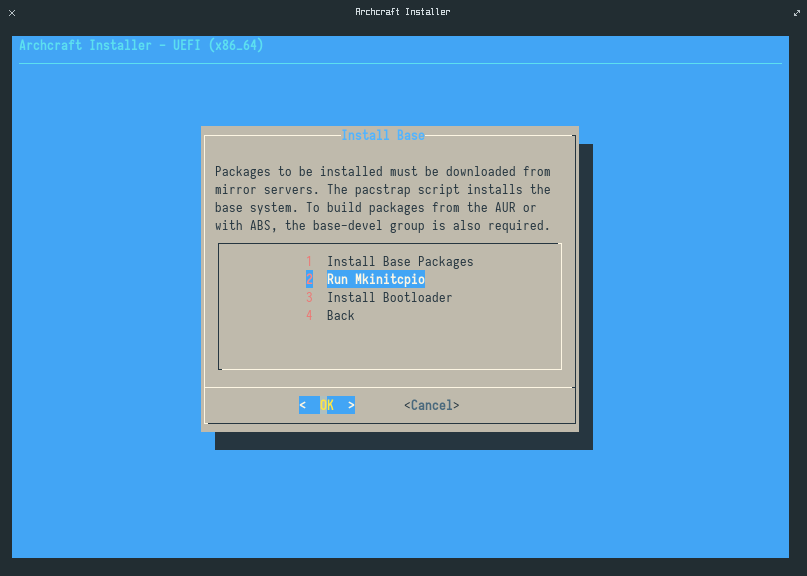
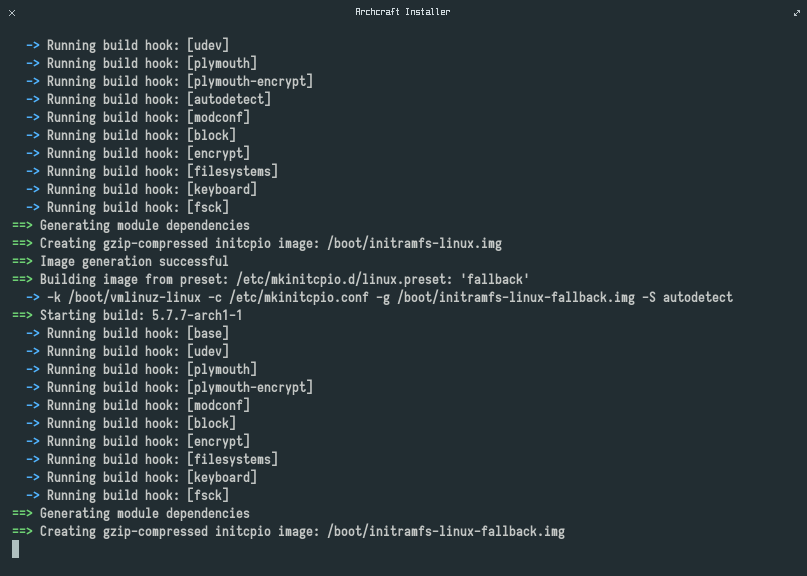
"Run Mkinitcpio" & press Enter.
"Install Bootloader" & press Enter.
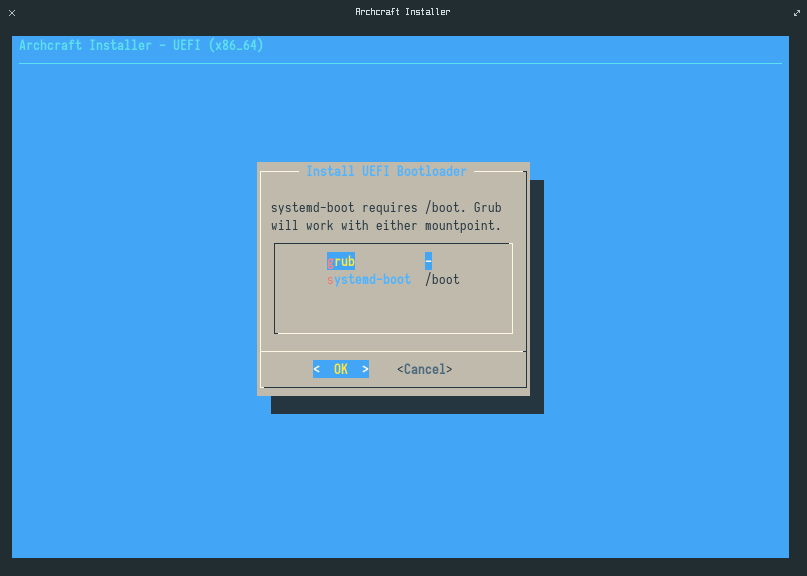
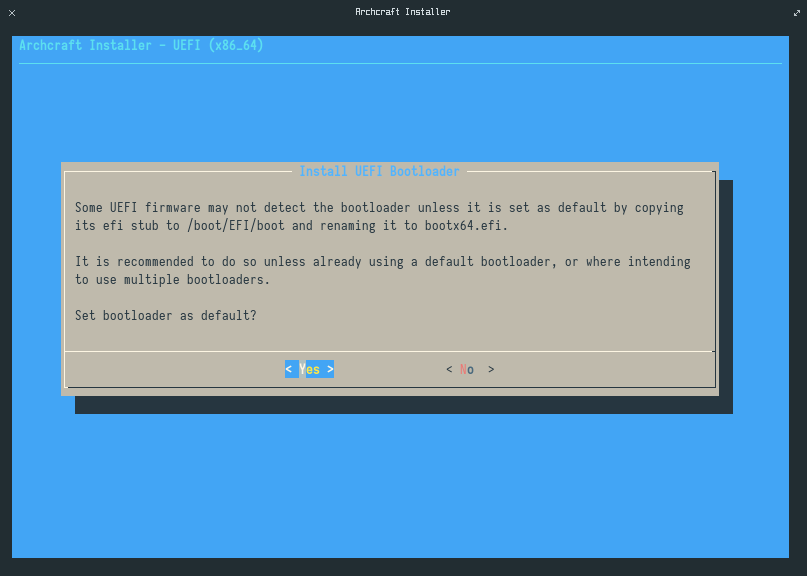
"grub" (recommended) & press Enter. You can choose systemd-boot if you want.
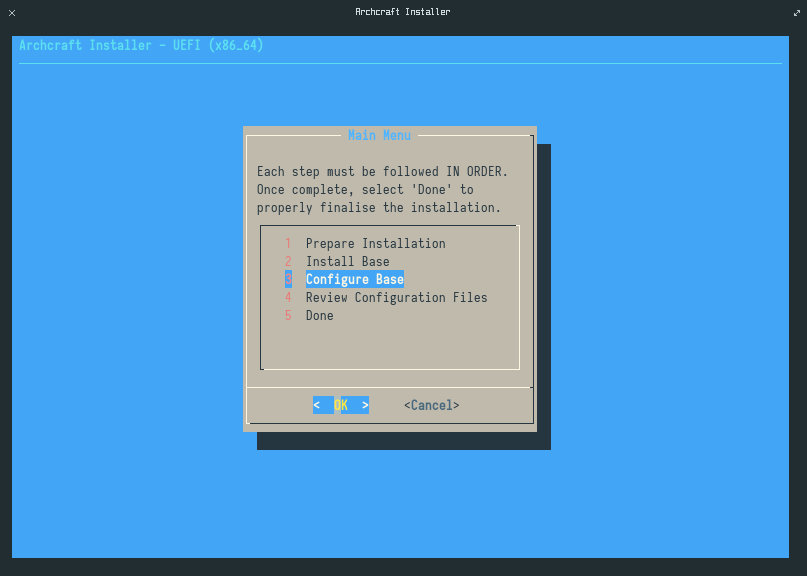
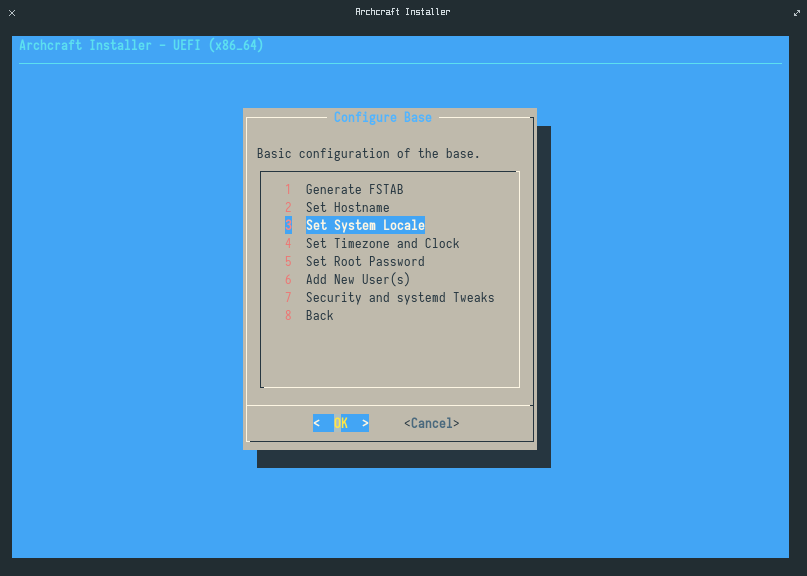
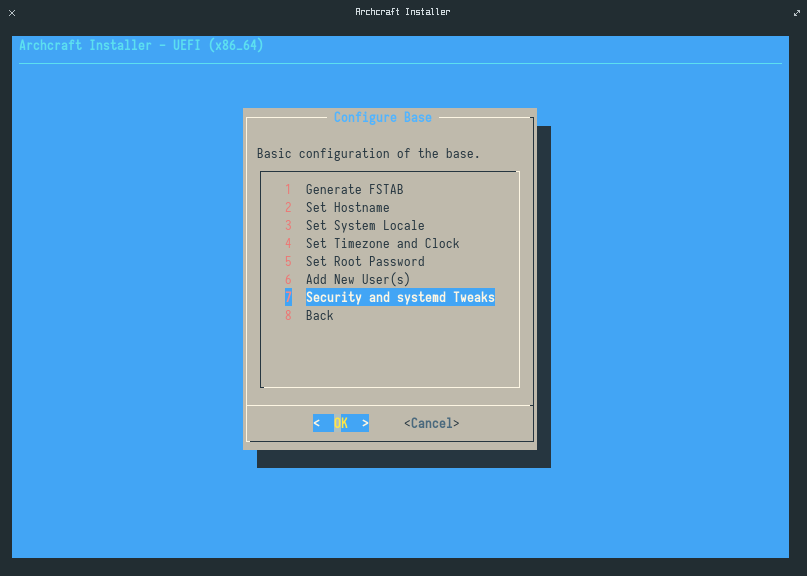
"Configure Base" & press Enter.
"Generate FSTAB" & press Enter.
"UEFI Part UUID" & press Enter.

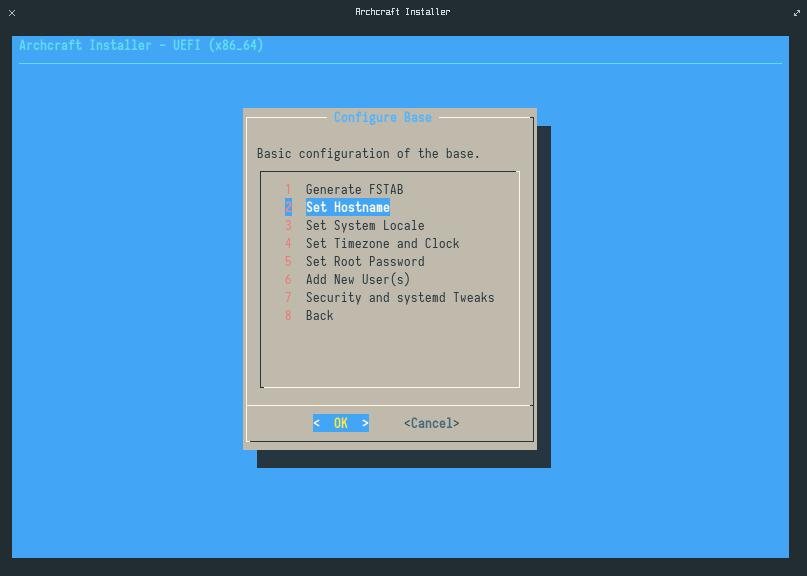
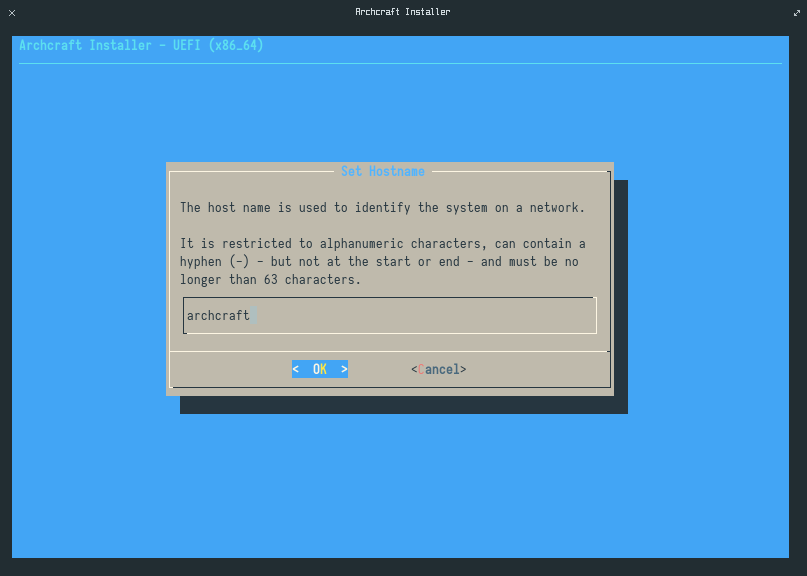
"Set Hostname" & press Enter.
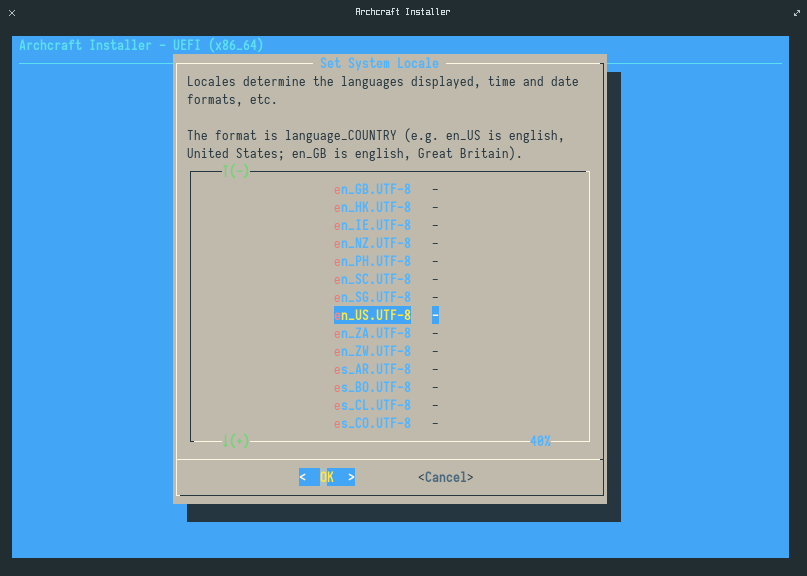
"Set System Locale" & press Enter.
"en_US.UTF-8". Choose the one you want & press Enter.
"Set Timezone and Clock" & press Enter.

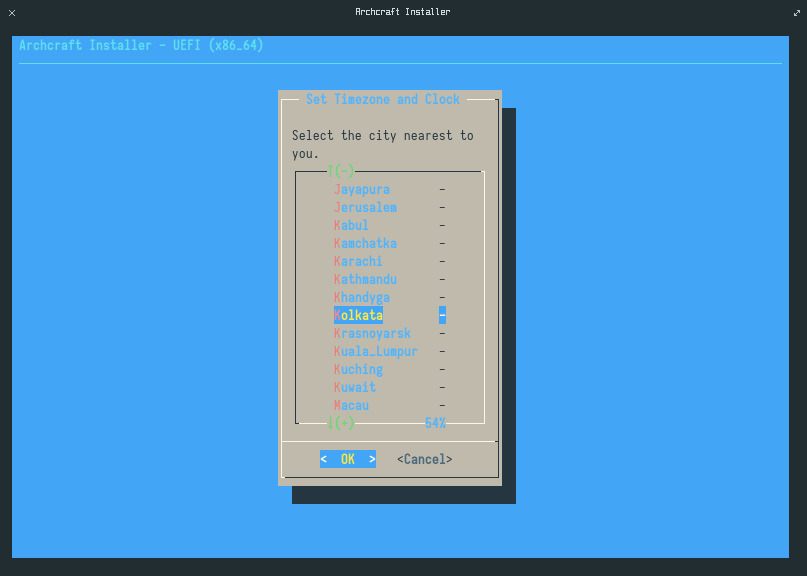
"Asia".
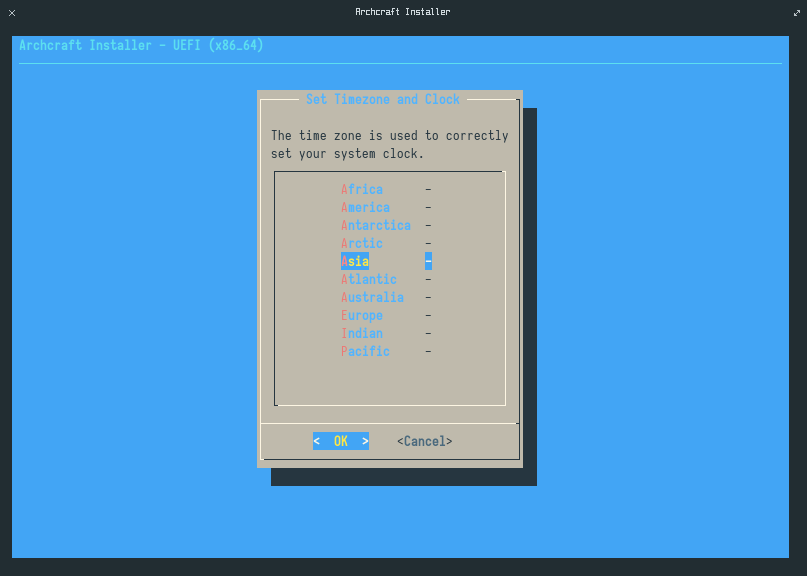
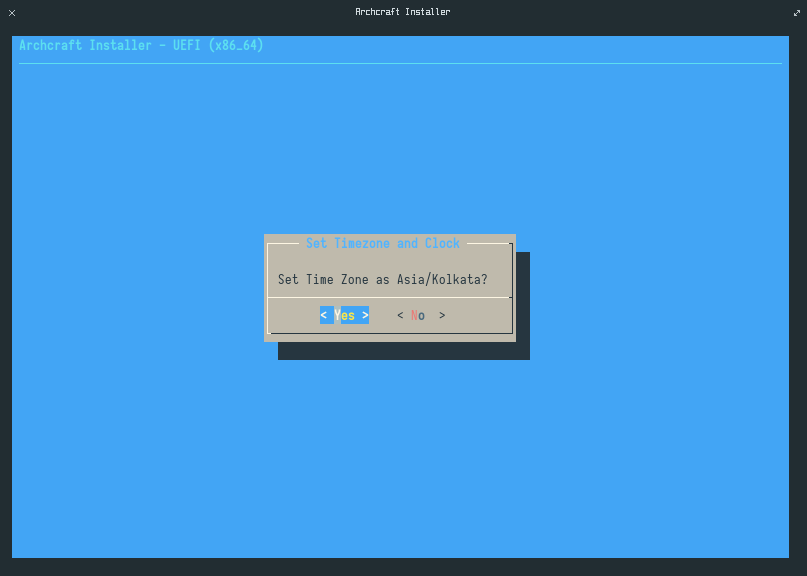
"Kolkata"
"Yes" & press Enter.
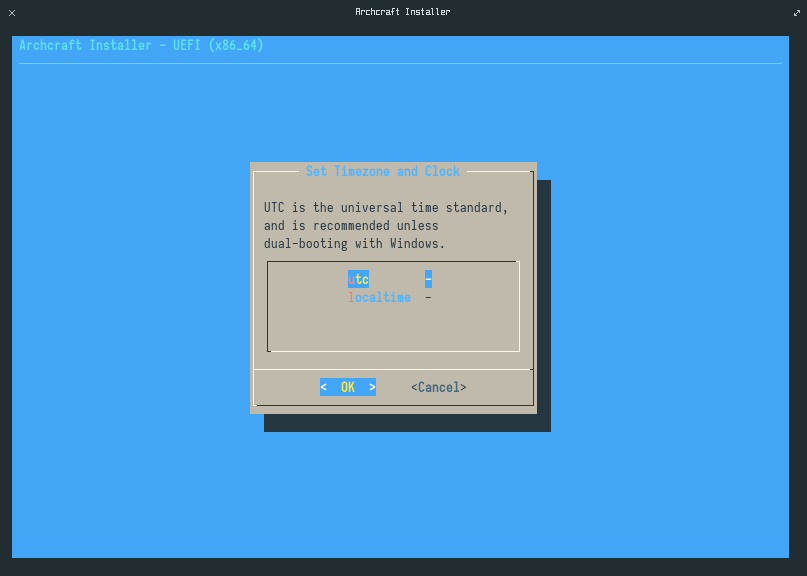
"localtime" if you're dualbooting with Windows, otherwise UTC.
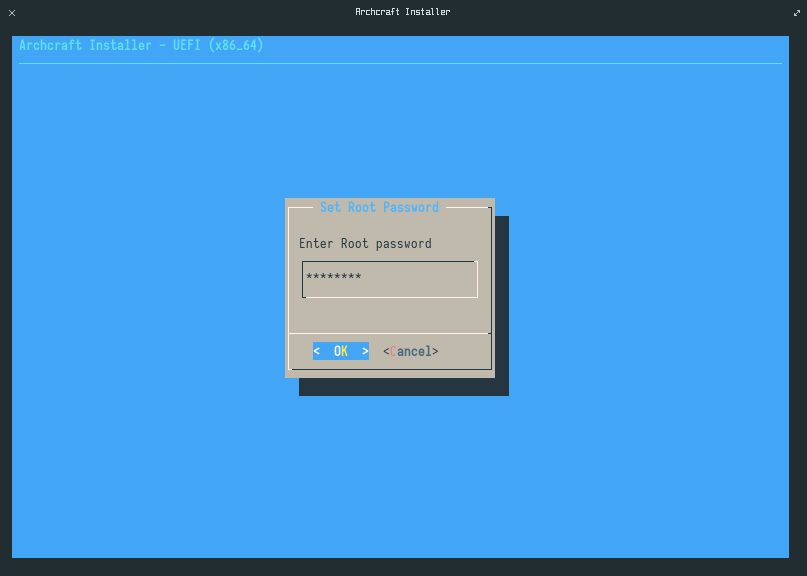
"Set Root Password" & press Enter.

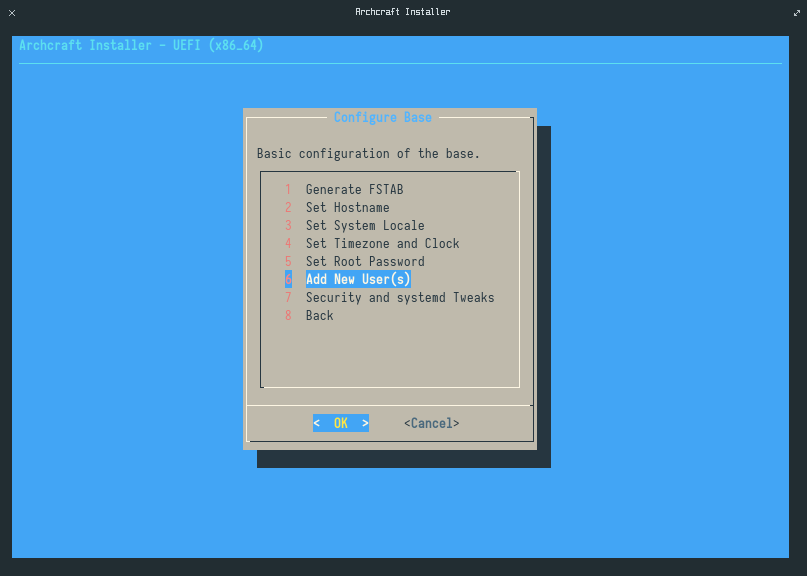
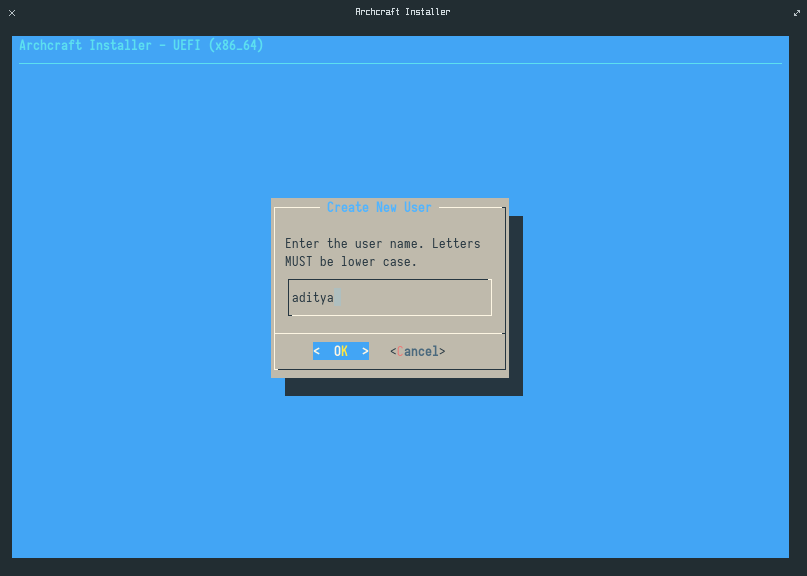
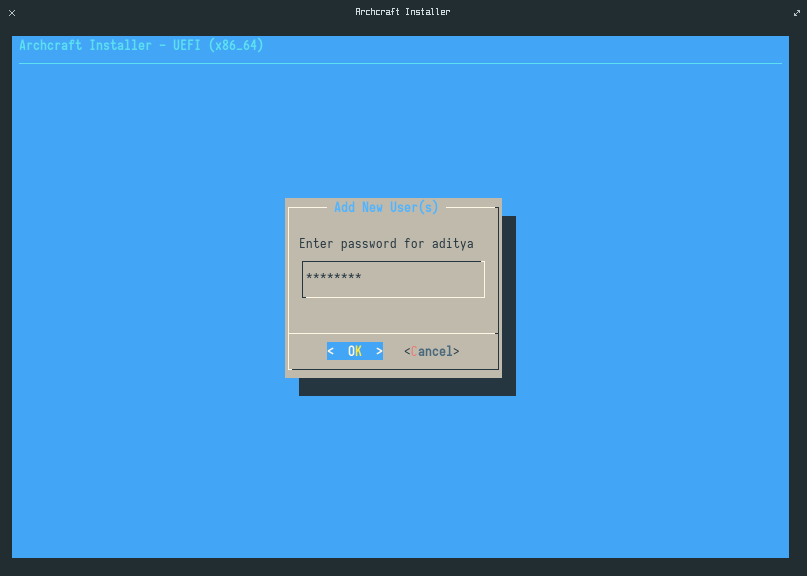
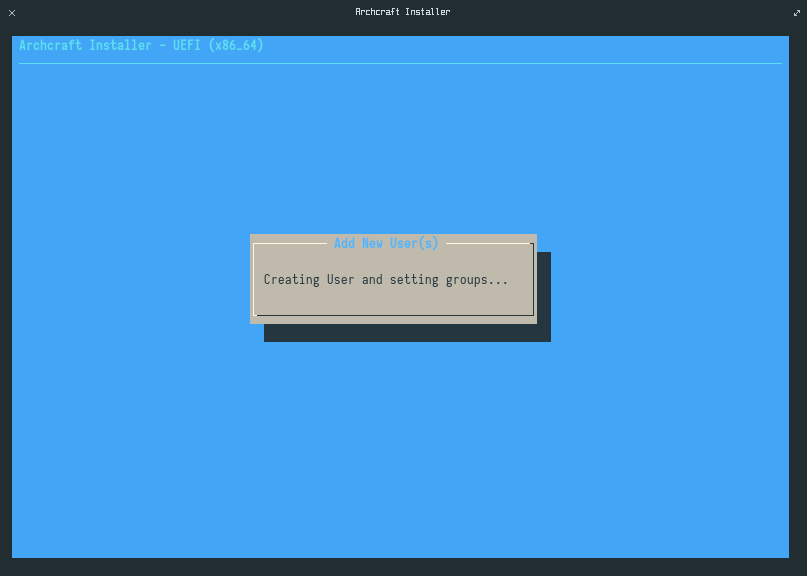
"Add New User(s)" & press Enter. You can create multiple user accounts here.
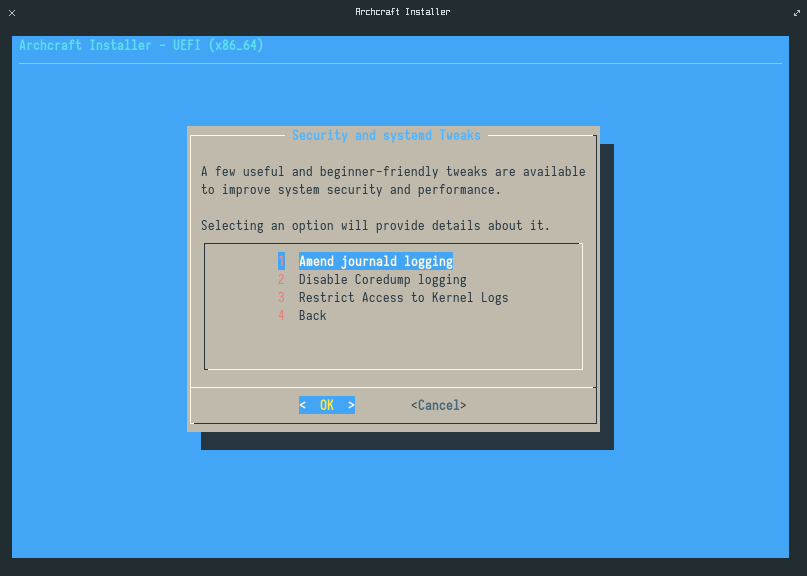
"Security and systemd Tweaks" & press Enter.
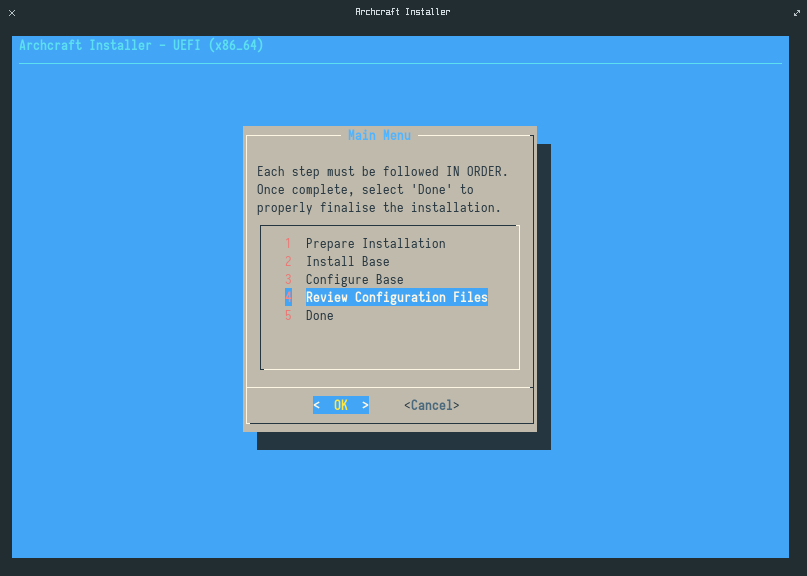
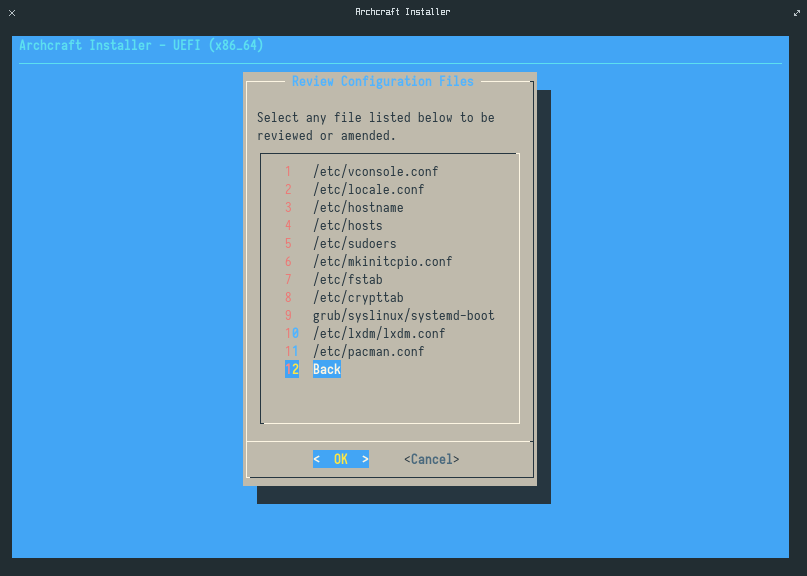
"Review Configuration Files" & press Enter.
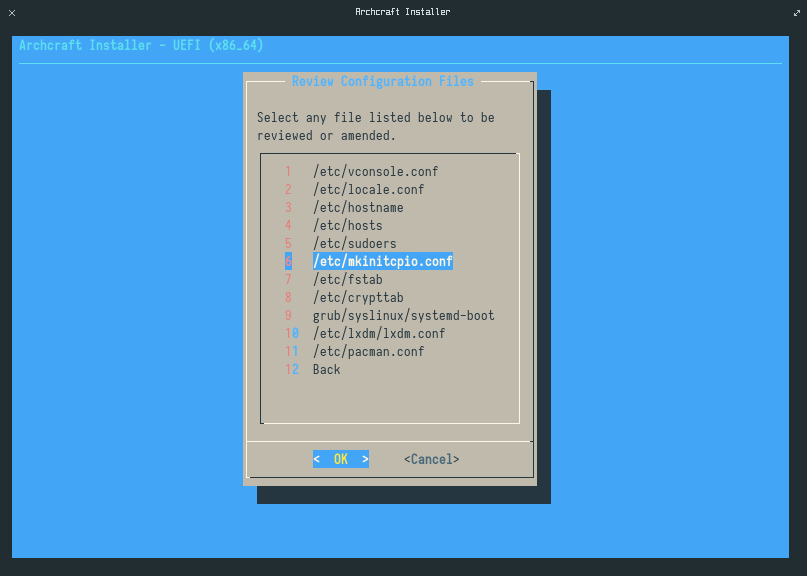
"BACK" & press Enter.
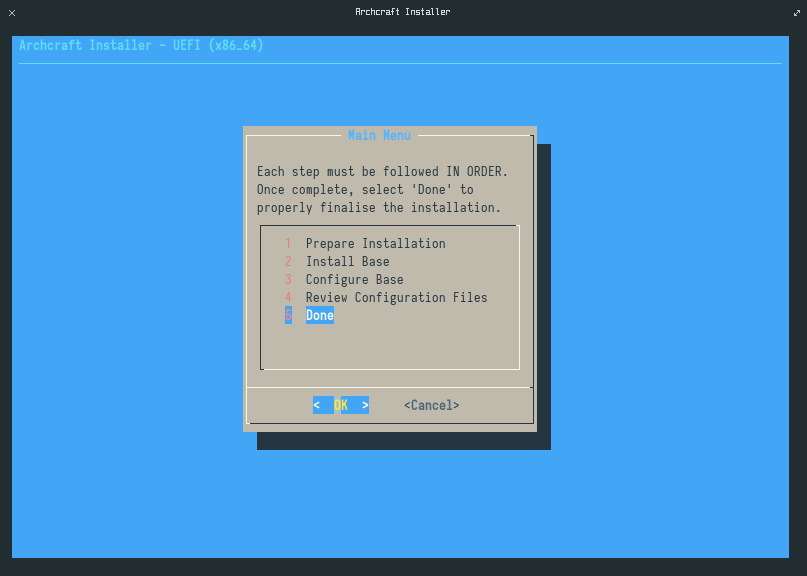
"Done" & press Enter.
"Yes" & exit the installer.
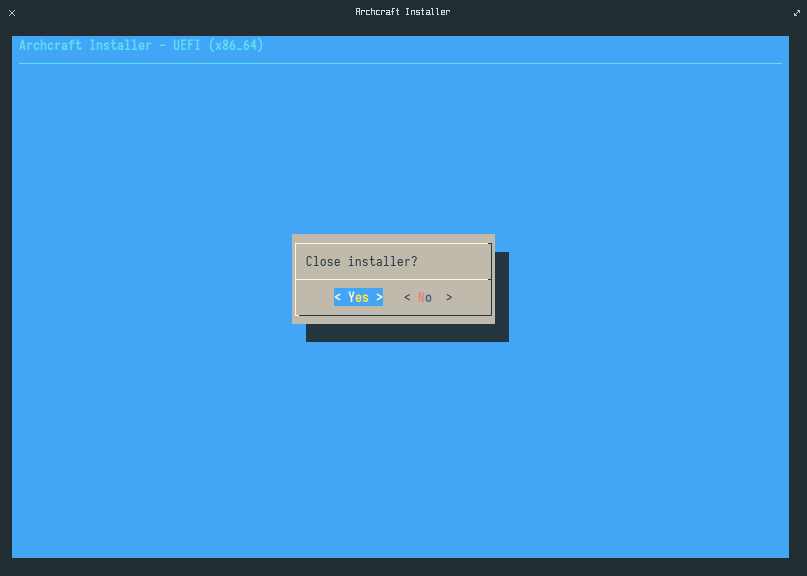
That's it! Archcraft is installed on your system. Reboot the machine & enjoy your new OS.