# console2svg
Easily convert terminal output into SVG images. truecolor, animation, cropping and many appearance options are supported.
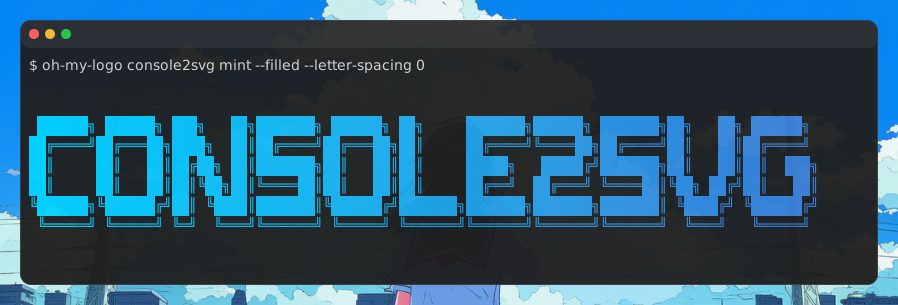
> Of course, this hero image is [generated](https://github.com/arika0093/console2svg/blob/main/scripts/image-gen.sh#L2-L3) using console2svg itself.
* [Why console2svg?](#why-console2svg)
* [Overview](#overview)
* [Install](#install)
* [Usage](#usage)
* [Appearance options](#appearance-options)
## Why console2svg?
Console screenshots in raster formats (PNG, etc.) often make text look blurry. console2svg converts console output into vector SVG images so you can save your terminal as a crisp, scalable image.
For example, let's open [this image](https://raw.githubusercontent.com/arika0093/console2svg/refs/heads/main/assets/cmd-hero-grad.svg) in your browser and zoom in — the text remains sharp at any scale 👀
There are similar tools, but console2svg stands out for:
* [**No dependencies**](#install): no additional software or libraries required. available as npm, dotnet tool and static binary.
* [**Video mode**](#animated-svg): save command execution animations as SVG. great for documentation and blog posts.
* [**Crop**](#static-svg-with-crop): trim specific parts of the output. Crop based on text patterns is also supported, making it easy to trim specific lines or sections.
* [**Background and window**](#window-chrome): add background and window frames to produce presentation-ready SVGs for documentation, blogs, social media, etc.
* [**CI friendly**](#github-actions): with features like replay and timeout, it can generate both static and animated SVGs in CI environments, minimizing discrepancies between code and images.
* [**Windows support**](#supported-platforms): works on Windows, macOS and Linux.
* [**Support many format**](#convert-to-other-formats): By incorporating `ffmpeg` and `resvg`, it can output not only SVG but also various formats such as PNG, MP4, GIF, etc.
## Overview
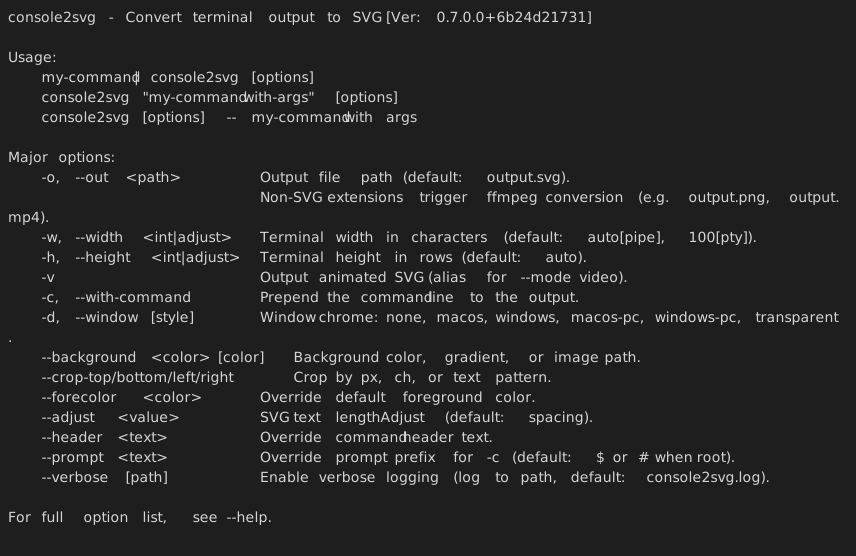
The simplest way to use it is to just put the command you want to run after `console2svg`. For example, the following command converts the description text of `console2svg` into SVG (oh, how meta).
```bash
console2svg console2svg
```
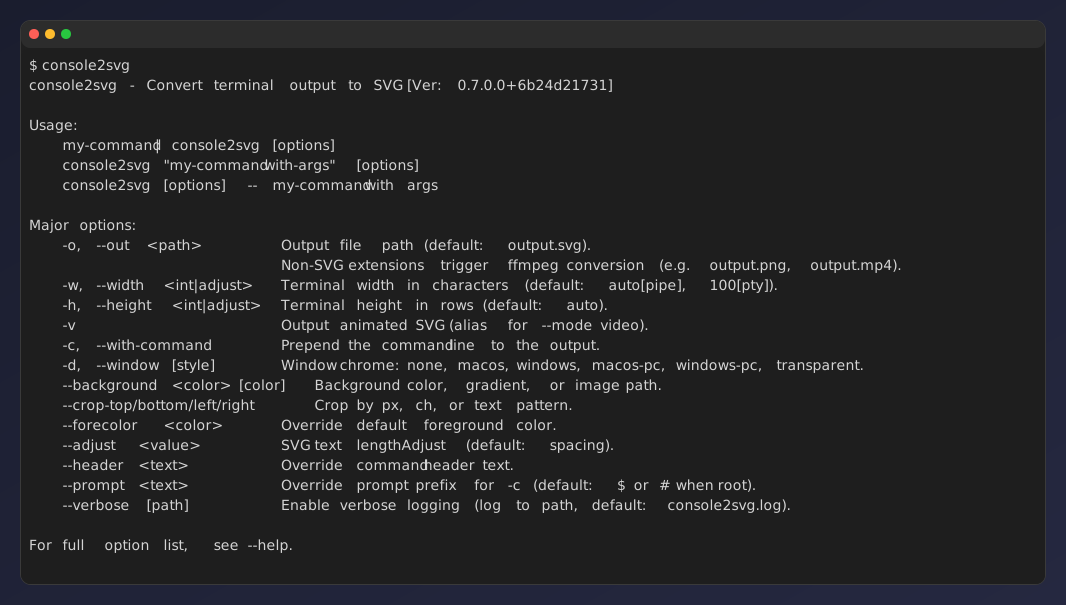
You can also generate SVG with a window frame. and some options to customize the appearance.
For example, `-w` specifies the width, `-c` is an option to display the command at the beginning of the output, and `-d` is an option to specify the style of the window frame, where we specify a macOS-like frame. If the command is long, you can also write it together after `--`.
```bash
console2svg -w 120 -c -d macos-pc -- console2svg
```
---
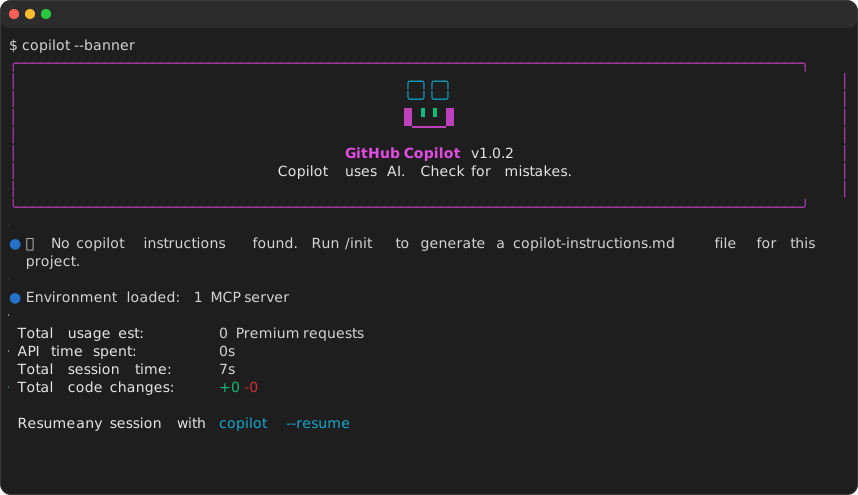
In video mode(`-v`), you can capture the animation of the command execution and save it as an SVG.
By using the [replay feature](#replay-input), you can save the command execution record and later regenerate the SVG based on that record.
```bash
console2svg -v -c -d macos -- copilot --banner
```
## Install
[](https://www.nuget.org/packages/ConsoleToSvg/) [](https://www.npmjs.com/package/console2svg) [](https://github.com/arika0093/console2svg/releases/latest)
You can install it as a global tool using the dotnet or npm package manager.
```sh
# dotnet global tool
dotnet tool install -g ConsoleToSvg
# npm global package
npm install -g console2svg
```
It is also available as a standalone binary that you can download from the releases page and add to your PATH.
```sh
# ubuntu
curl -sSL https://github.com/arika0093/console2svg/releases/latest/download/console2svg.amd64.deb -o console2svg.deb
dpkg -i console2svg.deb
# linux
curl -sSL https://github.com/arika0093/console2svg/releases/latest/download/console2svg-linux-x64 -o console2svg
mv -f console2svg /usr/local/bin/
chmod +x /usr/local/bin/console2svg
# windows (binary only)
curl -sSL https://github.com/arika0093/console2svg/releases/latest/download/console2svg-win-x64.exe -o console2svg.exe
# windows (with ffmpeg)
curl -sSL https://github.com/arika0093/console2svg/releases/latest/download/console2svg-win-x64-ffmpeg.zip -o console2svg-win-x64-ffmpeg.zip
unzip console2svg-win-x64-ffmpeg.zip -d console2svg
cd console2svg
```
### GitHub Actions
A convenient GitHub Action is also available for use in CI. To use the latest version of `console2svg`, simply add the following step to your workflow:
```yaml
- uses: arika0093/console2svg@main
```
Example usage in GitHub Actions
Full workflow example that generates an SVG and commits it back:
```yaml
jobs:
gen:
runs-on: ubuntu-latest
permissions:
contents: write
steps:
- name: Checkout
uses: actions/checkout@v4
- name: Setup console2svg
uses: arika0093/console2svg@main
- name: Generate SVG
run: console2svg -w 120 -c -d macos-pc -o output.svg -- dotnet --version
- name: Commit Changes
uses: stefanzweifel/git-auto-commit-action@v7
with:
commit_message: "[skip-ci] chore: regenerate SVG"
```
CI environment variables override
Some libraries (for example [chalk](https://www.npmjs.com/package/chalk)) detect CI environments and automatically disable color output. However, when generating SVGs you always want color enabled. Therefore, console2svg automatically sets and removes the following environment variables by default:
* `TERM=xterm-256color`: set to enable color support.
* `COLORTERM=truecolor`: enable TrueColor output.
* `FORCE_COLOR=3`: same; `3` indicates TrueColor.
* `CI` (deleted): removed because some libraries disable color when they detect a CI environment.
* `TF_BUILD` (deleted): removed for the same reason (used by Azure Pipelines).
To disable this behavior, use the `--no-colorenv` and `--no-delete-envs` options.
> [!TIP]
> This repository uses this action itself to automatically regenerate all the SVG images in the [`assets/`](assets/) directory whenever a new release is published.
## Usage
### Pipe mode
Width and height default to the current terminal dimensions.
```sh
my-command | console2svg
```
### PTY command mode
Width is 100 characters by default, and height is automatically adjusted to fit the content.
```sh
console2svg "git log --oneline"
# or
console2svg -- git log --oneline
```
If you want to set a fixed width and height, you can use the `-w` and `-h` options.
```sh
console2svg -w 120 -h 20 -- git log --oneline
```
### Static SVG with crop
You can crop the output by specifying the number of pixels or characters to crop from each side.
```sh
# ch: character width, px: pixel
console2svg --crop-top 1ch --crop-left 5px --crop-right 30px -- your-command
```
You can also crop at the position where a specific character appears.
When specifying a character, you can specify it like `:(number)`, which crops at a relative position from the detected line.
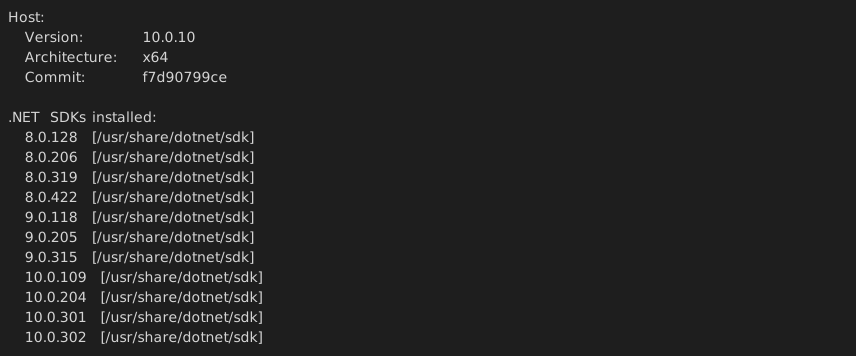
For example, the following example crops from the line where the character `Host` is located to 2 lines above the line where the character `.NET runtimes installed:` is located.
```sh
console2svg --crop-top "Host" --crop-bottom ".NET runtimes installed:-2" -- dotnet --info
```
The result will look like this.
### Animated SVG
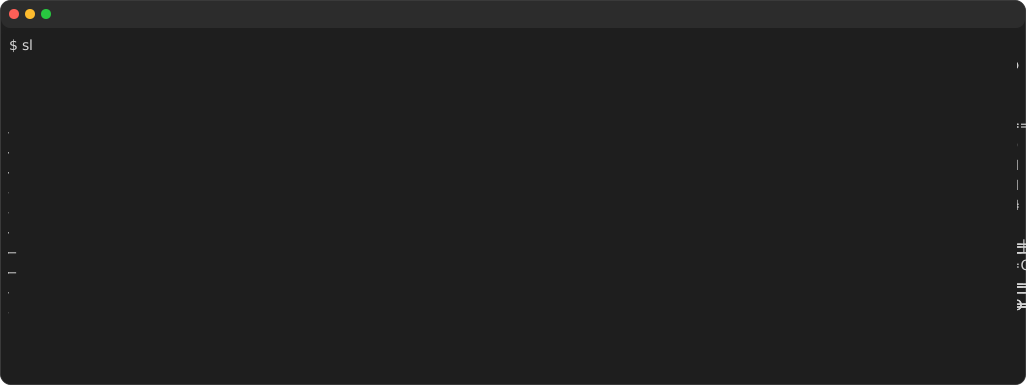
use `-m video` or `-v` to capture the animation of the command execution and save it as an SVG.
```sh
# apt install sl
console2svg -c -d -v -- sl
```
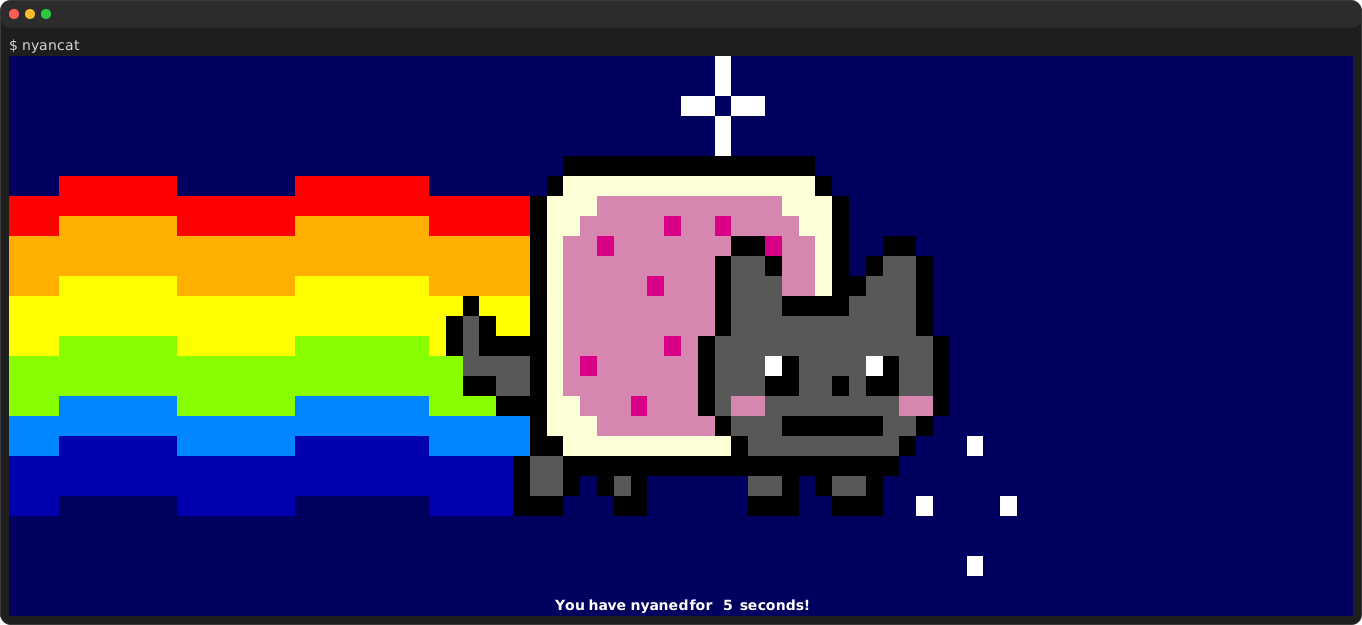
You can specify the `--timeout` option to output SVG after a certain time has elapsed.
This is useful for converting commands that do not terminate, such as `nyancat`, into SVG.
There is also a `--sleep` option to specify the stop time after playback. This allows you to display the last frame for a specified time after the command execution is finished.
```sh
# apt install nyancat
console2svg -w 160 -h 32 -c -d -v --timeout 5 --sleep 0.5 -- nyancat -d 10
```
You can also write sequential SVG files starting with `frame-0000.svg` to a specific folder.
This is useful for cherry-picking your favorite frames or converting them into a video using software like ffmpeg.
```sh
# apt install cmatrix
console2svg -c -d -v --timeout 5 --fps 30 --save-frames ./frames-dir -- cmatrix -ab
```
### Replay input
You can also save the command execution record and later regenerate the SVG based on that record.
To save the record, use the `--replay-save` option to save the command execution.
```sh
console2svg --replay-save ./replay.json -- bash
# save key inputs to replay.json
```
Then, generate the SVG based on the saved key input.
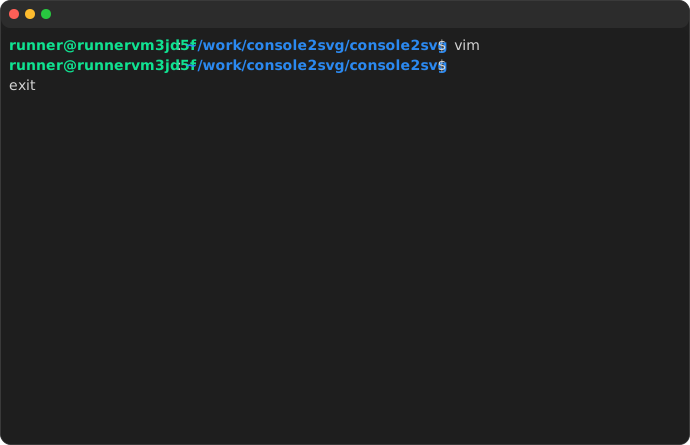
By using this feature, you can generate an SVG that records terminal operations as shown below.
```sh
console2svg -w 80 -h 20 -v -c -d macos --replay ./replay.json -- bash
```
The replay file is in a simple JSON format. If you make a mistake in the input, you can directly edit this file (or of course, you can ask AI to fix it for you).
Replay file format
```json5
// replay.json
{
"version": "1",
"appVersion": "0.4.0.2+17cc95284e",
"createdAt": "2026-03-01T06:52:43.3615812+00:00",
// If more than 1 second has passed from the total time,
// it will exit with an error as a timeout.
"totalDuration": 10.9530099,
"replay": [
{
// first event: absolute time from recording start (seconds)
"time": 1.5,
"key": "e",
"modifiers": [],
"type": "keydown"
},
{
// subsequent events: delta from the previous event (seconds)
"tick": 0.08,
"key": "c",
"modifiers": ["shift"],
"type": "keydown"
},
// and so on...
]
}
```
### Convert to other formats
In v0.7 and later, you can specify the output format based on the file extension specified with `-o output.mp4`.
First, install `ffmpeg`.
On Linux/macOS, you can easily install it using a package manager.
On Windows, it's a bit more involved, so you can use the bundled version of ffmpeg ([x64](https://github.com/arika0093/console2svg/releases/latest/download/console2svg-win-x64-ffmpeg.zip), [arm64](https://github.com/arika0093/console2svg/releases/latest/download/console2svg-win-arm64-ffmpeg.zip)).
```bash
# ubuntu
sudo apt install ffmpeg
# macos
brew install ffmpeg
# windows
curl -sSL https://github.com/arika0093/console2svg/releases/latest/download/console2svg-win-x64-ffmpeg.zip -o console2svg-win-x64-ffmpeg.zip
unzip console2svg-win-x64-ffmpeg.zip
cd console2svg
```
Then, you can specify the output file with the desired extension. For example, to convert an animated command to any format, you can use the following command:
```bash
# apt install cmatrix
console2svg -o ./output.gif -w 100 -h 24 -v -c -d macos-pc --timeout 5 --fps 30 -- cmatrix -ab
```
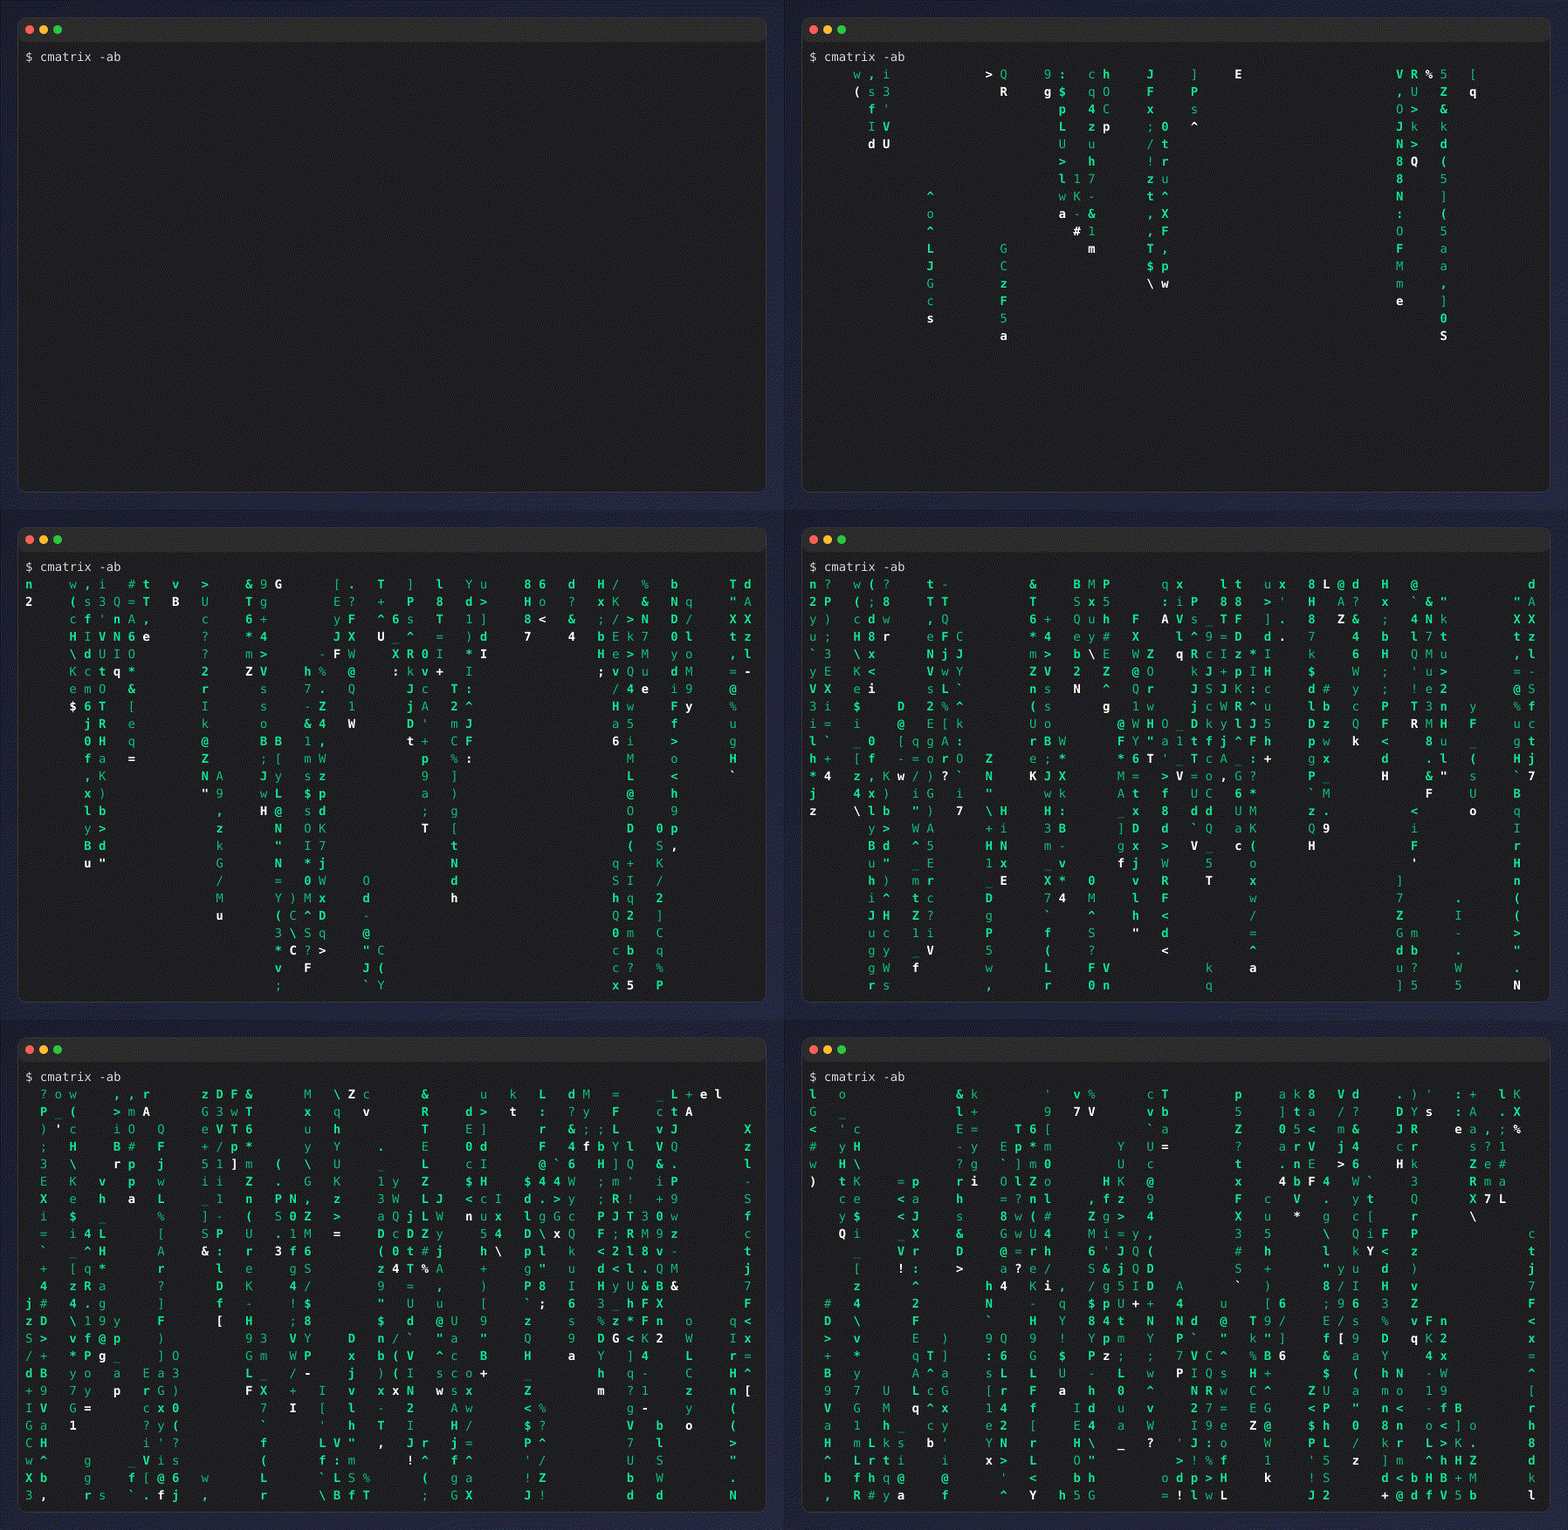
You can also output as MP4, WebM, or a static PNG/JPG by changing the extension.
## Appearance options
### Background and opacity
You can set the background color or image of the output SVG, and adjust the opacity of the background fill.
```sh
console2svg -h 10 -c -d macos-pc --background "#003060" --opacity 0.85 -- dotnet --version
```
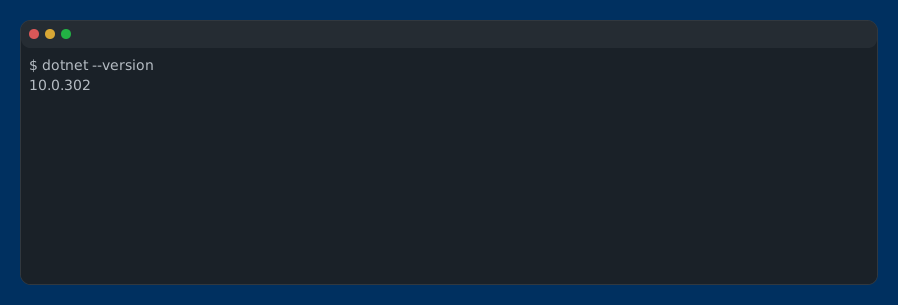
You can also set a gradient background.
```sh
console2svg -h 10 -c -d macos-pc --background "#004060" "#0080c0" --opacity 0.85 -- dotnet --version
```
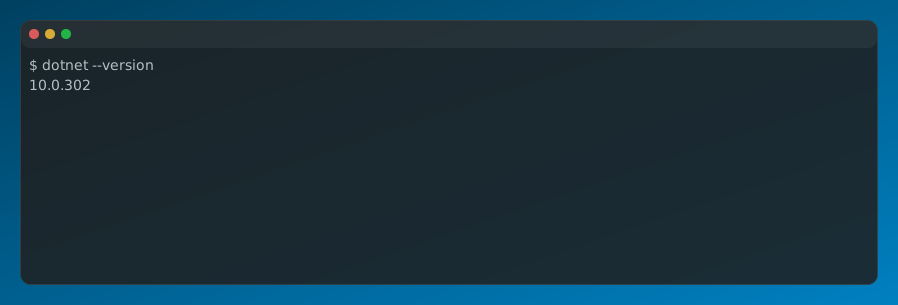
Image background is also supported.
```sh
console2svg -h 10 -c -d macos-pc --background image.png --opacity 0.85 -- dotnet --version
```
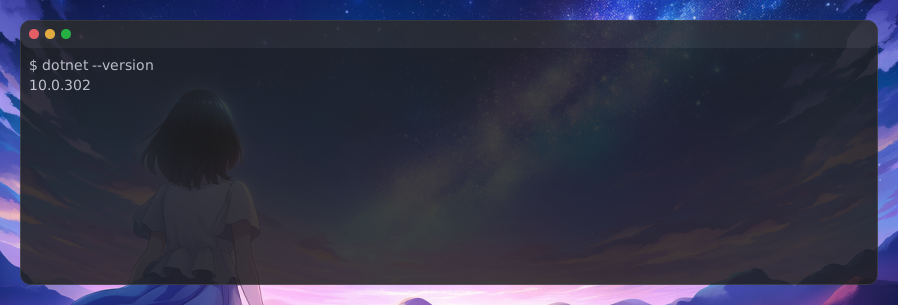
### Terminal Appearance
You can customize the appearance with various options.
For example, in the following example, the prompt (the string displayed at the beginning) is changed to `[HELLO!] $`,
the command header is changed to `my-custom-header`, and the text color is changed to `#00f040`.
```sh
console2svg -h 4 --prompt "[HELLO!] $" --header "my-custom-header" --forecolor "#00f040" --backcolor "#042515" -- echo "hi"
```
![console2svg -h 4 --prompt "[HELLO!] $" --header "my-custom-header" --forecolor "#00f040" --backcolor "#042515" -- echo "hi"](./assets/cmd-term-custom.svg)
### Window chrome
`-d` option allows you to specify the style of the window frame.
| Image | Style(`-d`) | Description |
|----------------------------------------------------------------------------|---------------|----|
| 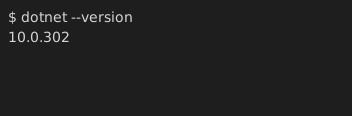 | `none` | no window frame |
|
| `none` | no window frame |
|  | `transparent` | transparent background (text-only output) |
|
| `transparent` | transparent background (text-only output) |
| 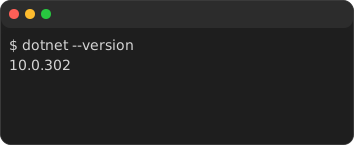 | `macos` | macOS style window frame |
|
| `macos` | macOS style window frame |
| 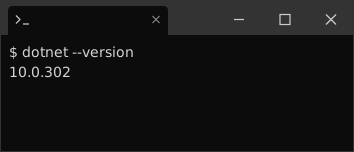 | `windows` | Windows Terminal style window frame |
`*-pc` styles are designed for use with a background, and include padding and shadows to create a "window" effect. You can also customize the padding with the `--pc-padding` option.
| Image | Style(`-d`) |
|----------------------------------------------------------------------------|---------------|
|
| `windows` | Windows Terminal style window frame |
`*-pc` styles are designed for use with a background, and include padding and shadows to create a "window" effect. You can also customize the padding with the `--pc-padding` option.
| Image | Style(`-d`) |
|----------------------------------------------------------------------------|---------------|
| 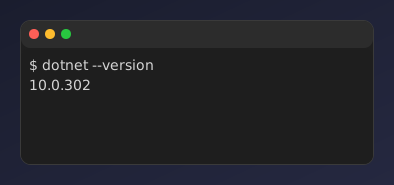 | `macos-pc` |
|
| `macos-pc` |
| 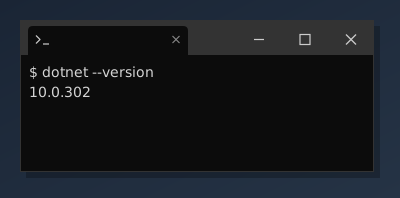 | `windows-pc` |
## Tips
### Using with `tmux`
By combining with `tmux`, you can save the step-by-step execution process of commands as SVG images.
First, open tmux. If it's not installed, install it using `apt install tmux` or `brew install tmux`, etc.
```sh
tmux
```
Execute commands in the default window (`:0`).
```bash
$ echo "say hello"
$ echo "say goodbye"
```
After completing the command execution you want to record, open a new window with `ctrl+b c`. Then, run `tmux capture-pane | console2svg` to save the content of the original window as SVG.
```sh
# tmux options:
# -p: print the captured content to stdout
# -e: include escape sequences (for colors, etc.)
# -t :0: target the first pane (you can specify other panes as needed)
# console2svg options:
# -h 12: set the height of the output SVG to 12 lines (adjust as needed)
tmux capture-pane -pe -t :0 | console2svg -h 12 -o capture-$(date +%s).svg
```
| `windows-pc` |
## Tips
### Using with `tmux`
By combining with `tmux`, you can save the step-by-step execution process of commands as SVG images.
First, open tmux. If it's not installed, install it using `apt install tmux` or `brew install tmux`, etc.
```sh
tmux
```
Execute commands in the default window (`:0`).
```bash
$ echo "say hello"
$ echo "say goodbye"
```
After completing the command execution you want to record, open a new window with `ctrl+b c`. Then, run `tmux capture-pane | console2svg` to save the content of the original window as SVG.
```sh
# tmux options:
# -p: print the captured content to stdout
# -e: include escape sequences (for colors, etc.)
# -t :0: target the first pane (you can specify other panes as needed)
# console2svg options:
# -h 12: set the height of the output SVG to 12 lines (adjust as needed)
tmux capture-pane -pe -t :0 | console2svg -h 12 -o capture-$(date +%s).svg
```
Recording and replaying tmux usage
With the power of `console2svg`, you can even record and explain how to use `console2svg` itself :)

tmux capture-pane result example
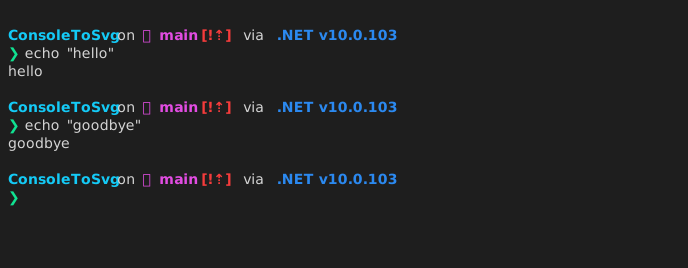
Then repeat the workflow: press `ctrl+b p` to return to the original window, work on your commands, press `ctrl+b n` to switch to the SVG capture pane, and run the `console2svg` command. This allows you to progressively save the command execution process as SVG images.
Of course, you can also save all lines (useful for evidence). In that case, specify the `-S -` option on the tmux side to capture the entire screen.
```sh
tmux capture-pane -pe -S - -t :0 | console2svg -o full-capture-$(date +%s).svg
```
## Supported platforms
* Windows 10 and later (required `ConPTY`)
* Linux (tested on Ubuntu 24.04, but should work on other distributions as well)
* macOS (ver 0.6.2 and later support macOS(arm64) natively)
## Options
### Major options
* `-o`: Output SVG file path (default: `output.svg`)
* `-c`: Prepend the command line to the output as if typed in a terminal.
* `-w`: width of the output SVG (default: terminal width[pipe], 100ch[pty])
* `-h`: height of the output SVG (default: terminal height[pipe], auto[pty])
* `-v`: output to video mode SVG (animated, looped by default)
* `-d`: window chrome style (none, macos, windows, macos-pc, windows-pc, transparent, ...)
* `--background`: background color or image for the output SVG
* `--forecolor`: override default console foreground color
* `--header`: override command header text (shown even without `-c`)
* `--prompt`: override prompt prefix for `-c` (default: `$` or `#` when root)
* `--verbose`: enable verbose logging
* `--crop-*`: crop the output by specified pixels, characters, or text patterns