



## Introduction
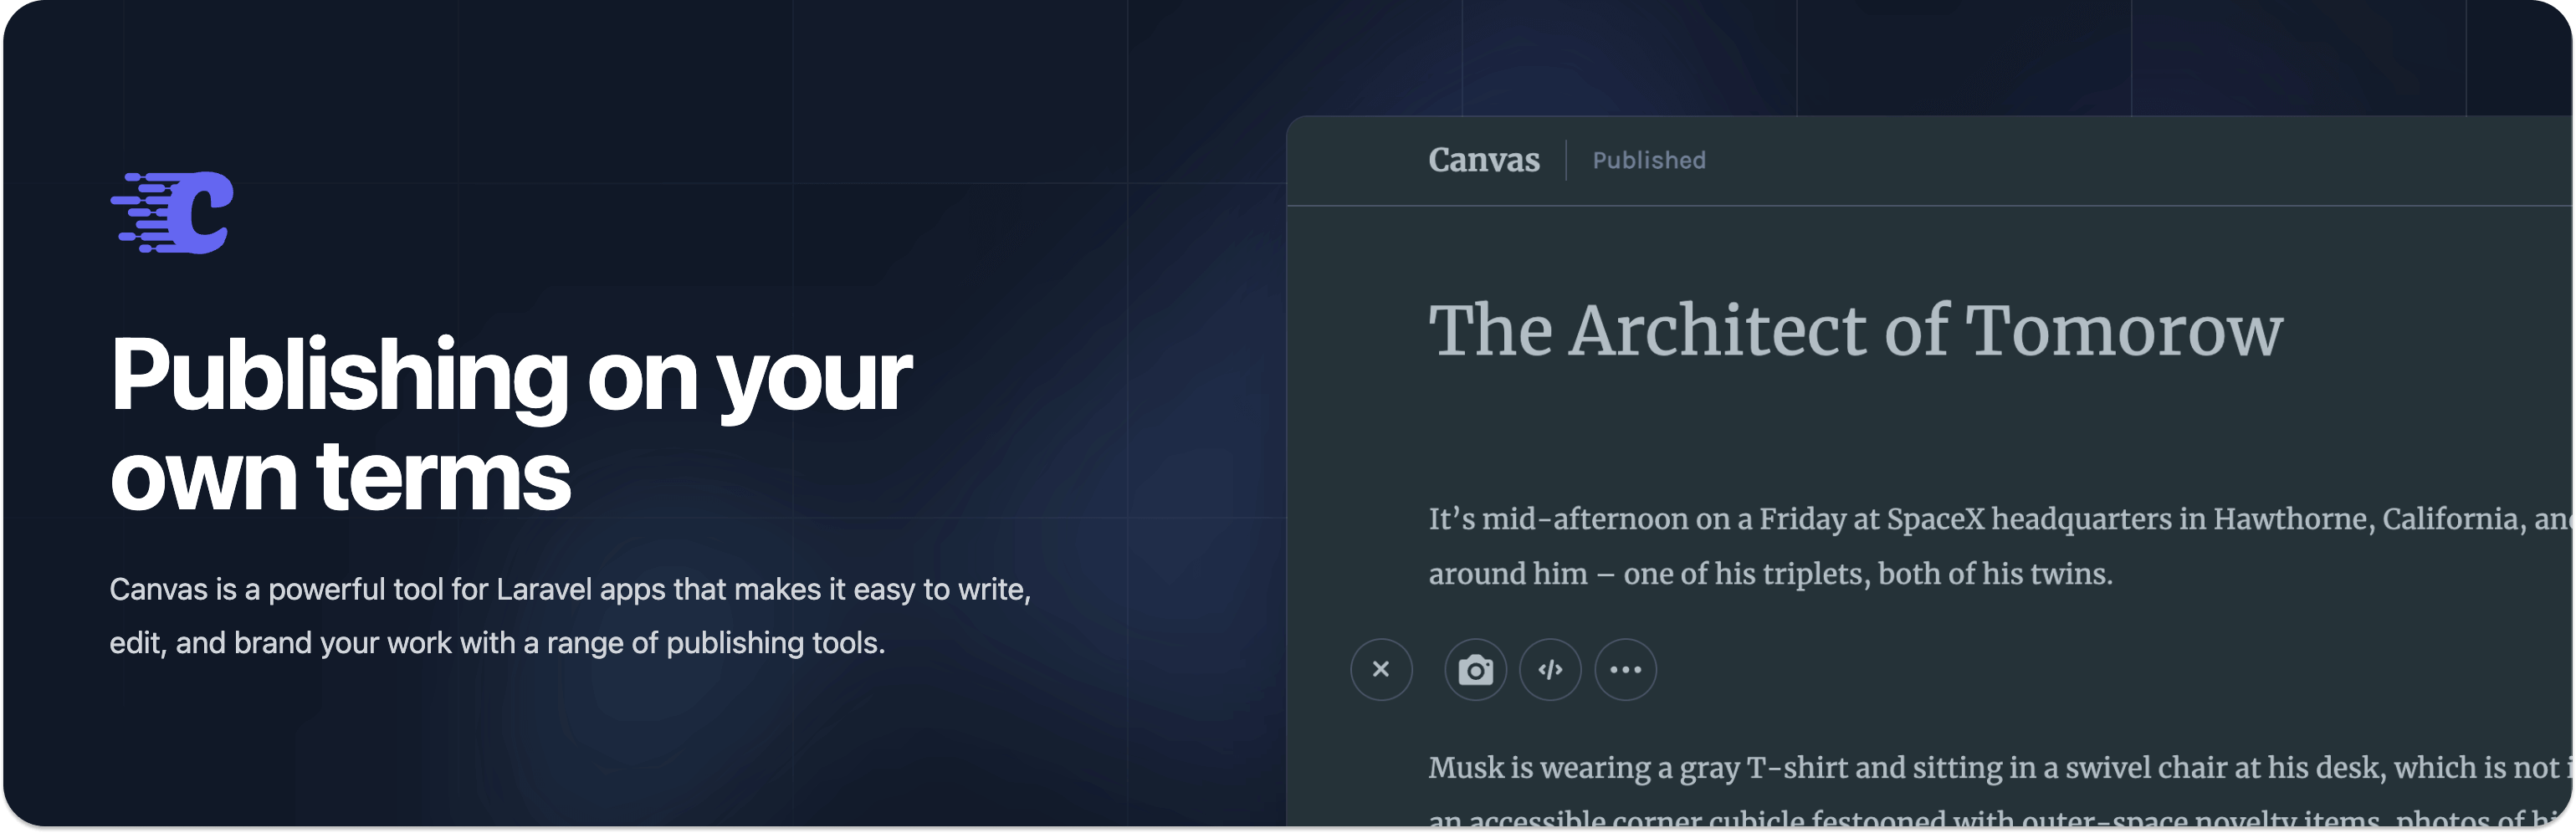
Canvas is a fully open source package to extend your existing [Laravel](https://laravel.com) application and get you up-and-running with a blog in just a few minutes. In addition to a distraction-free writing experience, you can view monthly trends on your content, get insights into reader traffic and more!
## System Requirements
- PHP >= 7.3
- Laravel >= 6.0
- One of the [five supported databases](https://laravel.com/docs/10.x/database#introduction) by Laravel
## Installation
You may use composer to install Canvas into your Laravel project:
```bash
composer require austintoddj/canvas
```
Publish the assets and primary configuration file using the `canvas:install` Artisan command:
```bash
php artisan canvas:install
```
Create a symbolic link to ensure file uploads are publicly accessible from the web using the `storage:link` Artisan command:
```bash
php artisan storage:link
```
## Configuration
After publishing Canvas's assets, a primary configuration file will be located at `config/canvas.php`. This file allows you to customize various aspects of how your application uses the package.
Canvas exposes its UI at `/canvas` by default. This can be changed by updating either the `path` or `domain` option:
```php
/*
|--------------------------------------------------------------------------
| Base Domain
|--------------------------------------------------------------------------
|
| This is the subdomain where Canvas will be accessible from. If the
| domain is set to null, Canvas will reside under the defined base
| path below. Otherwise, this will be used as the subdomain.
|
*/
'domain' => env('CANVAS_DOMAIN', null),
/*
|--------------------------------------------------------------------------
| Base Path
|--------------------------------------------------------------------------
|
| This is the URI where Canvas will be accessible from. If the path
| is set to null, Canvas will reside under the same path name as
| the application. Otherwise, this is used as the base path.
|
*/
'path' => env('CANVAS_PATH_NAME', 'canvas'),
```
Sometimes, you may want to apply custom roles or permissions when accessing Canvas. You can create and attach any additional middleware here:
```php
/*
|--------------------------------------------------------------------------
| Route Middleware
|--------------------------------------------------------------------------
|
| These middleware will be attached to every route in Canvas, giving you
| the chance to add your own middleware to this list or change any of
| the existing middleware. Or, you can simply stick with the list.
|
*/
'middleware' => [
'web',
],
```
Canvas uses the storage disk for media uploads. You may configure the different filesystem options here:
```php
/*
|--------------------------------------------------------------------------
| Storage
|--------------------------------------------------------------------------
|
| This is the storage disk Canvas will use to put file uploads. You may
| use any of the disks defined in the config/filesystems.php file and
| you may also change the maximum upload size from its 3MB default.
|
*/
'storage_disk' => env('CANVAS_STORAGE_DISK', 'local'),
'storage_path' => env('CANVAS_STORAGE_PATH', 'public/canvas'),
'upload_filesize' => env('CANVAS_UPLOAD_FILESIZE', 3145728),
```
## Roles & Permissions
Canvas comes with 3 pre-defined roles out-of-the-box:
- **Contributor** (A user who can write and manage their own posts but cannot publish them)
- **Editor** (A user who can publish and manage posts including the posts of other users)
- **Admin** (A user who can do everything and see everything)
When you install a fresh version of Canvas, you'll have a default admin user set up automatically. From there, you can perform any basic CRUD actions on users, as well as assign their various roles.
## Canvas UI
**Want a beautiful, Medium.com-inspired frontend?** Use the `canvas:ui` Artisan command to install the scaffolding:
```bash
php artisan canvas:ui
```
After generating the frontend scaffolding, your `package.json` file will include the necessary dependencies to install and compile:
```bash
# Using NPM
npm install
npm run dev
# Using Yarn
yarn
yarn dev
```
That's it! You can navigate to `/canvas-ui` and check it out for yourself. You're free to modify any aspect of it
that you'd like.
## Unsplash Integration
**Want access to the entire [Unsplash](https://unsplash.com) library?** Set up a new application at [https://unsplash.com/oauth/applications](https://unsplash.com/oauth/applications), grab your access key, and update `config/canvas.php`:
```php
/*
|--------------------------------------------------------------------------
| Unsplash Integration
|--------------------------------------------------------------------------
|
| Visit https://unsplash.com/oauth/applications to create a new Unsplash
| app. Use the confidential Access Key given to you to integrate with
| the API. Note that demo apps are limited to 50 requests per hour.
|
*/
'unsplash' => [
'access_key' => env('CANVAS_UNSPLASH_ACCESS_KEY'),
]
```
## E-mail Notifications
**Want a weekly summary?** Canvas allows users to receive a weekly digest of their authored content. Once your application is [configured for sending mail](https://laravel.com/docs/10.x/mail), update `config/canvas.php`:
```php
/*
|--------------------------------------------------------------------------
| E-Mail Notifications
|--------------------------------------------------------------------------
|
| This option controls e-mail notifications that will be sent via the
| default application mail driver. A default option is provided to
| support the notification system as an opt-in feature.
|
|
*/
'mail' => [
'enabled' => env('CANVAS_MAIL_ENABLED', false),
]
```
Since this feature runs on [Laravel's Scheduler](https://laravel.com/docs/10.x/scheduling), you'll need to add the
following cron entry to your server:
```bash
* * * * * cd /path-to-your-project && php artisan schedule:run >> /dev/null 2>&1
```
## API
Installing [Canvas UI](#canvas-ui) will be the most efficient way to get up and running with a frontend interface to display your data. However many users will opt for creating this by hand since it gives flexibility to their design aesthetic.
Using the `published` scope will allow you to only retrieve posts that have a published date in the past:
```php
Canvas\Models\Post::published()->get()
```
You can also retrieve the inverse with a `draft` scope:
```php
Canvas\Models\Post::draft()->get()
```
To return a single post, you'll likely want to find it by a given slug, as well as include related entities such as:
```php
$post = Canvas\Models\Post::with('user', 'tags', 'topic')->firstWhere('slug', $slug);
```
> **Important:** In the same method that returns a post, make sure you fire the `PostViewed` event, or else a
> view/visit will not be recorded.
```php
event(new Canvas\Events\PostViewed($post));
```
You can find a tag by a given slug:
```php
Canvas\Models\Tag::with('posts')->firstWhere('slug', $slug);
```
And a similar query can be used for a topic:
```php
Canvas\Models\Topic::with('posts')->firstWhere('slug', $slug);
```
Users can be retrieved by their `id`, `username`, or `email`:
```php
$user = Canvas\Models\User::find($id);
$user = Canvas\Models\User::firstWhere('username', $username);
$user = Canvas\Models\User::firstWhere('email', $email);
```
Additionally, you can return the users' published posts with their associated topic:
```php
$user->posts()->published()->with('topic')
```
## Updates
Canvas follows [Semantic Versioning](https://semver.org) and increments versions as `MAJOR.MINOR.PATCH` numbers.
- Major versions **will** contain breaking changes, so follow the [upgrade guide](.github/UPGRADE.md) for a
step-by-step breakdown
- Minor and patch versions should **never** contain breaking changes, so you can safely update the package by following the steps below:
You may update your Canvas installation using composer:
```bash
composer update
```
Run any new migrations using the `canvas:migrate` Artisan command:
```bash
php artisan canvas:migrate
```
Re-publish the assets using the `canvas:publish` Artisan command:
```bash
php artisan canvas:publish
```
To keep the assets up-to-date and avoid issues in future updates, you may add the `canvas:publish` command to the `post-update-cmd` scripts in your application's `composer.json` file:
```bash
{
"scripts": {
"post-update-cmd": [
"@php artisan canvas:publish --ansi"
]
}
}
```
## Contributing
Thank you for considering contributing to Canvas! The [contribution guide can be found here](https://github.com/austintoddj/canvas/blob/master/.github/CONTRIBUTING.md).
## Testing
Run the tests with:
```bash
composer test
```
## Troubleshooting
If you're running into problems, feel free to [open a new issue](https://github.com/austintoddj/canvas/issues) or check the [Discussions](https://github.com/austintoddj/canvas/discussions) forum to see if anyone else has run into something similar.
## License
Canvas is open-sourced software licensed under the [MIT license](license).
## Credits
- [@austintoddj](https://twitter.com/austintoddj)
- [@talvbansal](https://twitter.com/talv)
- [@reliq](https://twitter.com/IAmReliq)
- [@mithicher](https://twitter.com/mithicher)
- [@themsaid](https://twitter.com/themsaid)
- [@NinaLimpi](https://twitter.com/NinaLimpi)