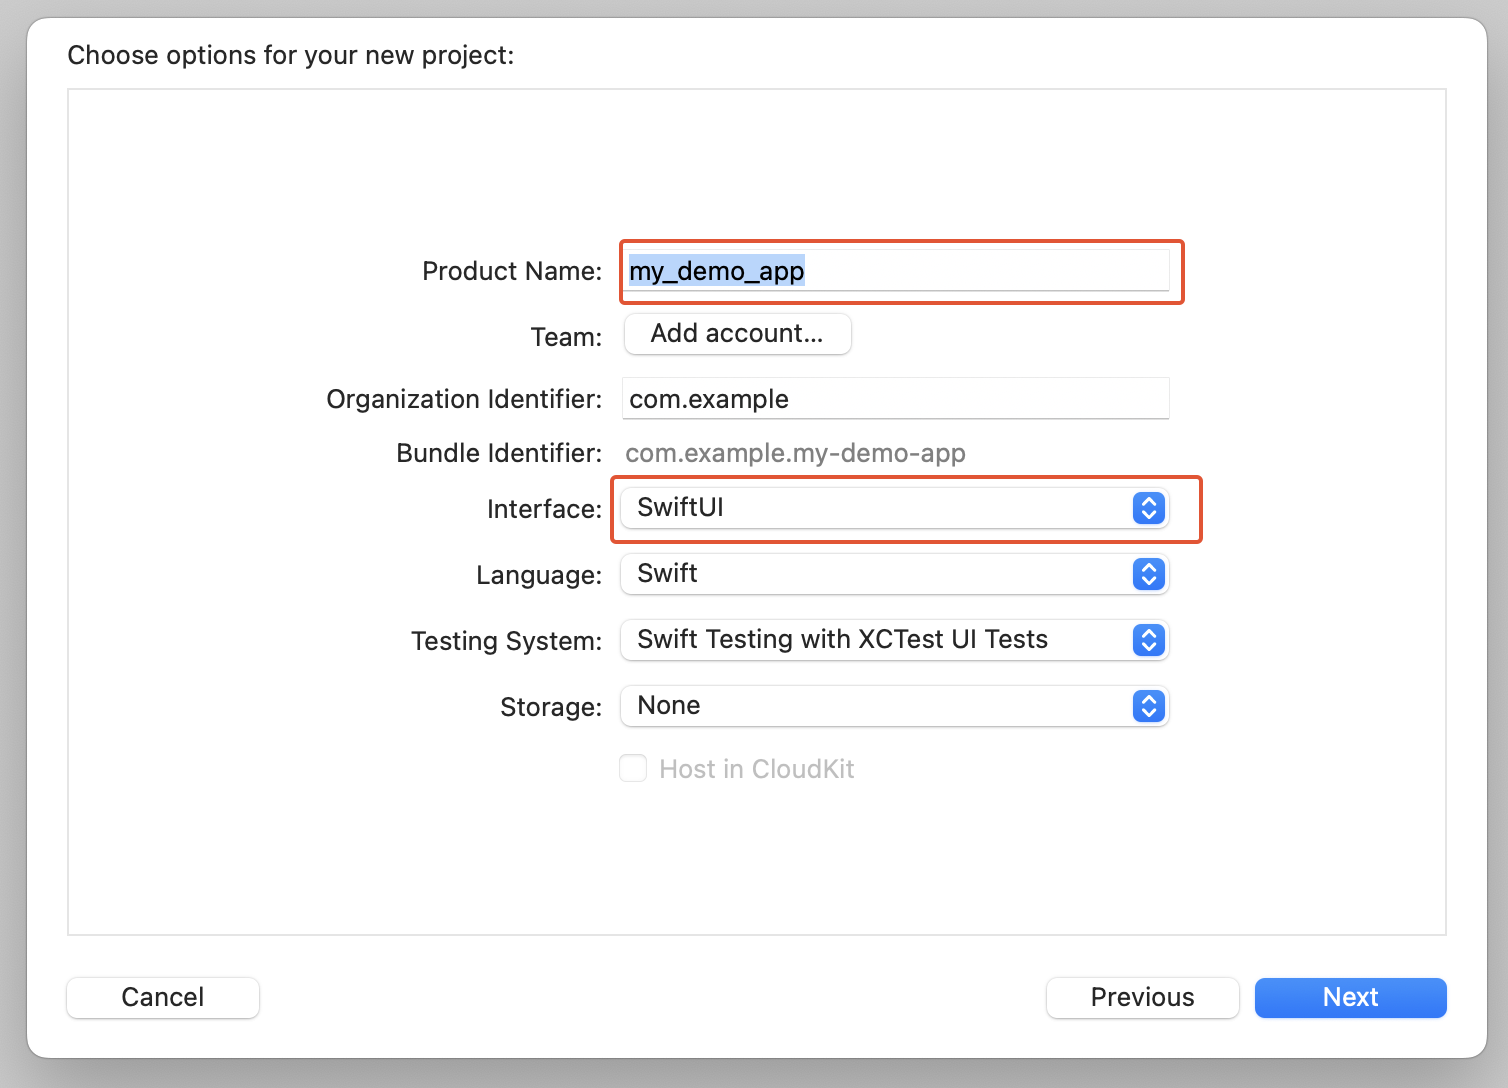

Xcode new project

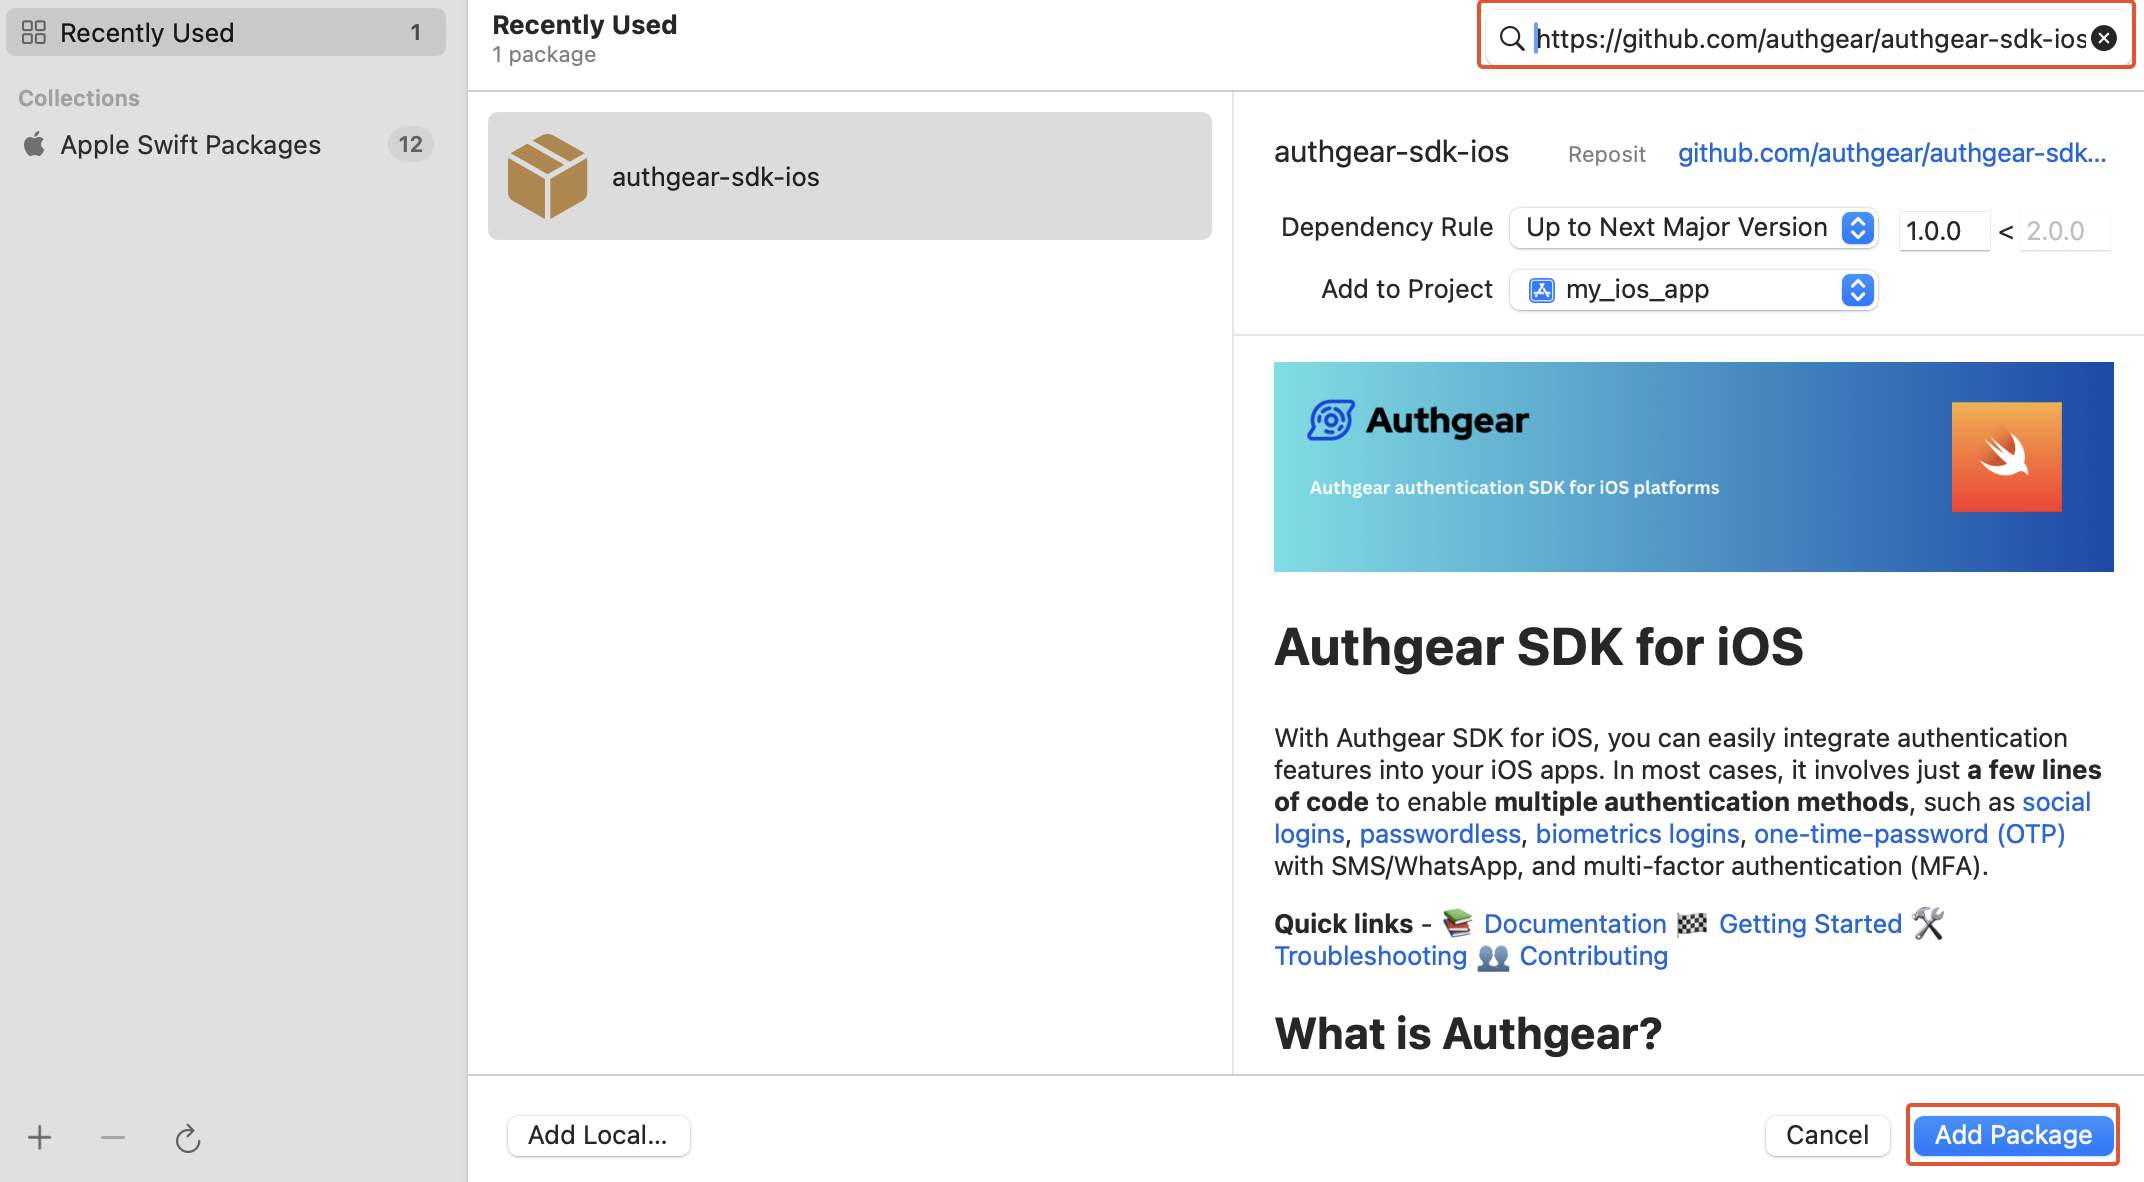
Xcode package manager
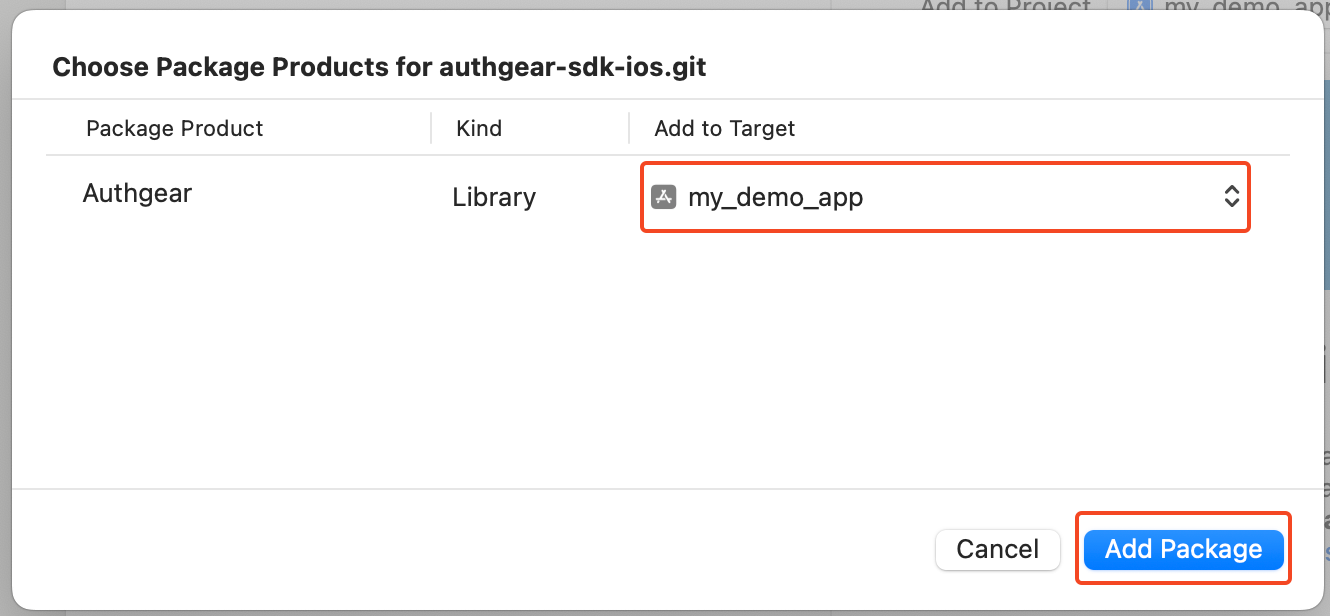
xcode add package


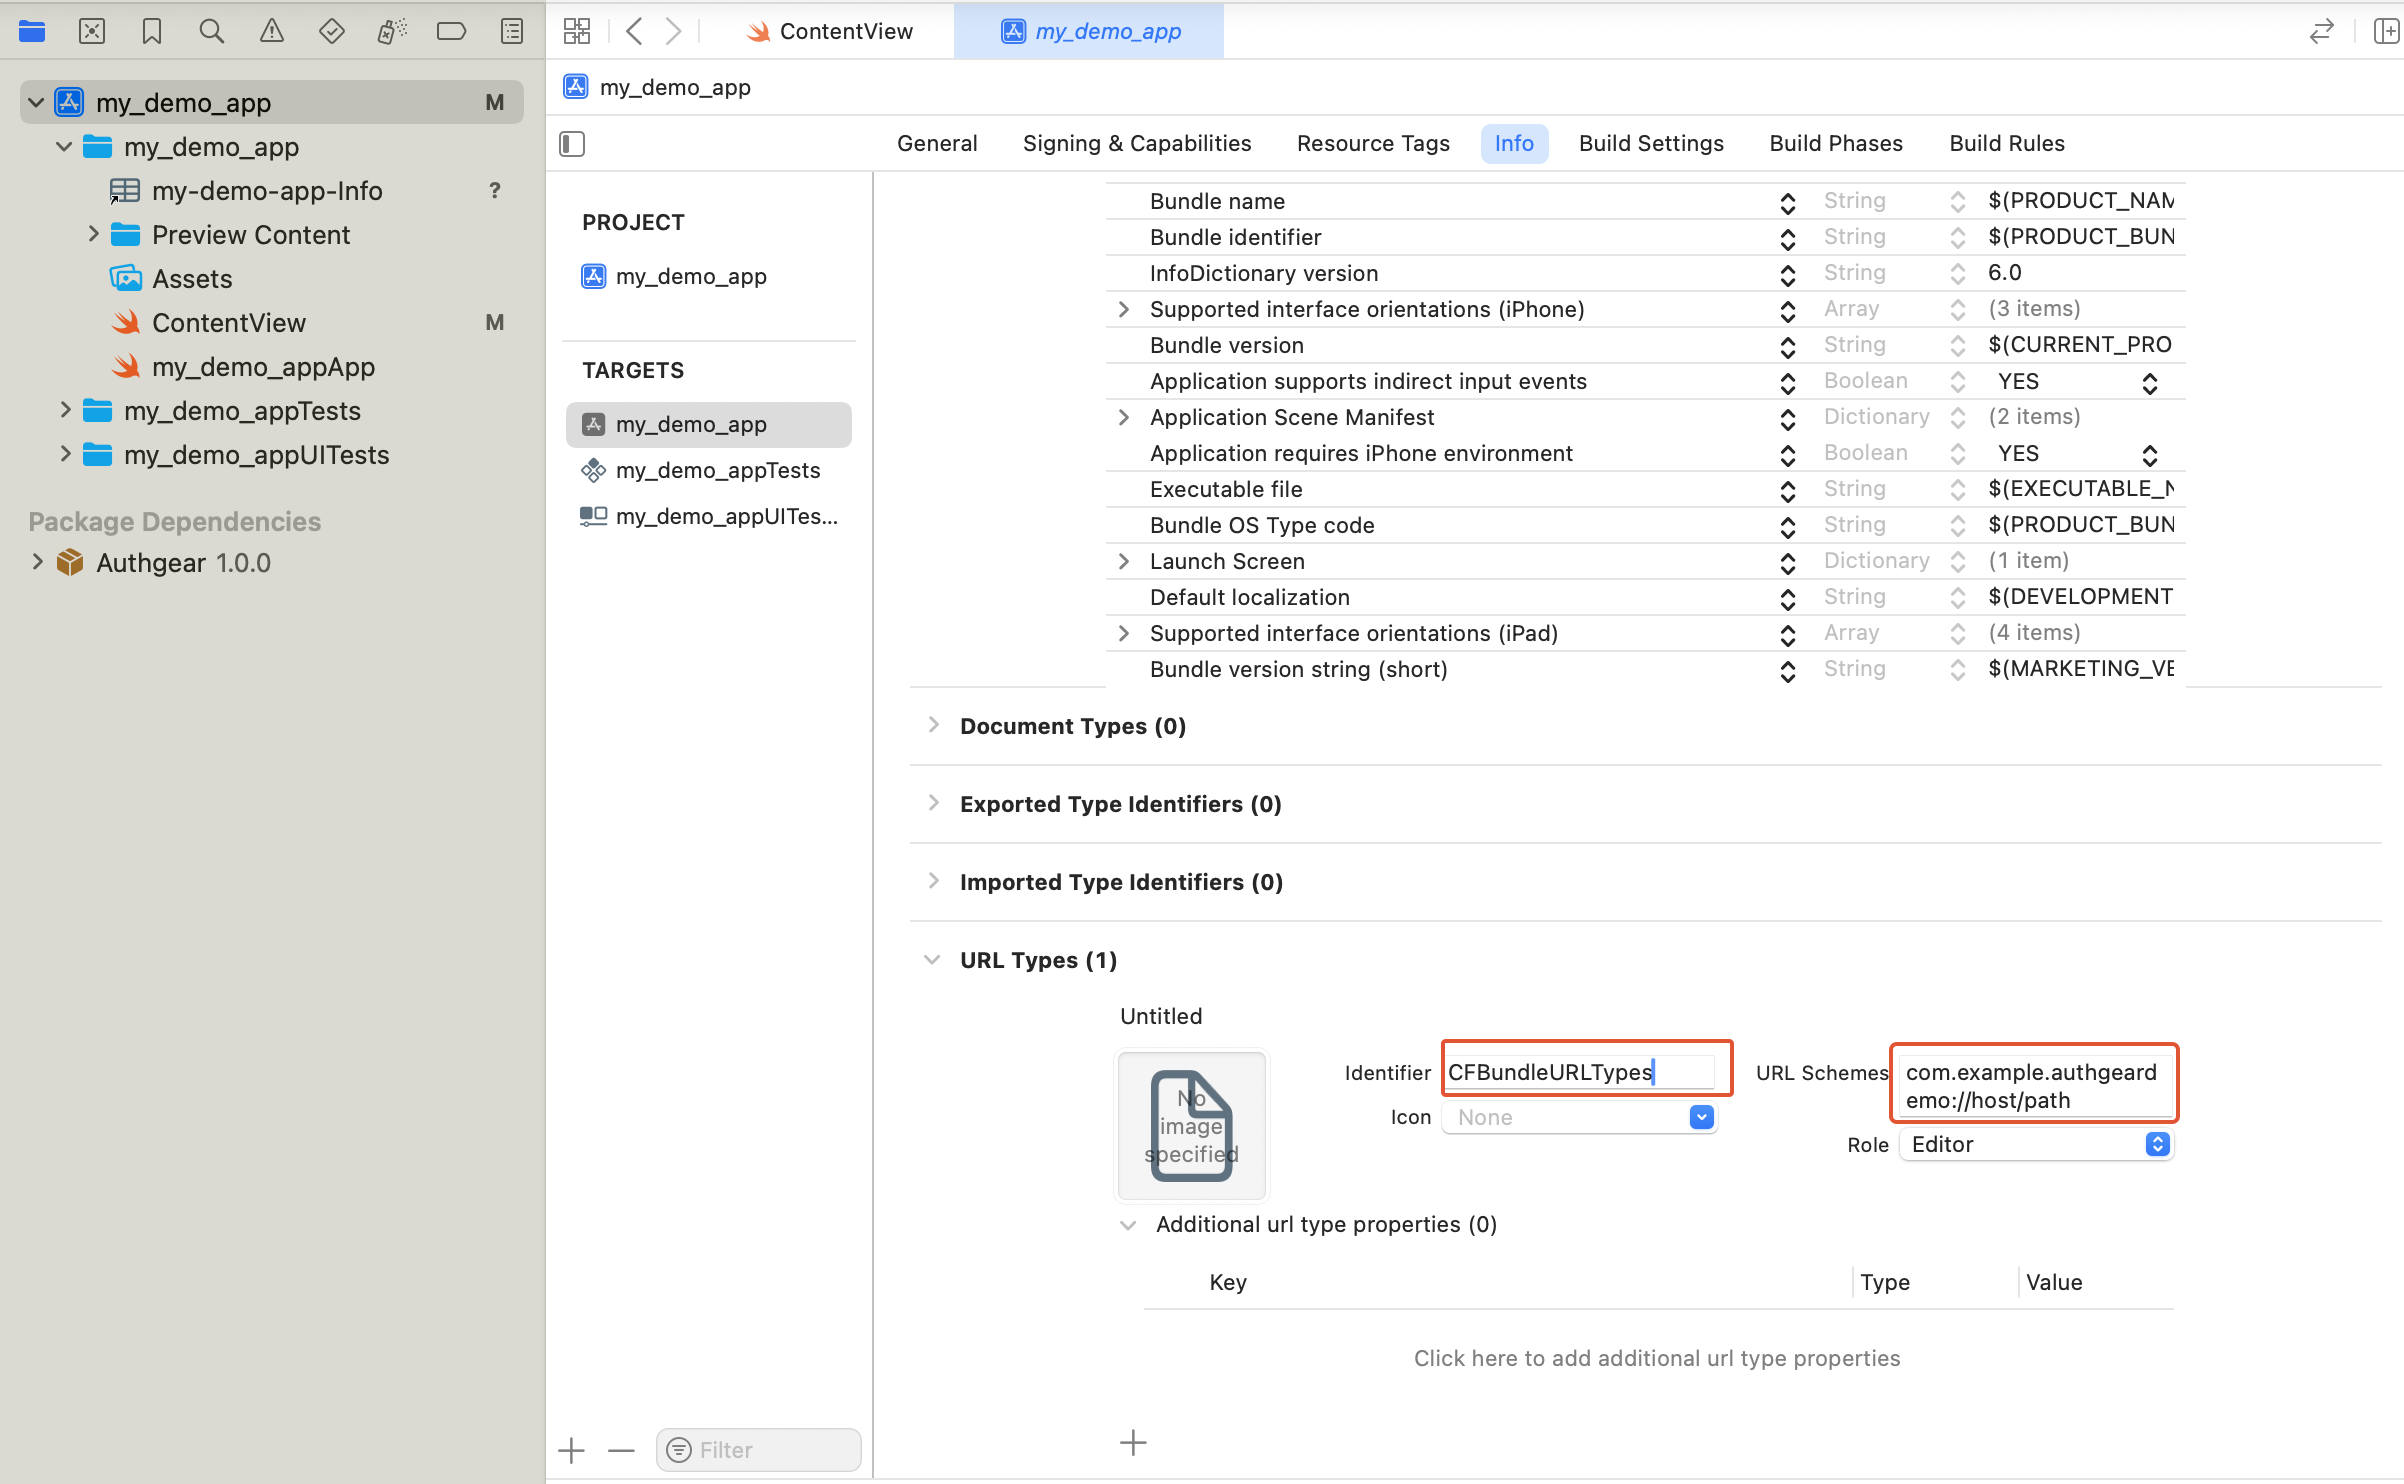
xcode project properties
<?xml version="1.0" encoding="UTF-8"?>
<!DOCTYPE plist PUBLIC "-//Apple//DTD PLIST 1.0//EN" "http://www.apple.com/DTDs/PropertyList-1.0.dtd">
<plist version="1.0">
<dict>
<!-- Other entries -->
<key>CFBundleURLTypes</key>
<array>
<dict>
<key>CFBundleTypeRole</key>
<string>Editor</string>
<key>CFBundleURLSchemes</key>
<array>
<string>com.example.authgeardemo://host/path</string>
</array>
</dict>
</array>
</dict>
</plist>
{% endtab %}
{% endtabs %}
Now run your app again and try logging in. Because we've set up a redirect URL, Authgear should redirect back to our app correctly.
### Step 7: Implement Logout method
Implement the logout method that will be executed when the Logout button is clicked by updating the empty logout function we added in the previous step:
```swift
func logout() {
isLoading = true
authgear.logout { result in
switch result {
case .success():
// logout successfully
isLoading = false
loginState = authgear.sessionState
case let .failure(error):
print("failed to logout", error)
isLoading = false// failed to login
}
}
}
```
Now clicking on the Logout button will call Authgear SDK's logout method and end the current user session.
### Step 8: Show the user information
In some cases, you may need to obtain current user info through the SDK. (e.g. Display email address in the UI). Use the `fetchUserInfo` function to obtain the user info, see [example](../../reference/apis/oauth-2.0-and-openid-connect-oidc/userinfo.md).
The Authgear SDK can return the current user's details via the UserInfo object. The authenticate method returns this userInfo object as demonstrated earlier in our app's `startAuthentication()` method. You can also call the SDK's `.fetchUserInfo()` method to get the UserInfo object.
Add a new `getCurrentUser()` method to your `ContentView` class:
```swift
func getCurrentUser() {
isLoading = true
authgear.fetchUserInfo { userInfoResult in
// sessionState is now up to date
// it will change to .noSession if the session is invalid
loginState = authgear.sessionState
switch userInfoResult {
case let .success(userInfo):
// read the userInfo if needed
userId = userInfo.sub
isLoading = false
case let .failure(error):
// failed to fetch user info
// the refresh token maybe expired or revoked
print("the refresh token maybe expired or revoked", error)
isLoading = false
}
}
}
```
Now call the new `getCurrentUser()` method in the `.onAppear()` modifier of the `VStack` like this:
```swift
.onAppear() {
authgear.configure() { result in
switch result {
case .success():
// configured successfully
// refresh access token if user has an existing session
if authgear.sessionState == SessionState.authenticated {
getCurrentUser()
}
case let .failure(error):
// failed to configured
print("config failed", error)
}
}
}
```
This will make your app refresh the access token and greet users who are already logged in with their `sub` (a unique user ID) when the launch the app. You can read other user attributes like email address, phone number, full name, etc. from [userInfo](../../reference/apis/oauth-2.0-and-openid-connect-oidc/userinfo.md).
### Step 9: Open User Settings page
Authgear offers a pre-built User Settings page that user's can use to view, and modify their profile attributes and security settings.
Implement the empty `openUserSettings()` method we added in the previous step to call the `.open()` method of the Authgear SDK:
```swift
func openUserSettings() {
authgear.open(page: SettingsPage.settings)
}
```
## Get the Logged In State
When you start launching the application. You may want to know if the user has logged in. (e.g. Show users a Login button if they haven't logged in).
The `sessionState` reflects the user logged-in state in the SDK local state. That means even if the `sessionState` is `.authenticated`, the session may be invalid if it is revoked remotely. Hence, after initializing the Authgear SDK, call `fetchUserInfo` to update the `sessionState` as soon as it is proper to do so. We demonstrated how to use `sessionState`, and `fetchUserInfo`, to get a user's true logged-in state and retrieve their UserInfo in [Step 8](ios.md#step-8-show-the-user-information).
The value of `sessionState` can be `.unknown`, `.noSession` or `.authenticated`. Initially, the `sessionState` is `.unknown`. After a call to `authgear.configure`, the session state would become `.authenticated` if a previous session was found, or `.noSession` if such session was not found.
## Using the Access Token in HTTP Requests
Call `refreshAccessTokenIfNeeded` every time before using the access token, the function will check and make the network call only if the access token has expired. Include the access token in the Authorization header of your application request.
```swift
authgear.refreshAccessTokenIfNeeded() { result in
switch result {
case .success():
// access token is ready to use
// accessToken can be empty
// it will be empty if user is not logged in or session is invalid
// include Authorization header in your application request
if let accessToken = authgear.accessToken {
// example only, you can use your own networking library
var urlRequest = URLRequest(url: "YOUR_SERVER_URL")
urlRequest.setValue(
"Bearer \(accessToken)", forHTTPHeaderField: "authorization")
// ... continue making your request
} else {
// The user is not logged in, or the token is expired.
}
case let .failure(error):
// Something went wrong
}
}
```
## Next steps
To protect your application server from unauthorized access. You will need to **integrate your backend with Authgear**.
{% content-ref url="../backend-api/" %}
[backend-api](../backend-api/)
{% endcontent-ref %}
## iOS SDK Reference
For detailed documentation on the iOS SDK, visit [iOS SDK Reference](https://authgear.github.io/authgear-sdk-ios/).