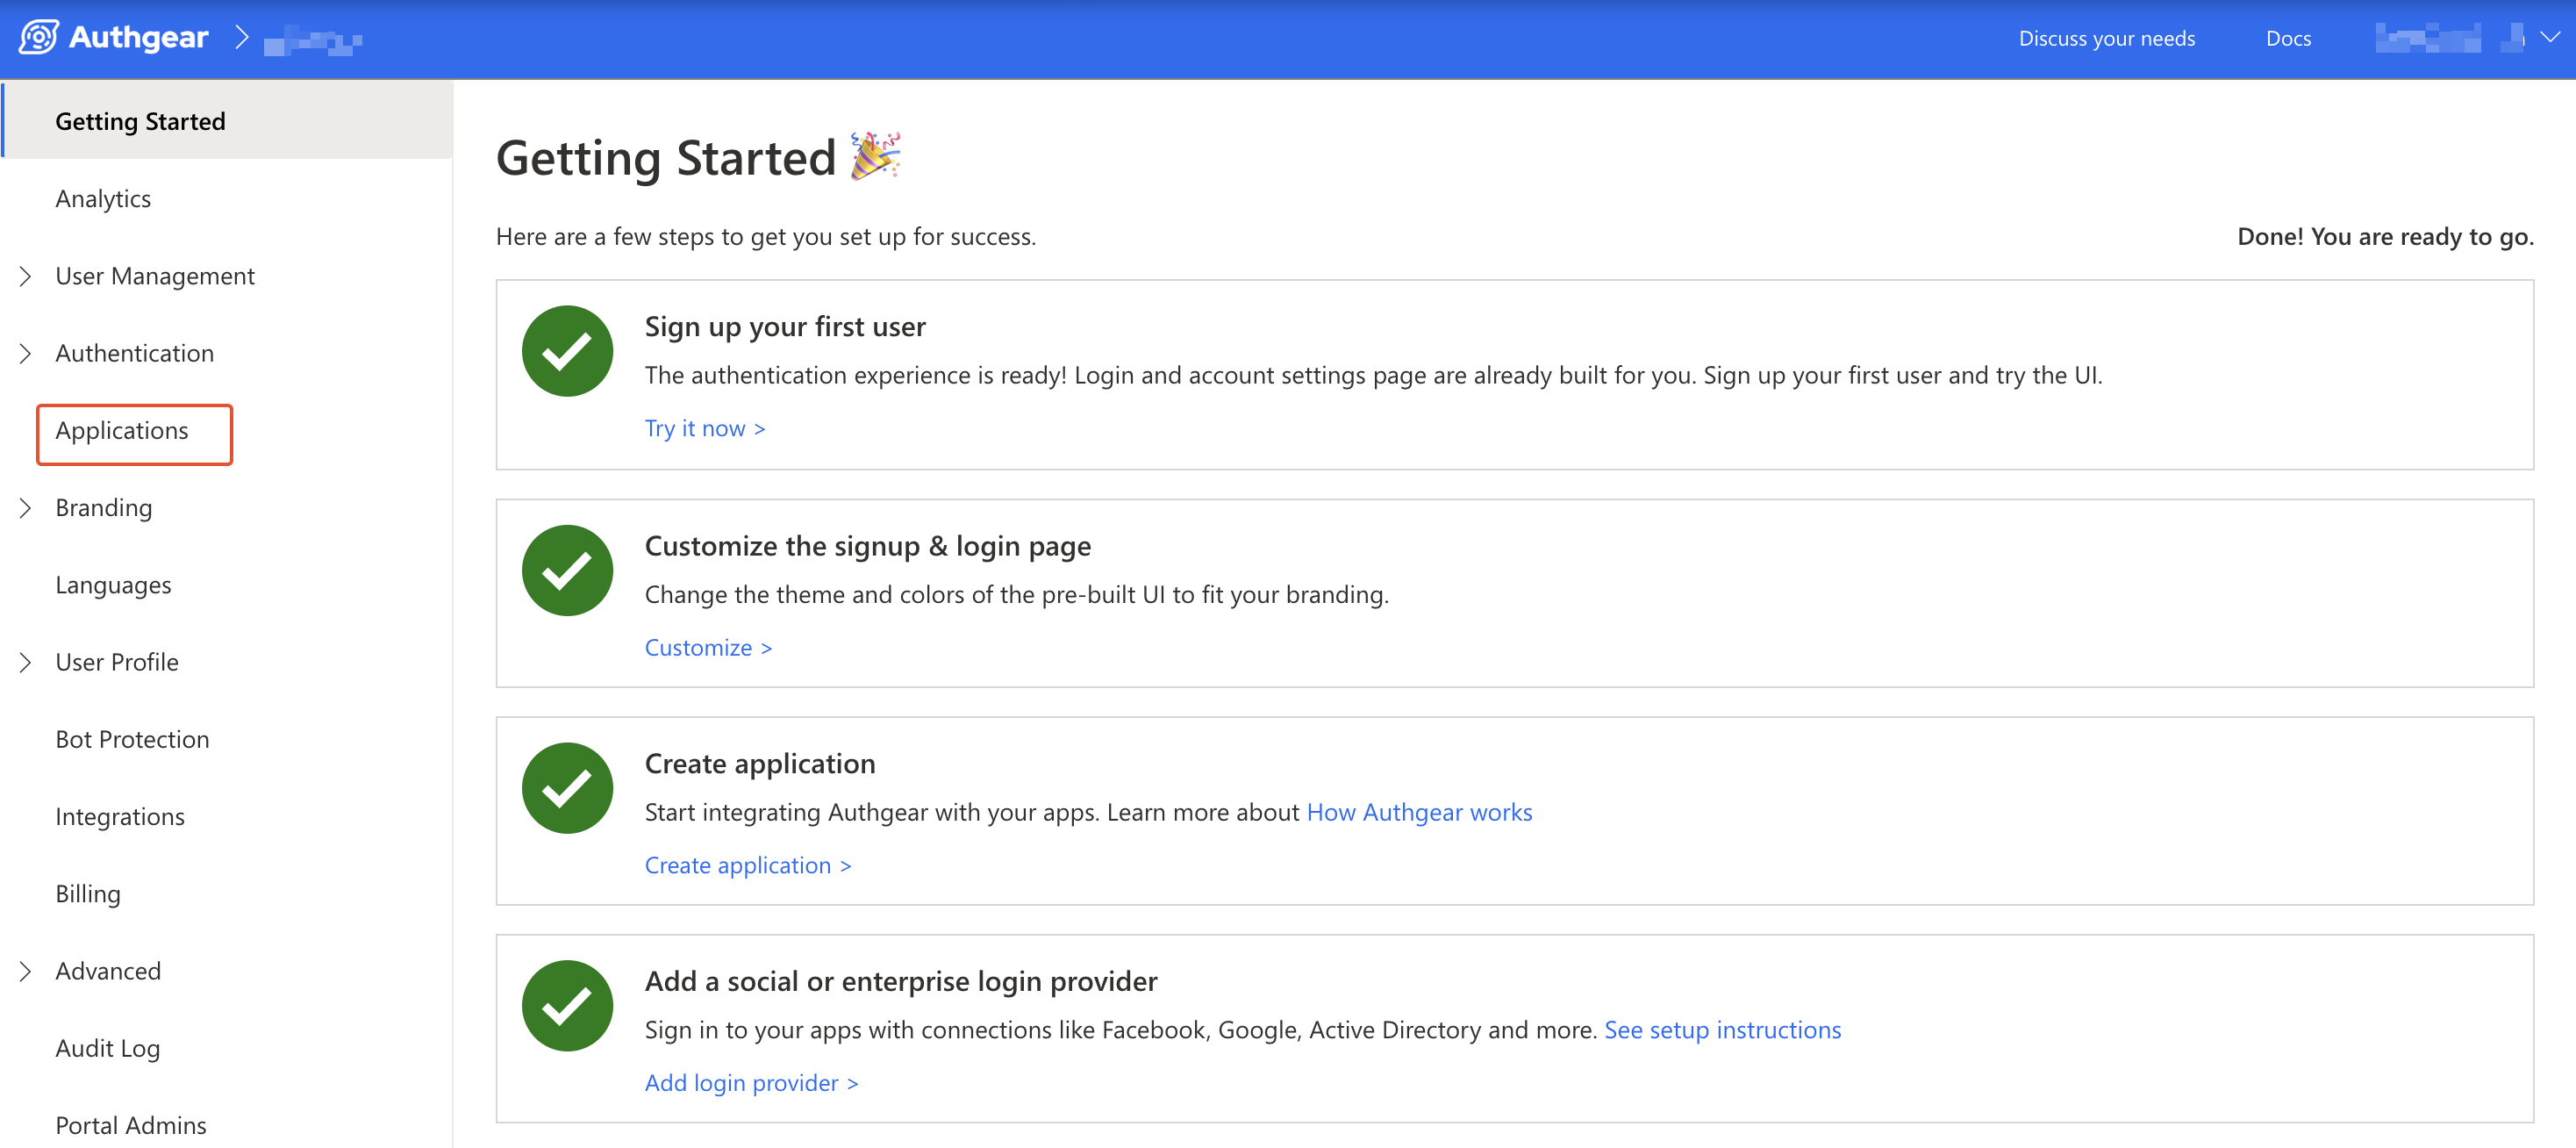
navigate to applications
navigate to applications
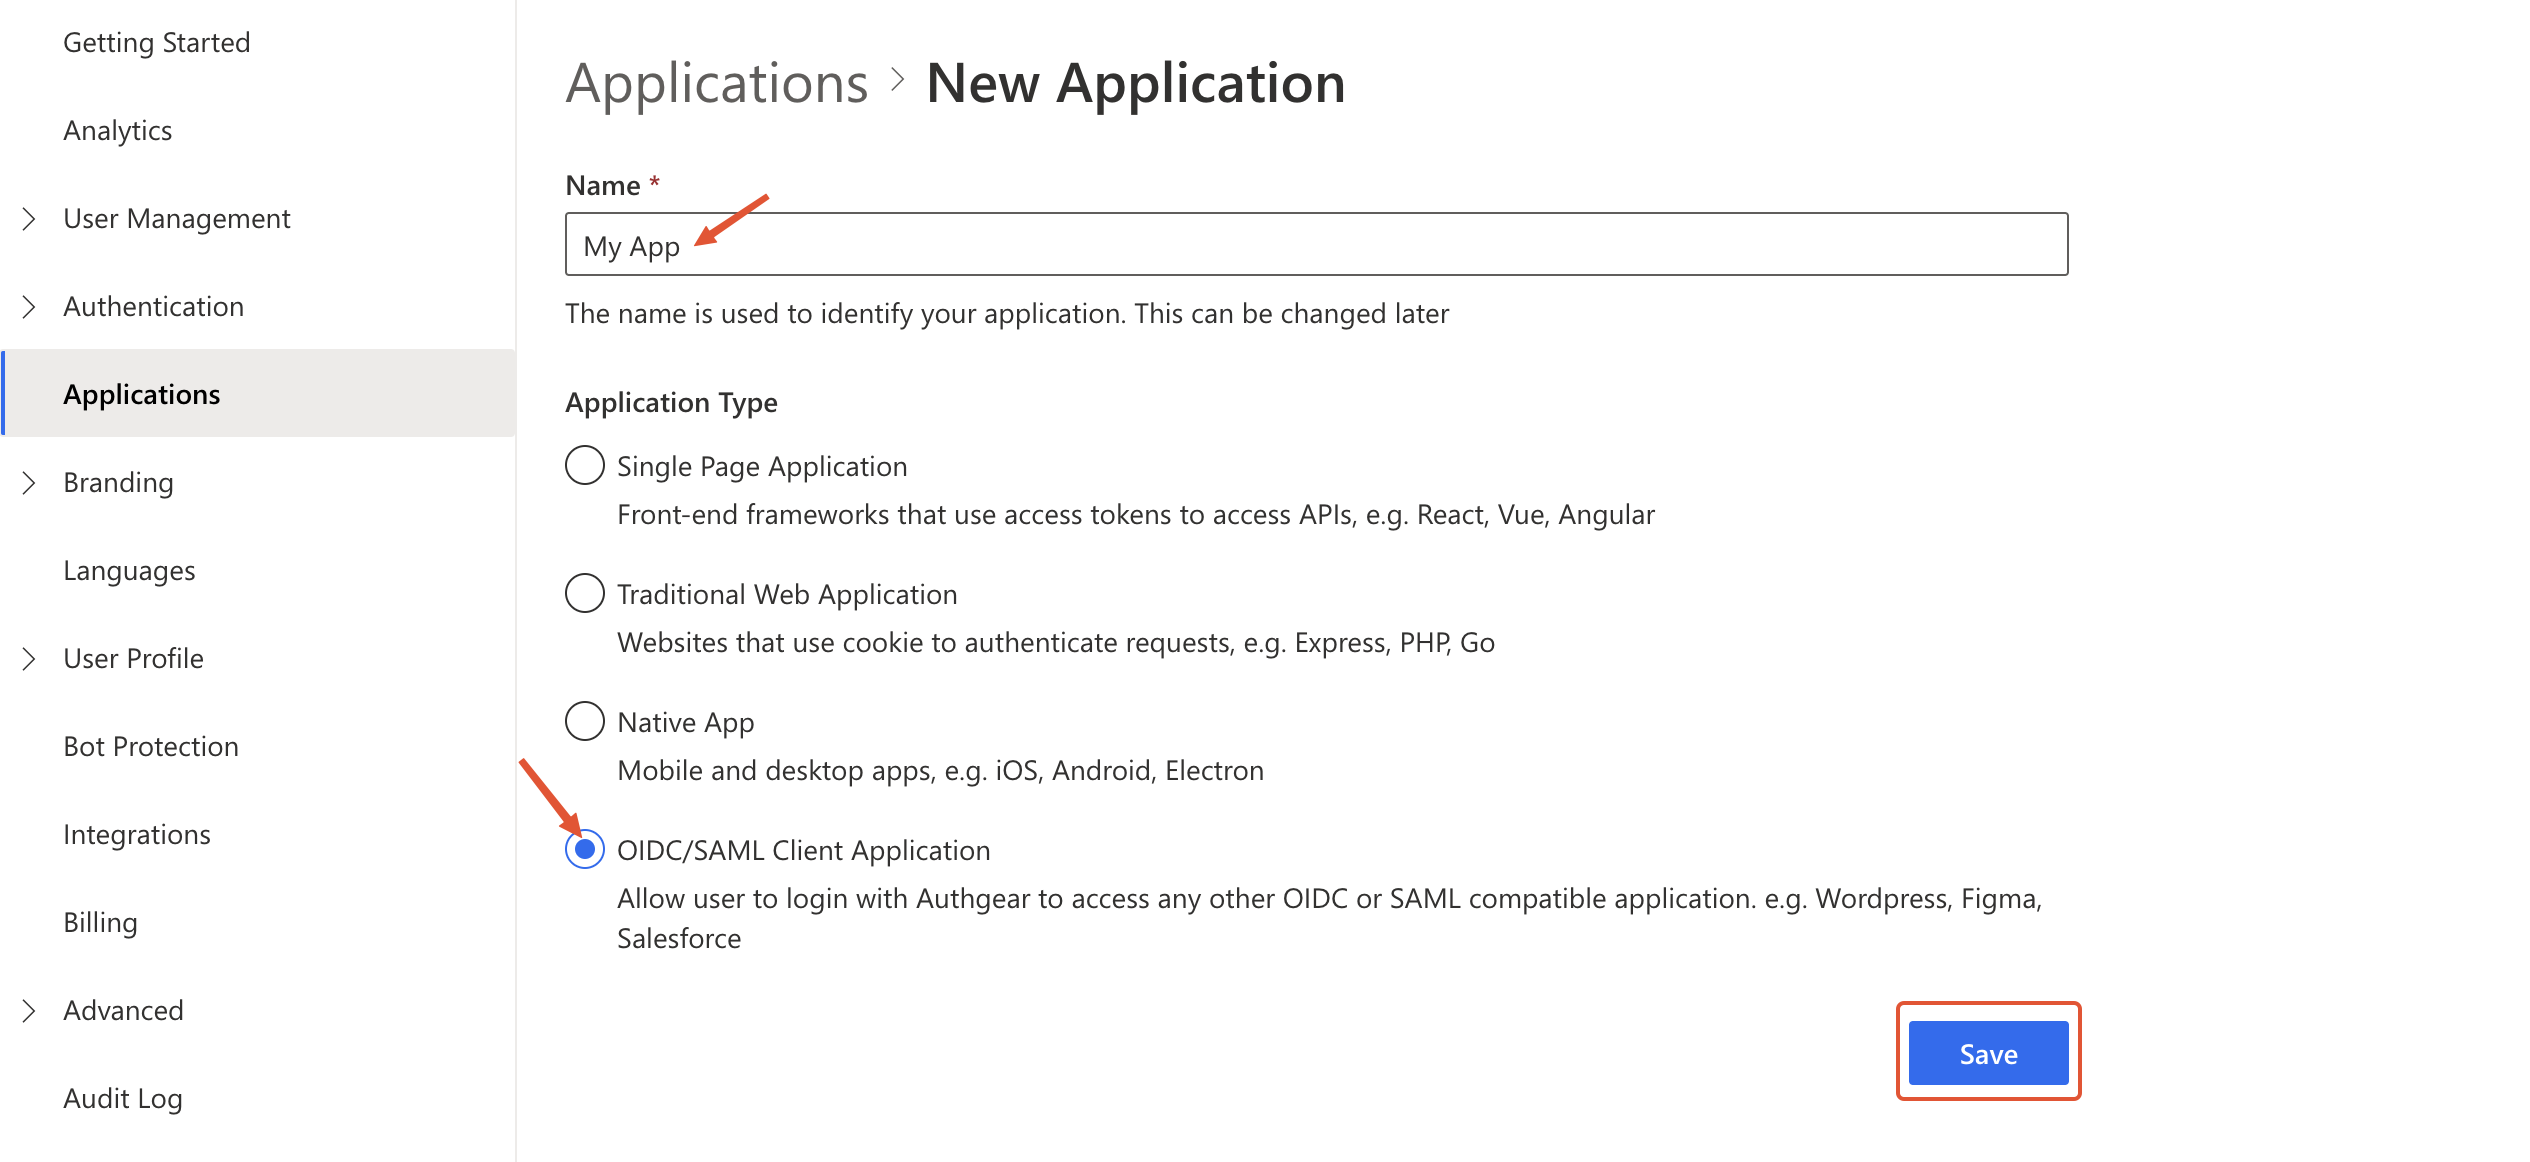
new app form oidc app
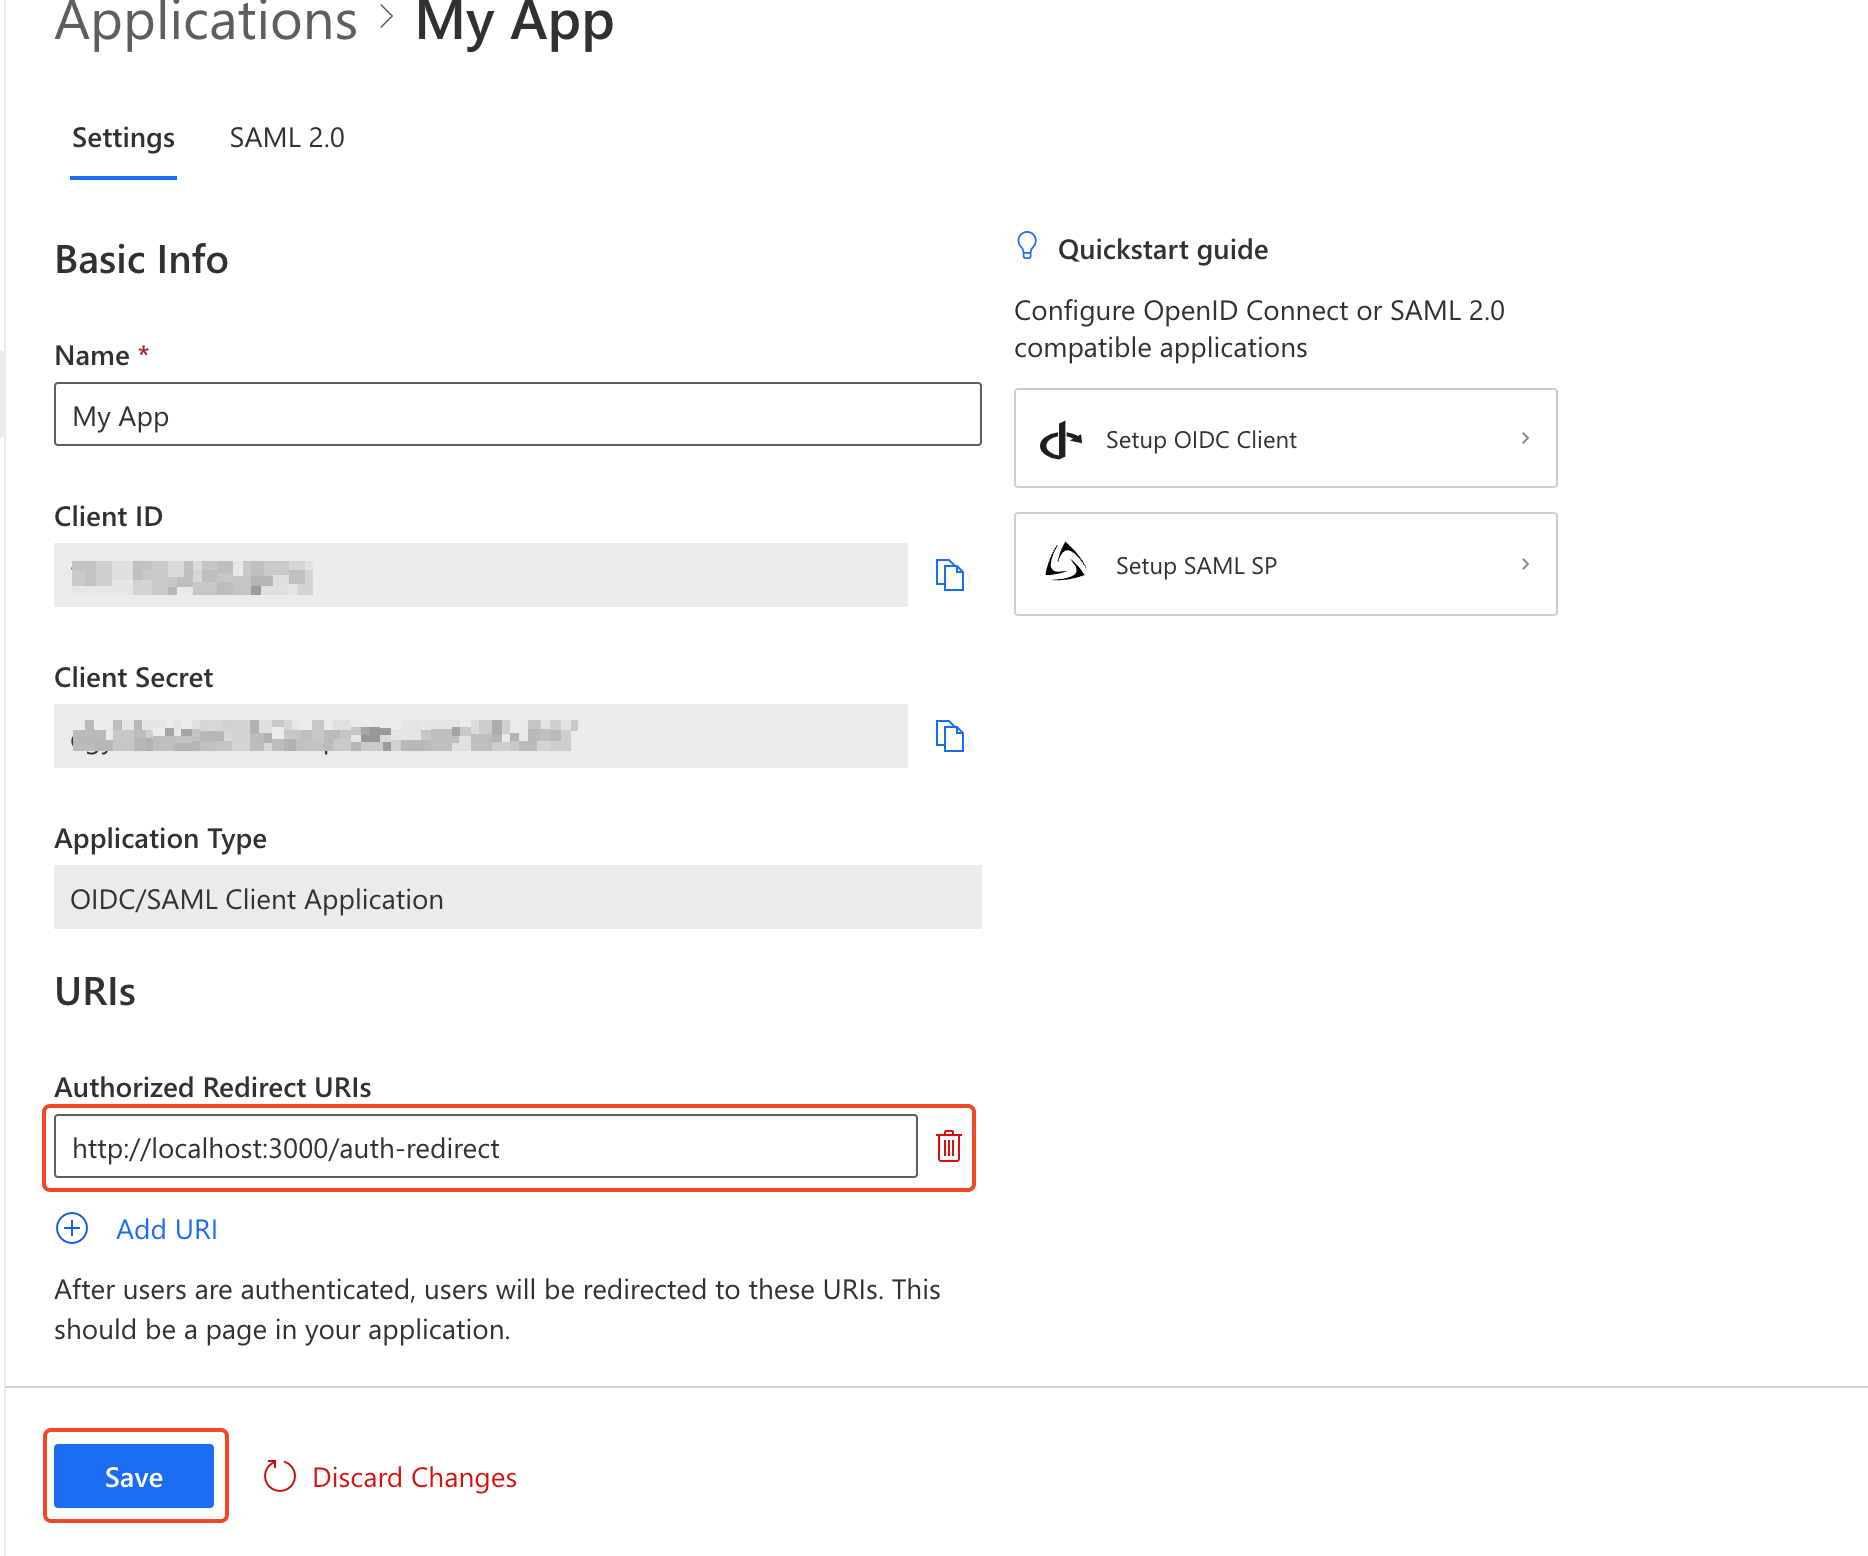
authgear set redirect uri
Hi there!
This demo app shows you how to add user authentication to your Express app using Authgear
Checkout docs.authgear.com to learn more about adding Authgear to your apps.
Login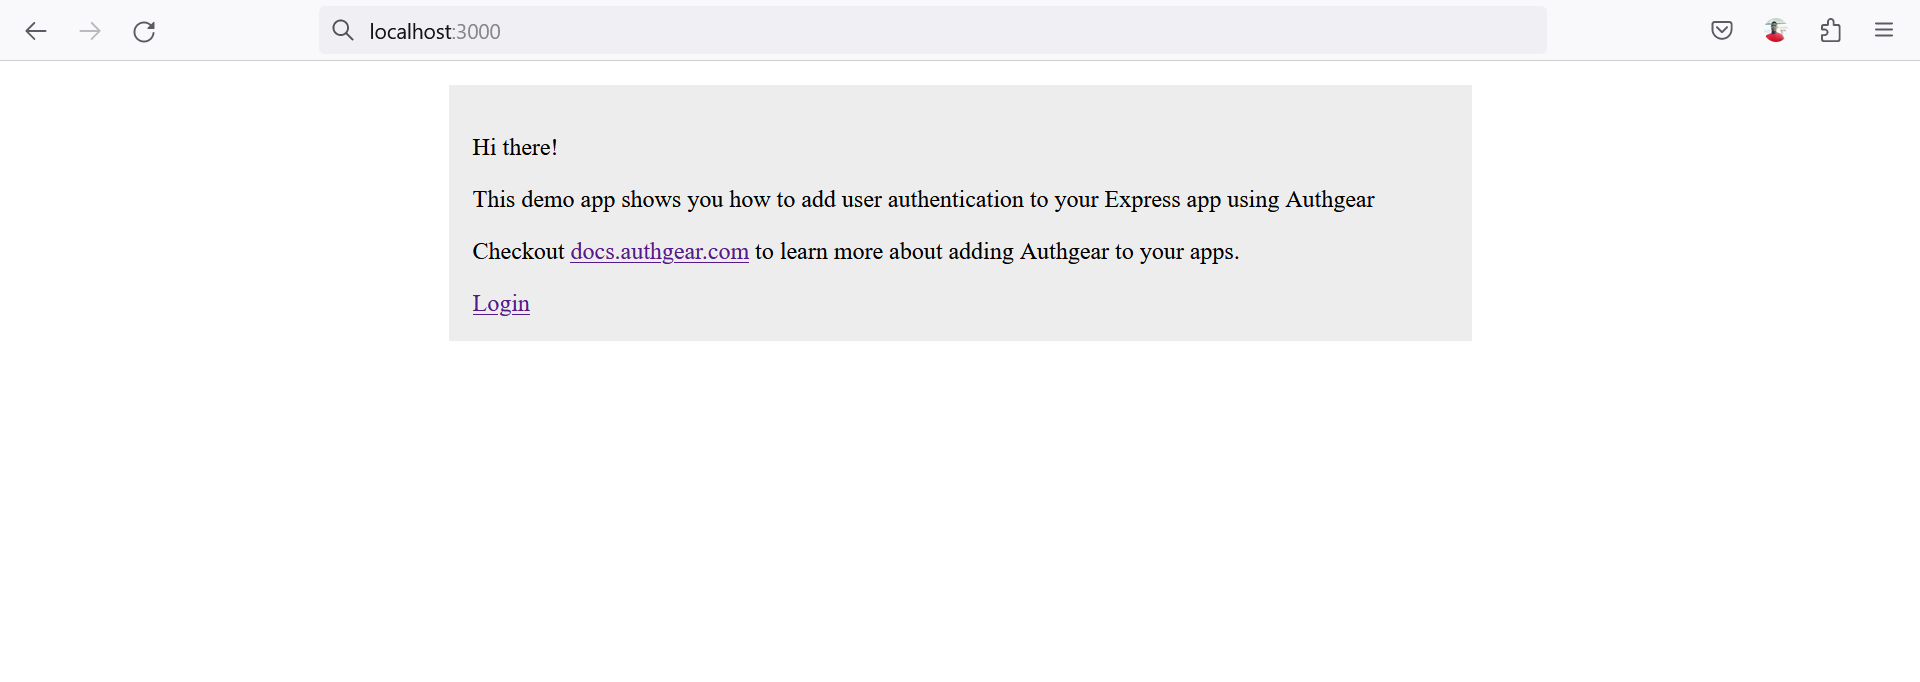
express demo app homepage
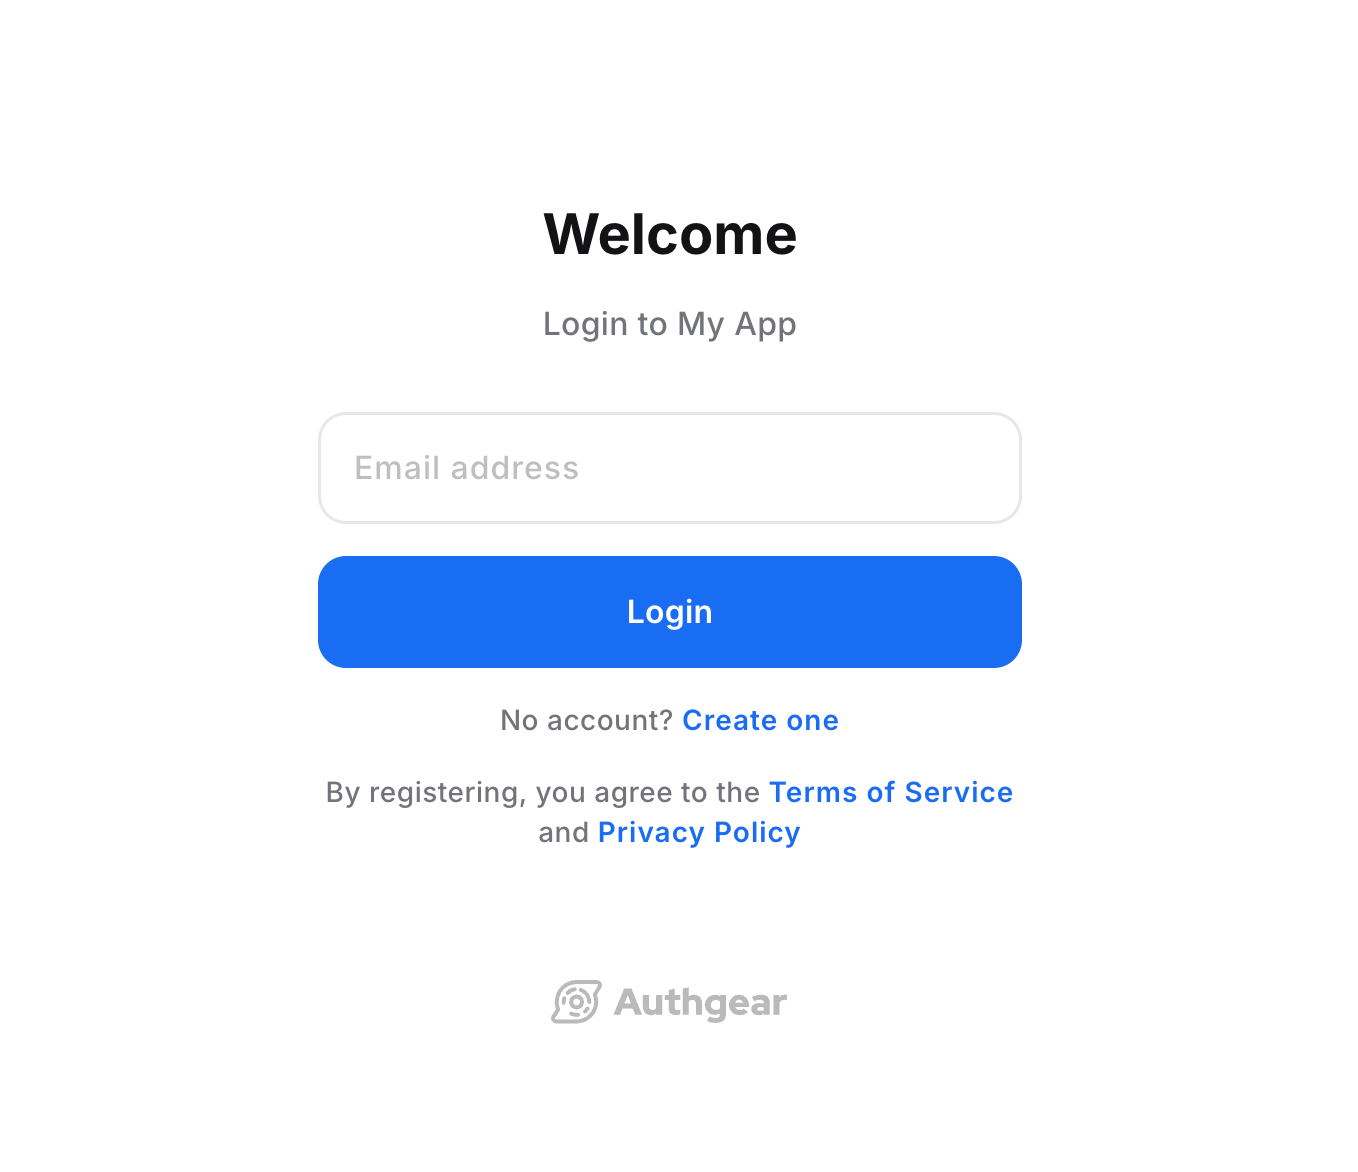
authui login page
Hi there!
This demo app shows you how to add user authentication to your Express app using Authgear
Checkout docs.authgear.com to learn more about adding Authgear to your apps.
Login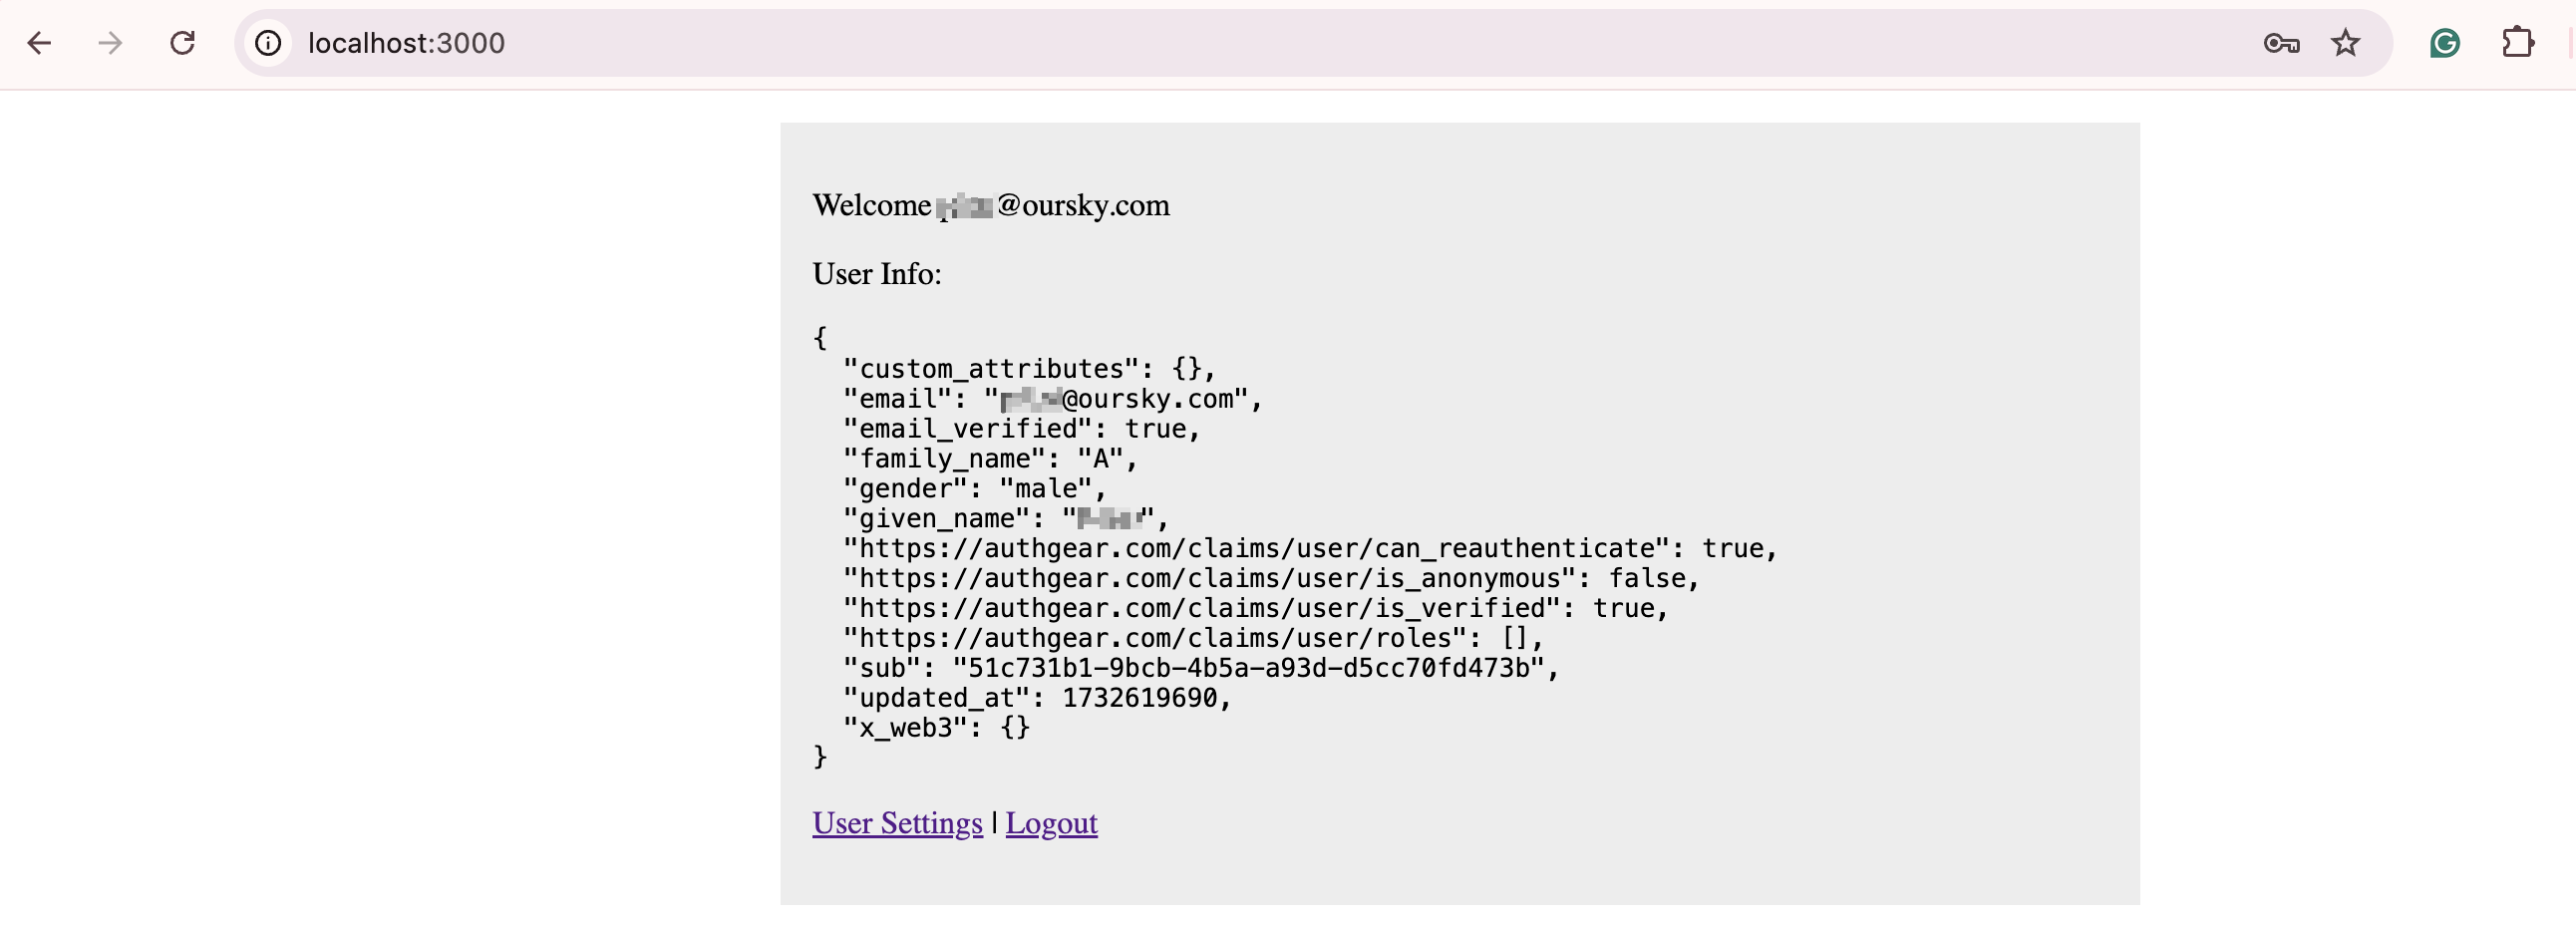
express demo
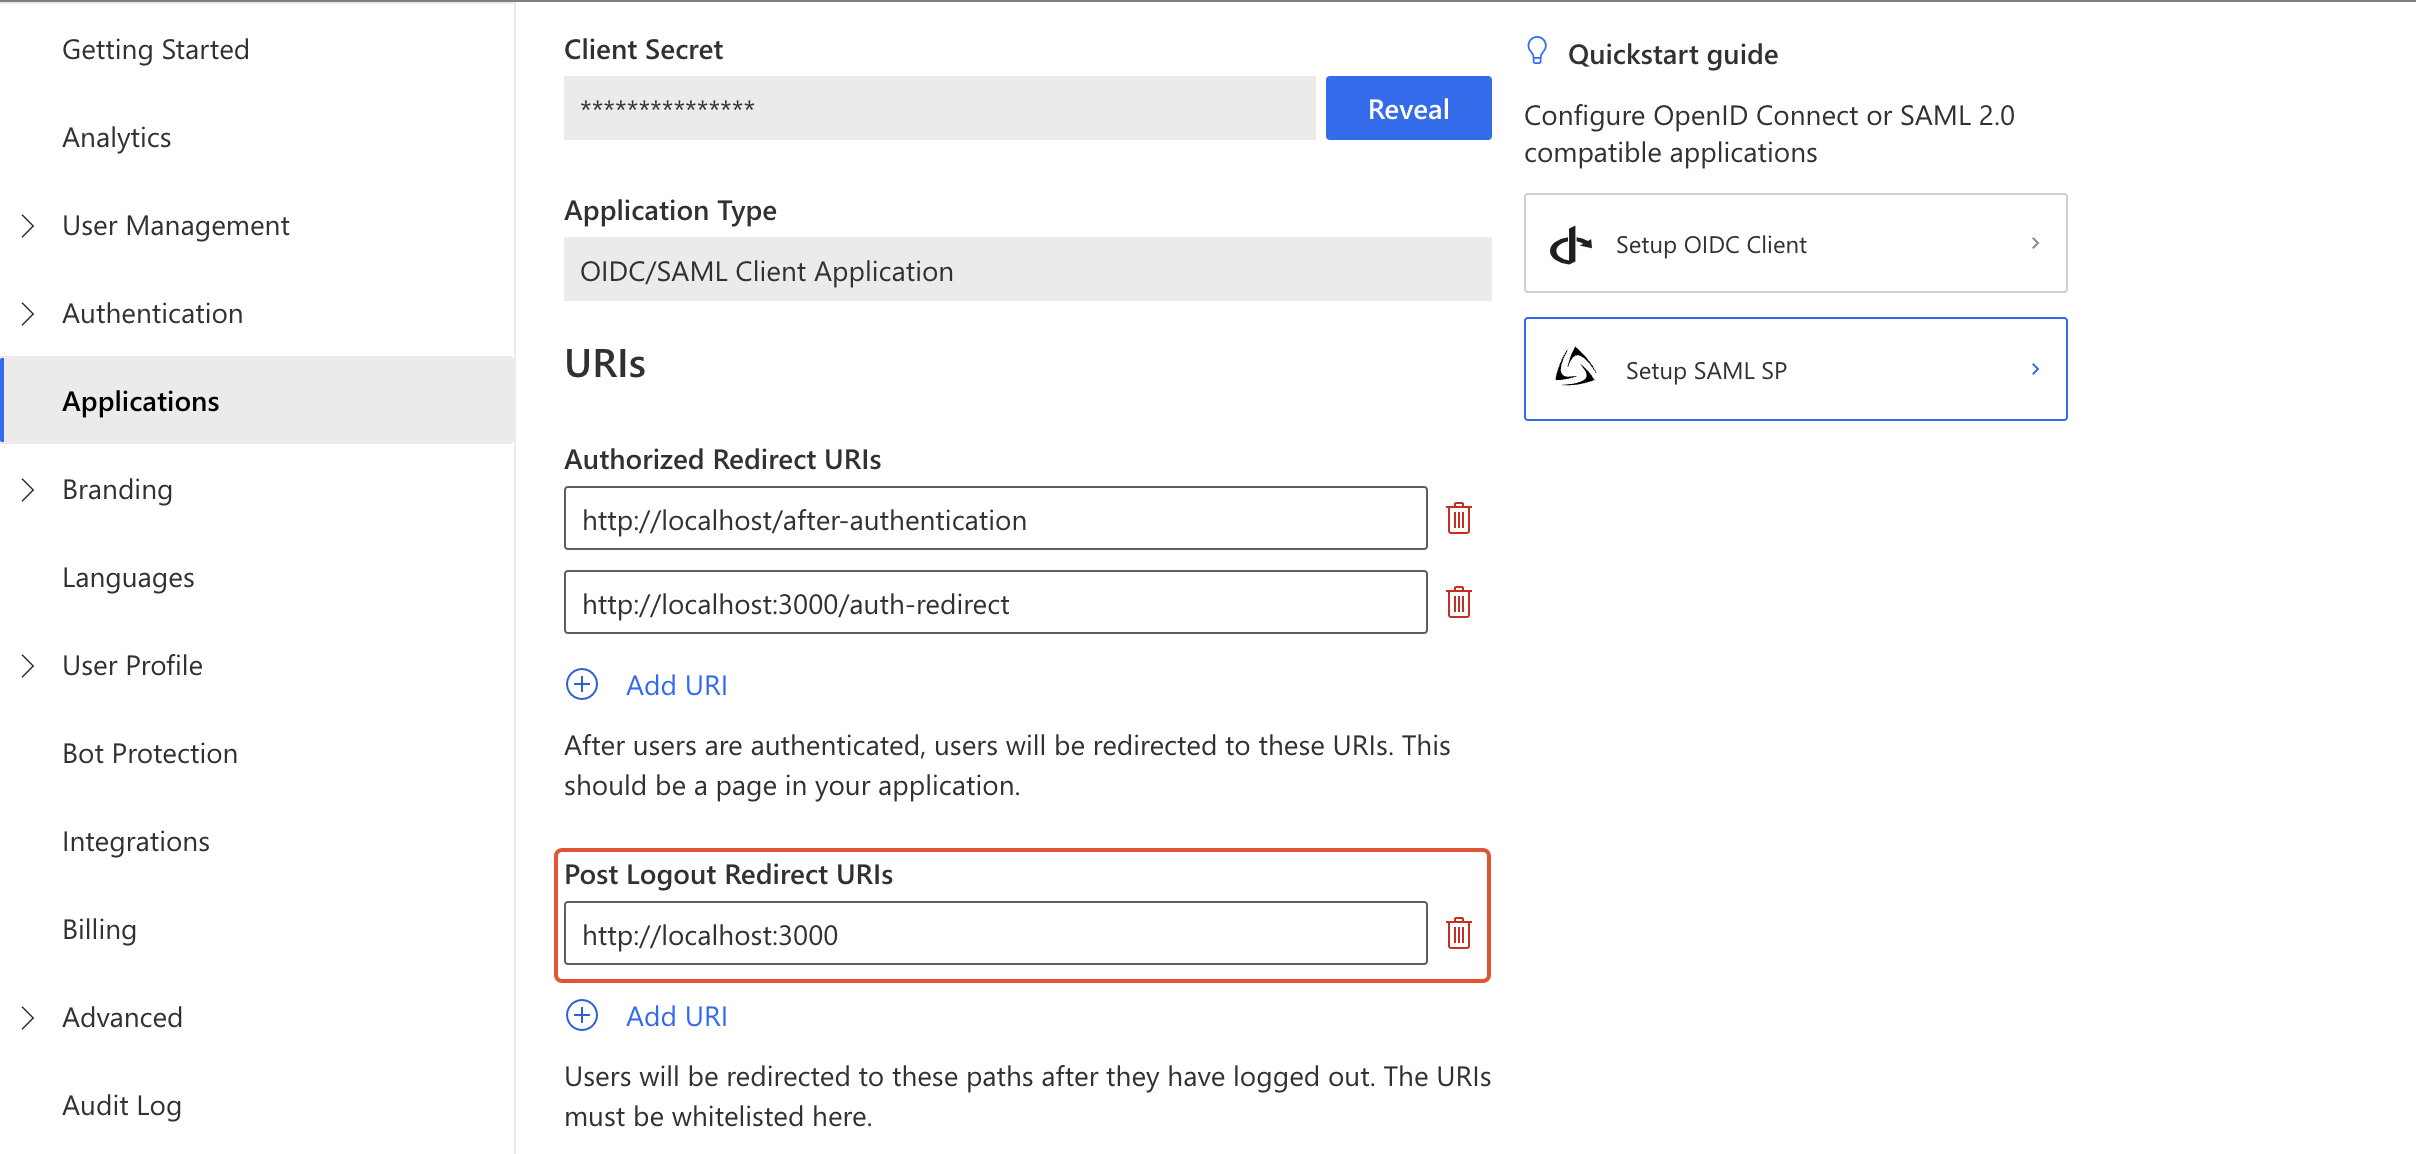
set post logout redirect uri