
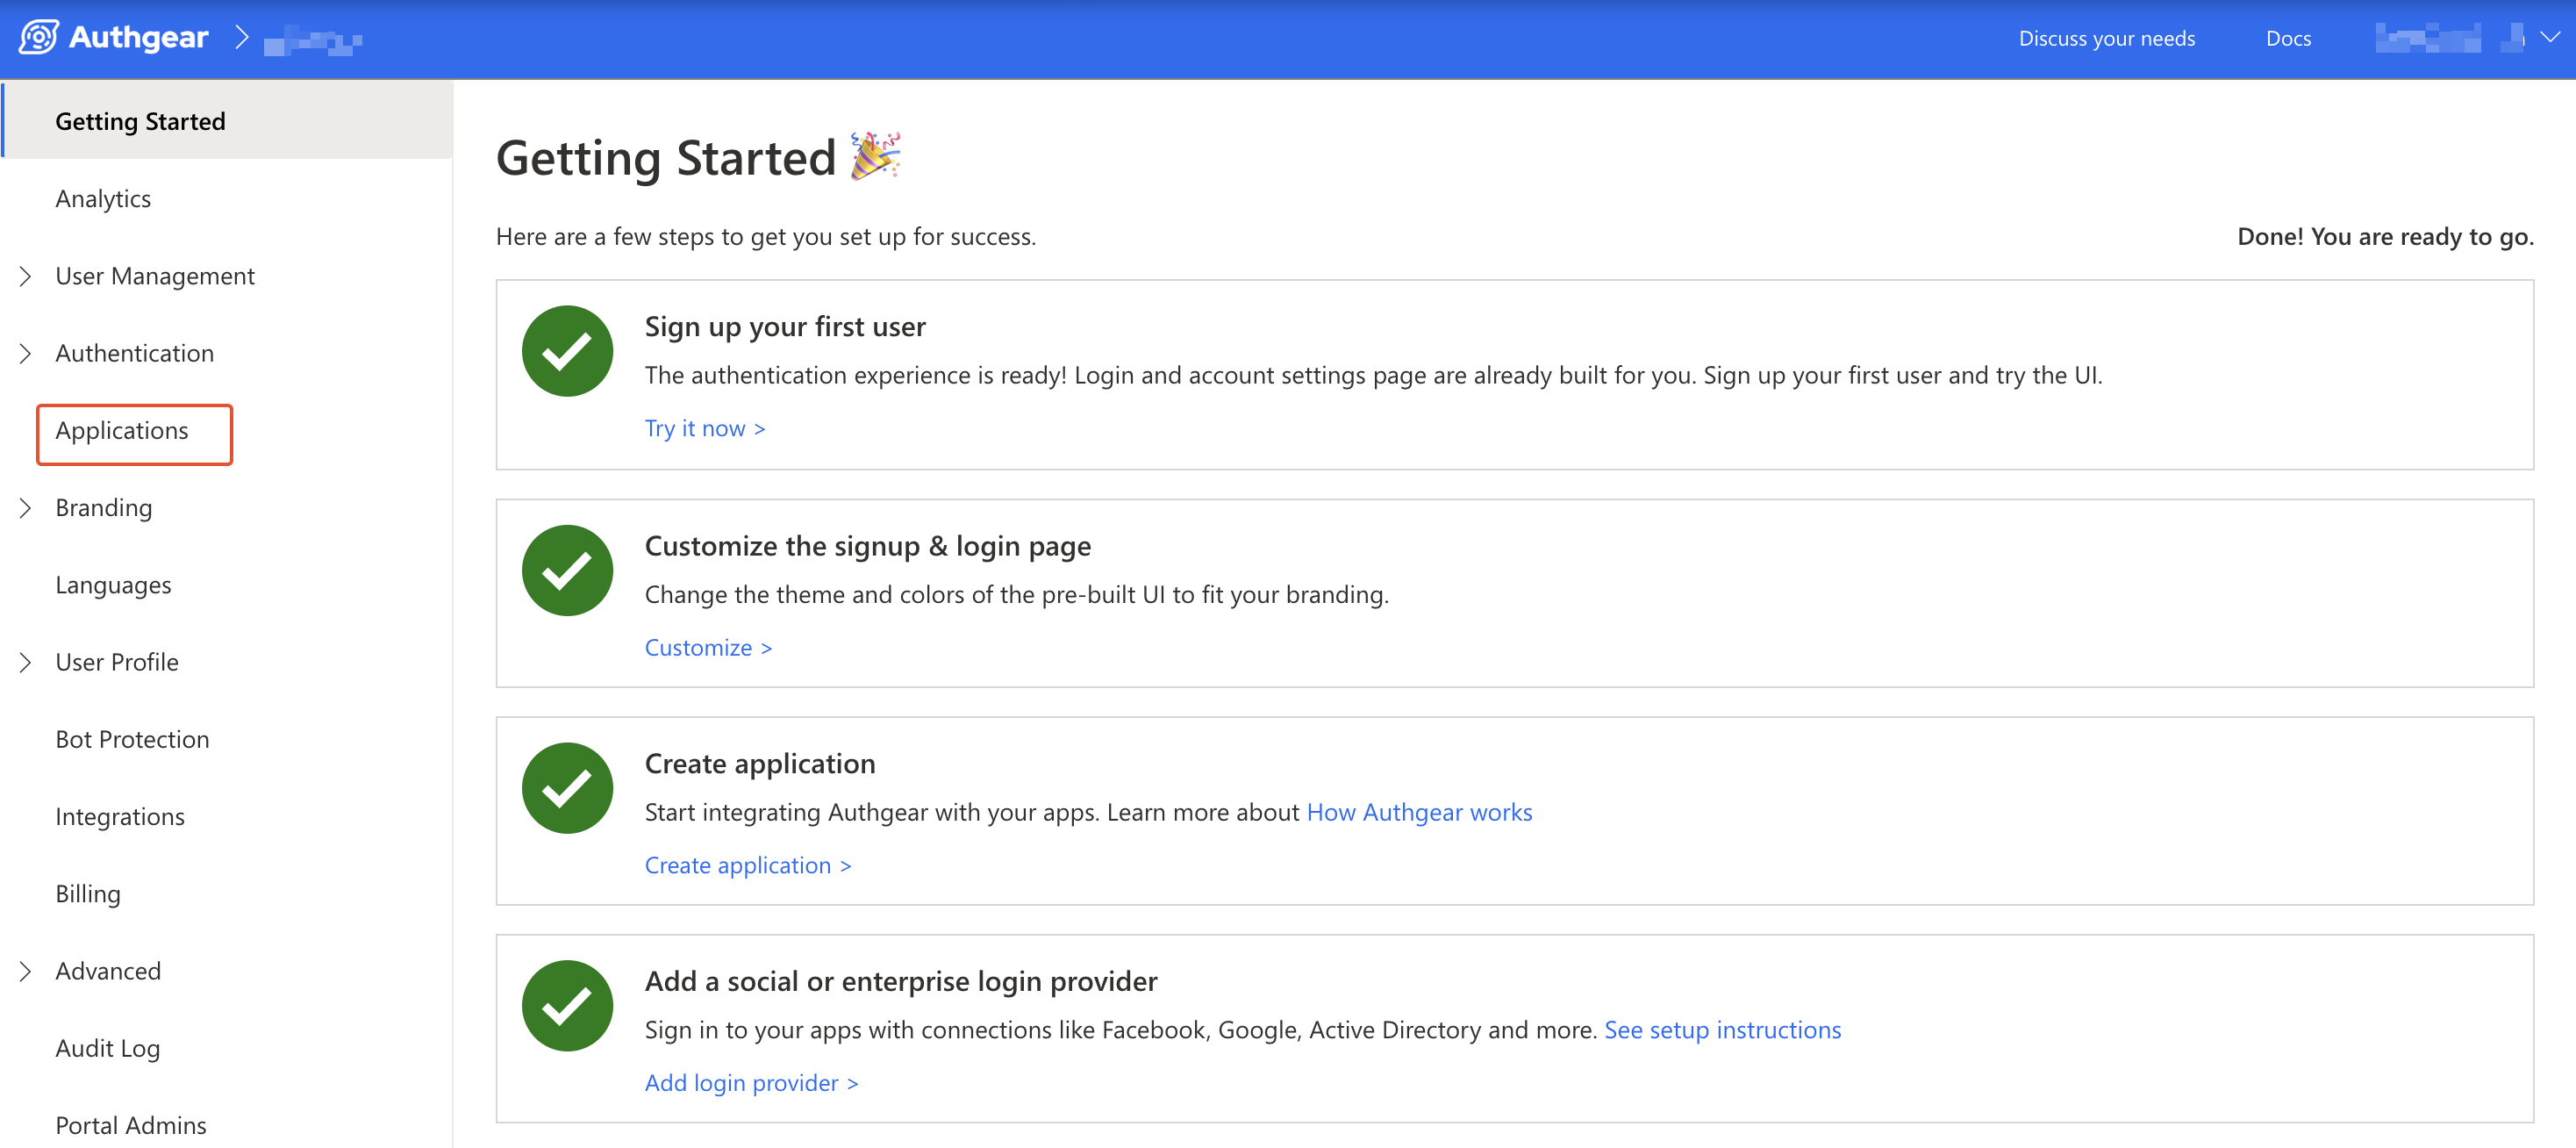
portal navigate to applications
.png)
Configure Authorized Redirect URIs
// src/App.tsx
import React from "react";
import { BrowserRouter as Router, Routes, Route } from 'react-router-dom';
import Home from './Home';
import AuthRedirect from './AuthRedirect';
import UserContextProvider from './context/UserProvider';
const App: React.FC = () => {
return (
<UserContextProvider>
<Router>
<Routes>
<Route path="/auth-redirect" element={<AuthRedirect />} />
<Route path="/" element={<Home />} />
</Routes>
</Router>
</UserContextProvider>
);
}
export default App;
The file structure should now look like
```
src
├── App.tsx
├── AuthRedirect.tsx
├── Home.tsx
├── context
│ └── UserProvider.tsx
└── main.tsx
```
### Step 6: Add a Login button
First, we will import the Authgear dependency and the React Hook that we will use to `Home.tsx`. Then add the login button which will call `startAuthentication(ConfigureOptions)` through the `startLogin` on click callback. This will redirect the user to the login page.
```tsx
// src/Home.tsx
import React, { useEffect, useState, useCallback, useContext } from 'react';
import authgear, { PromptOption } from '@authgear/web';
const Home: React.FC = () => {
const startLogin = useCallback(() => {
authgear
.startAuthentication({
redirectURI: import.meta.env.VITE_AUTHGEAR_REDIRECT_URL,
prompt: PromptOption.Login,
})
.then(
() => {
// started authentication, user should be redirected to Authgear
},
err => {
// failed to start authentication
}
);
}, []);
return (