# [YOUR WEATHER](https://boderg.github.io/your-weather "Click to view the deployed site")
- Your weather is a simple weather information page that uses the OpenWeatherMap api.
- Your Weather has been designed so that users worldwide can view the weather not only where they are but also in other countries.
- Your Weather is especially handy for those who travel and wish to know what the immediate weather is like were they are travelling to.
- Your Weather displays the current time and date of the area in which the weather search is for.
- Your Weather has a toggle to display the weather in either metric or imperial units.
- Your weather has a range of weather details displayed for those that want a little more information other than just the temperature and weather description.
- Your weather displays a random background landscape image whenever you open the site.
- Your Weather is a weather app for everyone.
## Table of Contents
Click here for Table of Contents
[Mockup Screenshots](#mockup-screenshots)
[UX](#ux)
- [Colour Scheme](#colour-scheme)
- [Typography](#typography)
[User Stories](#user-stories)
- [New site Users](#new-site-users)
- [Returning Site Users](#returning-site-users)
[Wireframes](#wireframes)
- [Mobile Wireframes](#mobile-wireframes)
- [Tablet Wireframes](#tablet-wireframes)
- [Desktop Wireframes](#desktop-wireframes)
[Features](#features)
- [Existing Features](#existing-features)
- [Future Features](#future-features)
[Testing](#testing)
[Deployment](#deployment)
- [Local Deployment](#local-deployment)
- [Cloning](#cloning)
- [Forking](#forking)
- [Local vs Deployment](#local-vs-deployment)
[Credits](#credits)
- [Content and Code](#content-and-code)
- [Media](#media)
- [Acknowledgments](#acknowledgements)
## Mockup Screenshots
Below are two mockup images of the Your Weather website created using the "Am I Responsive" website.
| Screenshot 1 | Screenshot 2 |
| :---: | :---: |
| 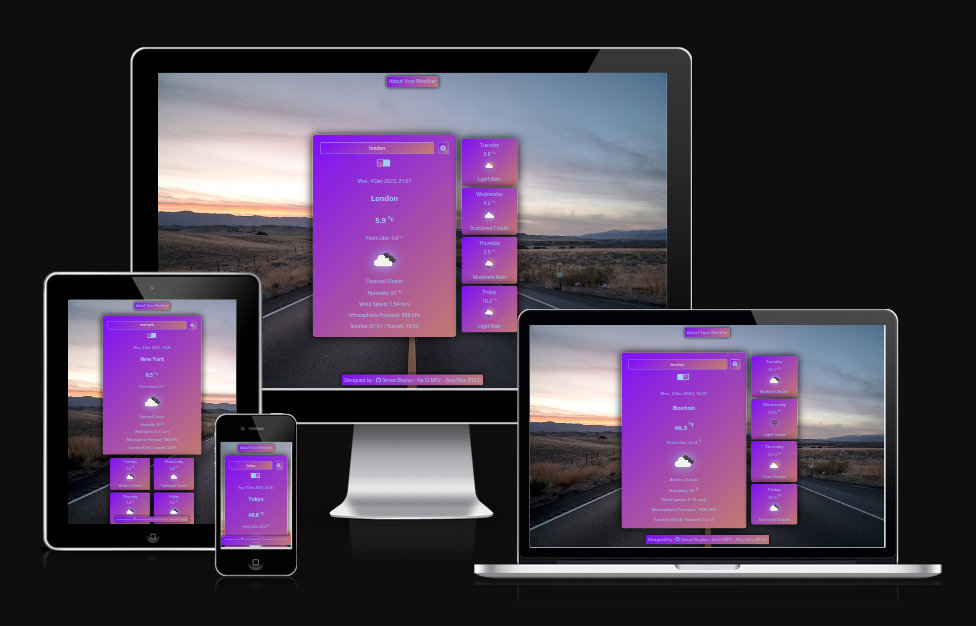 | 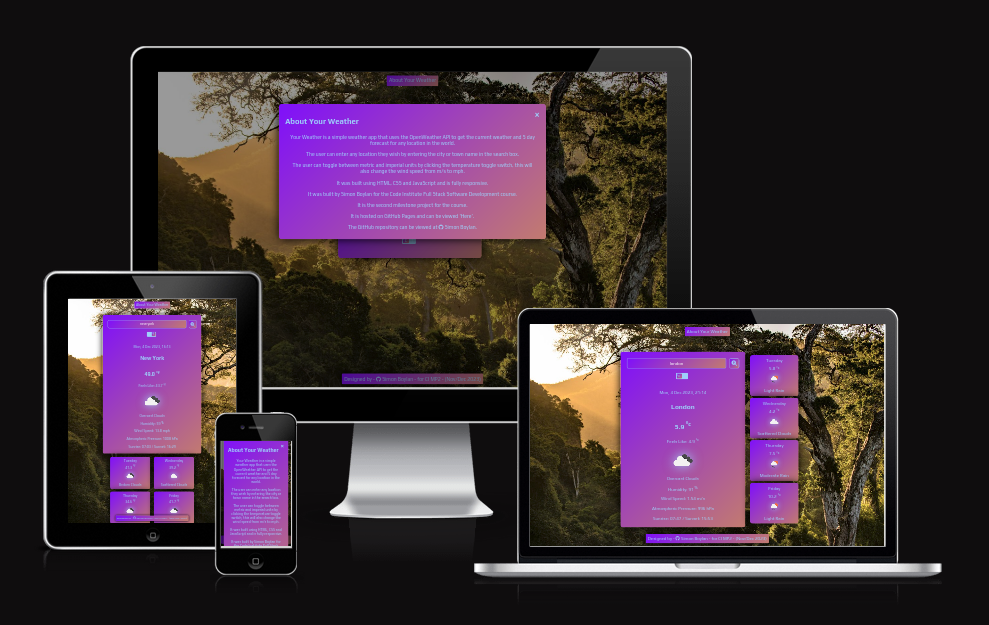 |
## UX
- The design for Your Weather was created as a series of wireframes covering mobile, tablet and desktop to determine the initial design and layout of the site.
- Your Weather site was designed with ease of use and simplicity in mind.
- A simple clean look was built so that all a user needs to do is enter their town or city name and click search.
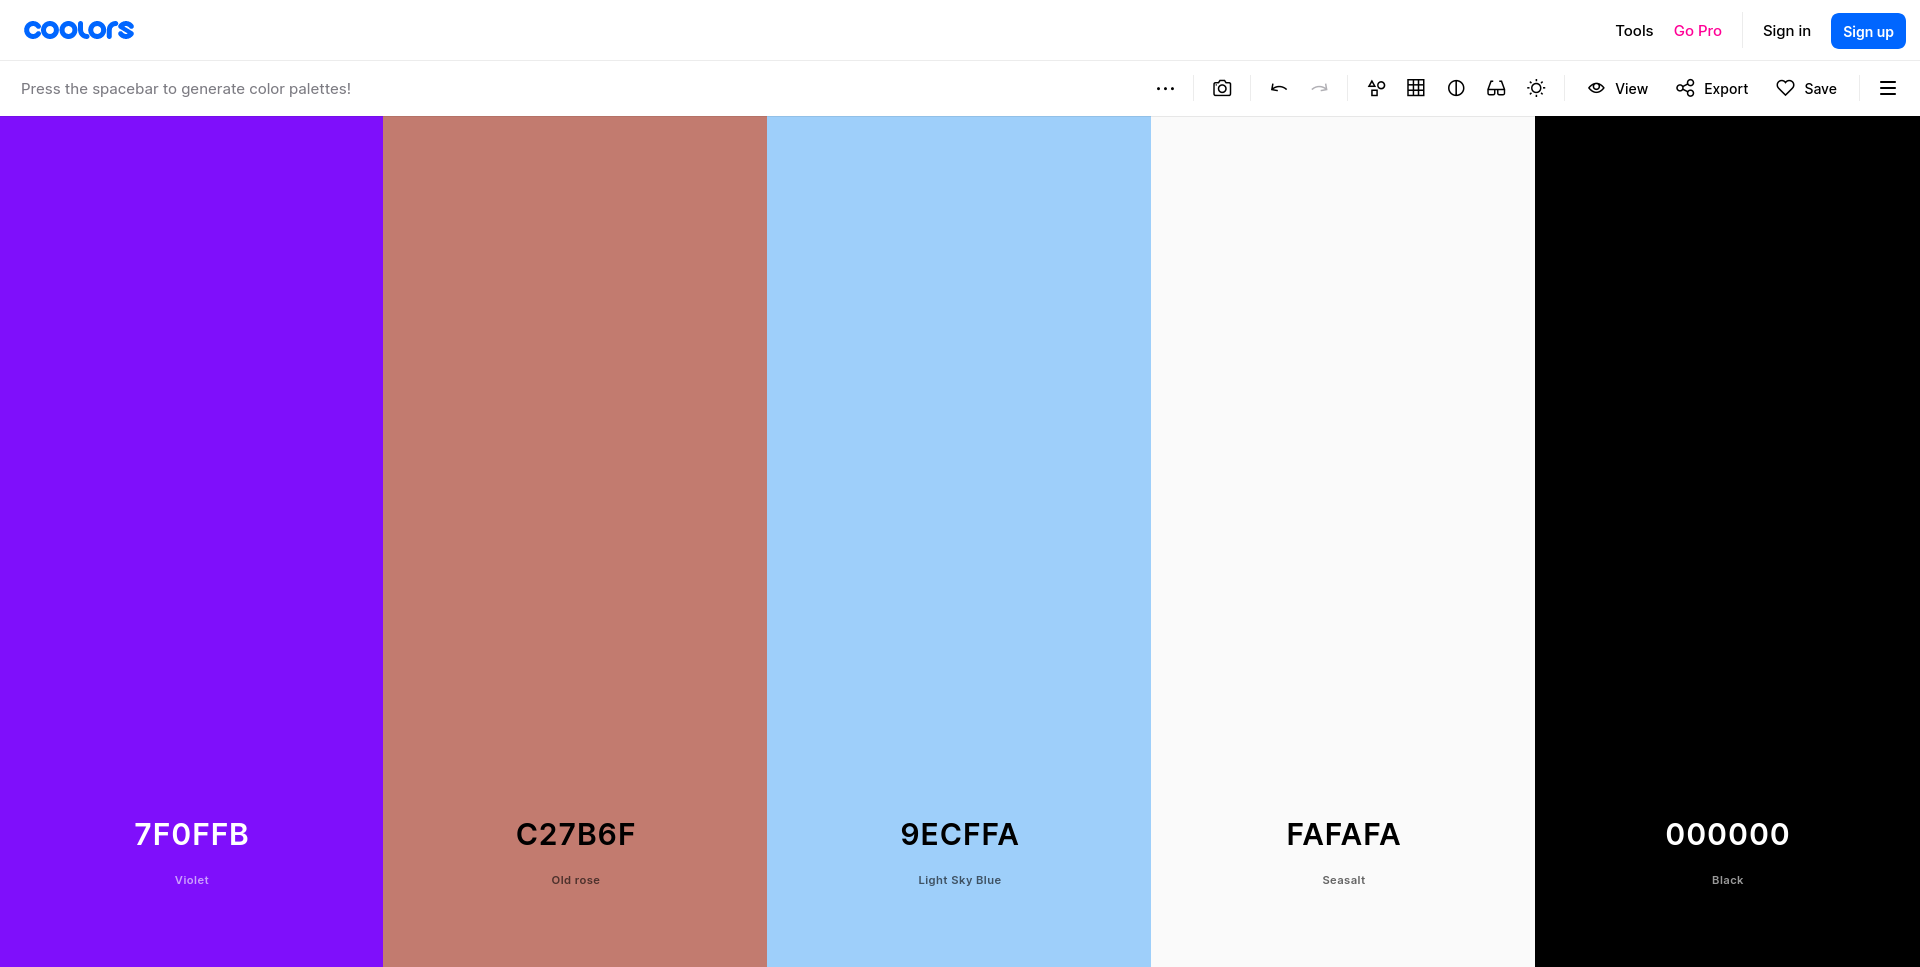
### Colour Scheme
- The chosen colour scheme for Your Weather is designed to be inviting and have a neutral aesthetic while giving a nice splash of colour.
- The colours used are as follows:-
- `#9ecffa` used for primary text.
- `#9ecffa` used for primary highlights.
- `#fafafa` used for secondary text.
- `#fafafa` used for secondary highlights.
- `#7f0ffb and #c27b6f` combined to create a linear gradient background.
- `#000` used for box shadows and modal background.
I used [coolors.co](https://coolors.co/7f0ffb-c27b6f-9ecffa-fafafa-000000) to generate my colour palette.
Click for Coolors screenshot
I have used CSS `:root` variables to easily update the global colour scheme by changing only one value, instead of everywhere in the CSS file.
```css
:root {
--display-background: linear-gradient(135deg, #7f0ffb, #c27b6f);
--text-color: #9ecffa;
--text-hover-color: #fafafa;
--box-shadow-color: #000;
--drop-shadow-color: #9ecffa;
--modal-background: rgba(0, 0, 0, 0.4);
}
```
### Typography
- I used the Google Font called 'Play' for the Your Weather site.
- I felt that this font had a nice modern style that is easy to read and that it fitted well with the Your Weather site.
- [Play](https://fonts.google.com/specimen/Play) was used for all text within the site.
- [Font Awesome](https://fontawesome.com) icons were used in the Your Weather site, for GitHub links in the footer and modal and for the search icon in the main weather card.
## User Stories
### New Site Users
- As a new site user, I would like to know what the site is about, so that I understand what the site does.
- As a new site user, I would like to search my local area, so that I can see what the weather is today.
- As a new site user, I would like to search my local area, so that I can see the forecast for the next few days.
- As a new site user, I would like to search other areas, so that I can see the weather in those areas.
- As a new site user, I would like to search other areas, so that I can se the forecast for those areas.
### Returning Site Users
- As a returning site user, I would like to search a place I am visiting, so that I can see the weather and plan accordingly.
- As a returning site user, I would like to be able to change the format, so that I can view the weather in my native measurements.
## Wireframes
To follow best practice, wireframes were developed for mobile, tablet, and desktop sizes.
I've used [Balsamiq](https://balsamiq.com/wireframes) to design my site wireframes.
### Mobile Wireframes
| Main page | About modal | Displayed weather |
| :---: | :---: | :---: |
| 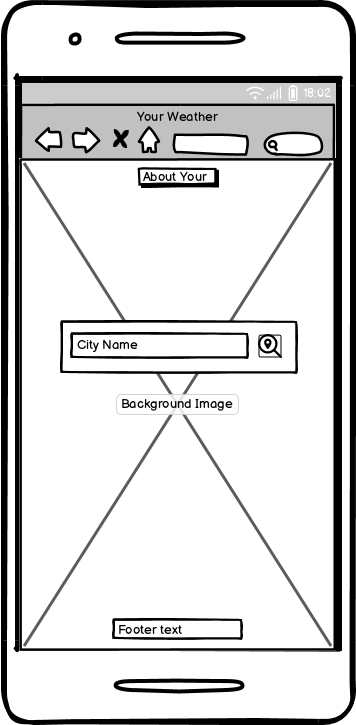 | 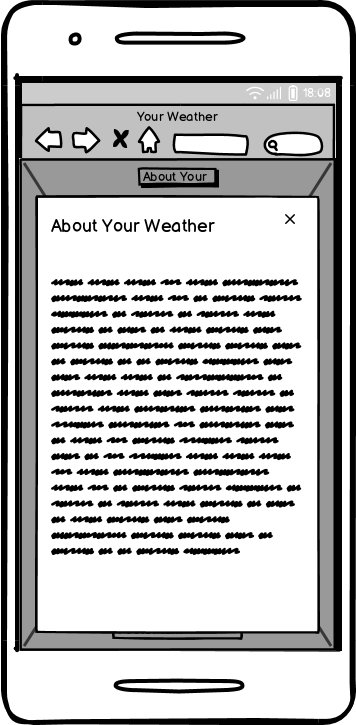 |  |
### Tablet Wireframes
| Main page | About modal | Displayed weather |
| :---: | :---: | :---: |
| 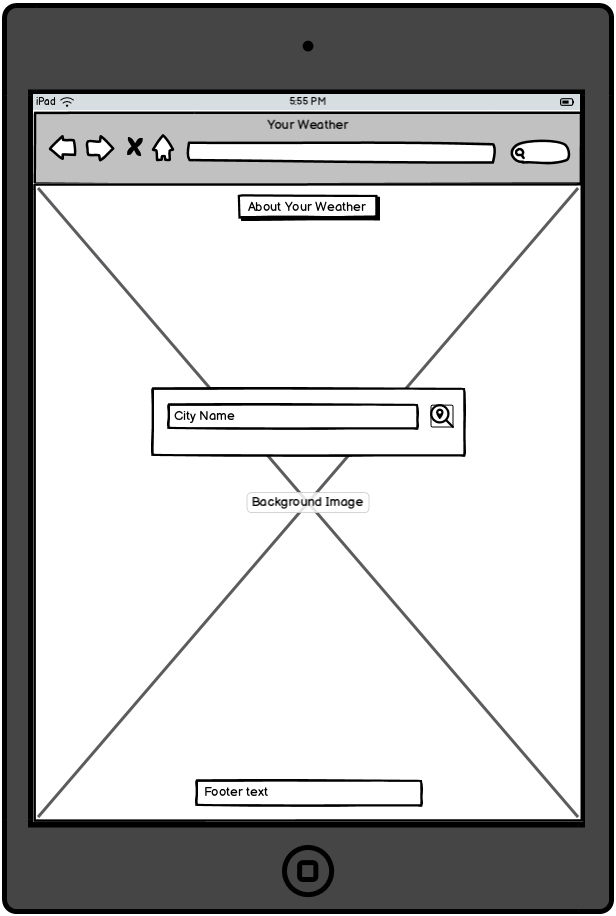 | 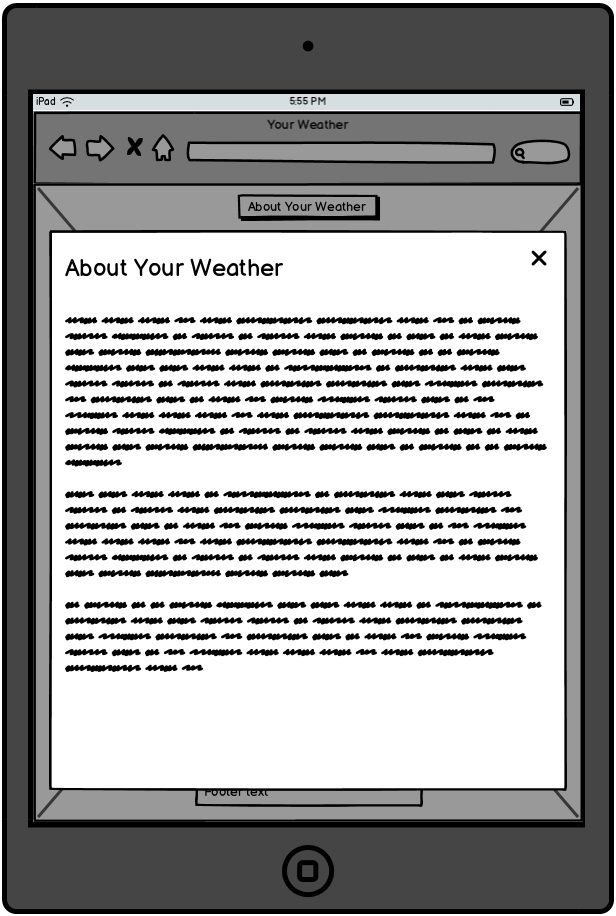 | 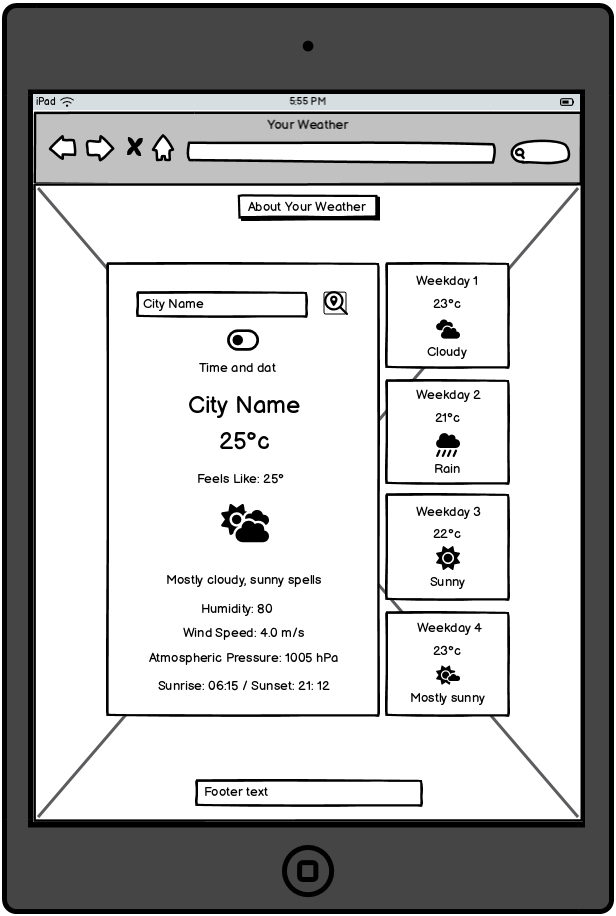 |
### Desktop Wireframes
| Main page | About modal | Displayed weather |
| :---: | :---: | :---: |
| 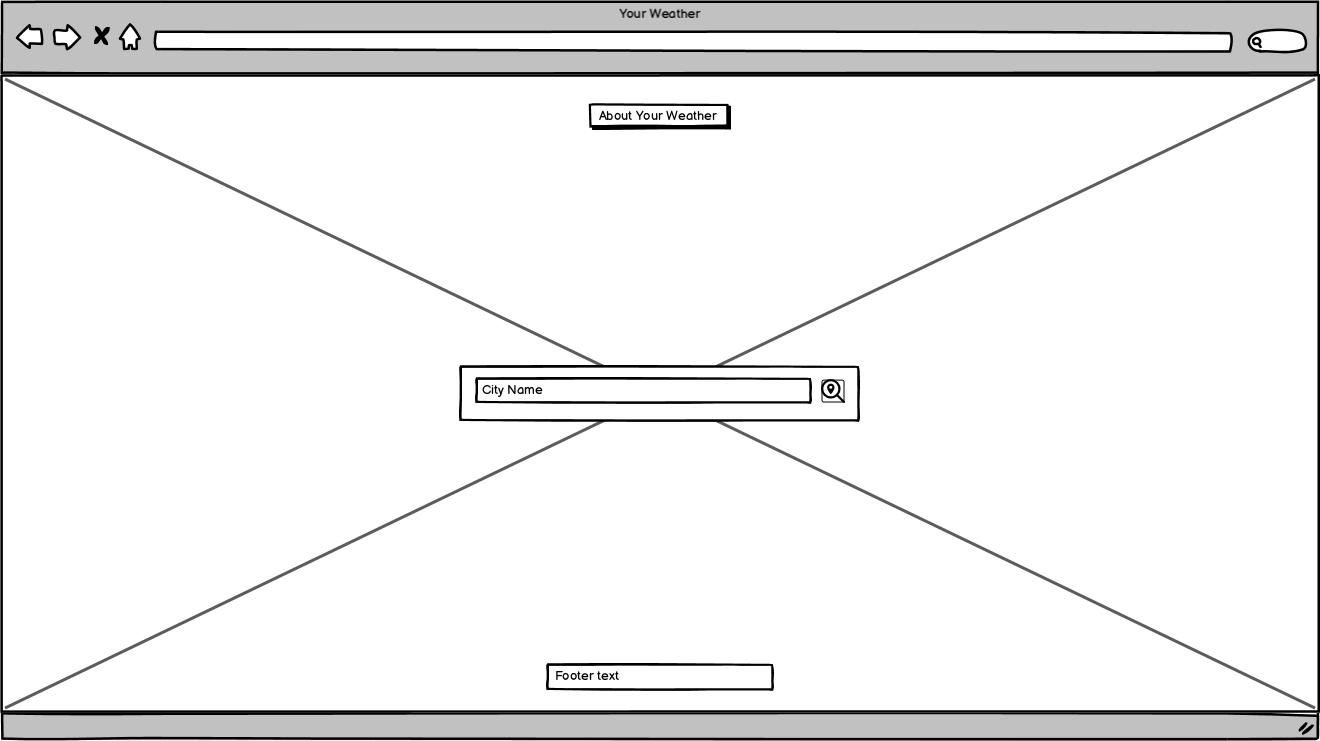 | 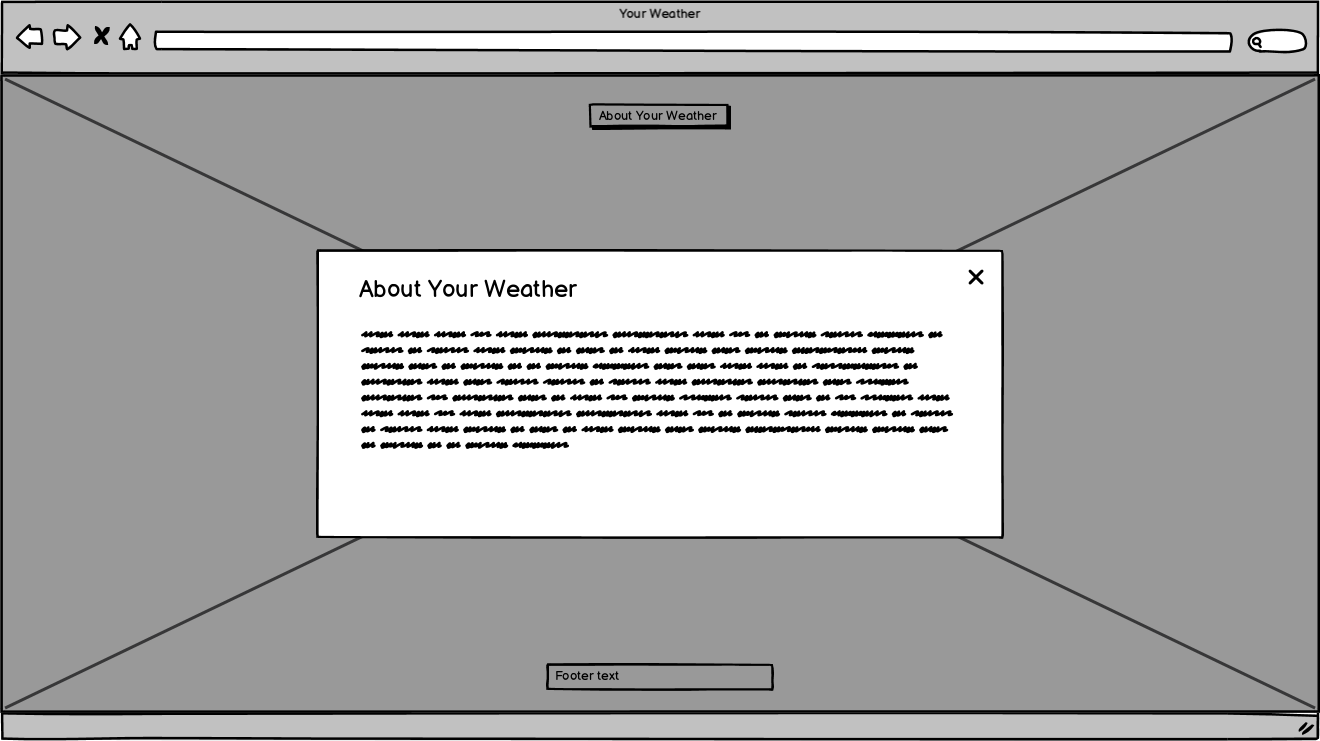 |  |
## Features
### Existing Features
| Feature | Description | Screenshot |
| :---: | :---: | :---: |
| **About Your Weather** | The 'About Your Weather' button opens a modal that gives a little information about the site and it's creator. | 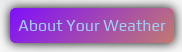 |
| **About Your Weather Modal** | The 'About Your Weather Modal' displays what the site is about, what you can do on the site and why the site was created. It also contains links to the repository and where it is hosted. | 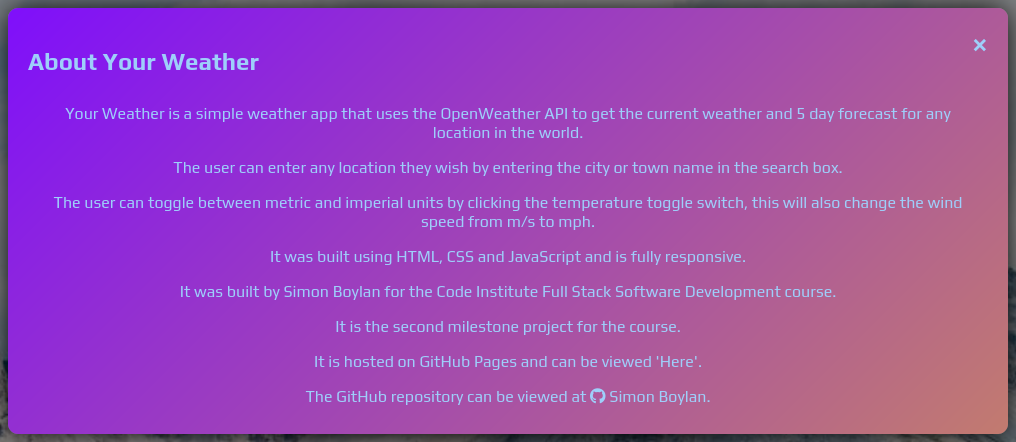 |
| **City Input Box** | The 'City Input Box' is where the user can input their town or city name for which the site can then generate the details from. |  |
| **Search Button** | The 'Search Button' is available so that the user can can confirm their town or city input and the site will search for the weather of that town or city, this is especially needed for mobile devices where there is no enter key. |  |
| **Metric / Imperial Toggle** | The 'Metric / Imperial Toggle' is for users who prefer their weather data in the format they are most used to, e.g. Europe - Metric / U.S. - Imperial. |   |
| **Footer** | The footer contains a link to the creators GitHub along with the project details. |  |
### Future Features
- Moonrise and Moonset Times
- A feature to display what time the moon is visible in the searched area.
- Moonphase
- A feature to display the current phase of the moon in the searched area.
- Wind direction
- A feature to display the direction of the wind in the searched area.
- Explanation modals
- A feature to display and brief explanation of the indepth weather measurements.
## Tools & Technologies Used
- [HTML](https://en.wikipedia.org/wiki/HTML) used for the main site content.
- [CSS](https://en.wikipedia.org/wiki/CSS) used for the main site design and layout.
- [CSS :root variables](https://www.w3schools.com/css/css3_variables.asp) used for reusable styles throughout the site.
- [CSS Flexbox](https://www.w3schools.com/css/css3_flexbox.asp) used for an enhanced responsive layout.
- [JavaScript](https://www.javascript.com) used for user interaction on the site.
- [Git](https://git-scm.com) used for version control. (`git add`, `git commit`, `git push`)
- [GitHub](https://github.com) used for secure online code storage.
- [GitHub Pages](https://pages.github.com) used for hosting the deployed front-end site.
- [VSCode](https://code.visualstudio.com/) used for local IDE for development.
- [Krita](https://krita.org/en/) used for editing images, screenshots and favicon.
- [Favicon.cc](https://www.favicon.cc/) used to create the favicon.
- [Google Fonts](https://fonts.google.com/) used to search a suitable font and obtain a download link for that font.
- [Font Awesome](https://fontawesome.com/) used to add GitHub icon to the footer and modal and search icon to the search button.
## Testing
For all testing, please refer to the [TESTING.md](TESTING.md) file.
## Deployment
The site was deployed to GitHub Pages. The steps to deploy are as follows:
- In the [GitHub repository](https://github.com/boderg/your-weather), navigate to the Settings tab.
- From the source section drop-down menu, select the **Main** Branch, then click "Save".
- The page will be automatically refreshed with a detailed ribbon display to indicate the successful deployment.
The live link can be found [here](https://boderg.github.io/your-weather).
### Local Deployment
This project can be cloned or forked in order to make a local copy on your own system.
#### Cloning
You can clone the repository by following these steps:
1. Go to the [GitHub repository](https://github.com/boderg/your-weather).
2. Locate the Code button above the list of files and click it.
3. Select if you prefer to clone using HTTPS, SSH, or GitHub CLI and click the copy button to copy the URL to your clipboard.
4. Open Git Bash or Terminal.
5. Change the current working directory to the one where you want the cloned directory.
6. In your IDE Terminal, type the following command to clone my repository:
- `git clone https://github.com/boderg/your-weather.git`
7. Press Enter to create your local clone.
Alternatively, if using Gitpod, you can click below to create your own workspace using this repository.
[](https://gitpod.io/#https://github.com/boderg/your-weather).
Please note that in order to directly open the project in Gitpod, you need to have the browser extension installed.
A tutorial on how to do that can be found [here](https://www.gitpod.io/docs/configure/user-settings/browser-extension).
#### Forking
By forking the GitHub Repository, we make a copy of the original repository on our GitHub account to view and/or make changes without affecting the original owner's repository.
You can fork this repository by using the following steps:
1. Log in to GitHub and locate the [GitHub Repository](https://github.com/boderg/your-weather).
2. At the top of the Repository (not top of page) just above the "Settings" Button on the menu, locate the "Fork" Button.
3. Once clicked, you should now have a copy of the original repository in your own GitHub account.
### Local vs Deployment
There are no notable differences between my local developed site and the GitHub pages deployed site.
## Credits
The following are credits to various people and technologies that have directly or otherwise assisted in the creation of the Your Weather site.
### Content and Code
| Source | Location | Notes |
| --- | --- | --- |
| [Markdown Builder](https://tim.2bn.dev/markdown-builder) | README and TESTING | tool to help generate the Markdown files |
| [Chris Beams](https://chris.beams.io/posts/git-commit) | version control | "How to Write a Git Commit Message" |
| [W3Schools](https://www.w3schools.com/howto/howto_css_modals.asp) | Main page | interactive pop-up (modal) for the about section |
| [W3Schools](https://www.w3schools.com/howto/howto_css_switch.asp) | Main page | interactive toggle switch |
| [YouTube](https://www.youtube.com/watch?v=WZNG8UomjSI&t=1783s) | Main page | a source to get an idea of how to lay out the page |
| [Coding Nepal](https://www.codingnepalweb.com/weather-app-project-html-javascript/) | Main page | a source to get an idea for how to structure my javascript file |
| [Geeks for Geeks](https://www.geeksforgeeks.org/weather-app-using-vanilla-javascript/) | Main page | a source to get an idea for layout and structure my javascript file |
| [Toptal](https://www.toptal.com/software/definitive-guide-to-datetime-manipulation) | Javascript | conversion and parsing of unix time stamp |
| [Wikipedia](https://en.wikipedia.org/wiki/List_of_short_place_names) | Javascript | helped in determining whether name validation is needed or not |
| [Open Weather](https://openweathermap.org/) | API Data | api used to retrieve data for the site |
### Media
| Source | Location | Type | Notes |
| --- | --- | --- | --- |
| [Unsplash](https://source.unsplash.com/random?landscape) | Main changing background | image | Landscape image selection |
### Acknowledgements
- I would like to thank my Code Institute mentor, [Chris Quinn](https://github.com/10xOXR) for their support throughout the development of this project.
- I would like to thank my previous Code Institute mentor, [Tim Nelson](https://github.com/TravelTimN) for their encouragement to continue my journey after my one project course had finished.
- I would like to thank [Code Institute](https://codeinstitute.net) for giving me the opportunity to complete the 4P course.
- I would like to thank the [Code Institute](https://codeinstitute.net) facilitator team [Iris Smok](https://github.com/Iris-Smok/Iris-Smok) and Irene Neville for their advice.
- I would like to thank the [Code Institute Slack community](https://code-institute-room.slack.com) for the moral support and general information that helps with my studies.
- I would like to thank my family, for their support and understanding, for believing in me, and allowing me to make this transition into software development.