# Setup
Follow these instructions to deploy your own instance of EasyRetroPGF.
## 1. Fork Repo
[Fork EasyRetroPGF](https://github.com/gitcoinco/easy-retro-pgf/fork)
1. Click to view the `.env.example` file in your newly created repo
2. Copy its contents and paste into a text editor
## 2. Configuration
The `.env.example` file contains instructions for most of these steps.
At the very minimum you need to configure a postgres database, nextauth and the voting periods under App Configuration.
#### Database
https://vercel.com/dashboard/stores?type=postgres
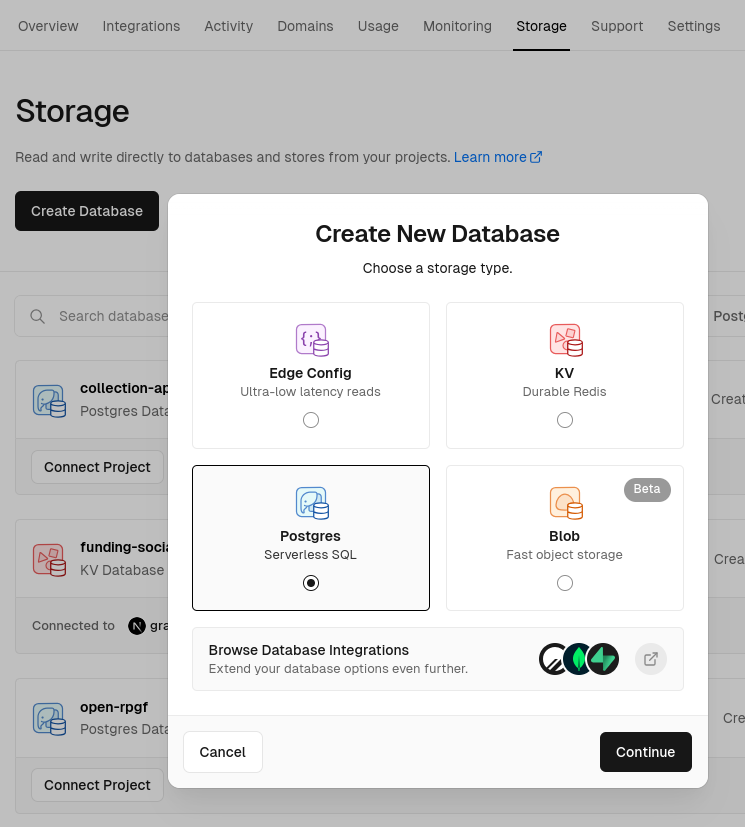
1. Press Create Database button
2. Select Postgres, press continue, and give it a name and region
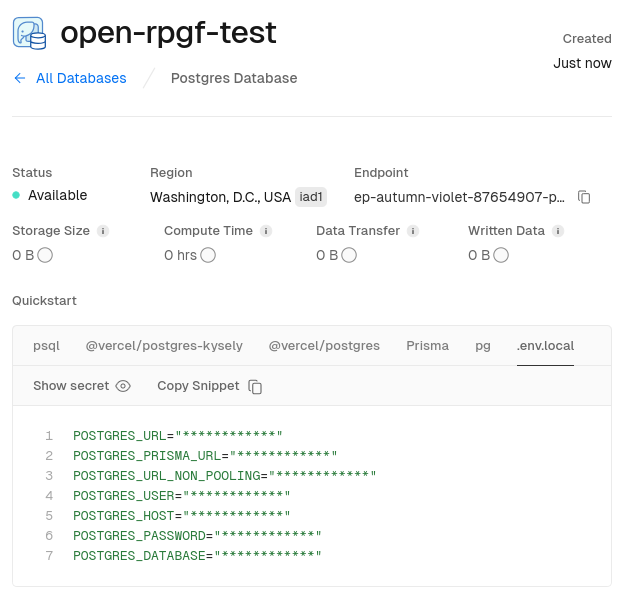
3. Press `.env.local` tab, Copy Snippet and paste into text editor
#### Auth
1. Generate a secret (`openssl rand -base64 32`)
2. Configure `NEXTAUTH_URL` (this should only be necessary on localhost or for production domains)
#### Network
The default configuration is Optimism.
You can find supported networks on the EAS documentation website: https://docs.attest.sh/docs/quick--start/contracts
#### App
Configure how many votes each voter receives and how many votes each project can receive.
You can also find configurations for when voting starts and ends as well as the registration and review period.
Here, you can also configure who your admins are. These are the users who will approve applications and voters.
To create your own round you need to do a few things:
- Update `NEXT_PUBLIC_ADMIN_ADDRESSES` with a comma-separated list of wallet addresses that approve the applications and voters (badgeholders)
- Set `NEXT_PUBLIC_ROUND_ID` to a unique identifier that will group the applications and lists you want to list
#### EAS
If you are running on a different network than Optimism you need to update the contract addresses for EAS. These addresses are used whenever an attestation is created.
You can also configure your own schemas here if you wish to.
## 3. Deploy
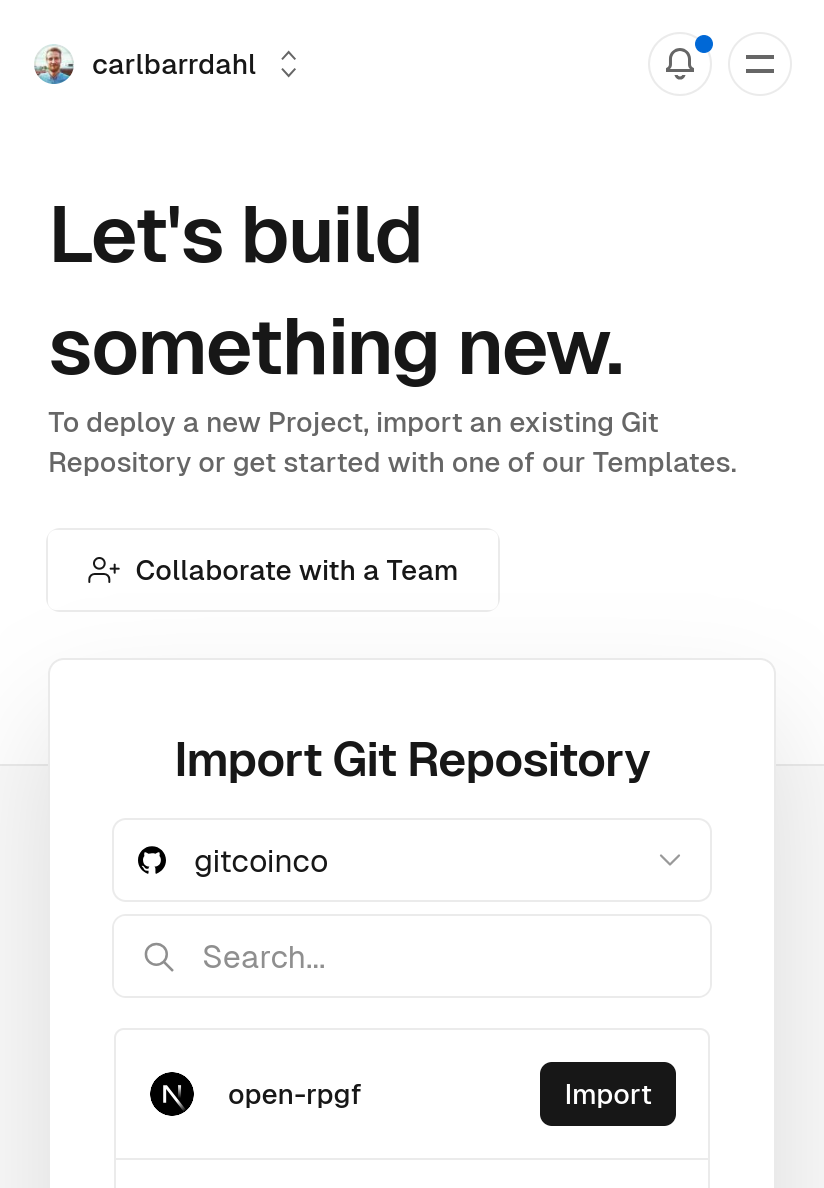
https://vercel.com/new
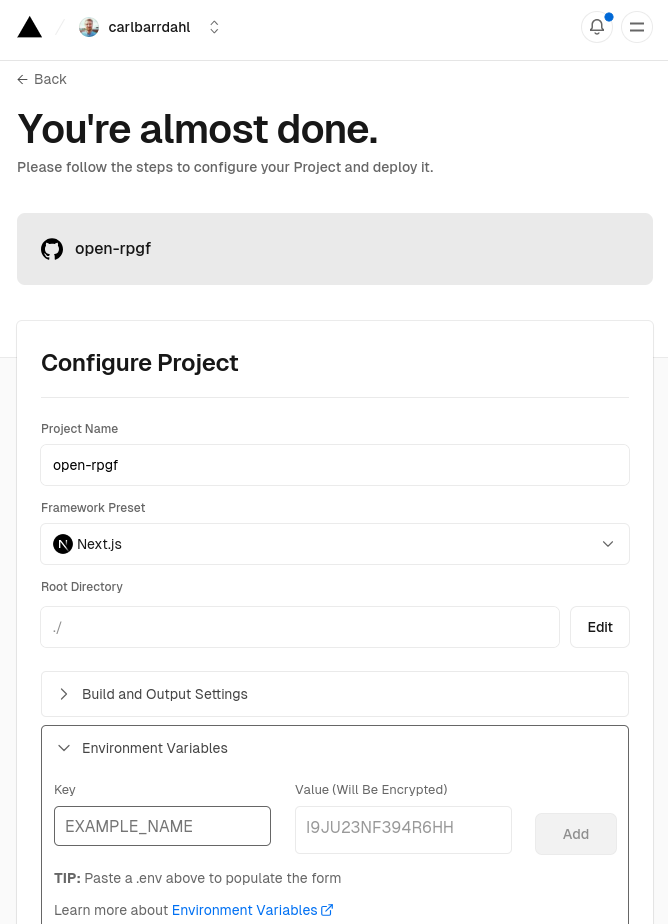
1. Import the repo you created/forked
2. Open the Environment Variables panel
3. Select the first field and paste your variables from your text editor
4. Deploy!
## Additional configuration
### Configure theme and metadata
Edit `tailwind.config.ts` and `src/config.ts`
_You can edit files directly in GitHub by navigating to a file and clicking the Pen icon to the right._
### Creating EAS Schemas and Attestations
You can create your own schemas by running this script.
```sh
WALLET_PRIVATEKEY="0x..." npm run eas:registerSchemas
```