Welcome to wechat-gptbot 👋





> A wechat robot based on ChatGPT with no risk, very stable! 🚀
> English | [中文文档](README_ZH.md)
## 🎤 Introduction
> When I use bots based on `itchat` and `wechaty`, I often encounter the risk of account restrictions when scanning codes to log in. Refer to [#158](https://github.com/AutumnWhj/ChatGPT-wechat-bot/issues/158). Is there a safe way to use wechat bots? Here it is~
## 🌟 Features
- [x] **Extremely Stable:** Implement based on windows hook, no worry about risk of wechat account restriction
- [x] **Basic Conversation:** Smart reply for private chat and group chat, support multiple rounds of session context memory, support GPT-3, GPT-3.5, GPT-4, Claude-2, Claude Instant-1, Command Nightly, Palm models and other models in [litellm](https://litellm.readthedocs.io/en/latest/supported/)
- [x] **Image Generation:** Support image generation, Dell-E only model for now
- [x] **Flexible Configuration:** Support prompt settings, proxy, command settings and etc.
- [x] **Plugin System:** Support personalized plugin extensions, you can easily integrate the functions you want
## 📝 Changelog
> **2023.07.13:** Introduce `plugin system` to make gptbot have more possibilities and easy to expand [#46](https://github.com/iuiaoin/wechat-gptbot/pull/46). Here's the first interesting plugin: [tiktok](https://github.com/iuiaoin/plugin_tiktok), try it and have fun! Also refer to [docs](plugins/README.md) to learn the usage and how to contribute~
## 🚀 Getting Start
### Environment
Support Windows system(probably support Linux in the future based on [sandbox](https://github.com/huan/docker-wechat)) and `Python` needs to be installed at the same time
> It is recommended that the Python version be 3.13 or above
#### 1. Clone repo
```bash
git clone https://github.com/iuiaoin/wechat-gptbot && cd wechat-gptbot
```
#### 2. Install dependencies
```bash
pip install -r requirements.txt
```
### Configuration
`config.template.json` in the root directory contains the configs template, you need to copy the template to create the final effective `config.json`
```bash
cp config.template.json config.json
```
Then fill in the configuration in `config.json`, the following is the description of the default configuration, which can be customized according to the needs:
```bash
{
"openai_api_key": "YOUR API SECRET KEY", # Fill in your OpenAI API Key
"model": "gpt-3.5-turbo", # ID of the model to use, support gpt-3.5-turbo, gpt-4, gpt-4-32k etc.
"use_azure_chatgpt": false, # Whether use Azure OpenAI API
"azure_deployment_id": "", # Azure model deployment name
"role_desc": "You are a helpful assistant.", # Role description as system prompt
"session_expired_duration": 3600, # Session memory kept duration
"max_tokens": 1000, # Max tokens of characters for session memory
"temperature": 0.9, # Between 0 and 2. Higher values make the output more random, while lower values more focused
"proxy": "127.0.0.1:3000", # Proxy client ip and port
"openai_api_base": "", # api url used by openai service
"create_image_size": "256x256", # Dall-E image size, support 256x256, 512x512, 1024x1024
"create_image_prefix": ["draw", "paint", "imagine"], # Text prefix for image generation
"clear_current_session_command": "#clear session", # Clear current session
"clear_all_sessions_command": "#clear all sessions", # Clear all sessions
"chat_group_session_independent": false, # Whether sessions of users are independent in chat group
"single_chat_prefix": ["bot", "@bot"], # Start conversation with "bot" or "@bot" in single chat to trigger the bot, leave it empty if you wanna make the bot active all the time
"group_chat_reply_prefix": "", # Reply prefix in group chat
"group_chat_reply_suffix": "", # Reply suffix in group chat
"single_chat_reply_prefix": "", # Reply prefix in single chat
"single_chat_reply_suffix": "", # Reply suffix in single chat
"query_key_command": "#query key" # Querying the usage of the api key
"recent_days": 5 # The usage in days
"plugins": [{ "name": , other configs }]# Add the your favorite plugins
}
```
### Running
#### 1. Prepare
> We need the specific wechat version and dll to make windows hook work.
1. Download assets from the [release](https://github.com/iuiaoin/wechat-gptbot/releases/tag/v1.0.0)
2. Install WeChatSetup-3.2.1.121.exe and login
3. Run the wechat-dll-injectorV1.0.3.exe
4. Select 3.2.1.121-LTS.dll and click `inject dll`, you will see "Successfully injected: 3.2.1.121-LTS.dll"
#### 2. Run command
```bash
python app.py
```
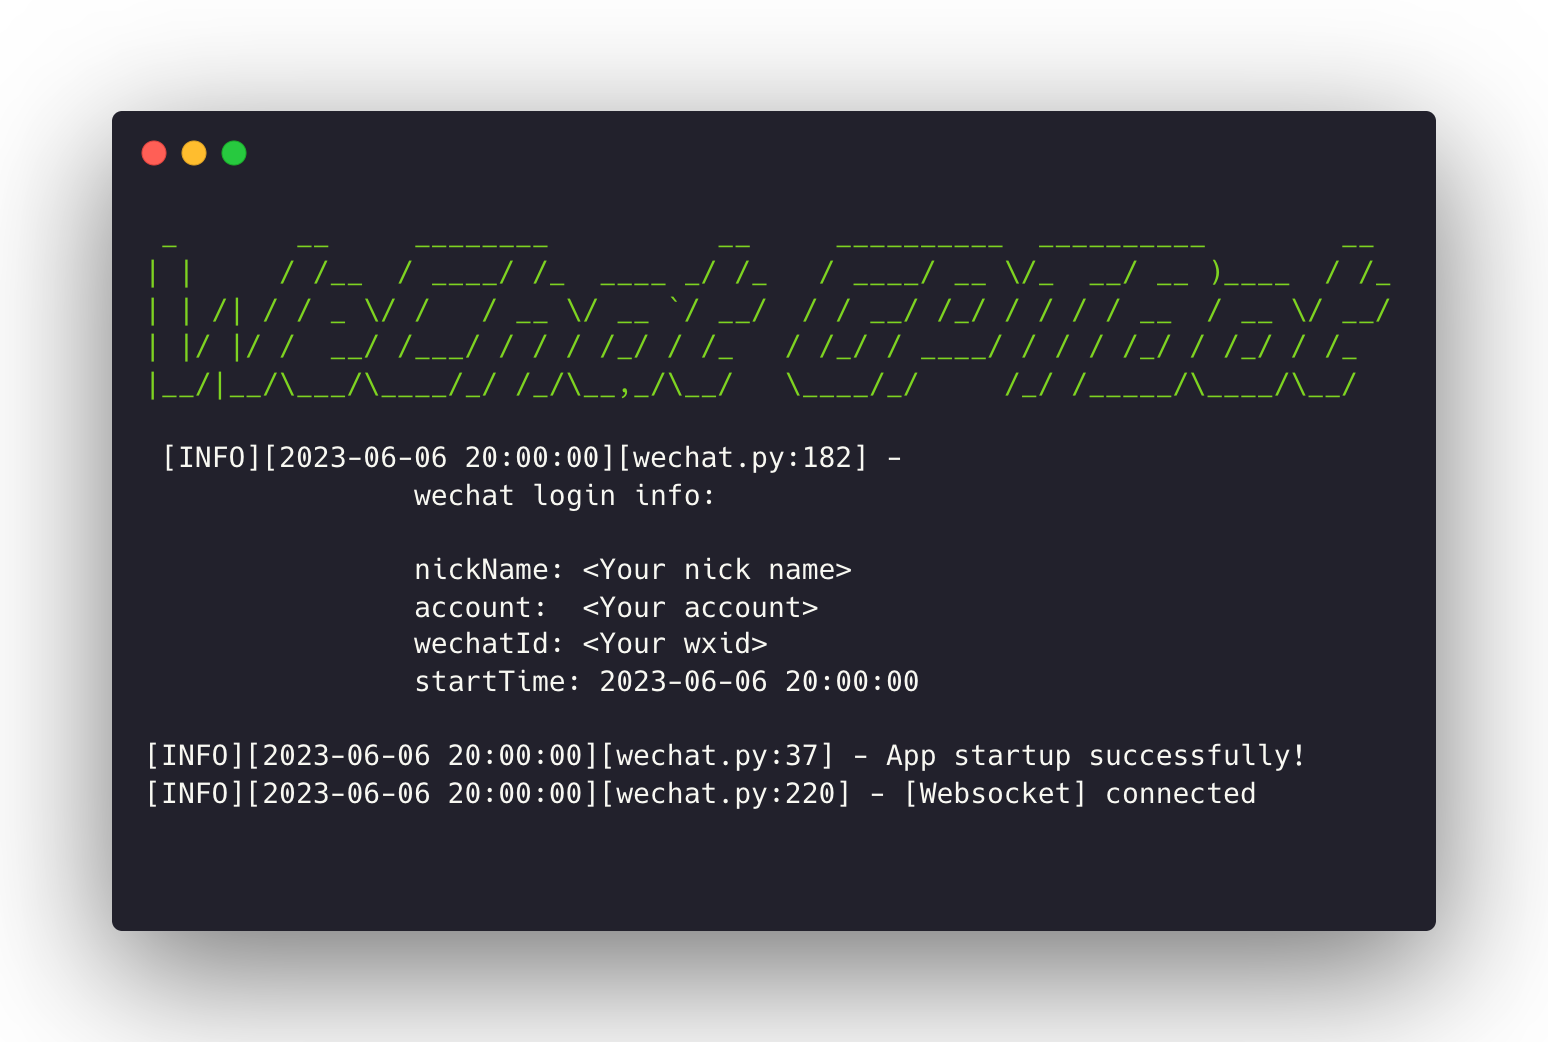 Voilà! Enjoy your exploring journey~
## ✨ Generous Backers
> Thank you very much for your support, it will be my biggest motivation!
Voilà! Enjoy your exploring journey~
## ✨ Generous Backers
> Thank you very much for your support, it will be my biggest motivation!
 ## 🤝 Contributing
Contributions, issues and feature requests are welcome!
## 🤝 Contributing
Contributions, issues and feature requests are welcome!
Feel free to
check [issues page](https://github.com/iuiaoin/wechat-gptbot/issues).
## 🙏 Show your support
Give a ⭐️ if you like this project!
## 📢 Announcements
The WeChatSetup is coming from [wechat-windows-versions](https://github.com/tom-snow/wechat-windows-versions/releases) and wechat-dll-injector from [wechat-bot](https://github.com/cixingguangming55555/wechat-bot), so you can use it without concern. Also thanks the two repo's owners for their contributions.
## 💖 Sponsor
> Become a Sponsor on **[AFDIAN](https://afdian.net/a/declan)**. Your name will be specifically listed under Generous Backers~