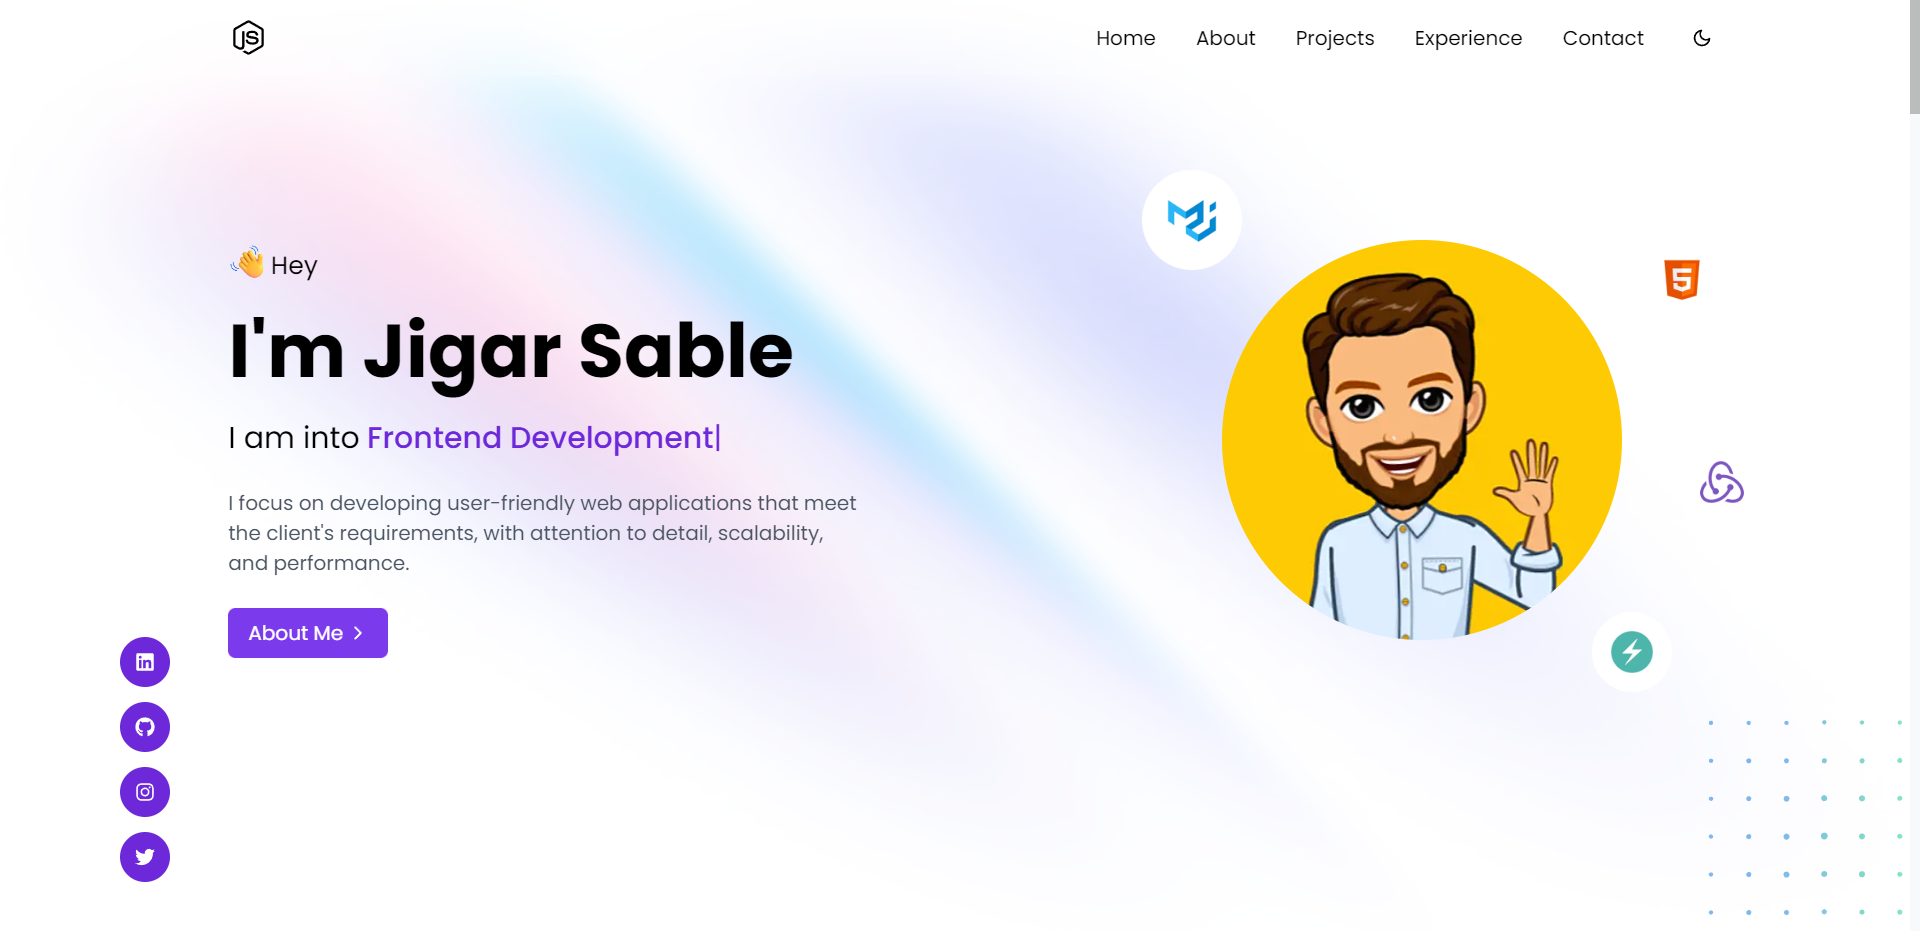
## Introduction 👋
Next Portfolio is built using Next.js and Tailwind CSS for a modern design and rapid development. TypeScript is utilized for code clarity and safety. Additionally, Firebase is being integrated for backend services such as realtime-database. The result is a dynamic and functional portfolio website that showcases the developer's skills and experience.
## Tech Stack 🛠️
- [Next.js](https://nextjs.org)
- [TypeScript](https://www.typescriptlang.org)
- [Tailwind CSS](https://tailwindcss.com)
- [Firebase](https://firebase.google.com)
- [SendGrid](https://sendgrid.com)
- [Framer Motion](https://www.framer.com/motion)
## Development 💻
Here are the steps to run the portfolio locally.
1. Fork [this](https://github.com/jigar-sable/next-portfolio) repository.
2. Clone your forked copy of the repo
```bash
git clone https://github.com//next-portfolio.git
```
3. Install dependencies
```bash
npm i
```
4. Create a Firebase project and select the web app
5. Create an `.env.local` file in the root directory, and add the following variables with your firebase config:
```
SENDGRID_API_KEY=XXXXXXXX
NEXT_PUBLIC_FIREBASE_DATABASE_URL=XXXXXXXXXX
MAIL_FROM=YOUR_MAIL_ID
MAIL_TO=YOUR_MAIL_ID
```
> **Note**: `SENDGRID_API_KEY` - Create an API key from "Settings" -> "API Keys" with "Restricted Access" to only "Mail Send"
1. Update the sample [data.json](https://github.com/jigar-sable/next-portfolio/blob/main/data.json) provided, with your data or directly import the same and edit using firebase later. (For storing images you can use [Cloudinary](https://cloudinary.com) or [Firebase Storage](https://firebase.google.com/docs/storage))
2. Import json data
- Go to [Firebase Console](https://console.firebase.google.com) and select your project
- Go to "Database" -> "Realtime Database" -> "Import JSON" and import the [data.json](https://github.com/jigar-sable/next-portfolio/blob/main/data.json) file
3. Run the project
```bash
npm run dev
```
## Deployment 🚀
1. Create a Vercel account and select "Import Project"
2. Select the forked repository and deploy
3. Add the following environment variables in the Vercel dashboard:
```
SENDGRID_API_KEY=XXXXXXXX
NEXT_PUBLIC_FIREBASE_DATABASE_URL=XXXXXXXXXX
MAIL_FROM=YOUR_MAIL_ID
MAIL_TO=YOUR_MAIL_ID
```
4. Hurray! You successfully deployed the portfolio🥳
## License 📄
This project is licensed under the MIT License - see the [LICENSE.md](https://github.com/jigar-sable/next-portfolio/blob/main/LICENSE.md)
