
# Wilik
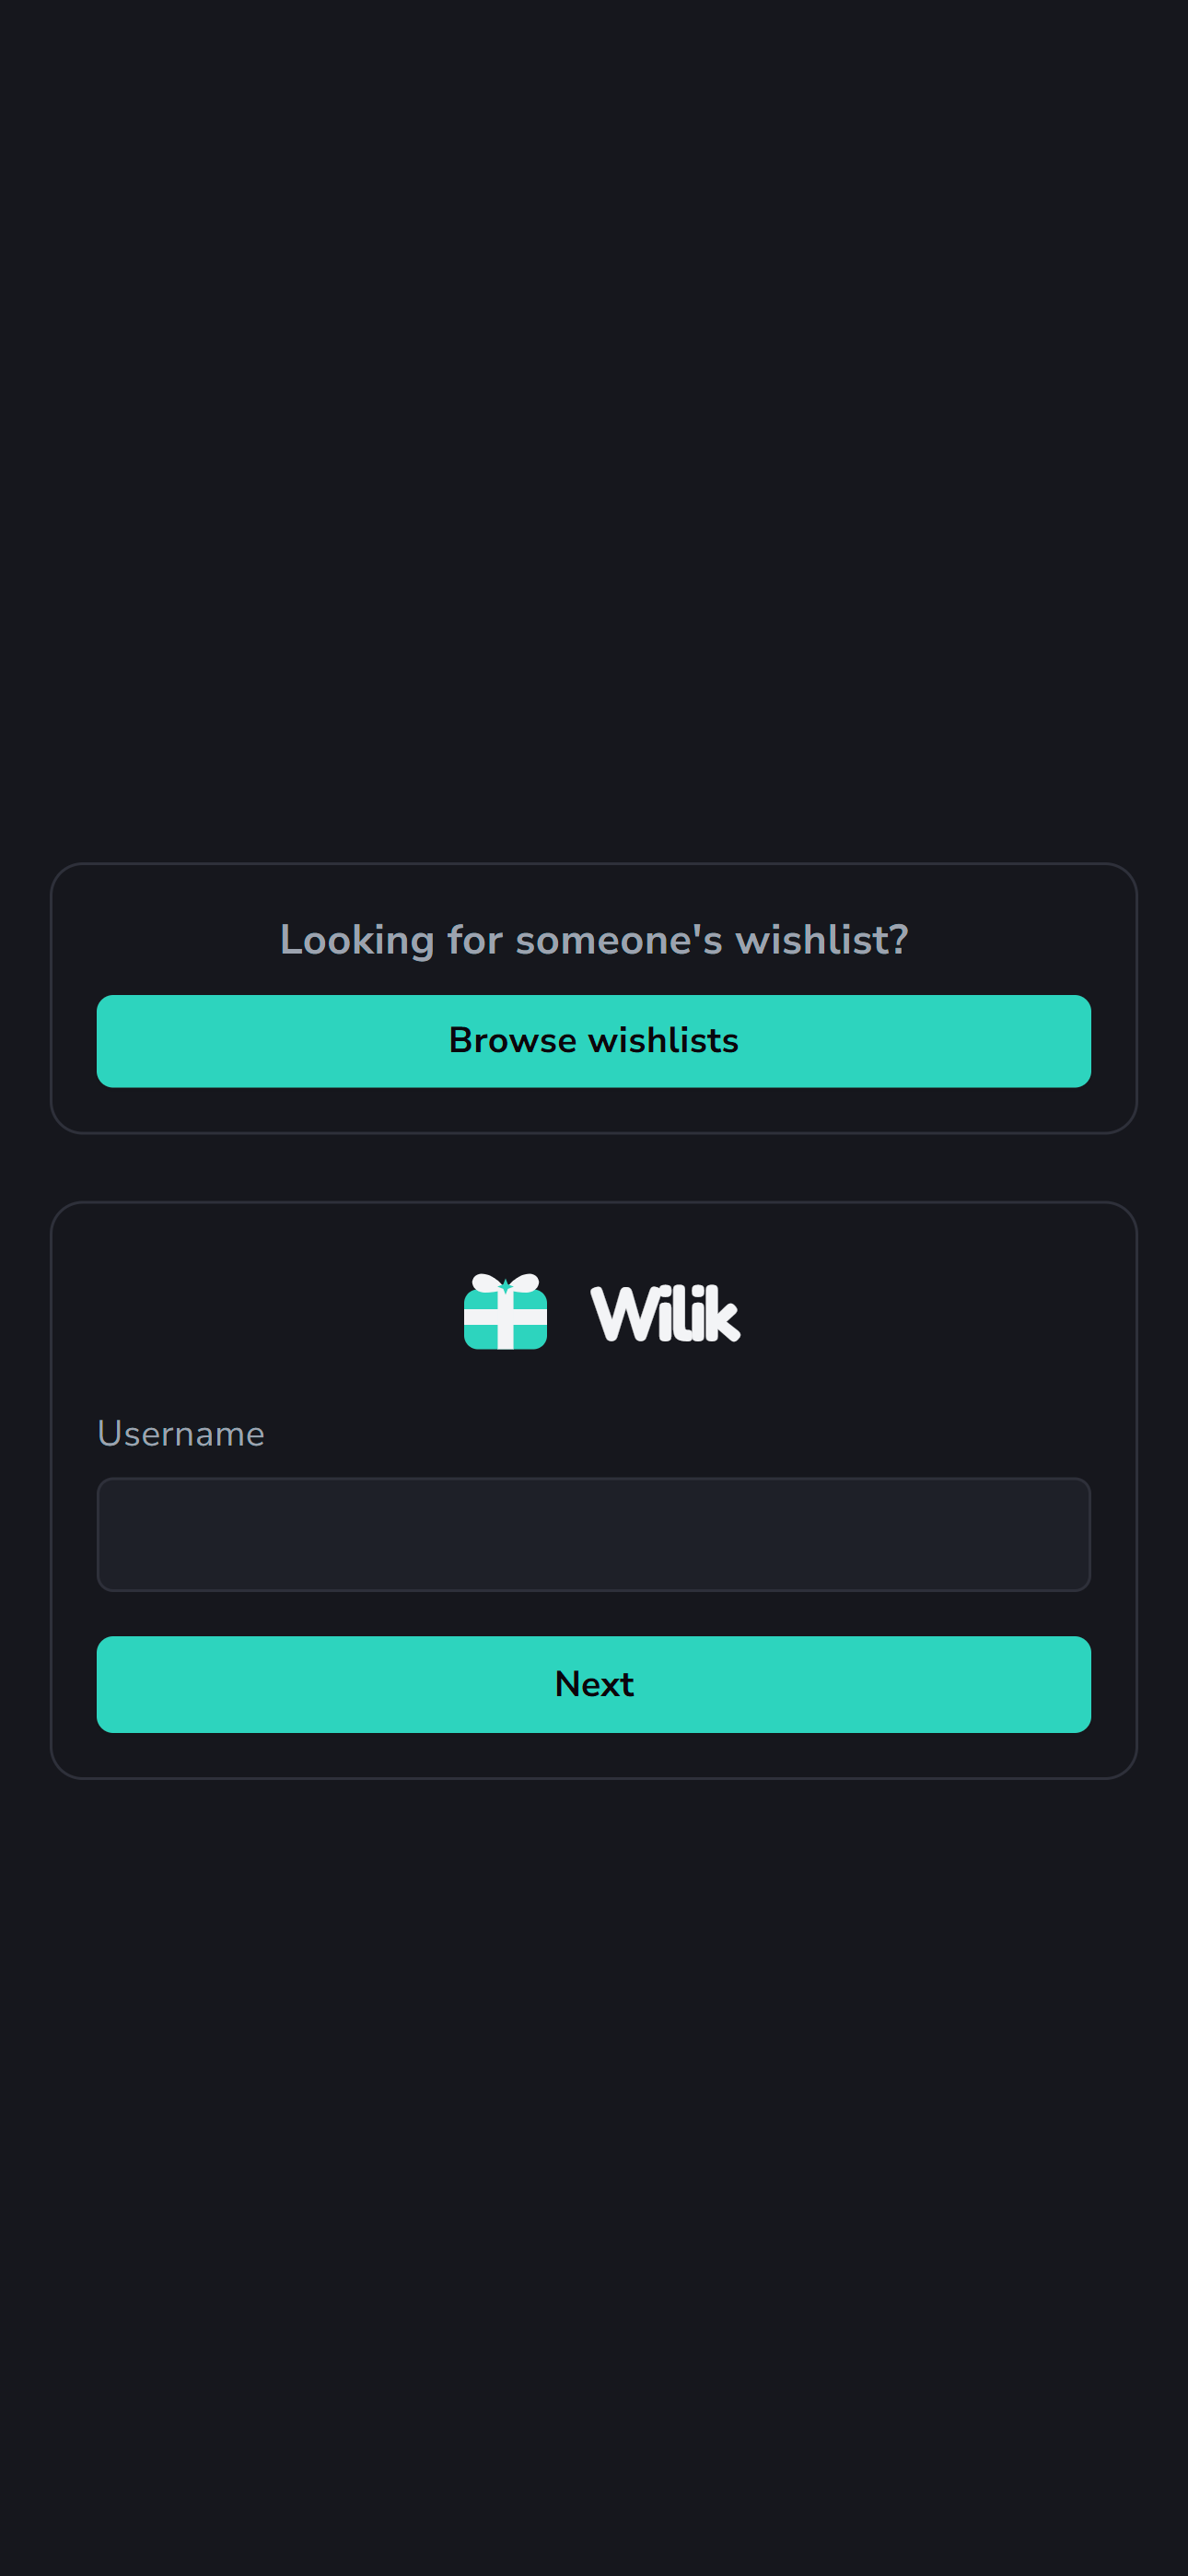
A self-hosted wishlist app, named after the Dutch "wil ik" ("I want that"). Each user keeps a list of things they want, shares it via a link that works for anyone who has it (or opts into the browsable directory so people can find it without one), and visitors can claim items or mark them as purchased without needing an account.
## What it does
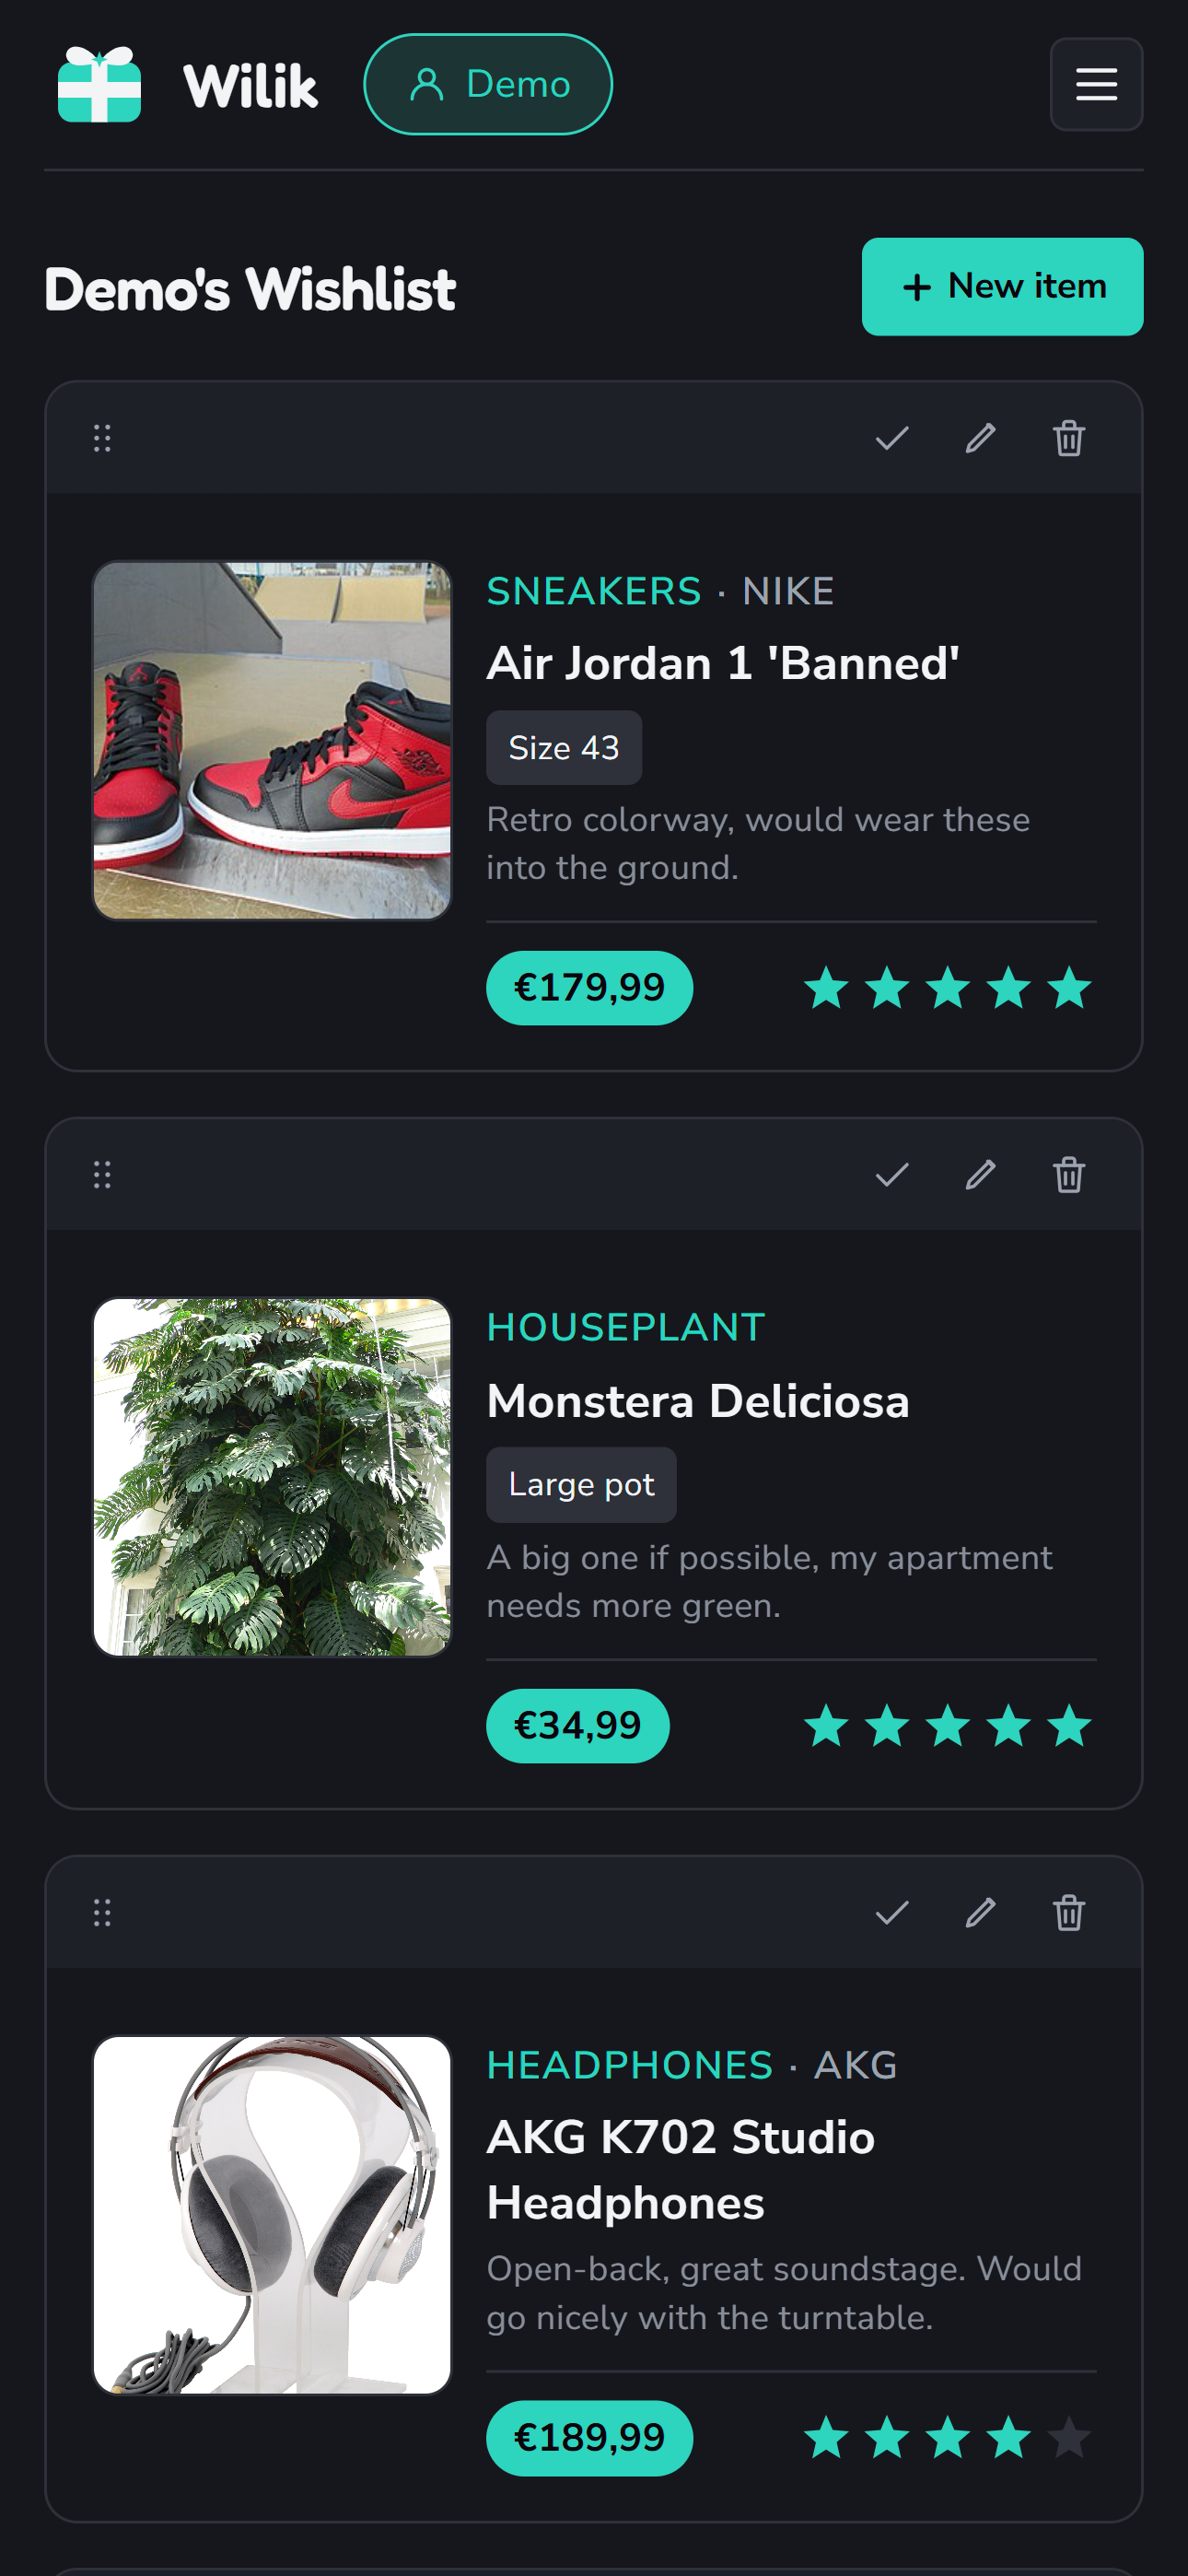
- 📝 **Personal wishlists** with price, brand, and notes per item. Paste a product URL and it'll try to auto-fill title, image, and price.
- 🔗 **Share via a link** that works for anyone who has it (not published or searchable anywhere), or add it to the **browsable directory** so people can find it without one. No login required either way, opt out per user or switch off site-wide.
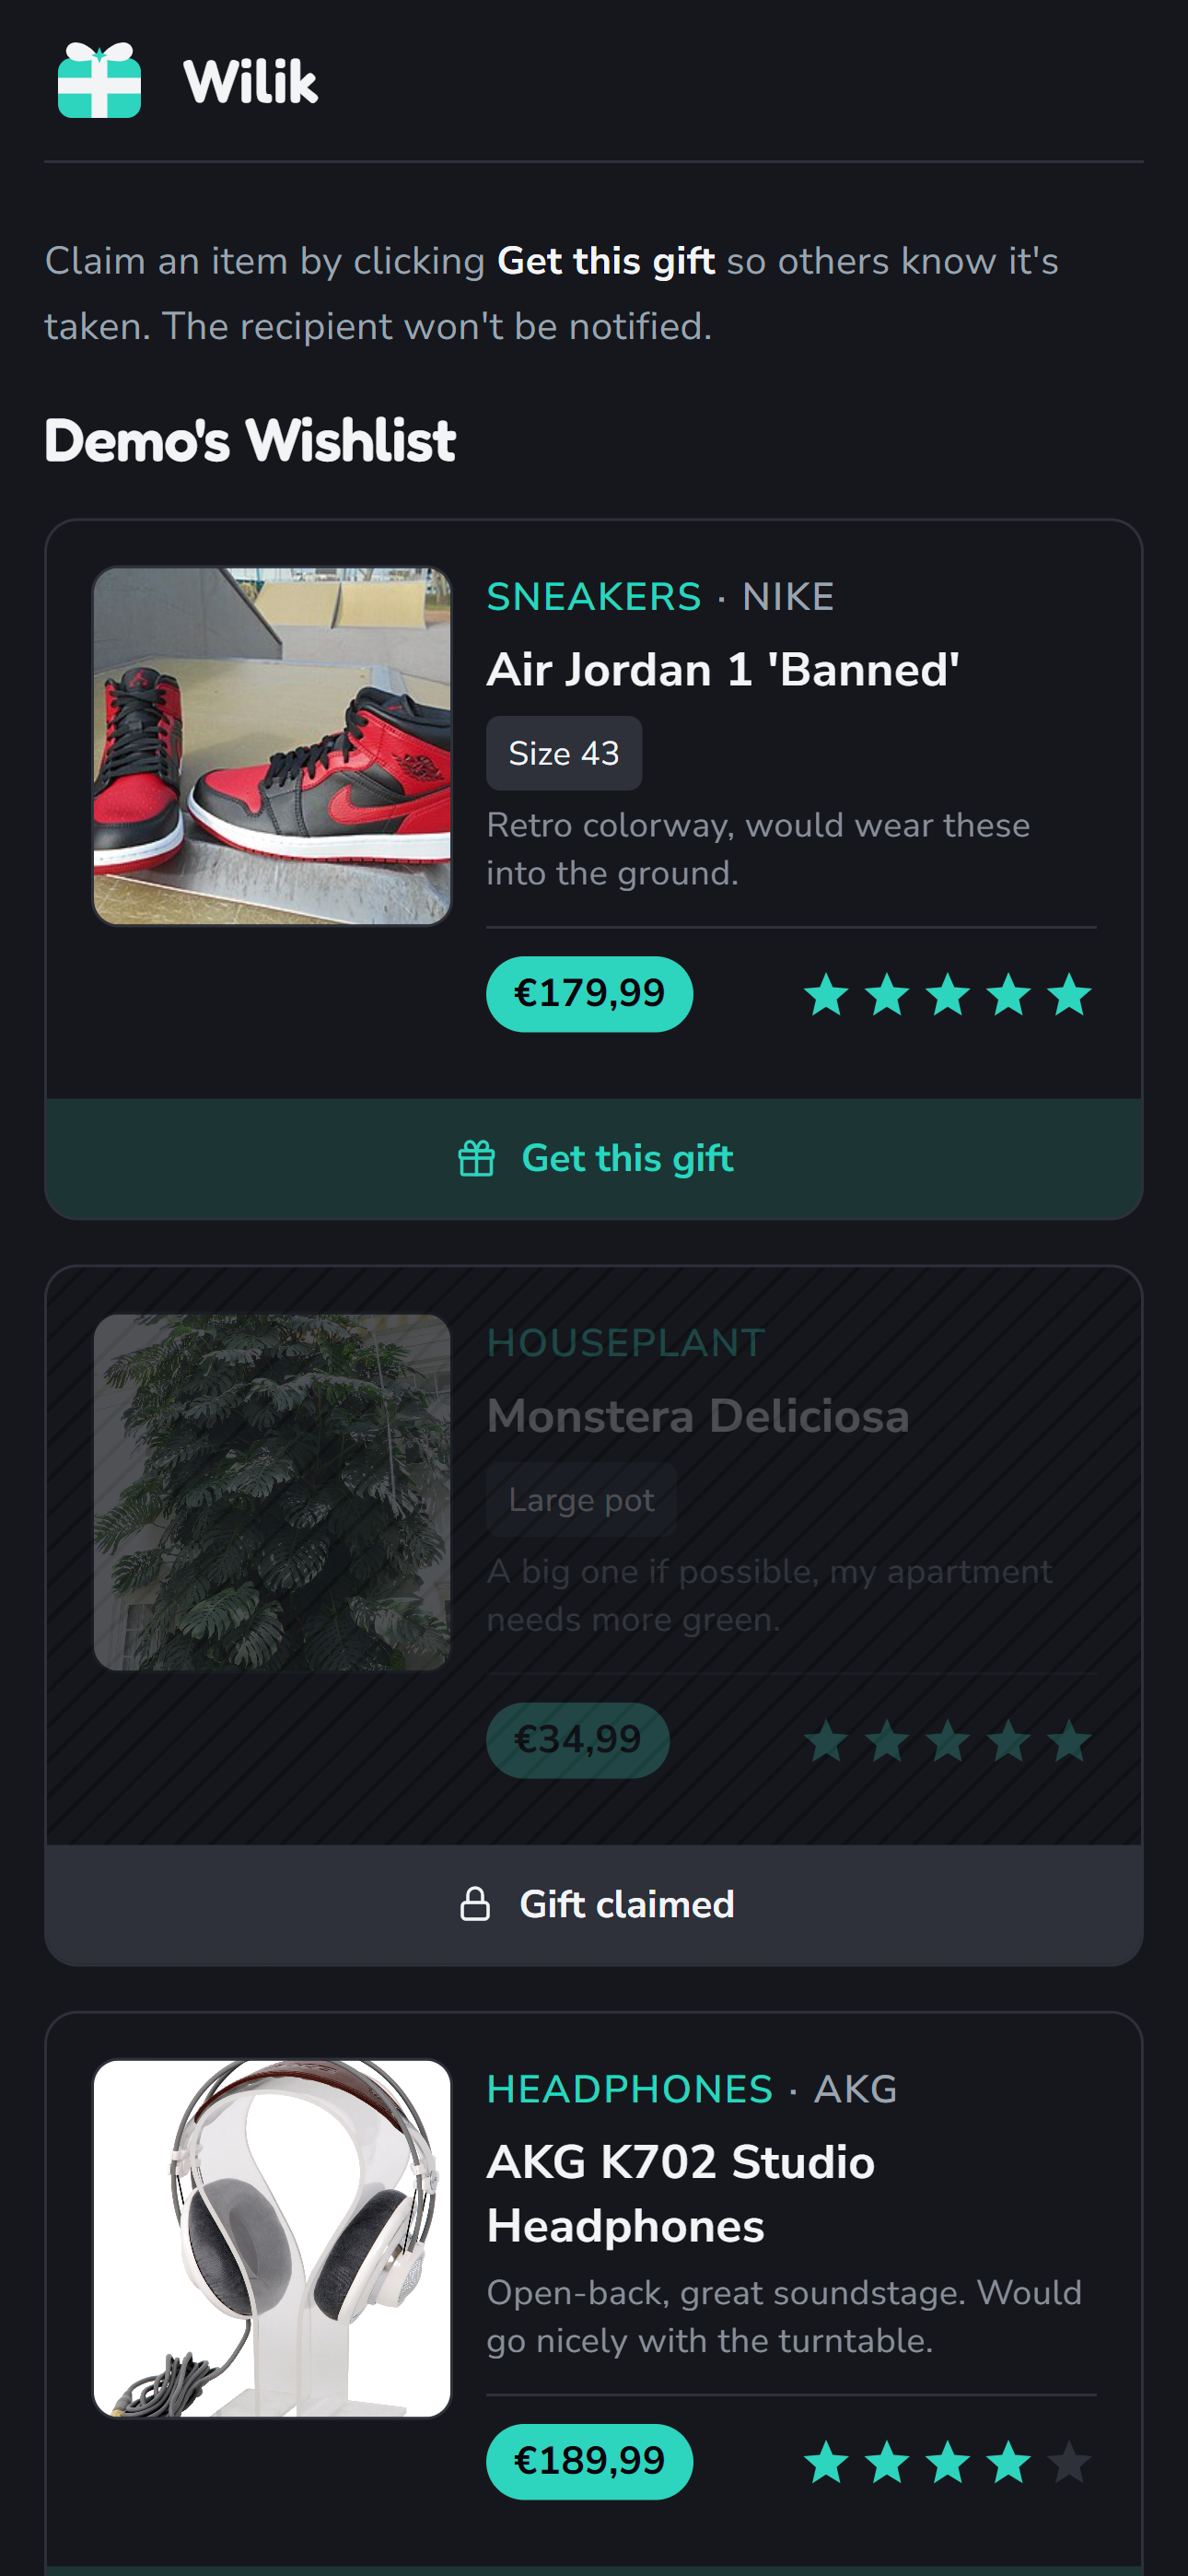
- 🤫 **Claiming**: visitors can claim an item so others know it's taken, without revealing it to the list owner. The surprise stays intact by default. Wishlist owners can explicitly opt into claim management, where claimant names remain hidden until deliberately revealed and stale claims can be reset.
- 🛠️ **Admin panel** for managing users and resetting passwords.
- 🌓 **Light/dark theme**, with dark as the default (as it should be).
Wilik is meant to be self-hosted: your data stays on your server, not on someone else's registry quietly logging what everyone wants for their birthday.
## Quick start
```
cp .env.example .env # set a real SECRET_KEY
docker compose up -d
```
The app is served on port 8090 (change it with `WILIK_PORT` in `.env`), with a first admin account already created (`Admin` / `admin`). You'll be asked to set a real username and password the first time you log in. That's it for a plain, single-machine setup, no reverse proxy, no backups.
To update, pull the new images and restart: `docker compose pull && docker compose up -d`. Database migrations run on their own when the backend starts. Wilik doesn't update itself; to have that happen automatically (cron, Watchtower, or your own tooling), see [Keeping Wilik up to date](DEPLOY.md#keeping-wilik-up-to-date).
For HTTPS/reverse proxies, off-site backups, rolling back, running your own fork with your own CI/registry, or moving an older install onto this setup, see [DEPLOY.md](DEPLOY.md).
## Development
Backend is Flask + SQLAlchemy + SQLite, with Flask-Migrate handling schema changes. Frontend is React + Vite. You'll need Python 3.13+ and Node 22+.
Install dependencies, once:
```
cd backend
python -m venv .venv
```
Then install the backend requirements using that venv's own Python:
- Windows: `.venv\Scripts\python.exe -m pip install -r requirements.txt`
- macOS/Linux: `.venv/bin/python -m pip install -r requirements.txt`
```
cd ../frontend
npm install
cd ..
npm install # root install, only needed for the combined dev command below
```
Set up the database, once, run from `backend/`:
- Windows: `.venv\Scripts\python.exe -m flask db upgrade` then `.venv\Scripts\python.exe -m flask bootstrap-db`
- macOS/Linux: `.venv/bin/python -m flask db upgrade` then `.venv/bin/python -m flask bootstrap-db`
This creates the schema and a first admin account (`Admin` / `admin`). You'll be asked to set a real username and password the first time you log in.
Then, from the repo root:
```
npm run dev
```
This runs backend and frontend together in one terminal, cross-platform. To work on just one side instead: `npm run dev:backend` or `npm run dev:frontend`.
## License
MIT, see [LICENSE](LICENSE).