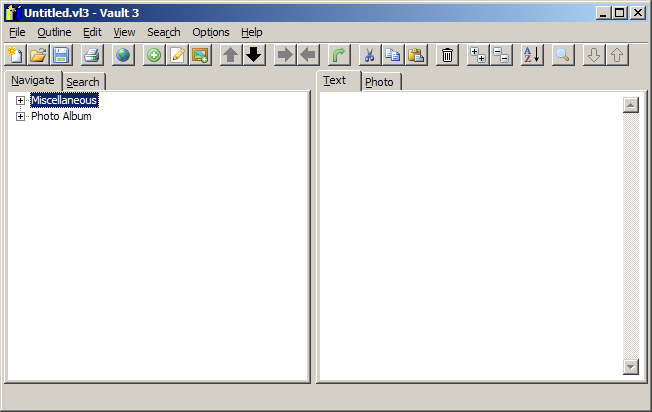
How to Import The Photo Program Files into Vault 3
You can easily convert your The Photo Program files to Vault 3 files:
- You will need the latest, registered version of The Photo Program. If you are a registered user, request the latest version of The Photo Program.
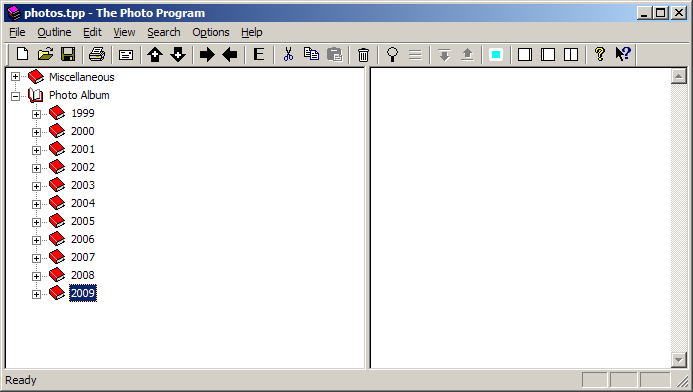
- Run The Photo Program and open the file you want to convert to Vault 3 format:
-
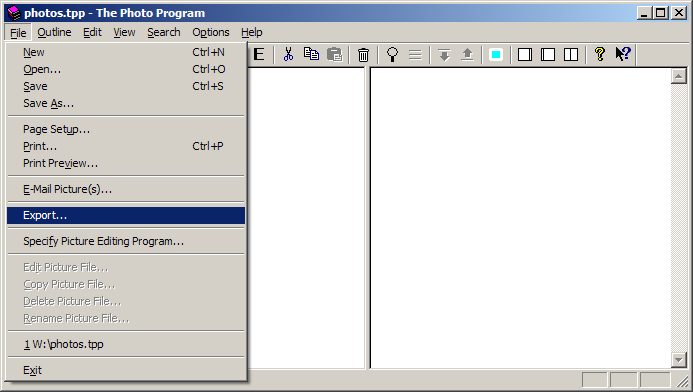
Select File / Export:
-
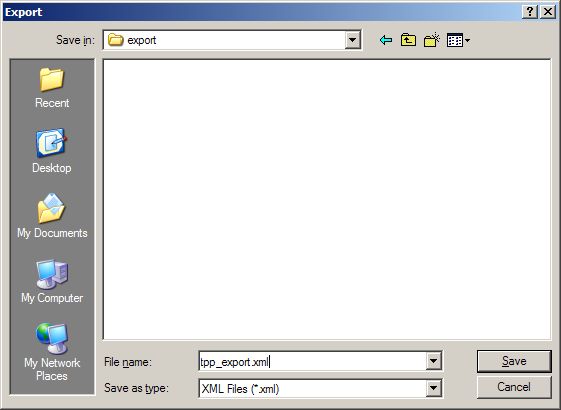
Specify the export filename and specify XML Files (*.xml) as the type.
-
Press the save button.
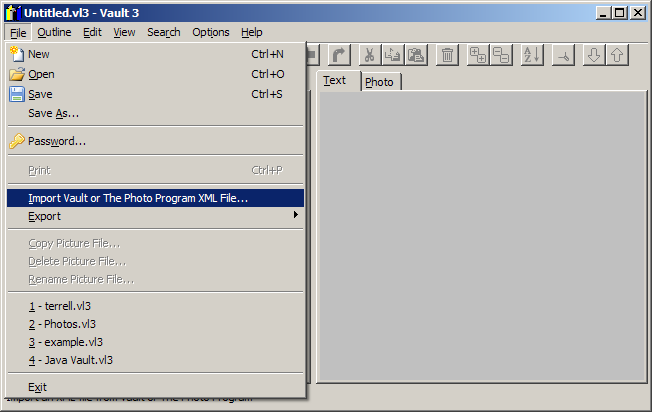
- Go to Vault 3 and select File / Import Vault or The Photo Program XML File:
-
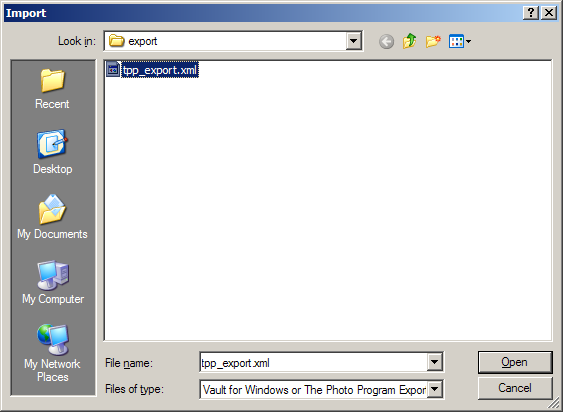
Navigate to the file you exported from The Photo Program and click Open:
-
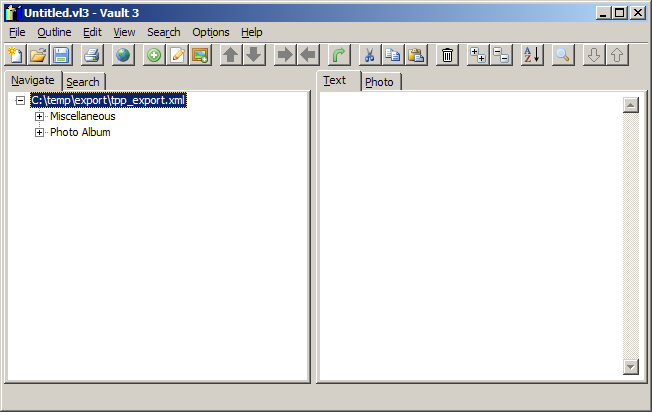
Expand the outline item by clicking the +:
-
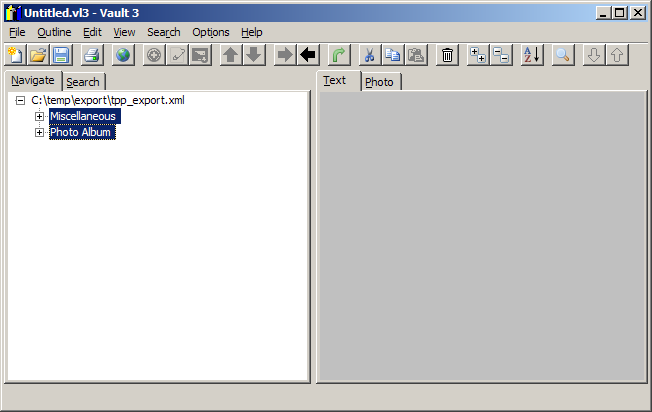
Select all items except for the first:
-
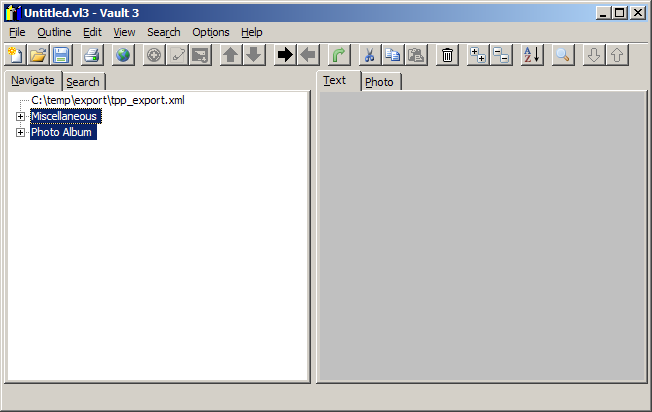
Select Outline / Unindent:
-
Select the first outline item. Then select Outline / Remove:
