The Content Population filter is used to insert information into a message. The filter can replace the body of the message with a static body and the values of given fields with static (literal) values or message property values.
If the Body Template File property is supplied, the message body is replaced with the data in the file. Following the replacement, the message is parsed using the Definition File and each field in the message (listed in the Field Mappings field) has its value replaced with the respective value. The values can reference message properties.
A common use of this filter is to create acknowledgment messages containing information from the original message.
If you are parsing the incoming message or the body template, you must have a definition defined.
Configuration Properties
Property |
Description |
|---|---|
Maximum Concurrency |
The maximum level of concurrency for this filter. A setting of |
Definition |
Identifies the message definition describing the layout of the output message. This is only required if you are inserting values into the body of the message. If a body template file is specified, then this definition must match the message structure of the data in that file. |
Body Template File |
An optional file that replaces the entire message body. Any field replacements occur after the body has been replaced. If the message body is replaced, the existing message body is placed into the temporary message property |
Field Mappings |
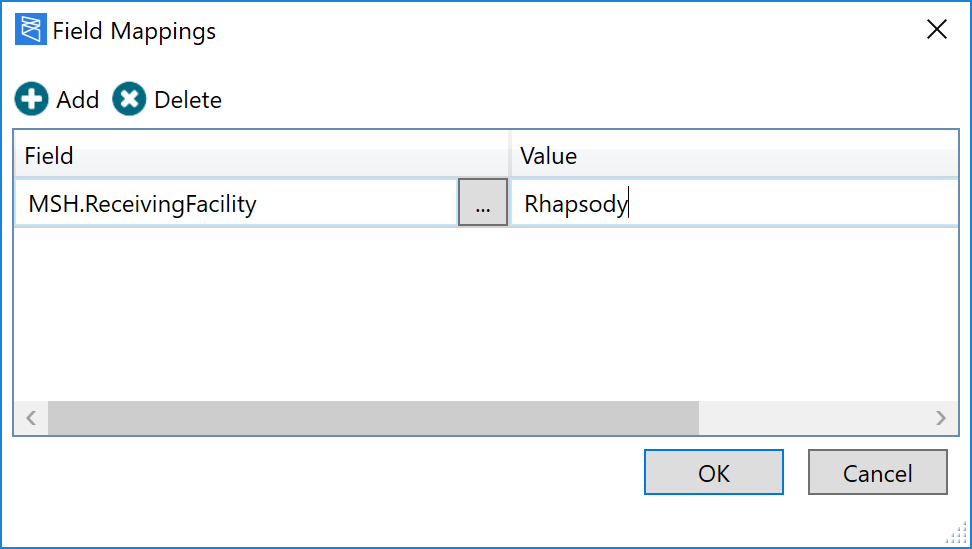
This property is only available if a definition file has been specified in the Definition configuration property. Fields listed in this mapping have their values replaced by the constant values or message property values specified in the Value column. Message properties are denoted with a To create field mappings:
|

