You can develop custom modules on any operating system that can run a Java Software Development Kit, including, for example, Windows and *nix platforms such as Linux or Mac OS. Ensure you have administrator rights on your workstation in order to install any required applications.
To install the Rhapsody RDK, perform the following steps:
Install Java Development Kit (JDK)
To install the JDK, (required for Eclipse), download and install it from the Prebuilt OpenJDK Binaries webpage or Oracle's Java SE Development Kit 8 Downloads webpage. Refer to JRE Version and Update Policy to determine which JRE version is supported for the operating system you are using.
Install Eclipse
To install Eclipse (required for plug-in development), download Eclipse IDE for RCP and RAP Developers from the Eclipse website and unzip it.
To run Eclipse, navigate to the extracted Eclipse directory and run the installation file. You can right-click on this file and pin it to your Start Menu for quick access.
Copy Rhapsody Files
Eclipse uses Rhapsody files for custom module development.
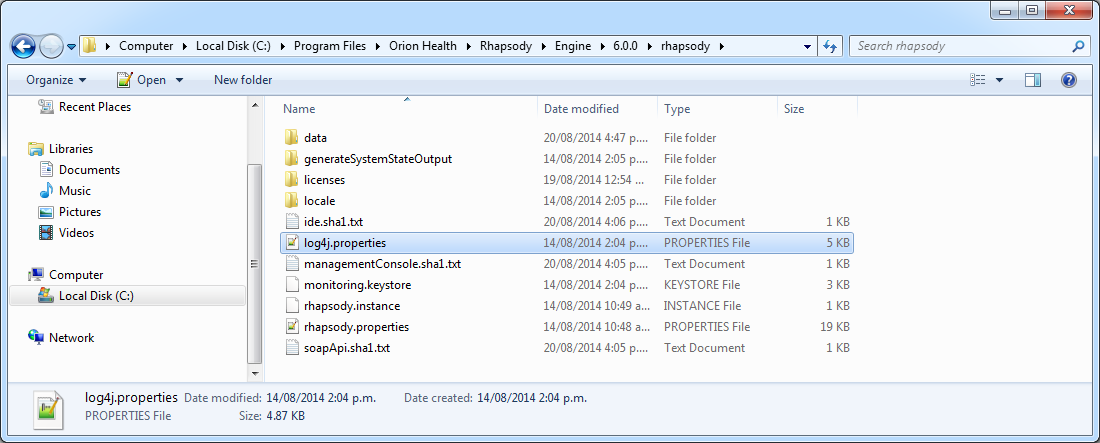
Instead of using files from an actual Rhapsody Engine installation, it is recommended you create a separate 'development' folder and copy the relevant files into it. Copy the following directories and files from Rhapsody's installation directory:
| File or Directory | Notes |
|---|---|
jre |
Copy the entire directory. |
plugins |
Copy the entire directory. |
rhapsody/log4j.properties |
Used for configuring console logging. If you do not copy the file, a default file is generated which does not log to Eclipse. |
|
Used for configuring Rhapsody properties and ports. Ensure you update the directory paths to new locations in the copied file before running Rhapsody. If you do not copy the file, no default file is generated and default values from the Rhapsody engine are used. |
You do not have to run Eclipse on Windows to develop custom modules. For example, if you want to develop in a Mac OS environment, you can copy the files from a Windows Rhapsody engine onto your Mac.
Install the Rhapsody RDK Wizard
To install the Rhapsody RDK wizard:
- Raise a Support Tracker ticket to request the Rhapsody RDK installation file.
- Download and extract the Rhapsody RDK installation file to a convenient location.
- Locate the wizard JAR file (
com.orchestral.rhapsody.eclipsewizard.jar) and copy the JAR file into thepluginsfolder of your Eclipse installation. - You may need to restart Eclipse for it pick up this change.
- To verify Eclipse has picked up this change successfully, navigate to File>New>Other... and verify the
Rhapsody Wizardsfolder is listed.
Configure Eclipse
Add a Rhapsody Java Runtime Environment
It is recommended you configure Eclipse to use the Rhapsody Java Runtime Environment (JRE) to avoid any potential issues resulting from differing JRE versions.
To add a Rhapsody JRE:
- From Eclipse, navigate to Window>Preferences>Java>Installed JREs.
- Select Add... to display the Add JRE window.
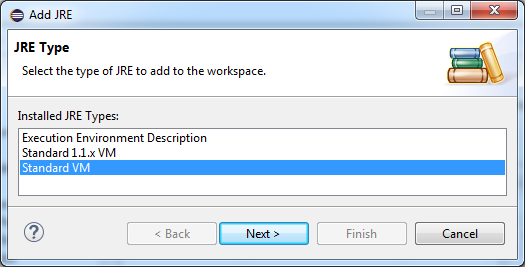
For the JRE Type, Select
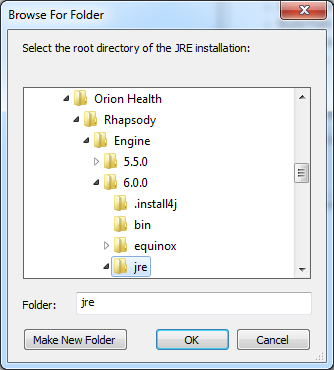
Standard VMand then select the Next button:To set the JRE home, select the Directory button. Navigate to your Rhapsody engine's
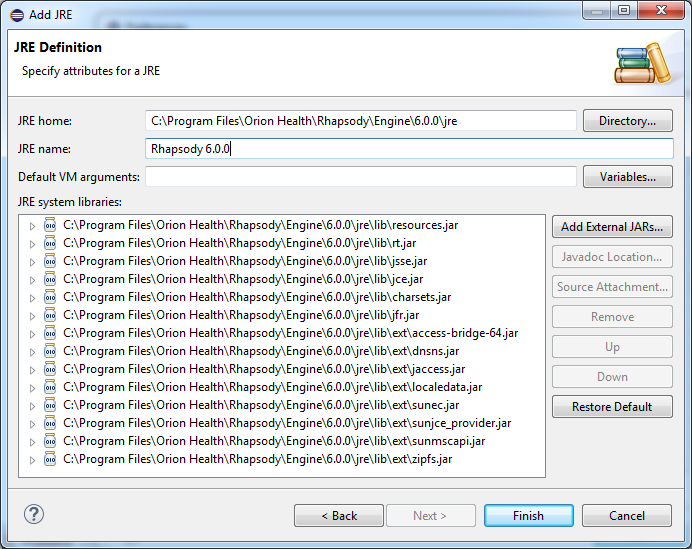
jrefolder and select the OK button:Select the Finish button:
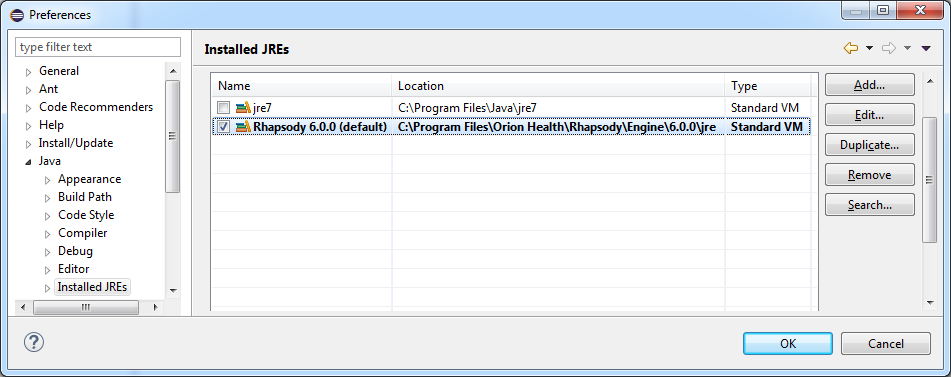
Now select the Rhapsody JRE as your default runtime JRE and then select the OK button:
Eclipse is now configured to use the Rhapsody JRE.
Configure the Target Platform
Configuring the target platform enables you to run Rhapsody from Eclipse, and test and debug your custom components during development.
To create a Rhapsody target platform:
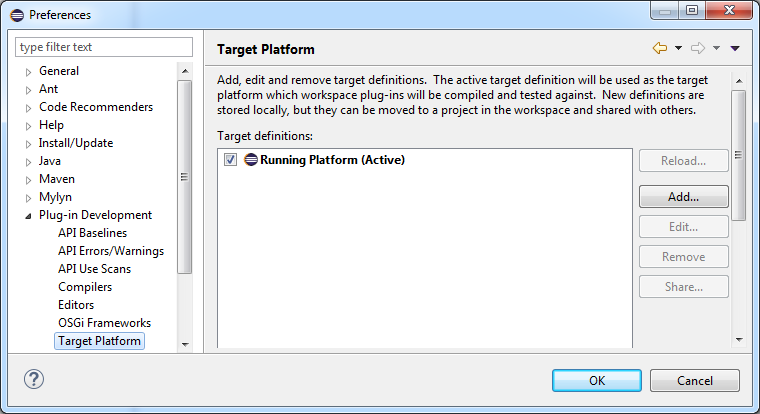
- From Eclipse, navigate to Window>Preferences>Plug-in Development>Target Platform.
Select the Add... button:
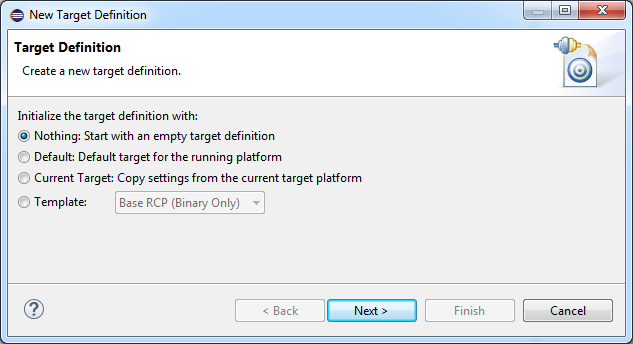
Select Nothing: Start with an empty target definition and then select the Next button:
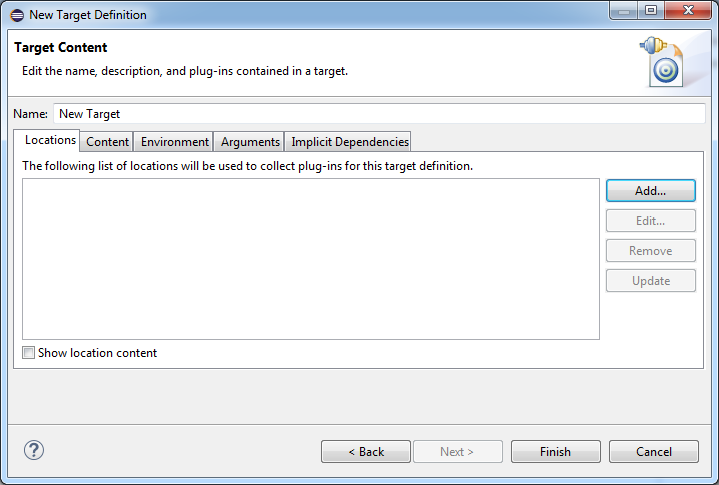
To set the Target Content, under the Locations tab, select the Add... button:
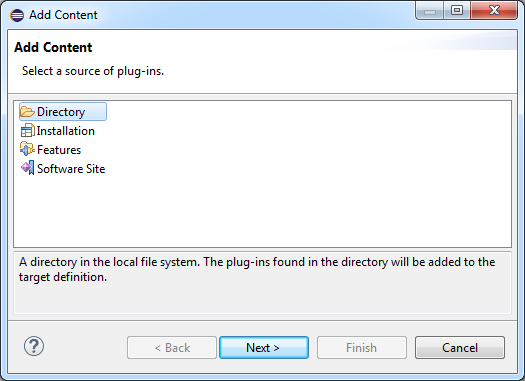
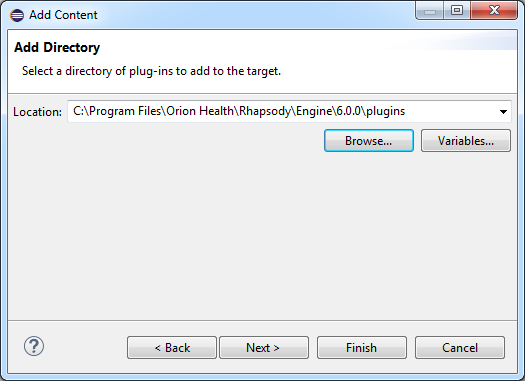
To set the plug-ins source as a directory, select
Directoryand then the Next button:Select Browse... button and browse to the Rhapsody
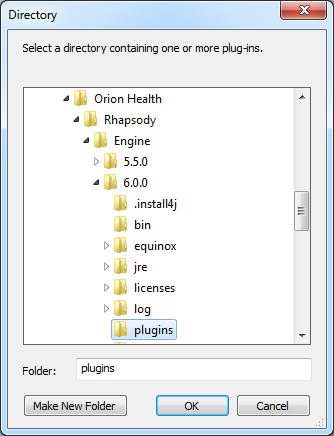
pluginsfolder on your computer, and then select the OK button:Select the Finish button:
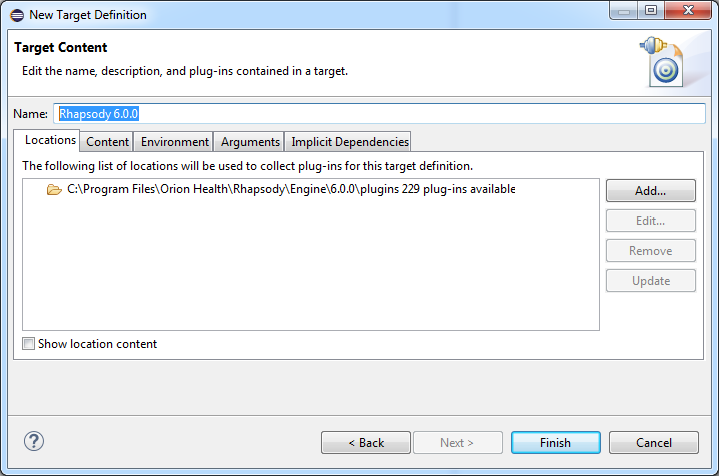
Enter a name for your target platform, for example
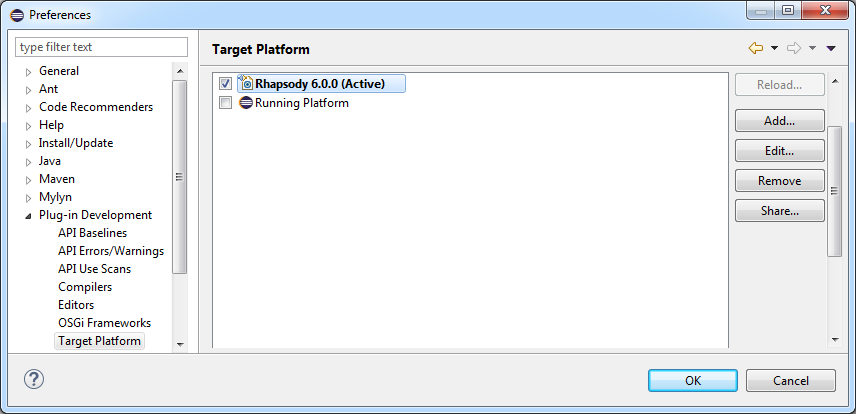
Rhapsody 6.2.0, and then select the Finish button:Select the new Target Platform in order to make it active and then select the OK button:
The Target Platform is now configured.
Install Third-party Tools
Install GIMP
You can use Gimp, a free open source bitmap editor, to convert icon images into the legacy 24-bit BMP images required by the Rhapsody IDE.
Install Text Editor
Install a suitable text editor for viewing log files:
- On Windows, Notepad++ can be used for viewing the Rhapsody log.
- On *nix machines, you can use
tail -f <filename>.
Install SOAP-UI
SOAP-UI can be used for interrogating the Rhapsody engine for communication point IDs. Download a free version from: http://sourceforge.net/projects/soapui/files/.
Configure Logging
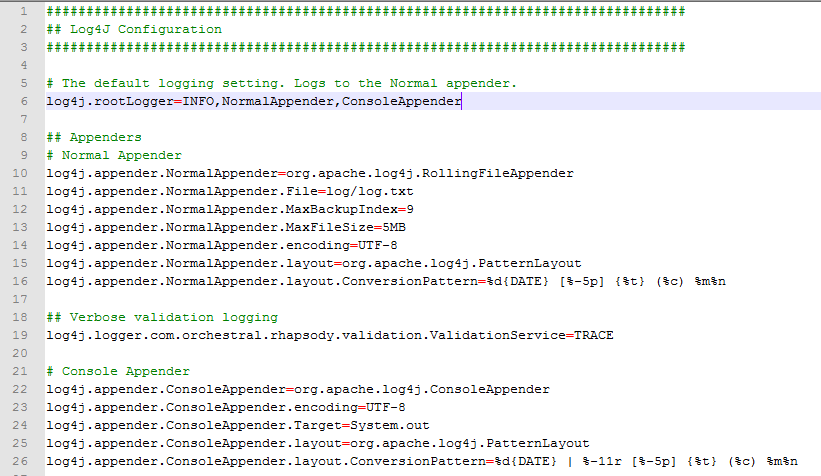
To configure Rhapsody's log4j logger to write to the Eclipse console:
Open the
log4j.propertiesfile in therhapsodydirectory in the Rhapsody installation directory:Add the
ConsoleAppenderparameter to thelog4j.rootLoggerproperty:- Rhapsody can now write logs to Eclipse.
Verify Rhapsody RDK Set-up
To verify that you can run Rhapsody through Eclipse, refer to Using a New Run Configuration for details.
