DX-focused control plane for PostgreSQL
NeonD is an open-source Neon-based control plane daemon for PostgreSQL. It offers S3-based layer durability, instant branching, precise Point-in-time recovery in seconds. Runs as a single Docker container, handles multi-tenant PostgreSQL instances seamlessly.
[](https://www.postgresql.org/)
[](LICENSE)
[](https://github.com/matisiekpl/neond)
[](https://github.com/matisiekpl/neond)
Features •
Installation •
Usage •
Documentation •
Motivation •
License
## ✨ Features
- **Launch PostgreSQL instances** - versions v14, v15, v16, v17 supported
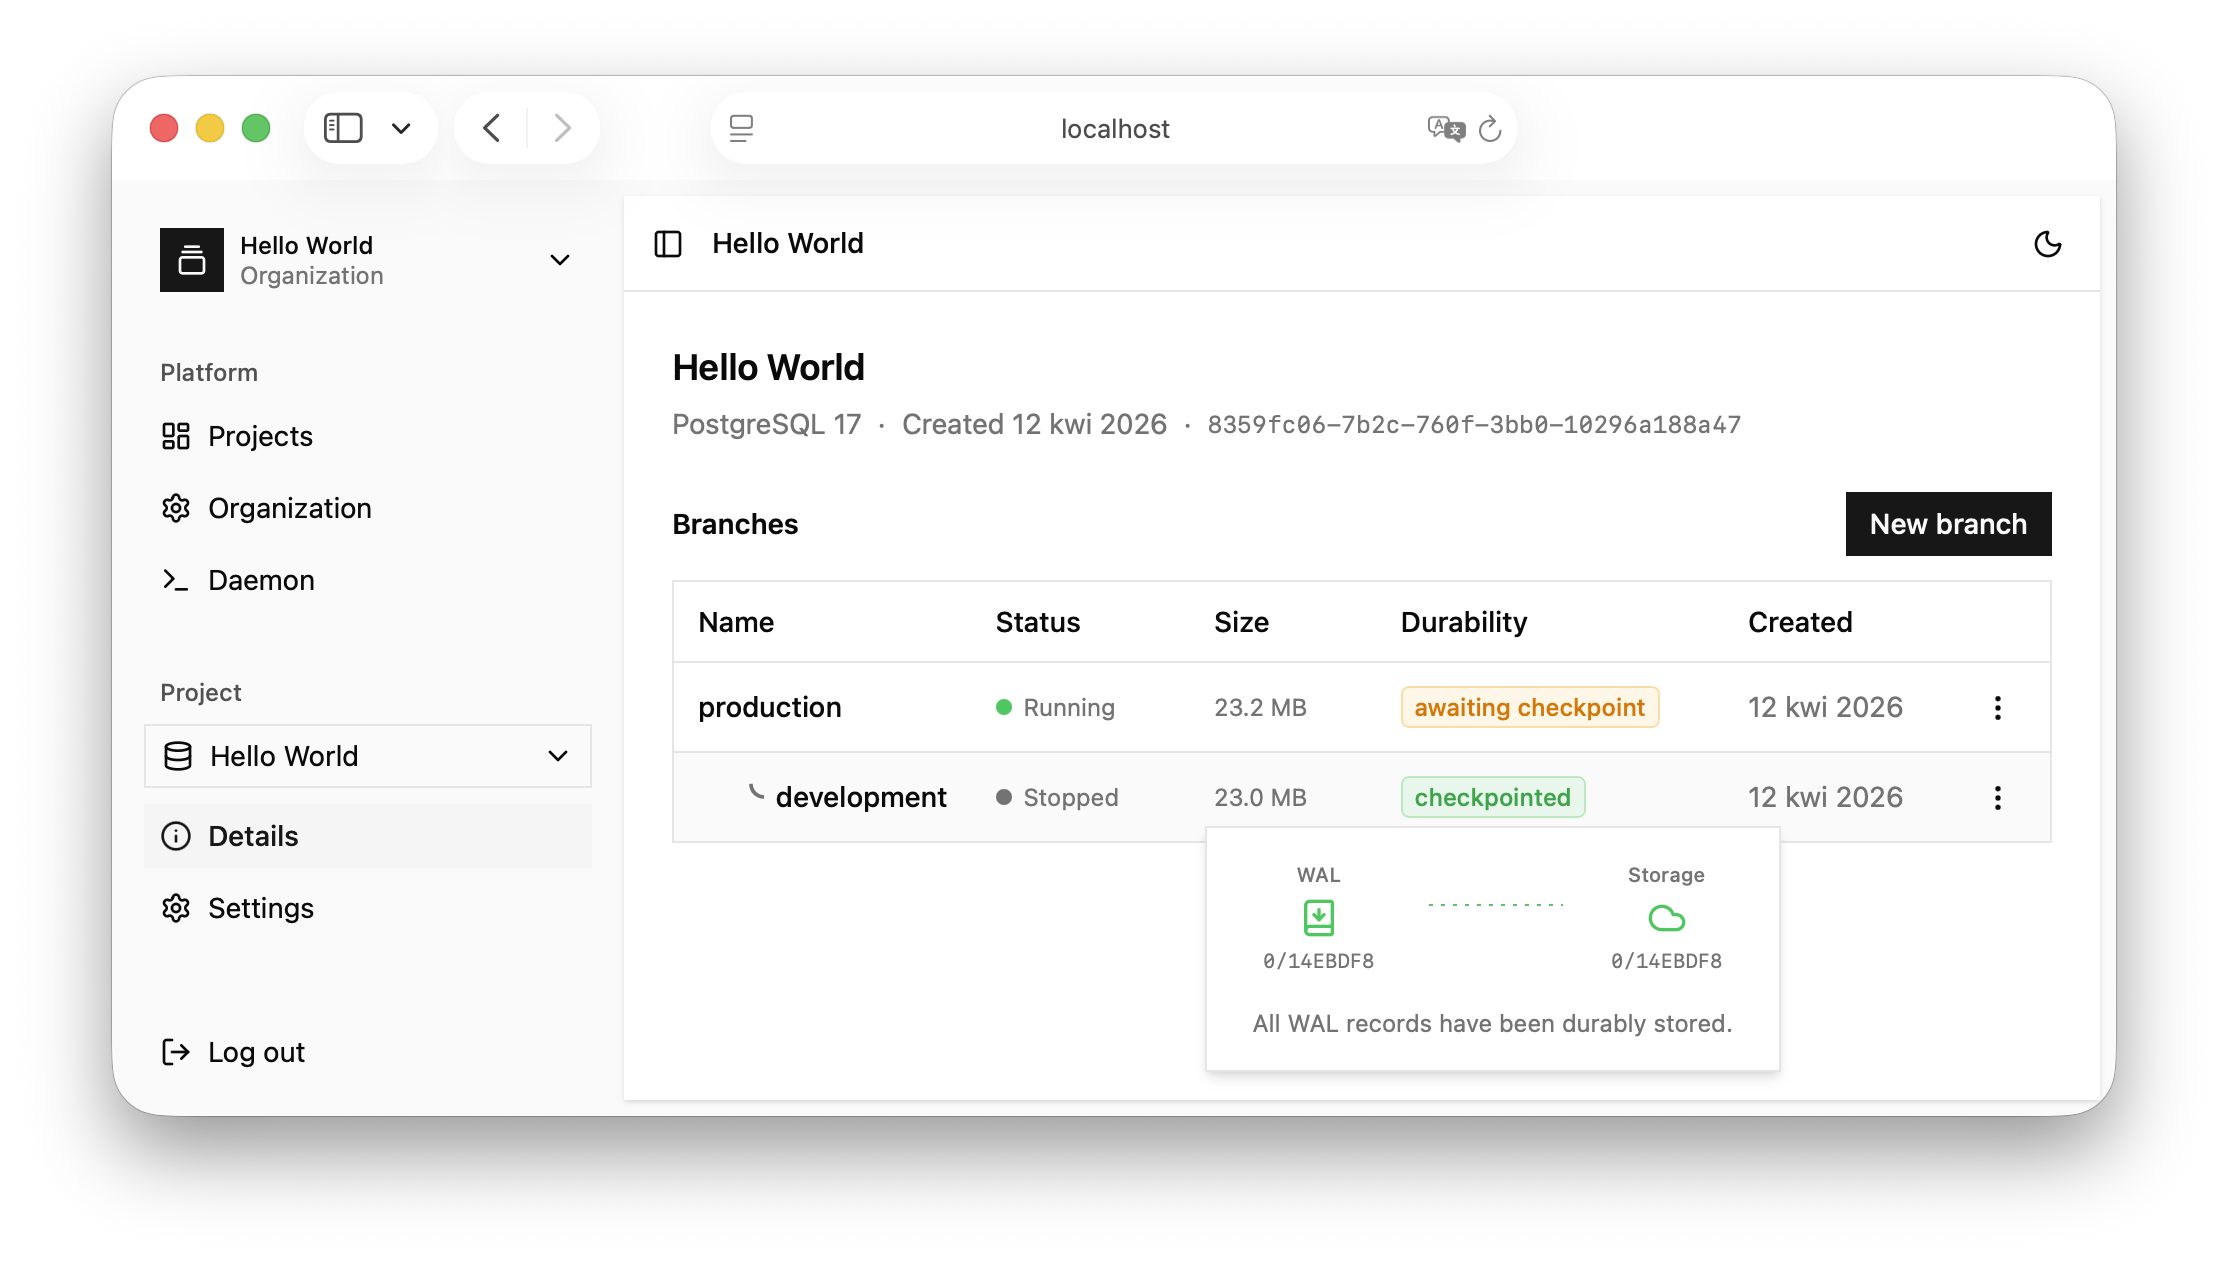
- **Branching** - branch your **production** timeline to multiple **development** or **preview** branches
- **S3 Checkpoints** - your data are durably stored on Amazon S3 - checkpoint interval fully configurable
- **Easy migration** - moving NeonD between servers is super easy. Shutdown the server and copy a single directory.
- **TLS SNI Routing** - NeonD generates `{instance-slug}.your-company.com` endpoints. Multiple Postgres instances a
under single domain.
- **Full Security** - control plane takes care about SSL certificates and keys to enable secure connection
- **Multi-Tenancy** - create multiple users and share compute to other developers with configured roles
- **PgBouncer built-in** - connection pooling out of the box for every endpoint
- **Import existing PostgreSQL** - import an external Postgres database into a new branch
- **Extensions** - ships with `pgvector`, PostGIS, and compiled Postgres contrib extensions
- **Observability** - per-branch logs and storage size metrics in the dashboard
> NeonD is not designed to be deployed in critical application environments. Its purpose is to
> provide a DX-oriented PostgreSQL platform for early-stage startup projects, where innovation and velocity are more
> important than reliability. The recommended deployment environment is bare metal VPS Server.
---
## 📦 Installation
The easiest way of deployment is to spin-up NeonD using Docker Compose.
```bash
# Skip on macOS
mkdir neond_data
sudo chown -R 600:600 neond_data
```
```yaml
services:
neond:
image: neond/neond:latest
environment:
PORT: 3000
SERVER_SECRET: "SuperSecret" # you should change this
PORT_RANGE: 50000-50010
ports:
- "3000:3000"
- "50000-50010:50000-50010"
restart: unless-stopped
stop_grace_period: 1h
healthcheck:
test: ["CMD", "curl", "-fsS", "http://127.0.0.1:3000/api/auth/setup"]
interval: 30s
timeout: 5s
retries: 3
start_period: 5m
volumes:
- ./neond_data:/neond
```
Or, if you want to use TLS SNI Router with custom domain:
```yaml
services:
neond:
image: neond/neond:latest
environment:
PORT: 3000
SERVER_SECRET: "SuperSecret" # you should change this
PG_PROXY_PORT: "5432"
PG_HOSTNAME: company.com # would generate {instance-slug}.company.com endpoints
ports:
- "3000:3000"
- "5432:5432"
restart: unless-stopped
stop_grace_period: 1h
healthcheck:
test: ["CMD", "curl", "-fsS", "http://127.0.0.1:3000/api/auth/setup"]
interval: 30s
timeout: 5s
retries: 3
start_period: 5m
volumes:
- ./neond_data:/neond
```
If you want to switch to S3 durable storage, pass following environment variables:
```yaml
services:
neond:
...
environment:
...
AWS_ACCESS_KEY_ID:
AWS_SECRET_ACCESS_KEY:
AWS_S3_BUCKET:
AWS_REGION:
...
```
---
## 🚀 Usage
1. After launch, navigate to `http://localhost:3000`
2. Sign up and name a new organization
3. Create new project and go to it.
4. Click on options of default `production` branch and click "Start endpoint".
5. Click on options of branch and "Copy Connection String".
6. Connect to database - for example `psql '