# Talking Head (3D)
### Demo Videos
*All the demo videos are real-time screen captures from a Chrome browser running
the TalkingHead test web app without any post-processing.*
Video | Description
---|---
[ ](https://youtu.be/YUbDIWkskuw)
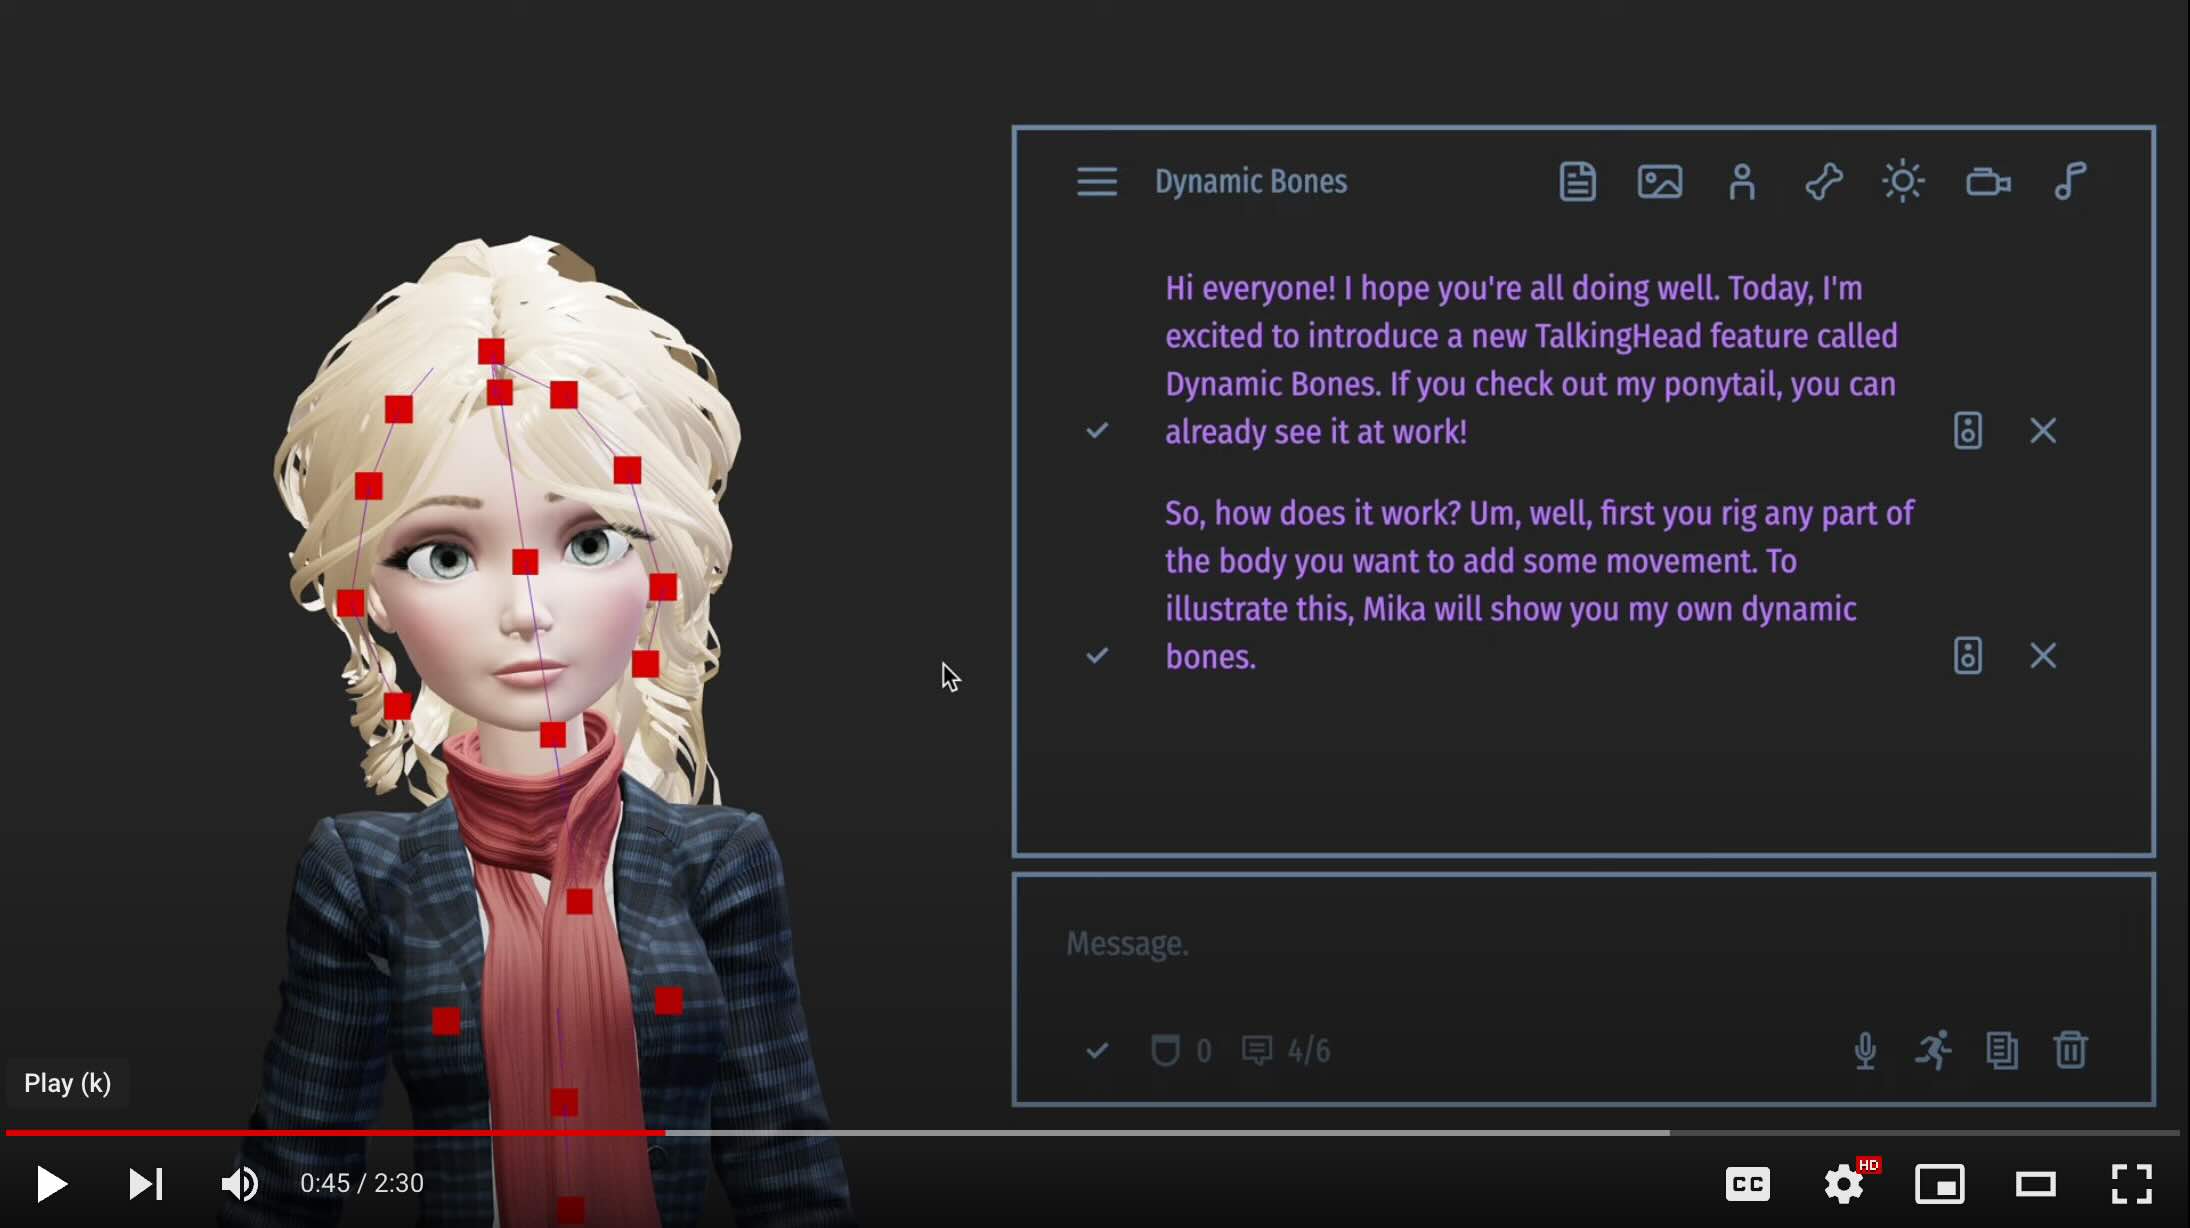
[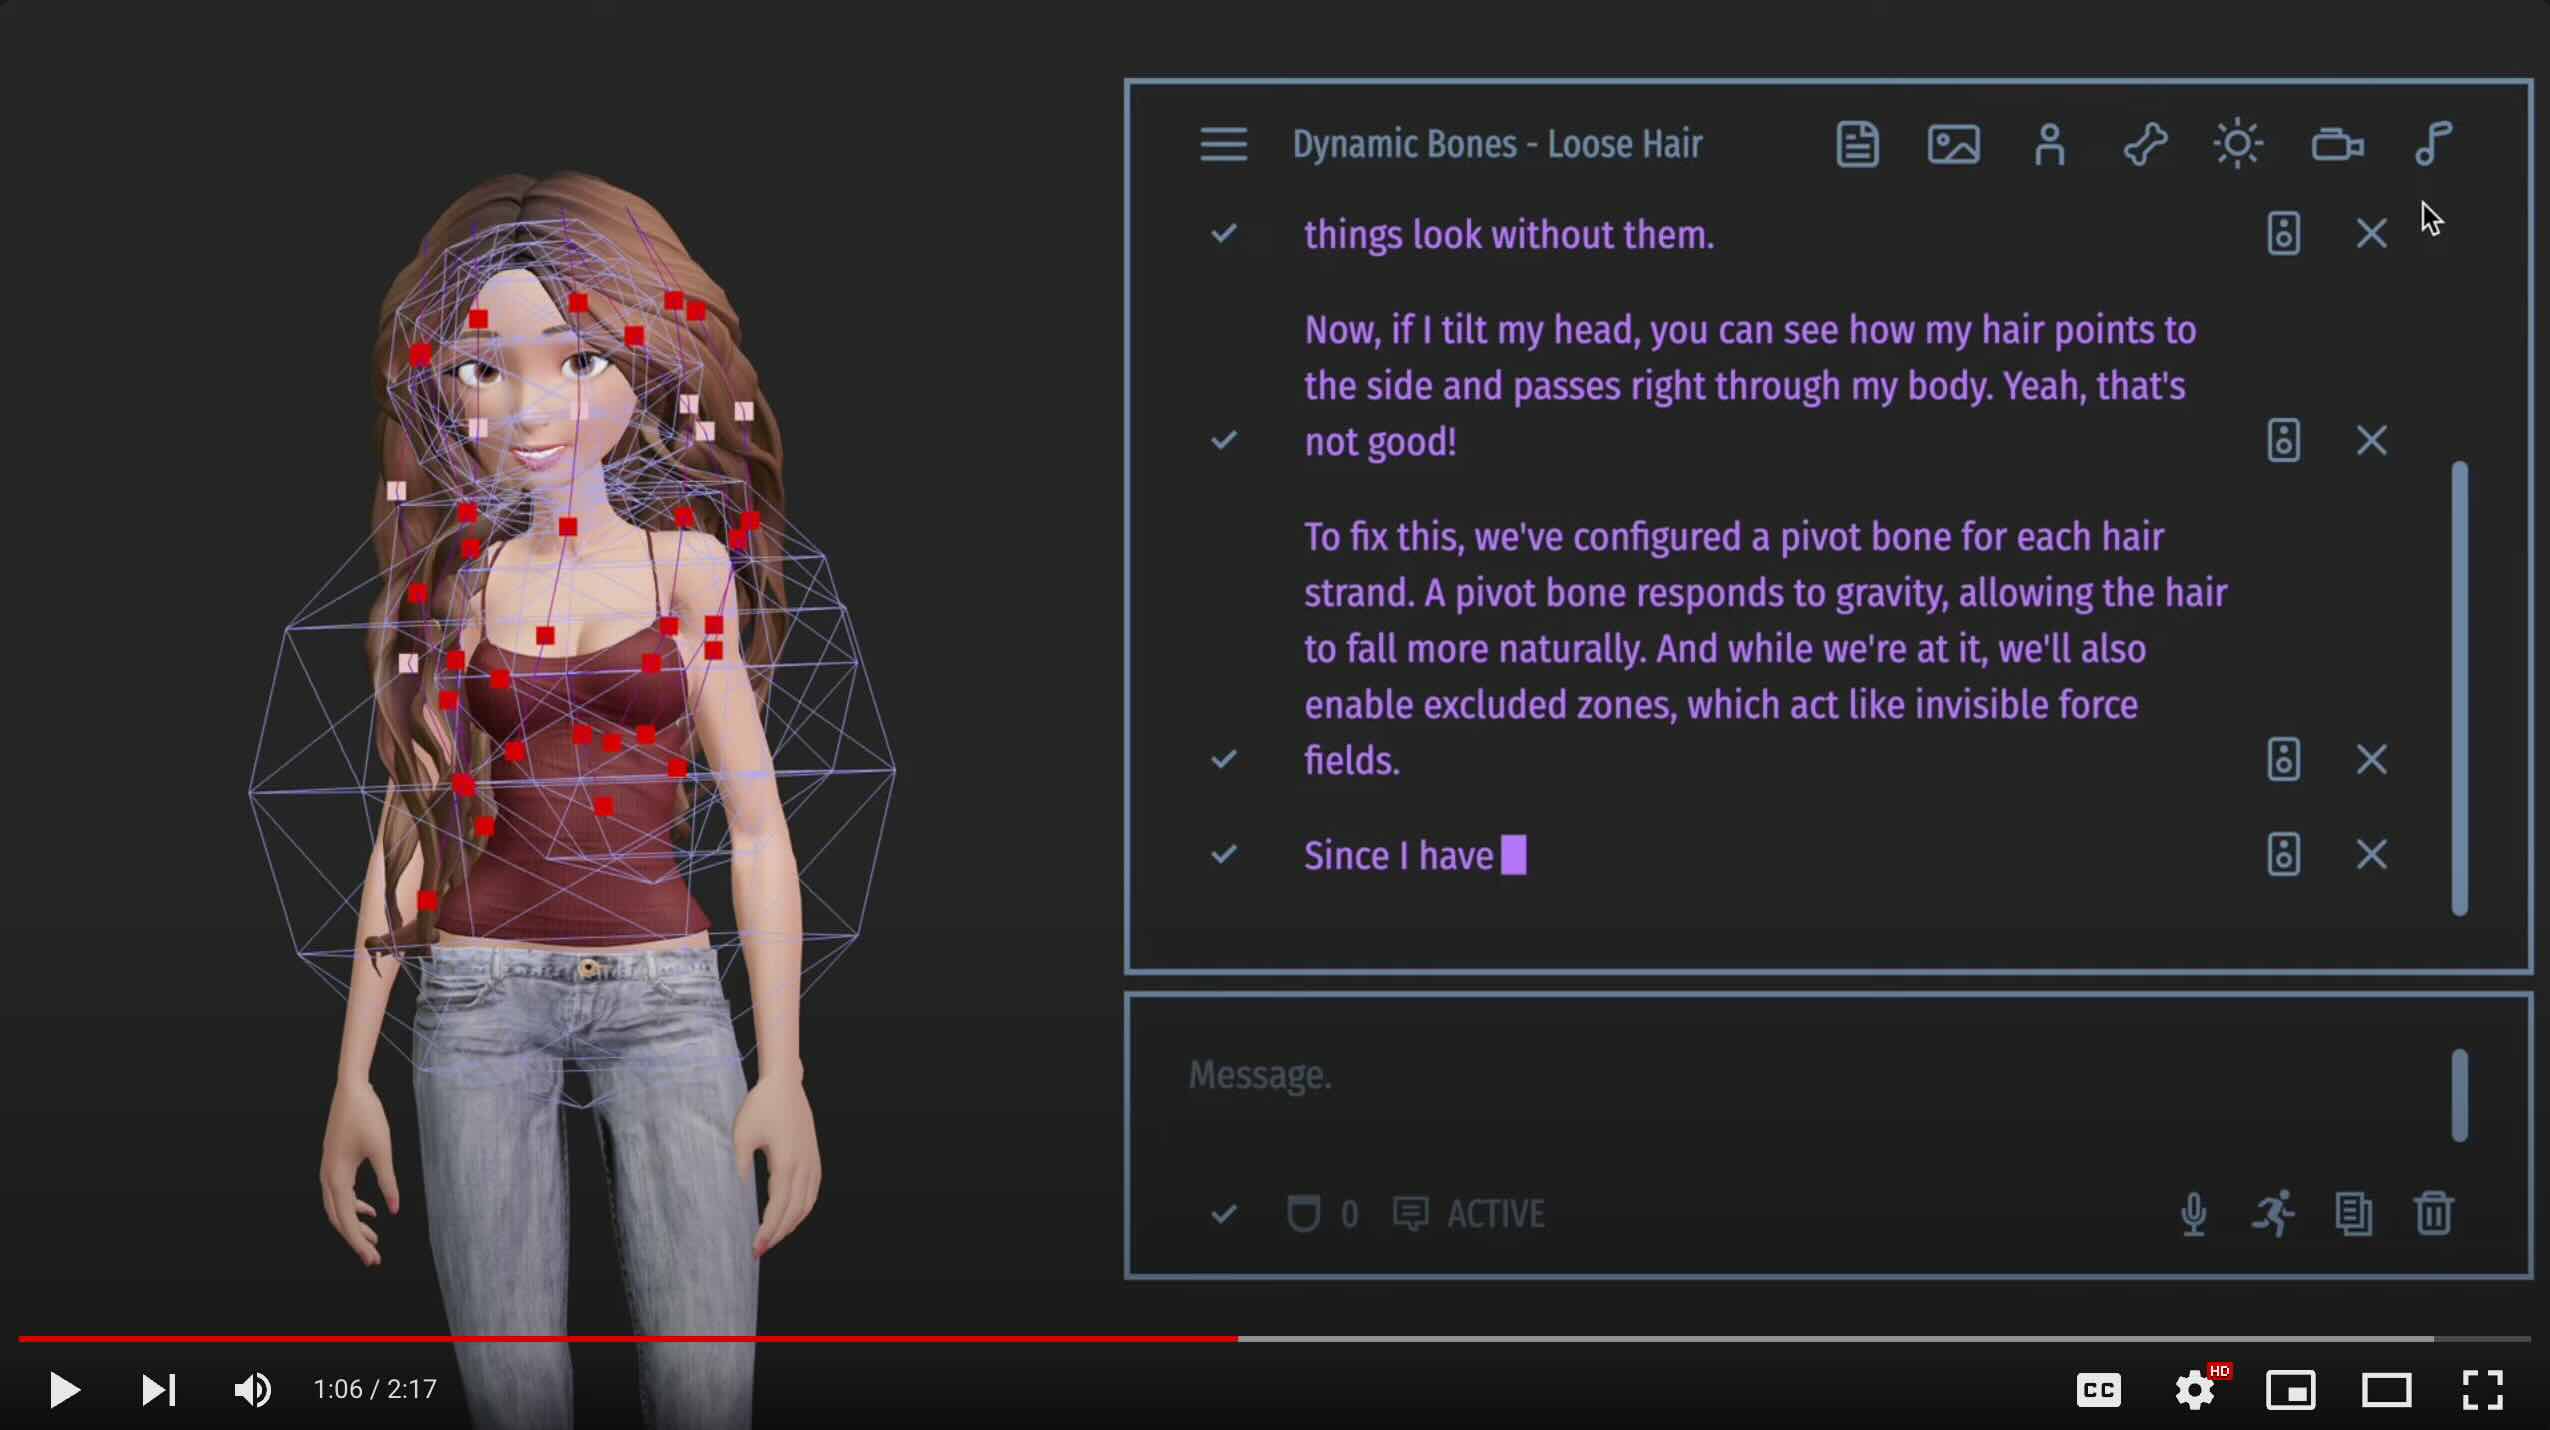 ](https://youtu.be/4Y9NFnENH5s) | Having a good hair day! – A two-part introduction to the TalkingHead's dynamic bones feature 🦴🦴 and built-in physics engine. Using custom models with rigged hair and two different hairstyles. See Appendix E for more details.
[
](https://youtu.be/4Y9NFnENH5s) | Having a good hair day! – A two-part introduction to the TalkingHead's dynamic bones feature 🦴🦴 and built-in physics engine. Using custom models with rigged hair and two different hairstyles. See Appendix E for more details.
[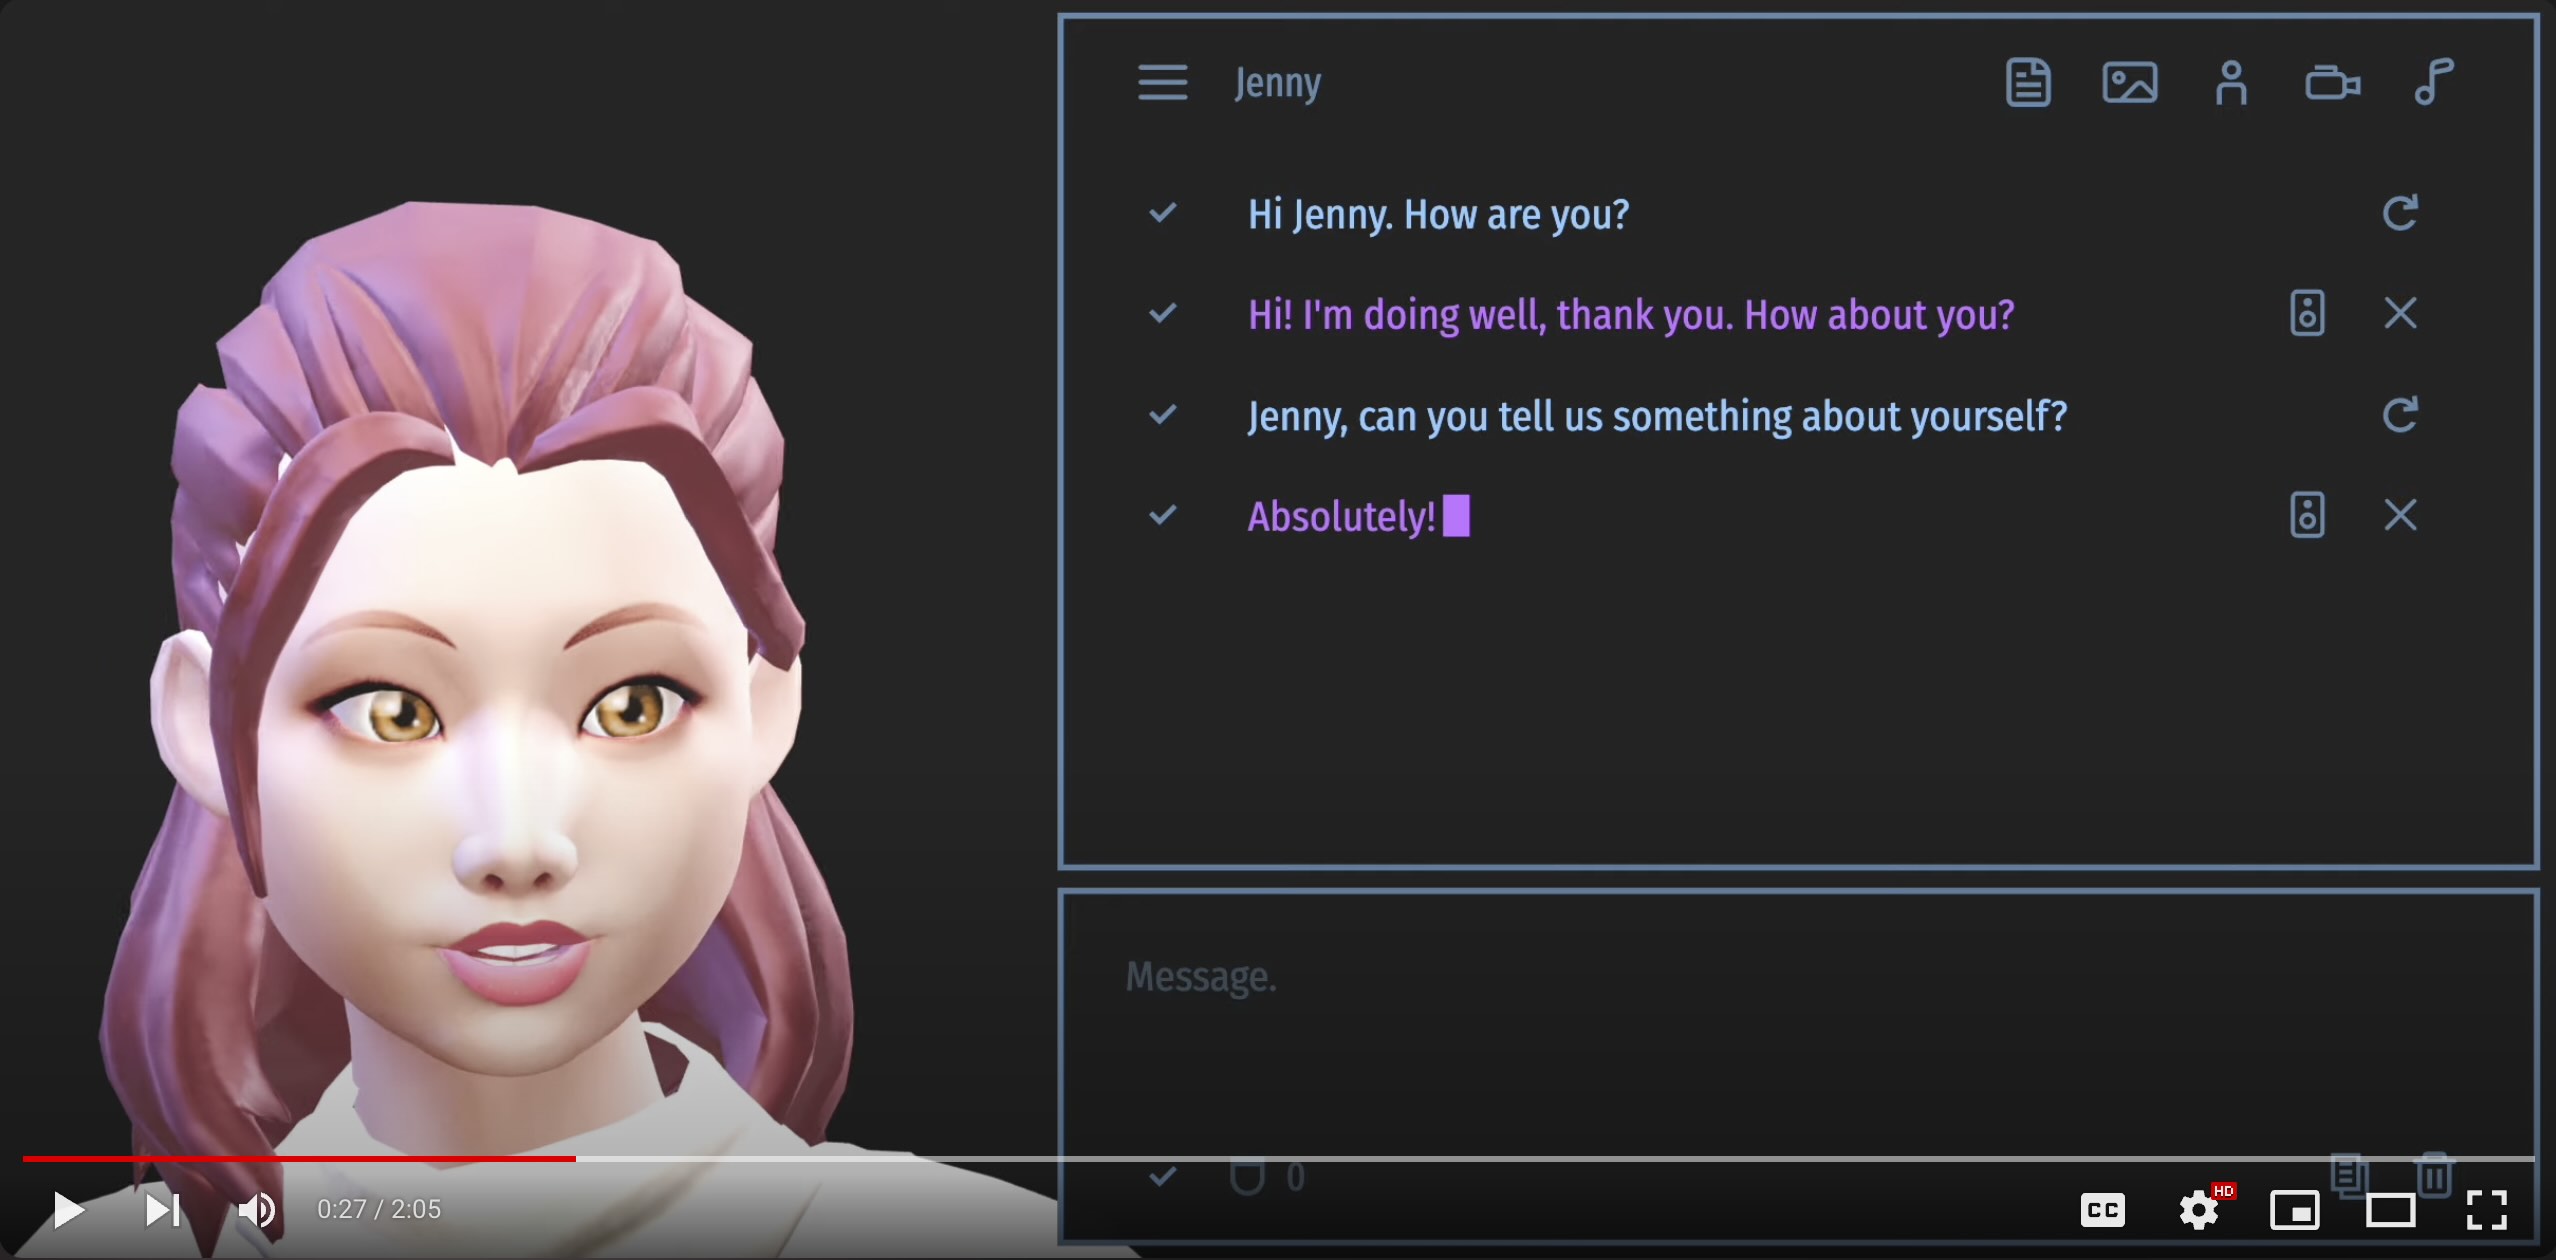 ](https://youtu.be/OA6LBZjkzJI) | I chat with Jenny and Harri. The close-up view allows you to evaluate the accuracy of lip-sync in both English and Finnish. Using GPT-3.5 and Microsoft text-to-speech.
[
](https://youtu.be/OA6LBZjkzJI) | I chat with Jenny and Harri. The close-up view allows you to evaluate the accuracy of lip-sync in both English and Finnish. Using GPT-3.5 and Microsoft text-to-speech.
[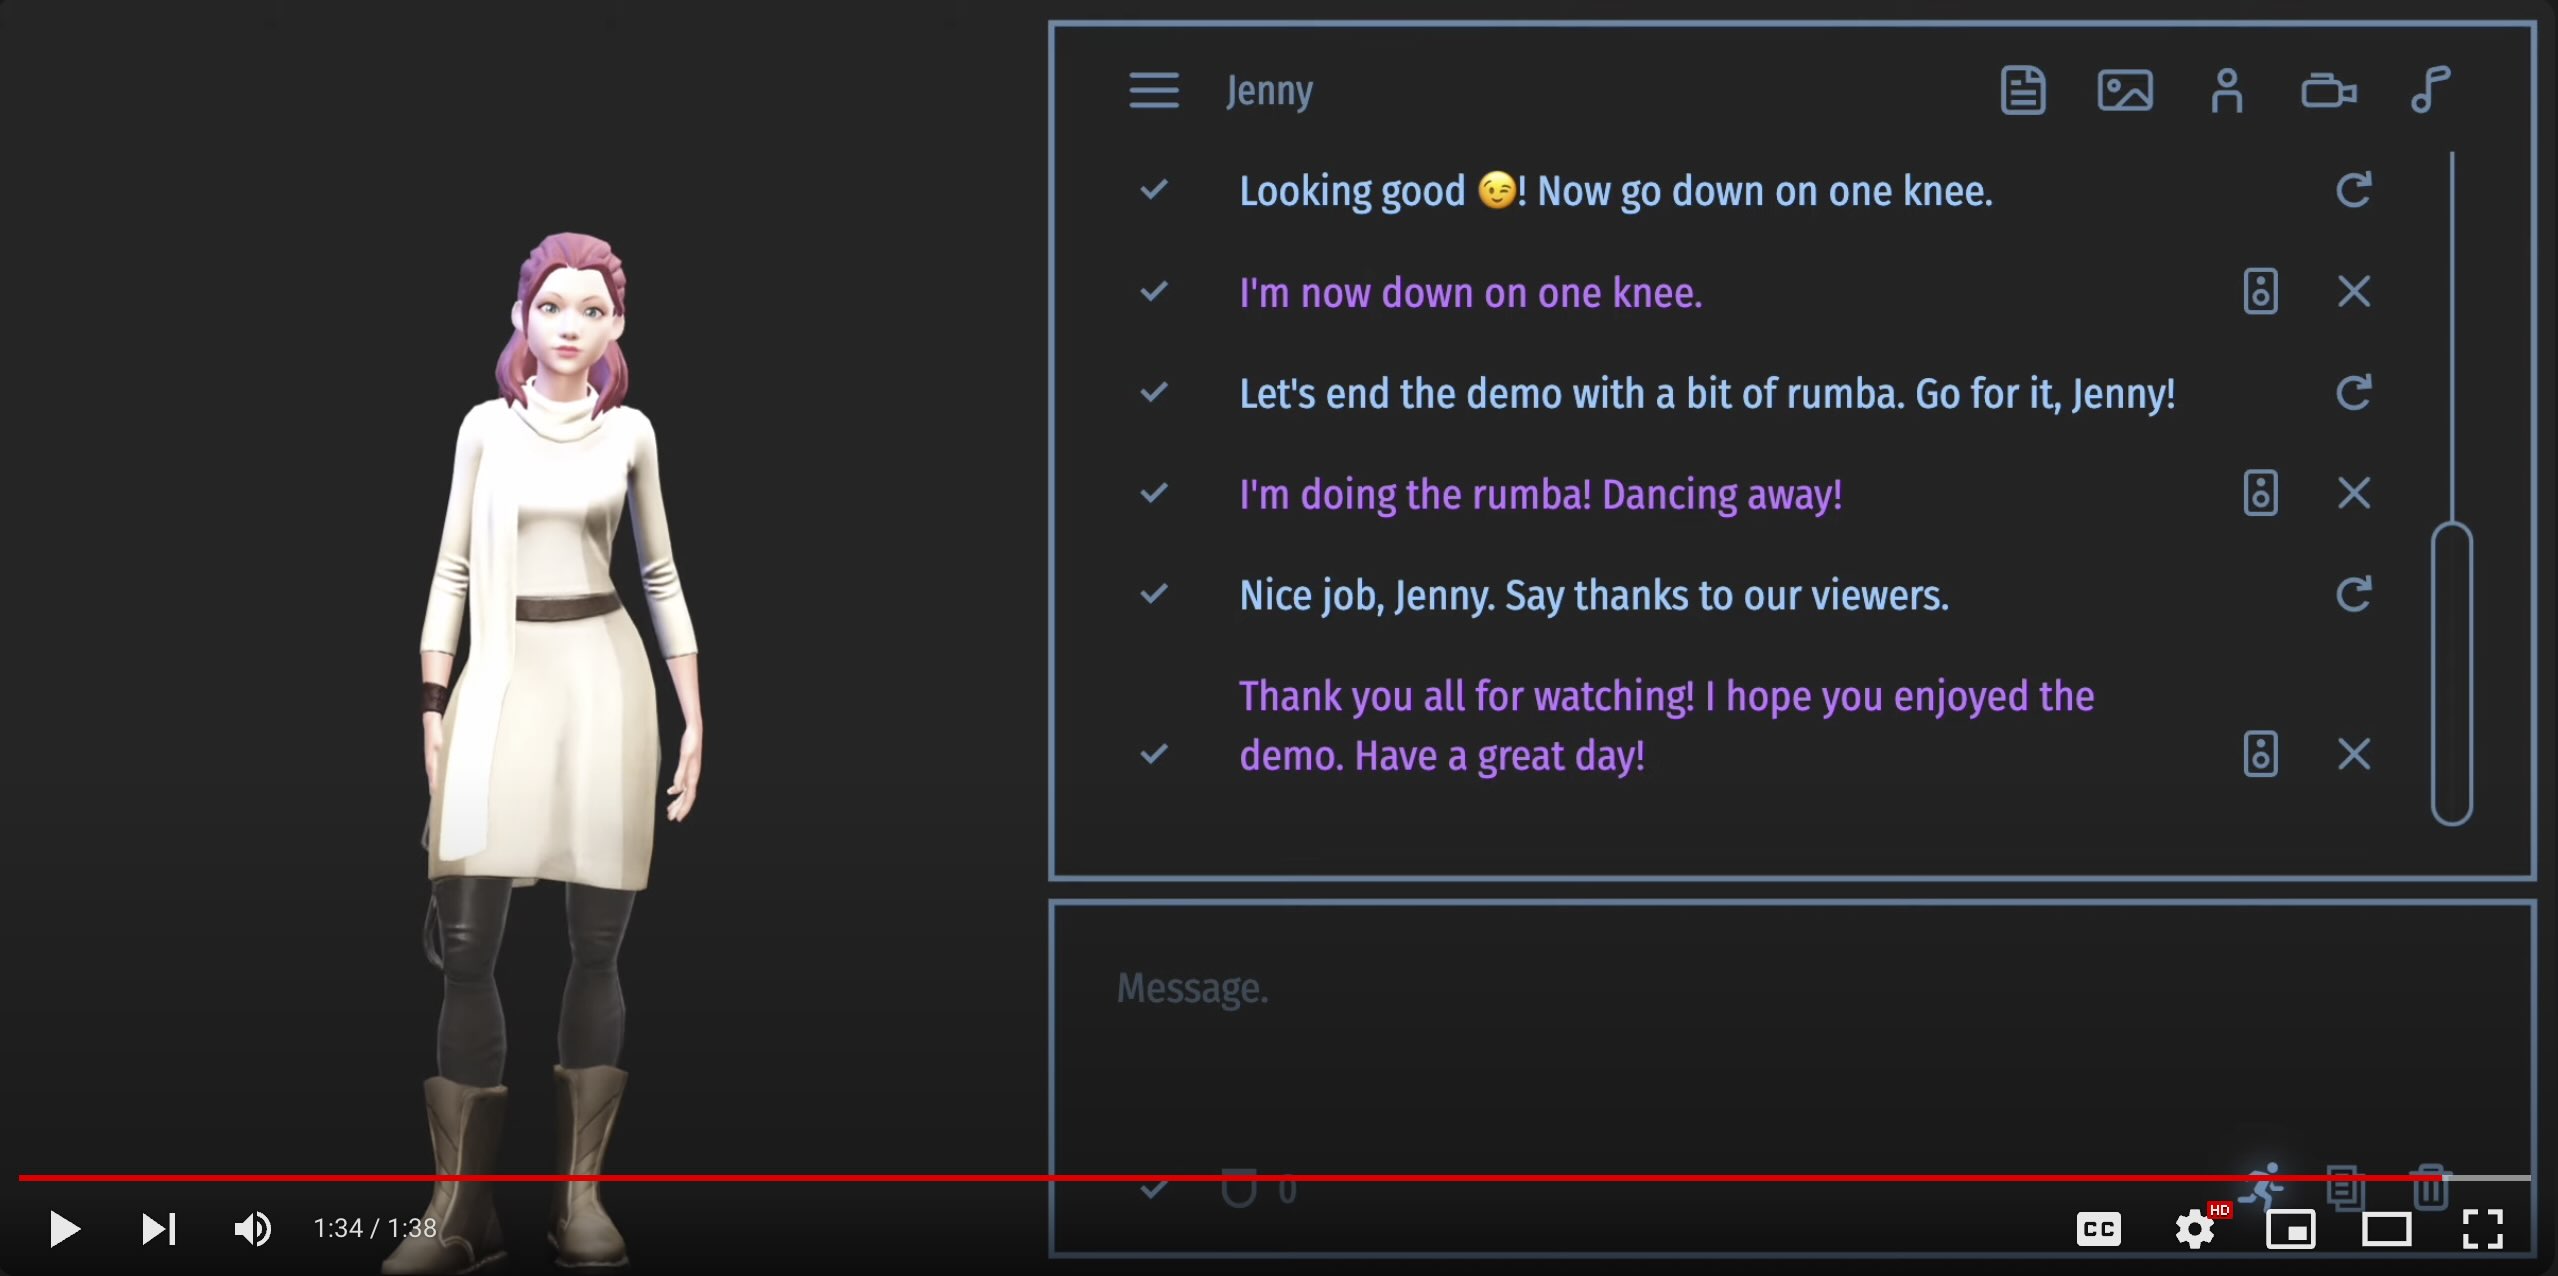 ](https://youtu.be/fJrYGaGCAGo) | A short demo of how AI can control the avatar's movements. Using OpenAI's function calling and Google TTS with the TalkingHead's built-in viseme generation.
[
](https://youtu.be/fJrYGaGCAGo) | A short demo of how AI can control the avatar's movements. Using OpenAI's function calling and Google TTS with the TalkingHead's built-in viseme generation.
[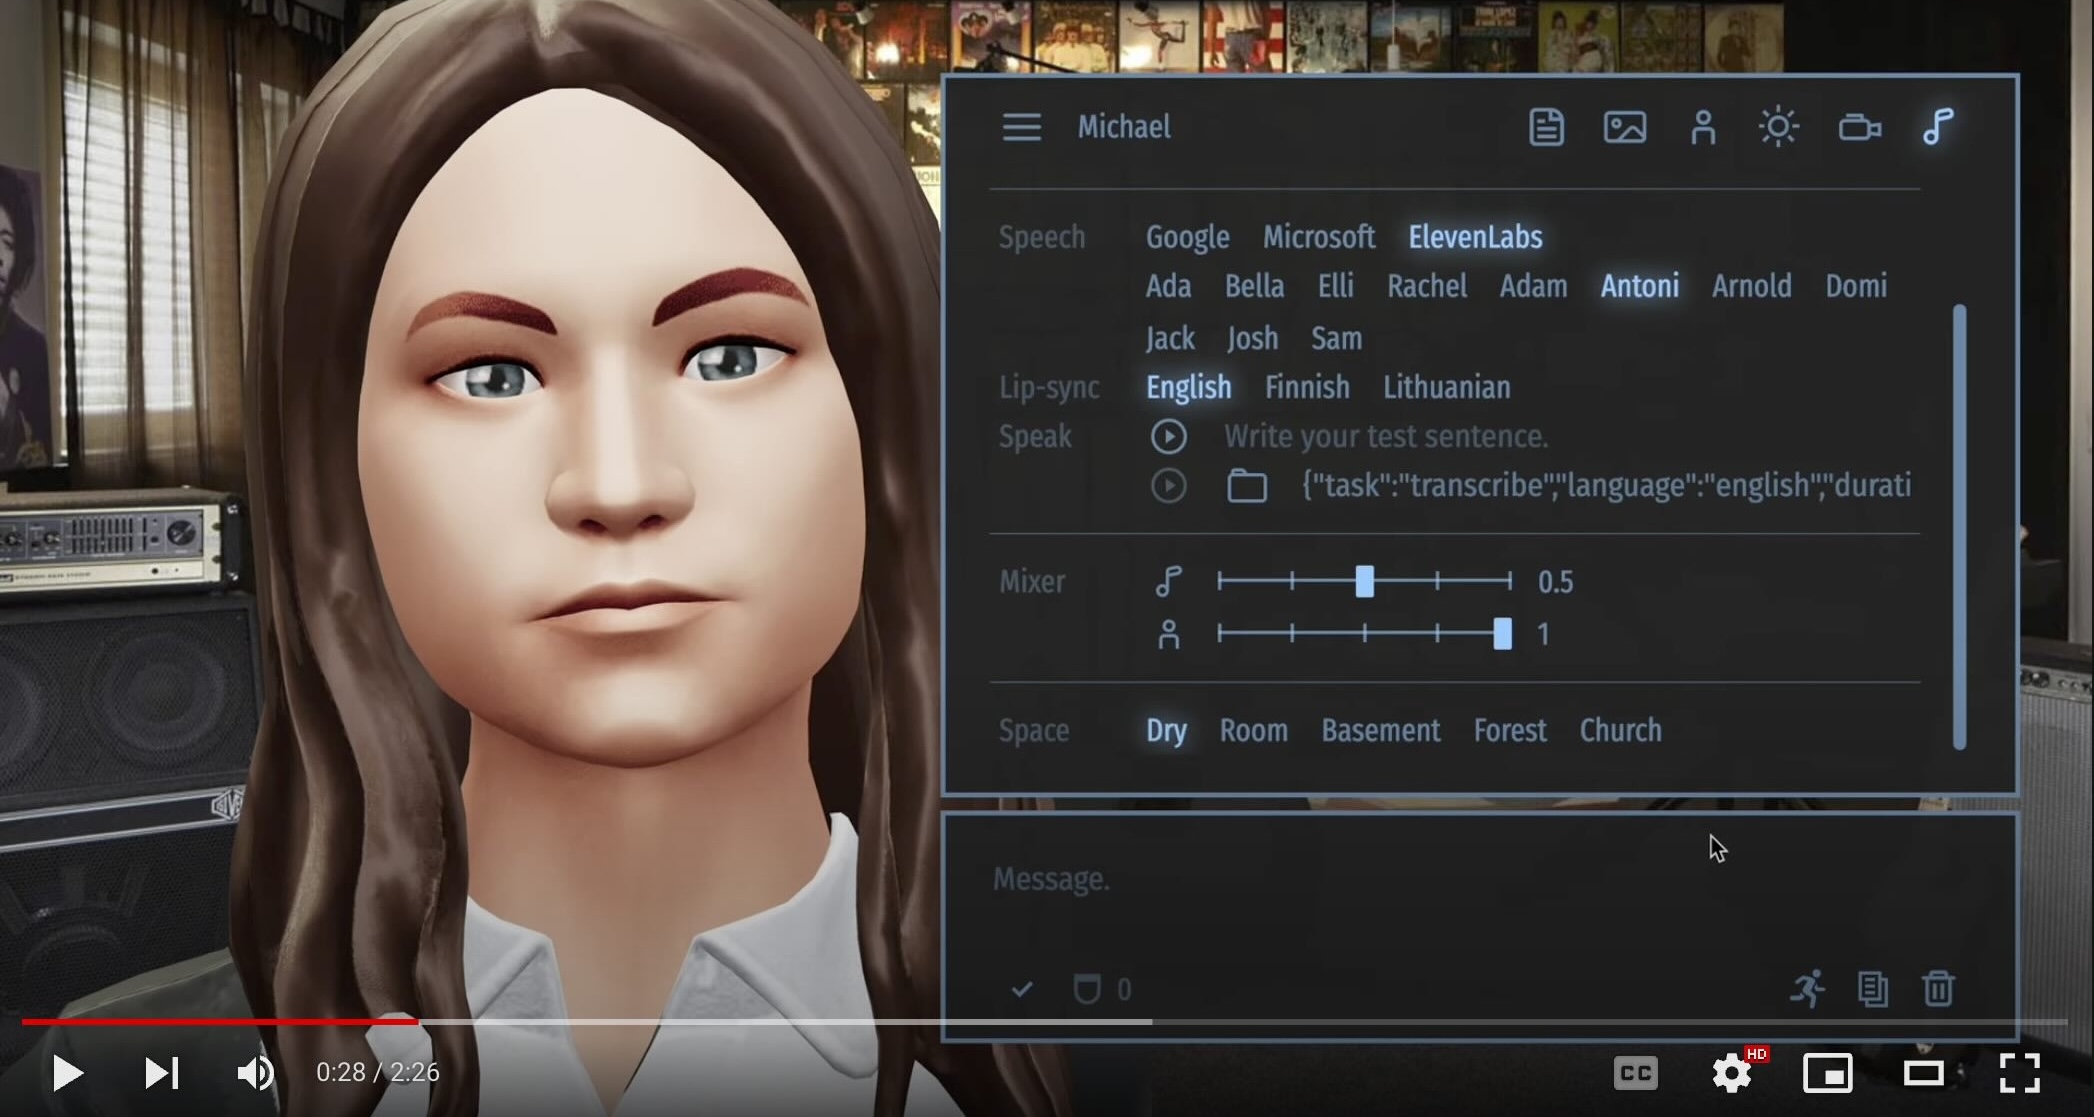 ](https://youtu.be/6XRxALY1Iwg) | Michael lip-syncs to two MP3 audio tracks using OpenAI's Whisper and TalkingHead's `speakAudio` method. He kicks things off with some casual talk, but then goes all out by trying to tackle an old Meat Loaf classic. 🤘 Keep rockin', Michael! 🎤😂
[
](https://youtu.be/6XRxALY1Iwg) | Michael lip-syncs to two MP3 audio tracks using OpenAI's Whisper and TalkingHead's `speakAudio` method. He kicks things off with some casual talk, but then goes all out by trying to tackle an old Meat Loaf classic. 🤘 Keep rockin', Michael! 🎤😂
[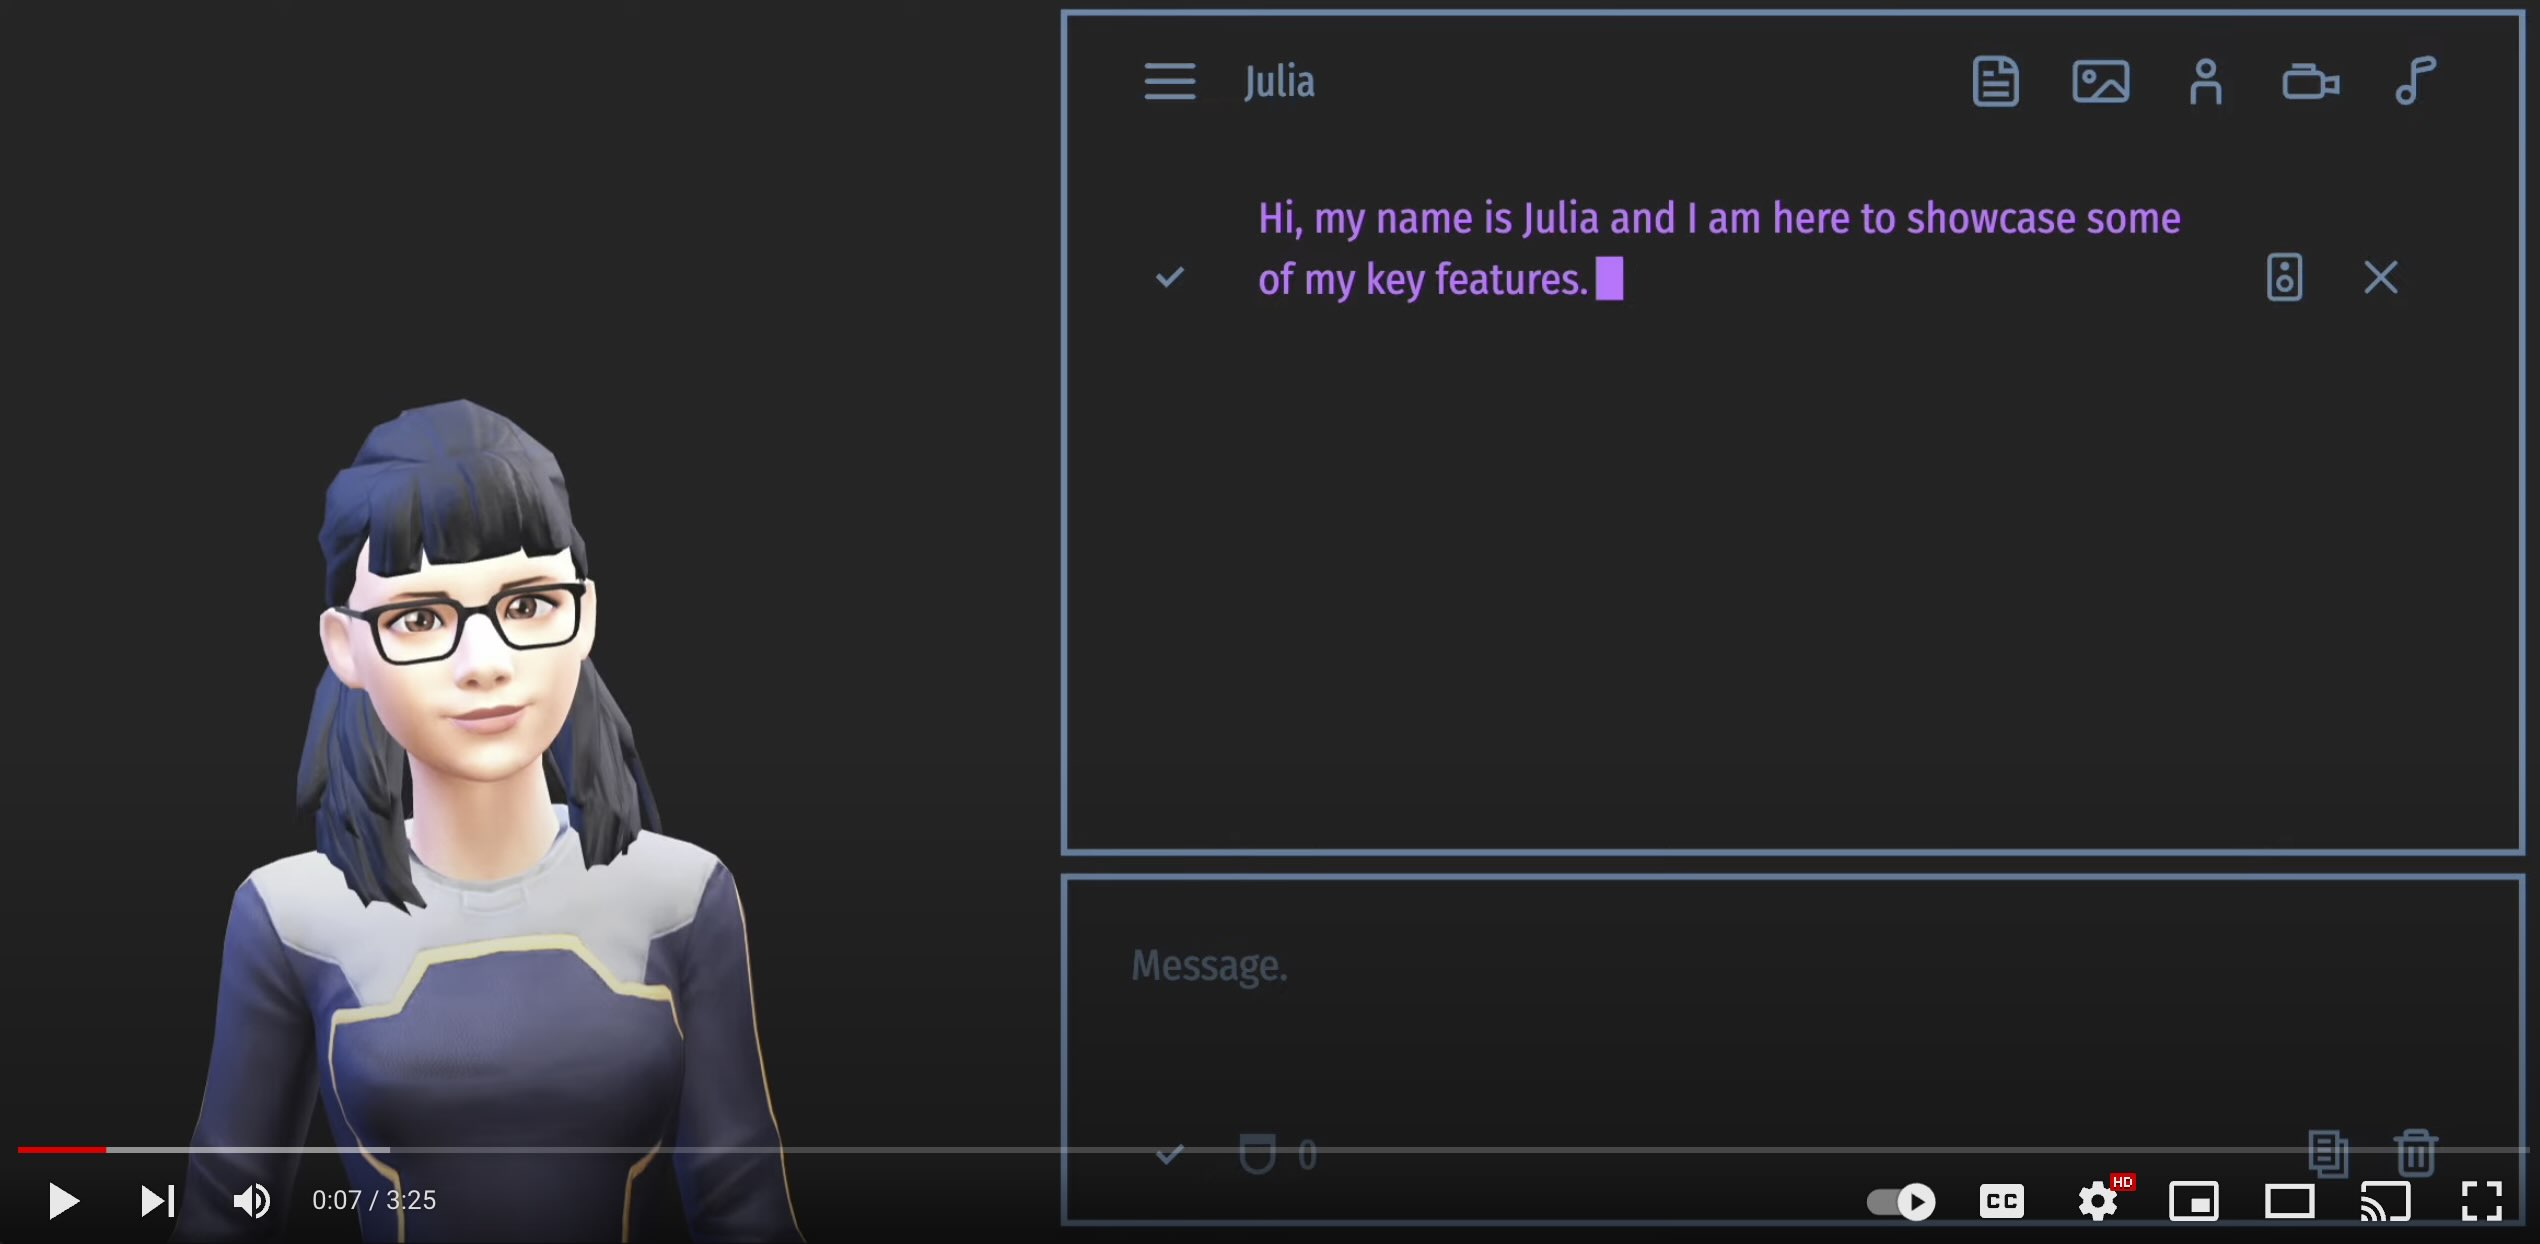 ](https://youtu.be/SfnqRnWKT40) $$\color{transparent}{\rule{200px}{0px}}$$ | Julia and I showcase some of the features of the TalkingHead class and the test app including the settings, some poses and animations.
---
### Use Case Examples
*Some featured videos, apps, and projects using the TalkingHead class:*
Video/App | Use Case
---|---
[
](https://youtu.be/SfnqRnWKT40) $$\color{transparent}{\rule{200px}{0px}}$$ | Julia and I showcase some of the features of the TalkingHead class and the test app including the settings, some poses and animations.
---
### Use Case Examples
*Some featured videos, apps, and projects using the TalkingHead class:*
Video/App | Use Case
---|---
[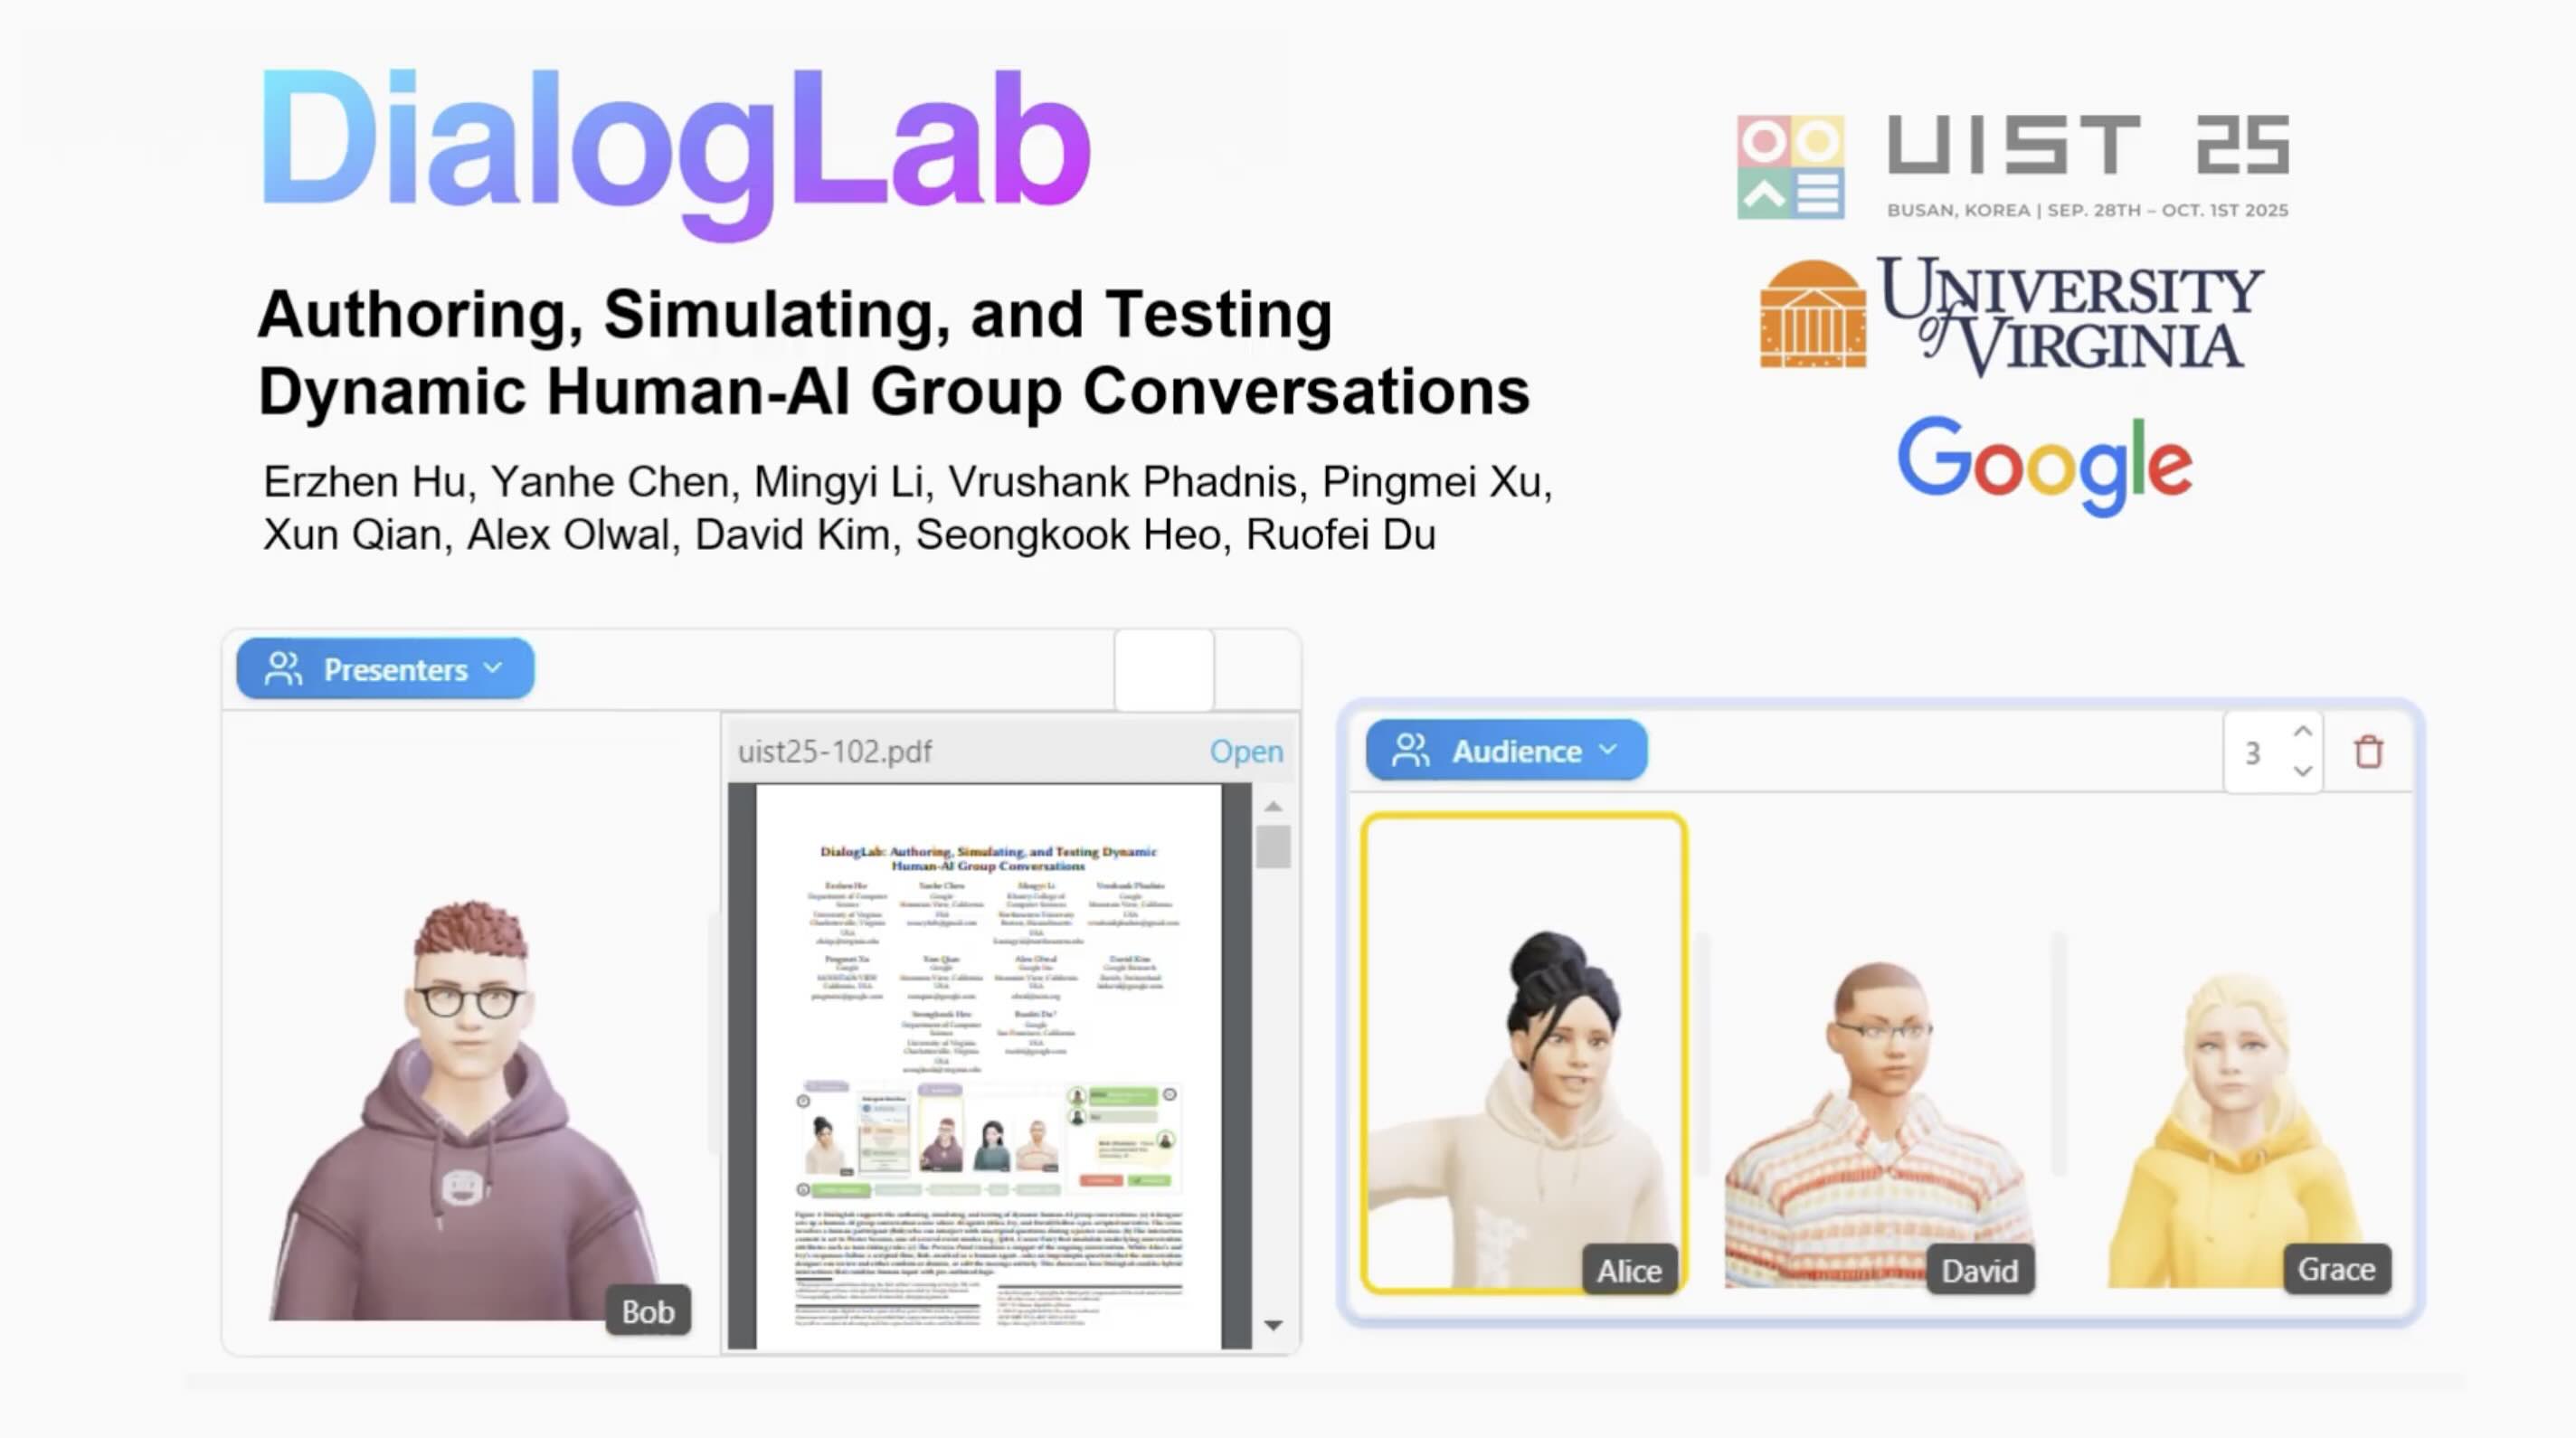 ](https://www.youtube.com/watch?v=U2Ag_Ktobzw) | **Human-AI group conversations**. Researchers from UVA, Google, Northeastern, Google DeepMind, and Google Research developed [DialogLab](https://github.com/ecruhue/DialogLab), a toolkit to author, simulate and test human-AI group conversations. 🤖🤖🤖
[
](https://www.youtube.com/watch?v=U2Ag_Ktobzw) | **Human-AI group conversations**. Researchers from UVA, Google, Northeastern, Google DeepMind, and Google Research developed [DialogLab](https://github.com/ecruhue/DialogLab), a toolkit to author, simulate and test human-AI group conversations. 🤖🤖🤖
[ ](https://met4citizen.github.io/HeadAudio/openai.html) | **Low-latency AI speech over WebRTC**. Speech-to-speech in realtime over WebRTC using OpenAI Realtime API. Learn more about the audio-driven lip-sync module at [HeadAudio](https://github.com/met4citizen/HeadAudio).
**Note**: Realtime speech-to-speech usage is much more expensive than standard AI text tokens, so please check OpenAI pricing for `gpt-realtime-mini` before use.
[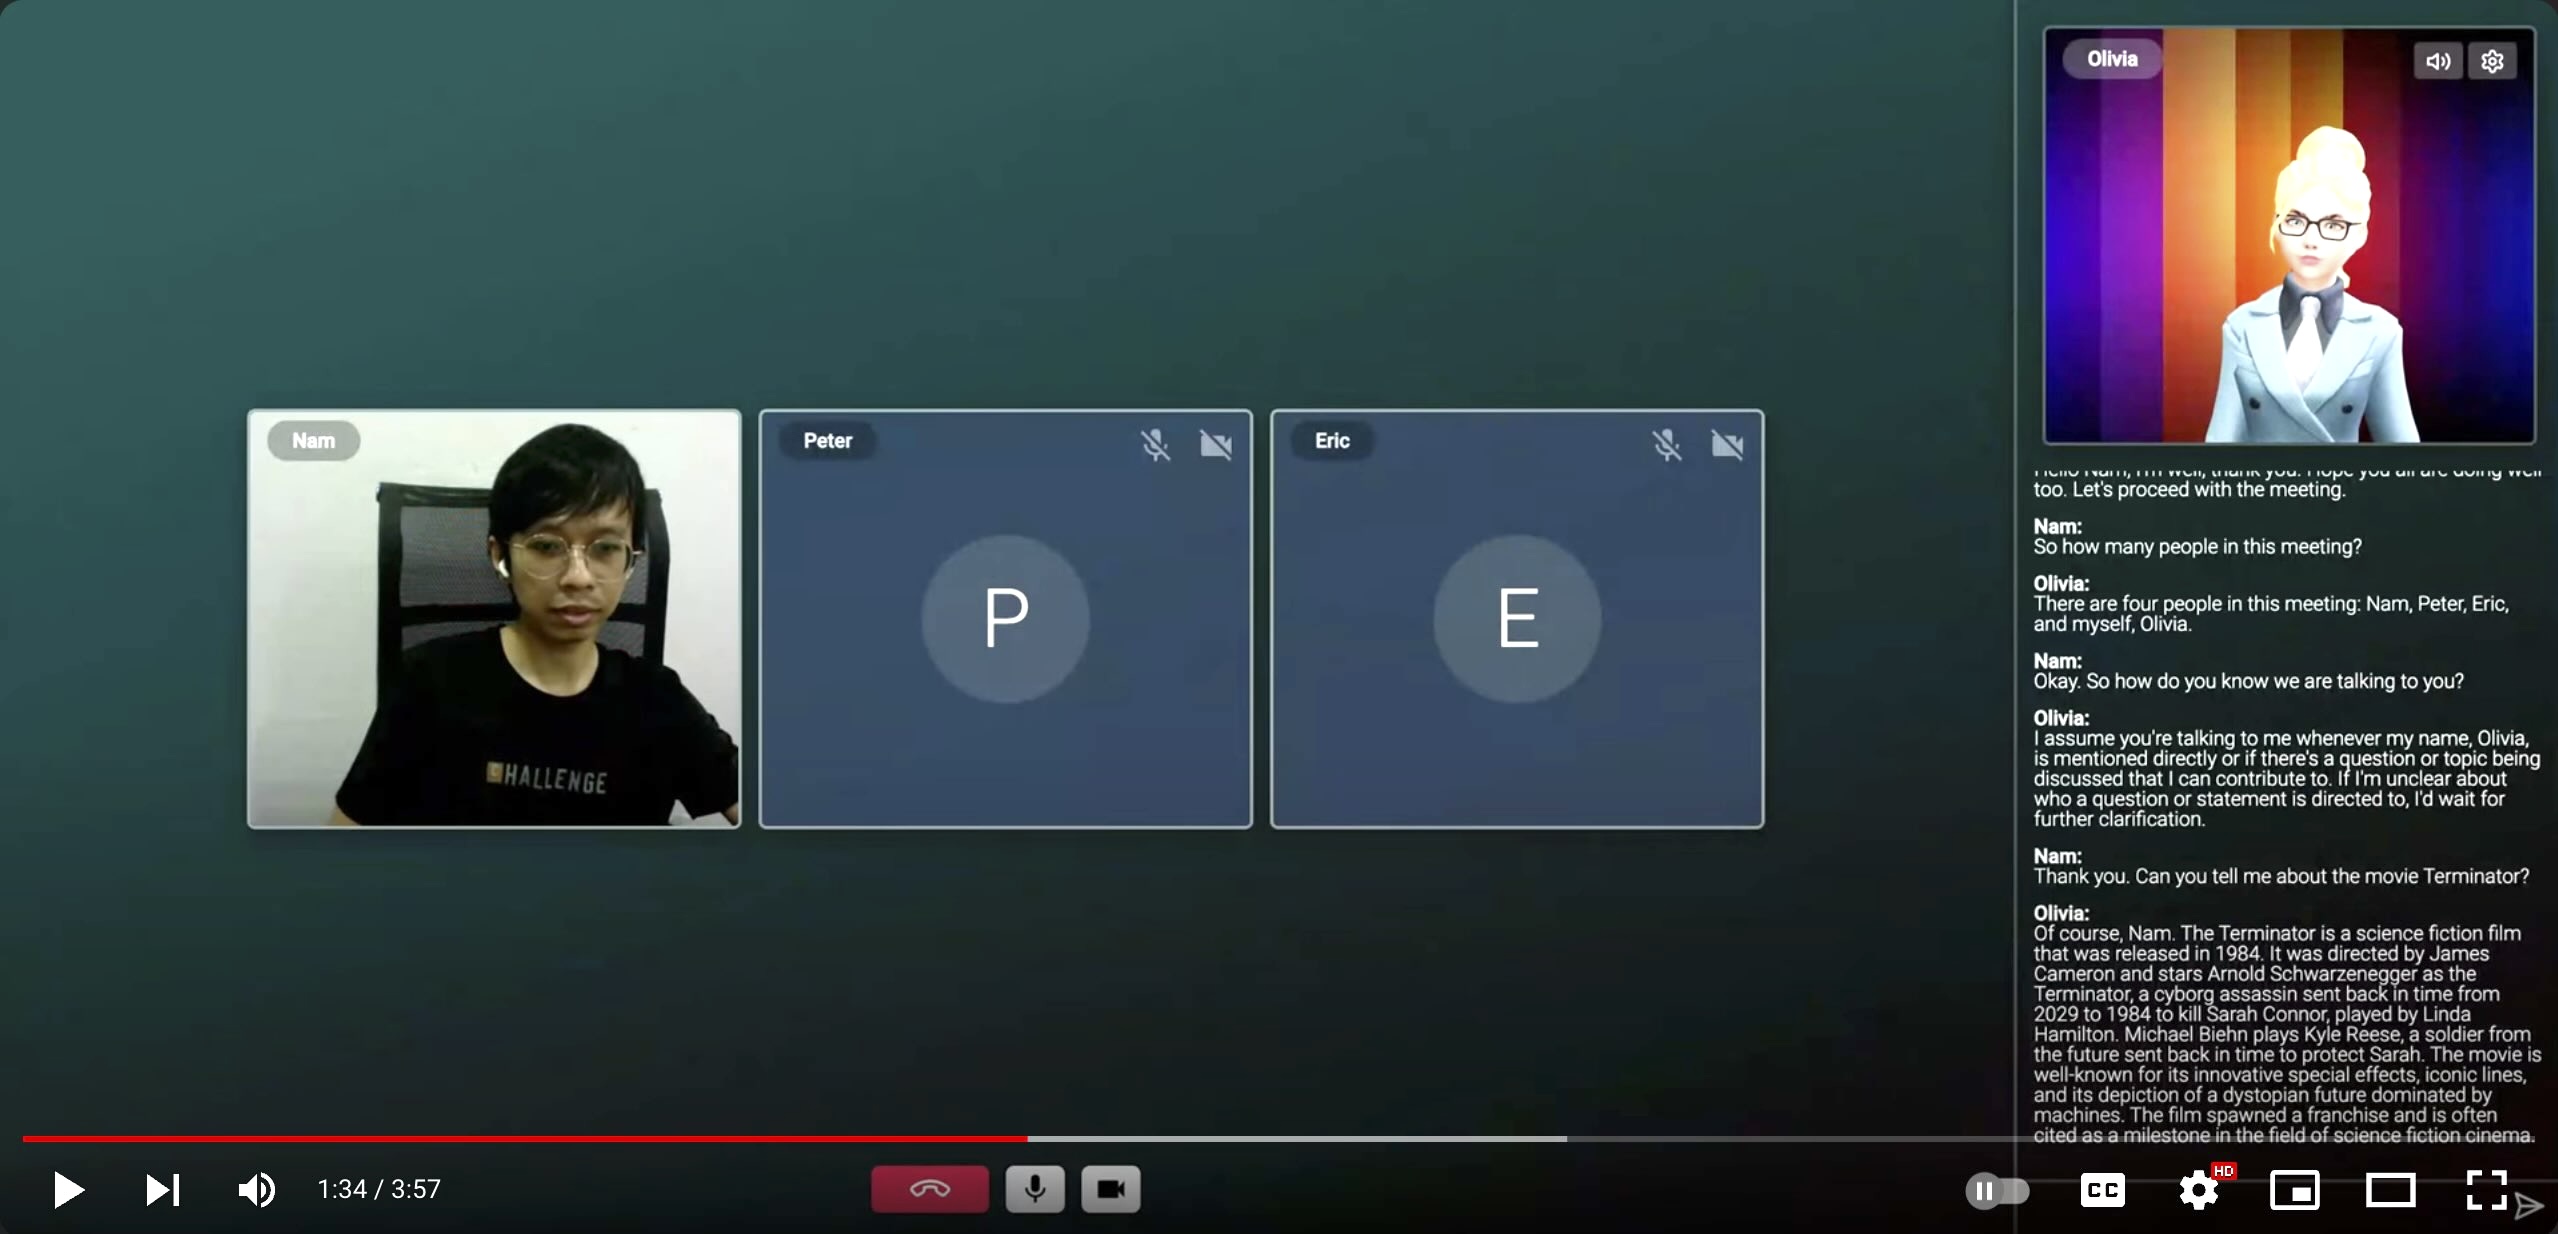 ](https://youtu.be/9GeXwjuslnQ) | **Video conferencing**. A video conferencing solution with real-time transcription, contextual AI responses, and voice lip-sync. The app and demo, featuring Olivia, by [namnm](https://github.com/namnm) 👍
[
](https://youtu.be/9GeXwjuslnQ) | **Video conferencing**. A video conferencing solution with real-time transcription, contextual AI responses, and voice lip-sync. The app and demo, featuring Olivia, by [namnm](https://github.com/namnm) 👍
[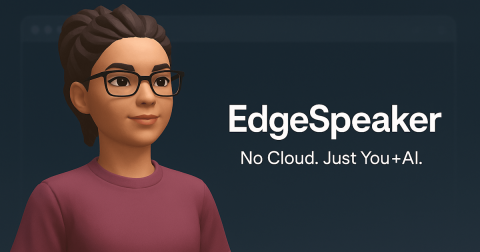 ](https://www.edgespeaker.com/) | **Fully in-browser AI you can talk to**. Uses TalkingHead, [HeadTTS (with Kokoro)](https://github.com/met4citizen/HeadTTS), [whisper-web](https://github.com/xenova/whisper-web), and [WebLLM (with Llama 3.2)](https://github.com/mlc-ai/web-llm). No APIs, no accounts. For best performance and WebGPU support, use a desktop version of Chrome or Edge: 👉 [EdgeSpeaker.com](https://www.edgespeaker.com/)
[
](https://www.edgespeaker.com/) | **Fully in-browser AI you can talk to**. Uses TalkingHead, [HeadTTS (with Kokoro)](https://github.com/met4citizen/HeadTTS), [whisper-web](https://github.com/xenova/whisper-web), and [WebLLM (with Llama 3.2)](https://github.com/mlc-ai/web-llm). No APIs, no accounts. For best performance and WebGPU support, use a desktop version of Chrome or Edge: 👉 [EdgeSpeaker.com](https://www.edgespeaker.com/)
[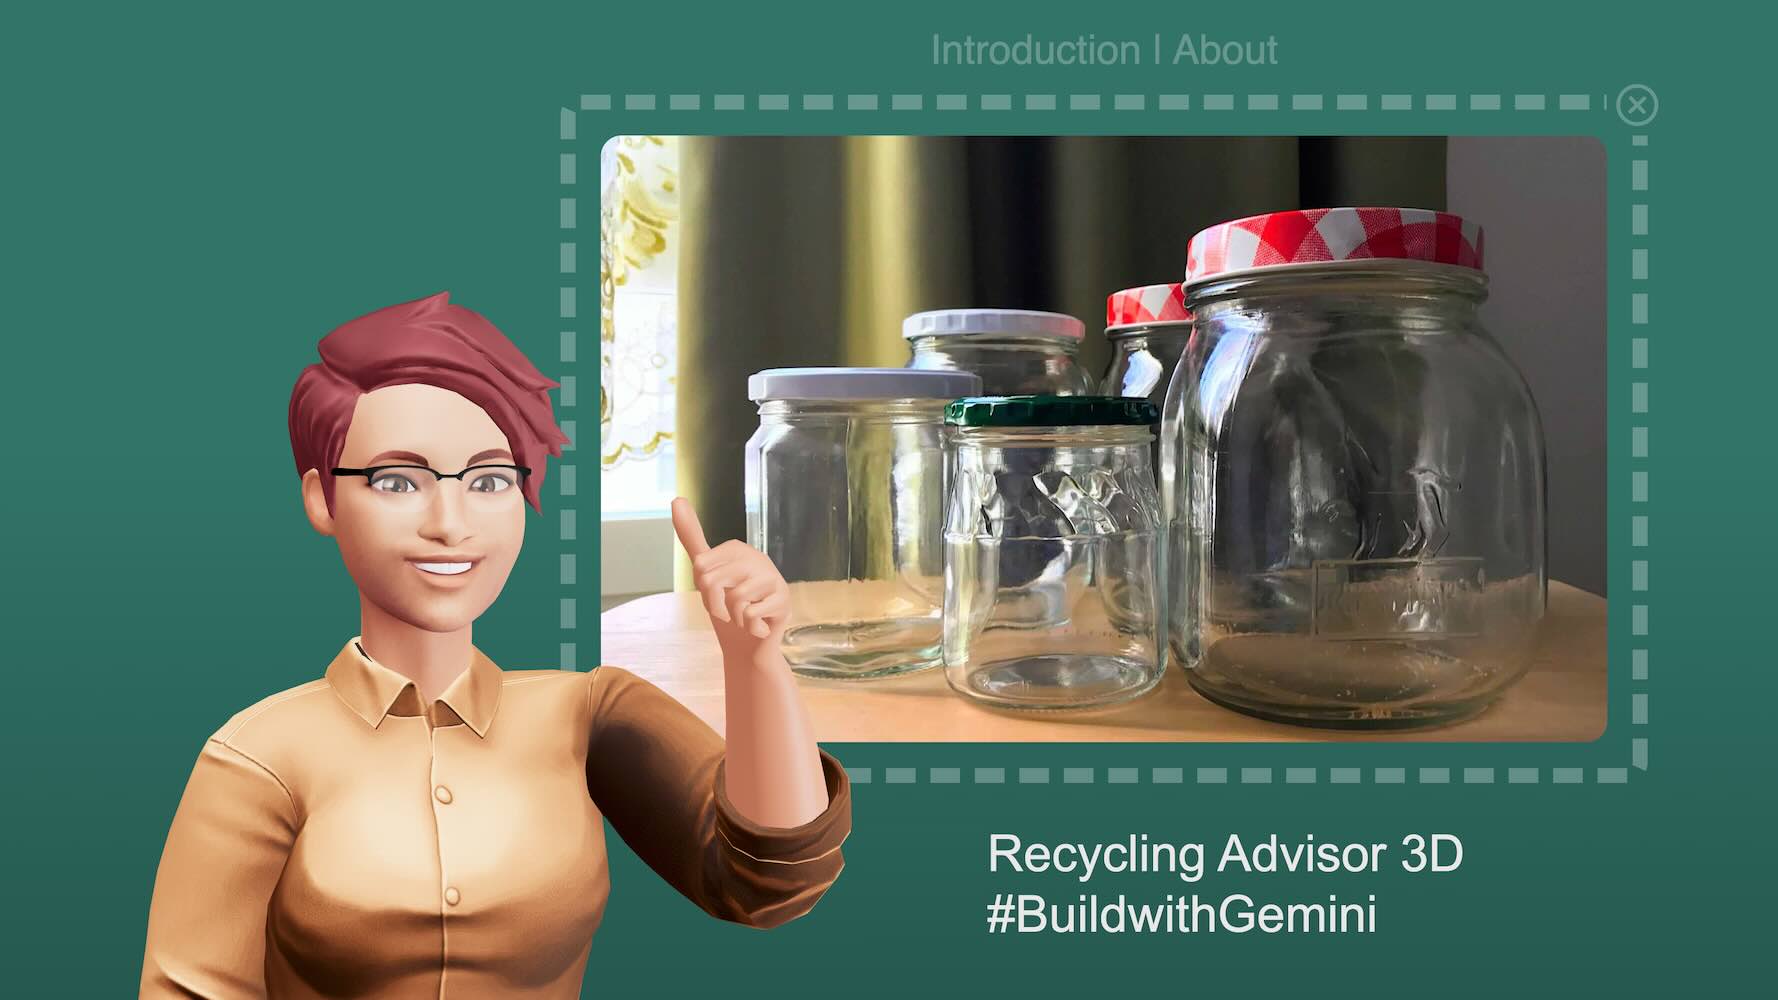 ](https://www.youtube.com/watch?v=Dl2o9kRvbLQ) | **Recycling Advisor 3D**. Snap a photo and get local recycling advice from a talking avatar. My entry for the [Gemini API Developer Competition 2024](https://ai.google.dev/competition/projects/recycling-advisor-3d).
[
](https://www.youtube.com/watch?v=Dl2o9kRvbLQ) | **Recycling Advisor 3D**. Snap a photo and get local recycling advice from a talking avatar. My entry for the [Gemini API Developer Competition 2024](https://ai.google.dev/competition/projects/recycling-advisor-3d).
[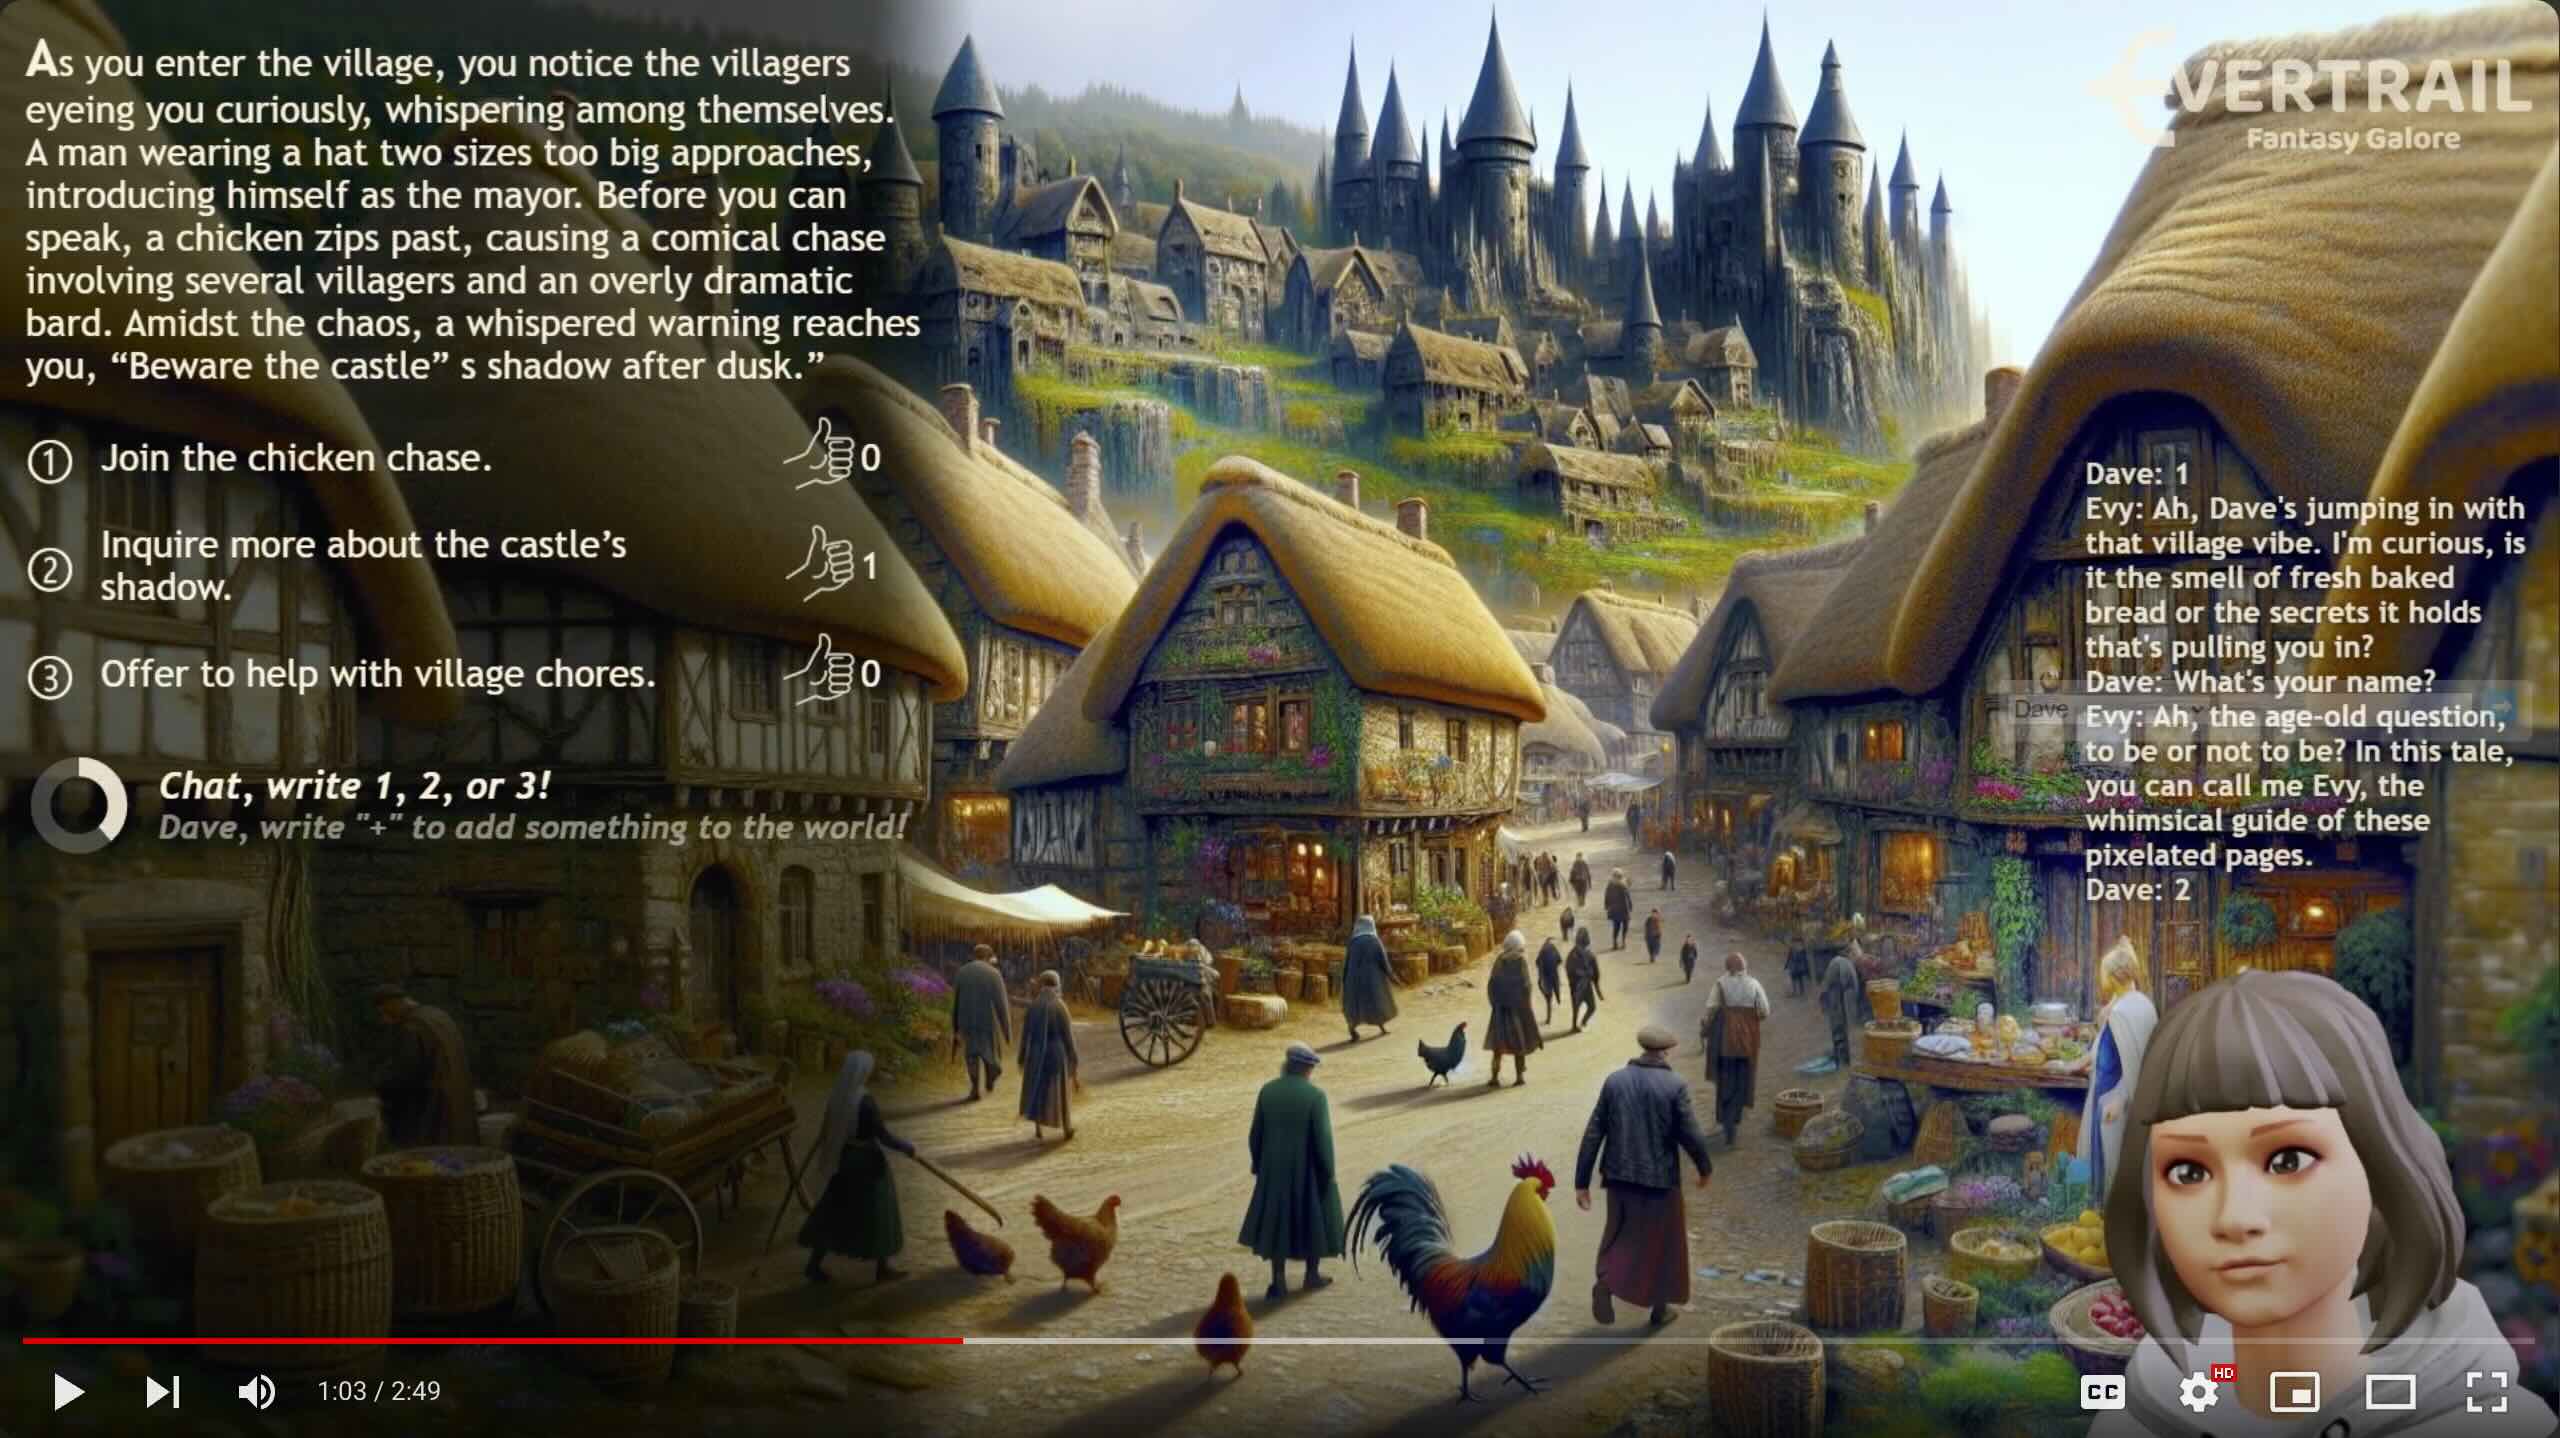 ](https://www.youtube.com/watch?v=OG1vwOit_Yk) | **Live Twitch adventure**. [Evertrail](https://evertrail.app) is an infinite, real-time generated world where all of your choices shape the outcome. Video clip and the app by [JPhilipp](https://github.com/JPhilipp) 👏👏
**NEWS**: Featured at the AI Film Awards during the 2025 Cannes Film Festival!
[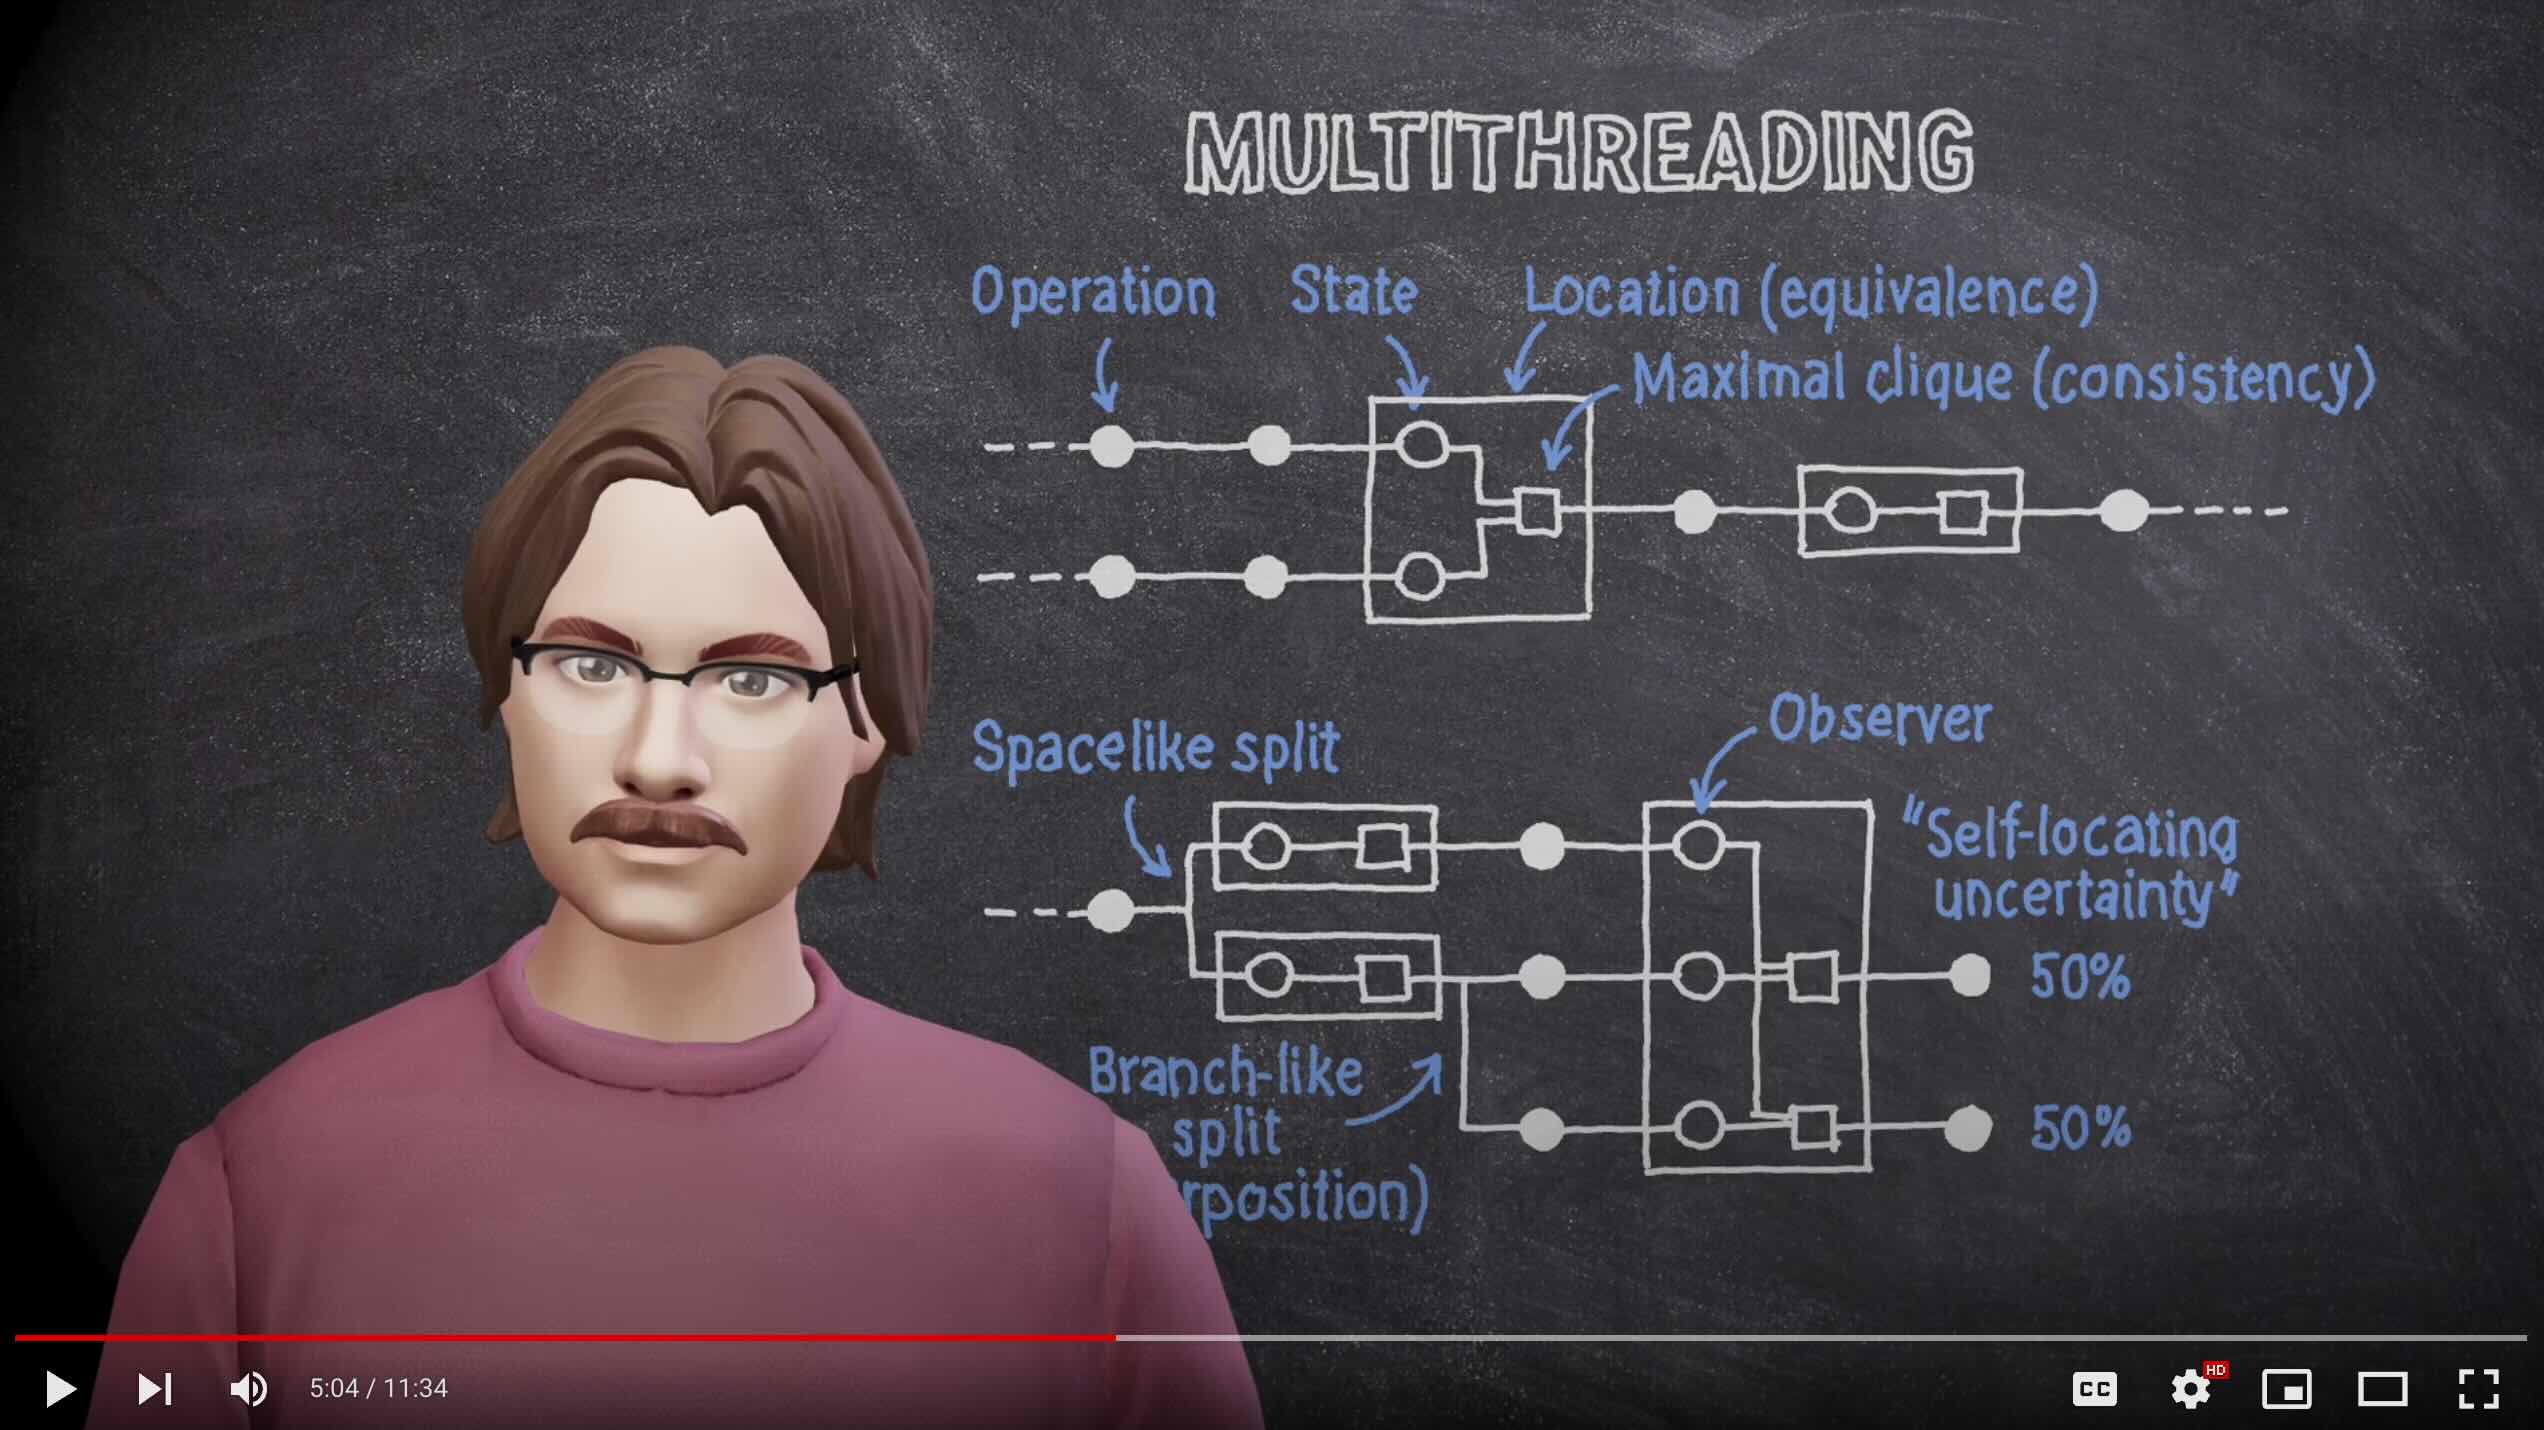 ](https://www.youtube.com/watch?v=vNJ9Ifv-as8) | **Quantum physics using a blackboard**. David introduces us to the CHSH game and explores the mystery of quantum entanglement. For more information about the research project, see [CliqueVM](https://github.com/met4citizen/CliqueVM).
[
](https://www.youtube.com/watch?v=vNJ9Ifv-as8) | **Quantum physics using a blackboard**. David introduces us to the CHSH game and explores the mystery of quantum entanglement. For more information about the research project, see [CliqueVM](https://github.com/met4citizen/CliqueVM).
[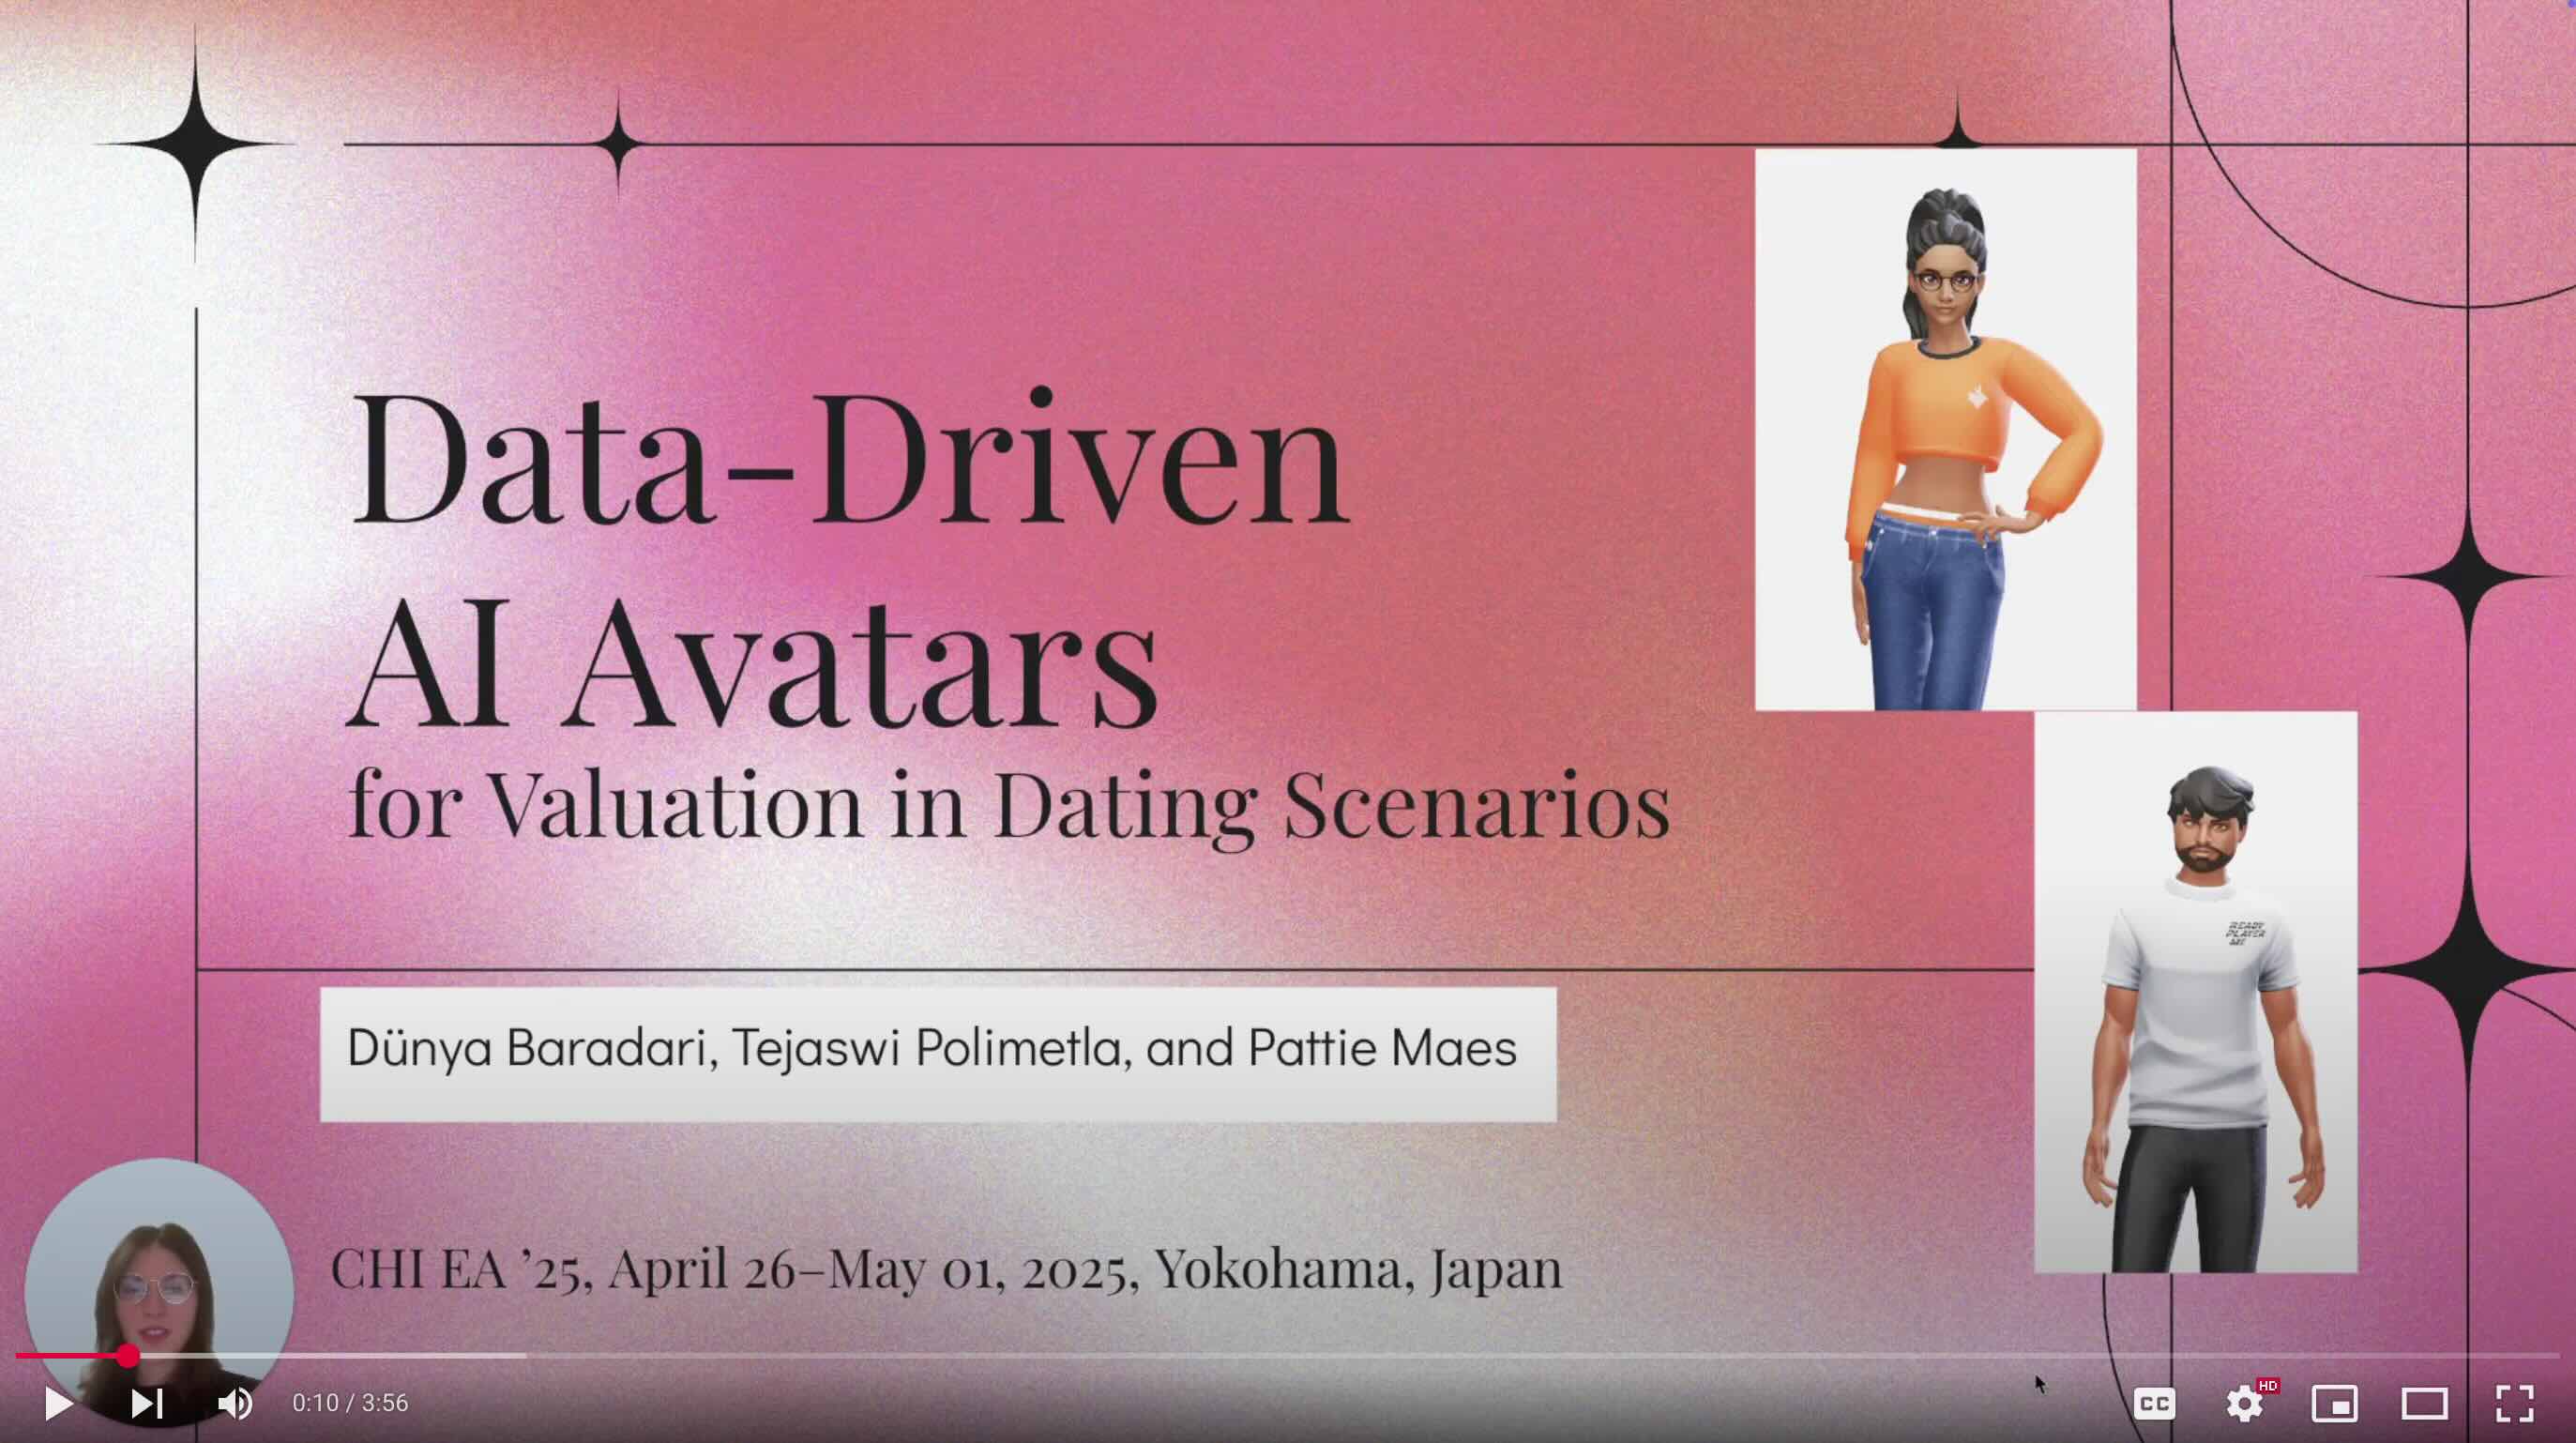 ](https://www.youtube.com/watch?v=Hv-ItCZ0qc4) $$\color{transparent}{\rule{200px}{0px}}$$ | **Interactive Dating Profiles**. ❤️ Researchers from the MIT Media Lab and Harvard used the TalkingHead class and data-driven AI to create digital twins that potential dating partners could interact with. Their paper (Baradari et al., 2025) was presented at [CHI 2025](https://programs.sigchi.org/chi/2025/program/content/194739) in Japan.
*Links to more projects, apps, and research using TalkingHead:*
- [KidsChat](https://github.com/rwightman/kidschat) - A kid friendly AI chat.
- [Partyhost.app](https://www.partyhost.app) – A game show with its own host.
- [Cancer Clinical Trial Participation](https://dl.acm.org/doi/full/10.1145/3717511.3747063) – Researchers at the University of Florida explored how multiple virtual agents can help overcome barriers to joining cancer clinical trials.
- [TalkMateAI](https://github.com/kiranbaby14/TalkMateAI) – Real-time Voice-Controlled 3D Avatar with Multimodal AI.
- [Riverts](https://github.com/sensein/riverst) – A platform for building, running, and analyzing interactive user-avatar conversations.
- [Interactive Avatar](https://interactiveavatar.co.uk) – Interactive avatars as a service - an easy way to add an AI-driven avatar on your website.
- [Alter egos alter engagement](https://www.frontiersin.org/journals/digital-health/articles/10.3389/fdgth.2025.1655860/full) – Researchers at the University of Florida used TalkingHead to explore how embodied AI chatbots can support mental well-being.
---
### Introduction
Talking Head (3D) is a browser JavaScript class featuring a 3D avatar that can
speak and lip-sync in real-time. It also knows a set of emojis and can convert them
into facial expressions.
The class supports full-body 3D avatars (GLB) and [Mixamo](https://www.mixamo.com)
animations (FBX). The avatar must have a Mixamo-compatible rig and ARKit and
Oculus viseme blend shapes. See Appendix A for details on creating your own avatar.
By default, the class uses
[Google Cloud TTS](https://cloud.google.com/text-to-speech) for text-to-speech
and has a built-in lip-sync support for English, German, French, Brazilian Portuguese, Finnish, and Lithuanian.
New lip-sync languages can be added by creating new lip-sync language modules.
It is also possible to integrate the TalkingHead class with any external
TTS service that can provide word-level timestamps, such as the
[ElevenLabs WebSocket API](https://elevenlabs.io).
Note that a lip-sync language module is not required if your TTS engine
can output viseme IDs or blend shape data directly. For example, by using the
[Microsoft Azure Speech SDK](https://github.com/microsoft/cognitive-services-speech-sdk-js),
you can extend TalkingHead's lip-sync support to 100+ languages.
The class uses [ThreeJS](https://github.com/mrdoob/three.js/) / WebGL for 3D
rendering.
---
### Add-on Modules
Modules compatible with the Talking Head (3D) project:
Module | Description
--- | ---
[
](https://www.youtube.com/watch?v=Hv-ItCZ0qc4) $$\color{transparent}{\rule{200px}{0px}}$$ | **Interactive Dating Profiles**. ❤️ Researchers from the MIT Media Lab and Harvard used the TalkingHead class and data-driven AI to create digital twins that potential dating partners could interact with. Their paper (Baradari et al., 2025) was presented at [CHI 2025](https://programs.sigchi.org/chi/2025/program/content/194739) in Japan.
*Links to more projects, apps, and research using TalkingHead:*
- [KidsChat](https://github.com/rwightman/kidschat) - A kid friendly AI chat.
- [Partyhost.app](https://www.partyhost.app) – A game show with its own host.
- [Cancer Clinical Trial Participation](https://dl.acm.org/doi/full/10.1145/3717511.3747063) – Researchers at the University of Florida explored how multiple virtual agents can help overcome barriers to joining cancer clinical trials.
- [TalkMateAI](https://github.com/kiranbaby14/TalkMateAI) – Real-time Voice-Controlled 3D Avatar with Multimodal AI.
- [Riverts](https://github.com/sensein/riverst) – A platform for building, running, and analyzing interactive user-avatar conversations.
- [Interactive Avatar](https://interactiveavatar.co.uk) – Interactive avatars as a service - an easy way to add an AI-driven avatar on your website.
- [Alter egos alter engagement](https://www.frontiersin.org/journals/digital-health/articles/10.3389/fdgth.2025.1655860/full) – Researchers at the University of Florida used TalkingHead to explore how embodied AI chatbots can support mental well-being.
---
### Introduction
Talking Head (3D) is a browser JavaScript class featuring a 3D avatar that can
speak and lip-sync in real-time. It also knows a set of emojis and can convert them
into facial expressions.
The class supports full-body 3D avatars (GLB) and [Mixamo](https://www.mixamo.com)
animations (FBX). The avatar must have a Mixamo-compatible rig and ARKit and
Oculus viseme blend shapes. See Appendix A for details on creating your own avatar.
By default, the class uses
[Google Cloud TTS](https://cloud.google.com/text-to-speech) for text-to-speech
and has a built-in lip-sync support for English, German, French, Brazilian Portuguese, Finnish, and Lithuanian.
New lip-sync languages can be added by creating new lip-sync language modules.
It is also possible to integrate the TalkingHead class with any external
TTS service that can provide word-level timestamps, such as the
[ElevenLabs WebSocket API](https://elevenlabs.io).
Note that a lip-sync language module is not required if your TTS engine
can output viseme IDs or blend shape data directly. For example, by using the
[Microsoft Azure Speech SDK](https://github.com/microsoft/cognitive-services-speech-sdk-js),
you can extend TalkingHead's lip-sync support to 100+ languages.
The class uses [ThreeJS](https://github.com/mrdoob/three.js/) / WebGL for 3D
rendering.
---
### Add-on Modules
Modules compatible with the Talking Head (3D) project:
Module | Description
--- | ---
[ ](https://github.com/met4citizen/HeadTTS) | [HeadTTS](https://github.com/met4citizen/HeadTTS) is a free and open-source English TTS with Kokoro neural voices, viseme IDs, and accurate phoneme-level timestamps. It can run entirely in a browser using WebGPU.
[
](https://github.com/met4citizen/HeadTTS) | [HeadTTS](https://github.com/met4citizen/HeadTTS) is a free and open-source English TTS with Kokoro neural voices, viseme IDs, and accurate phoneme-level timestamps. It can run entirely in a browser using WebGPU.
[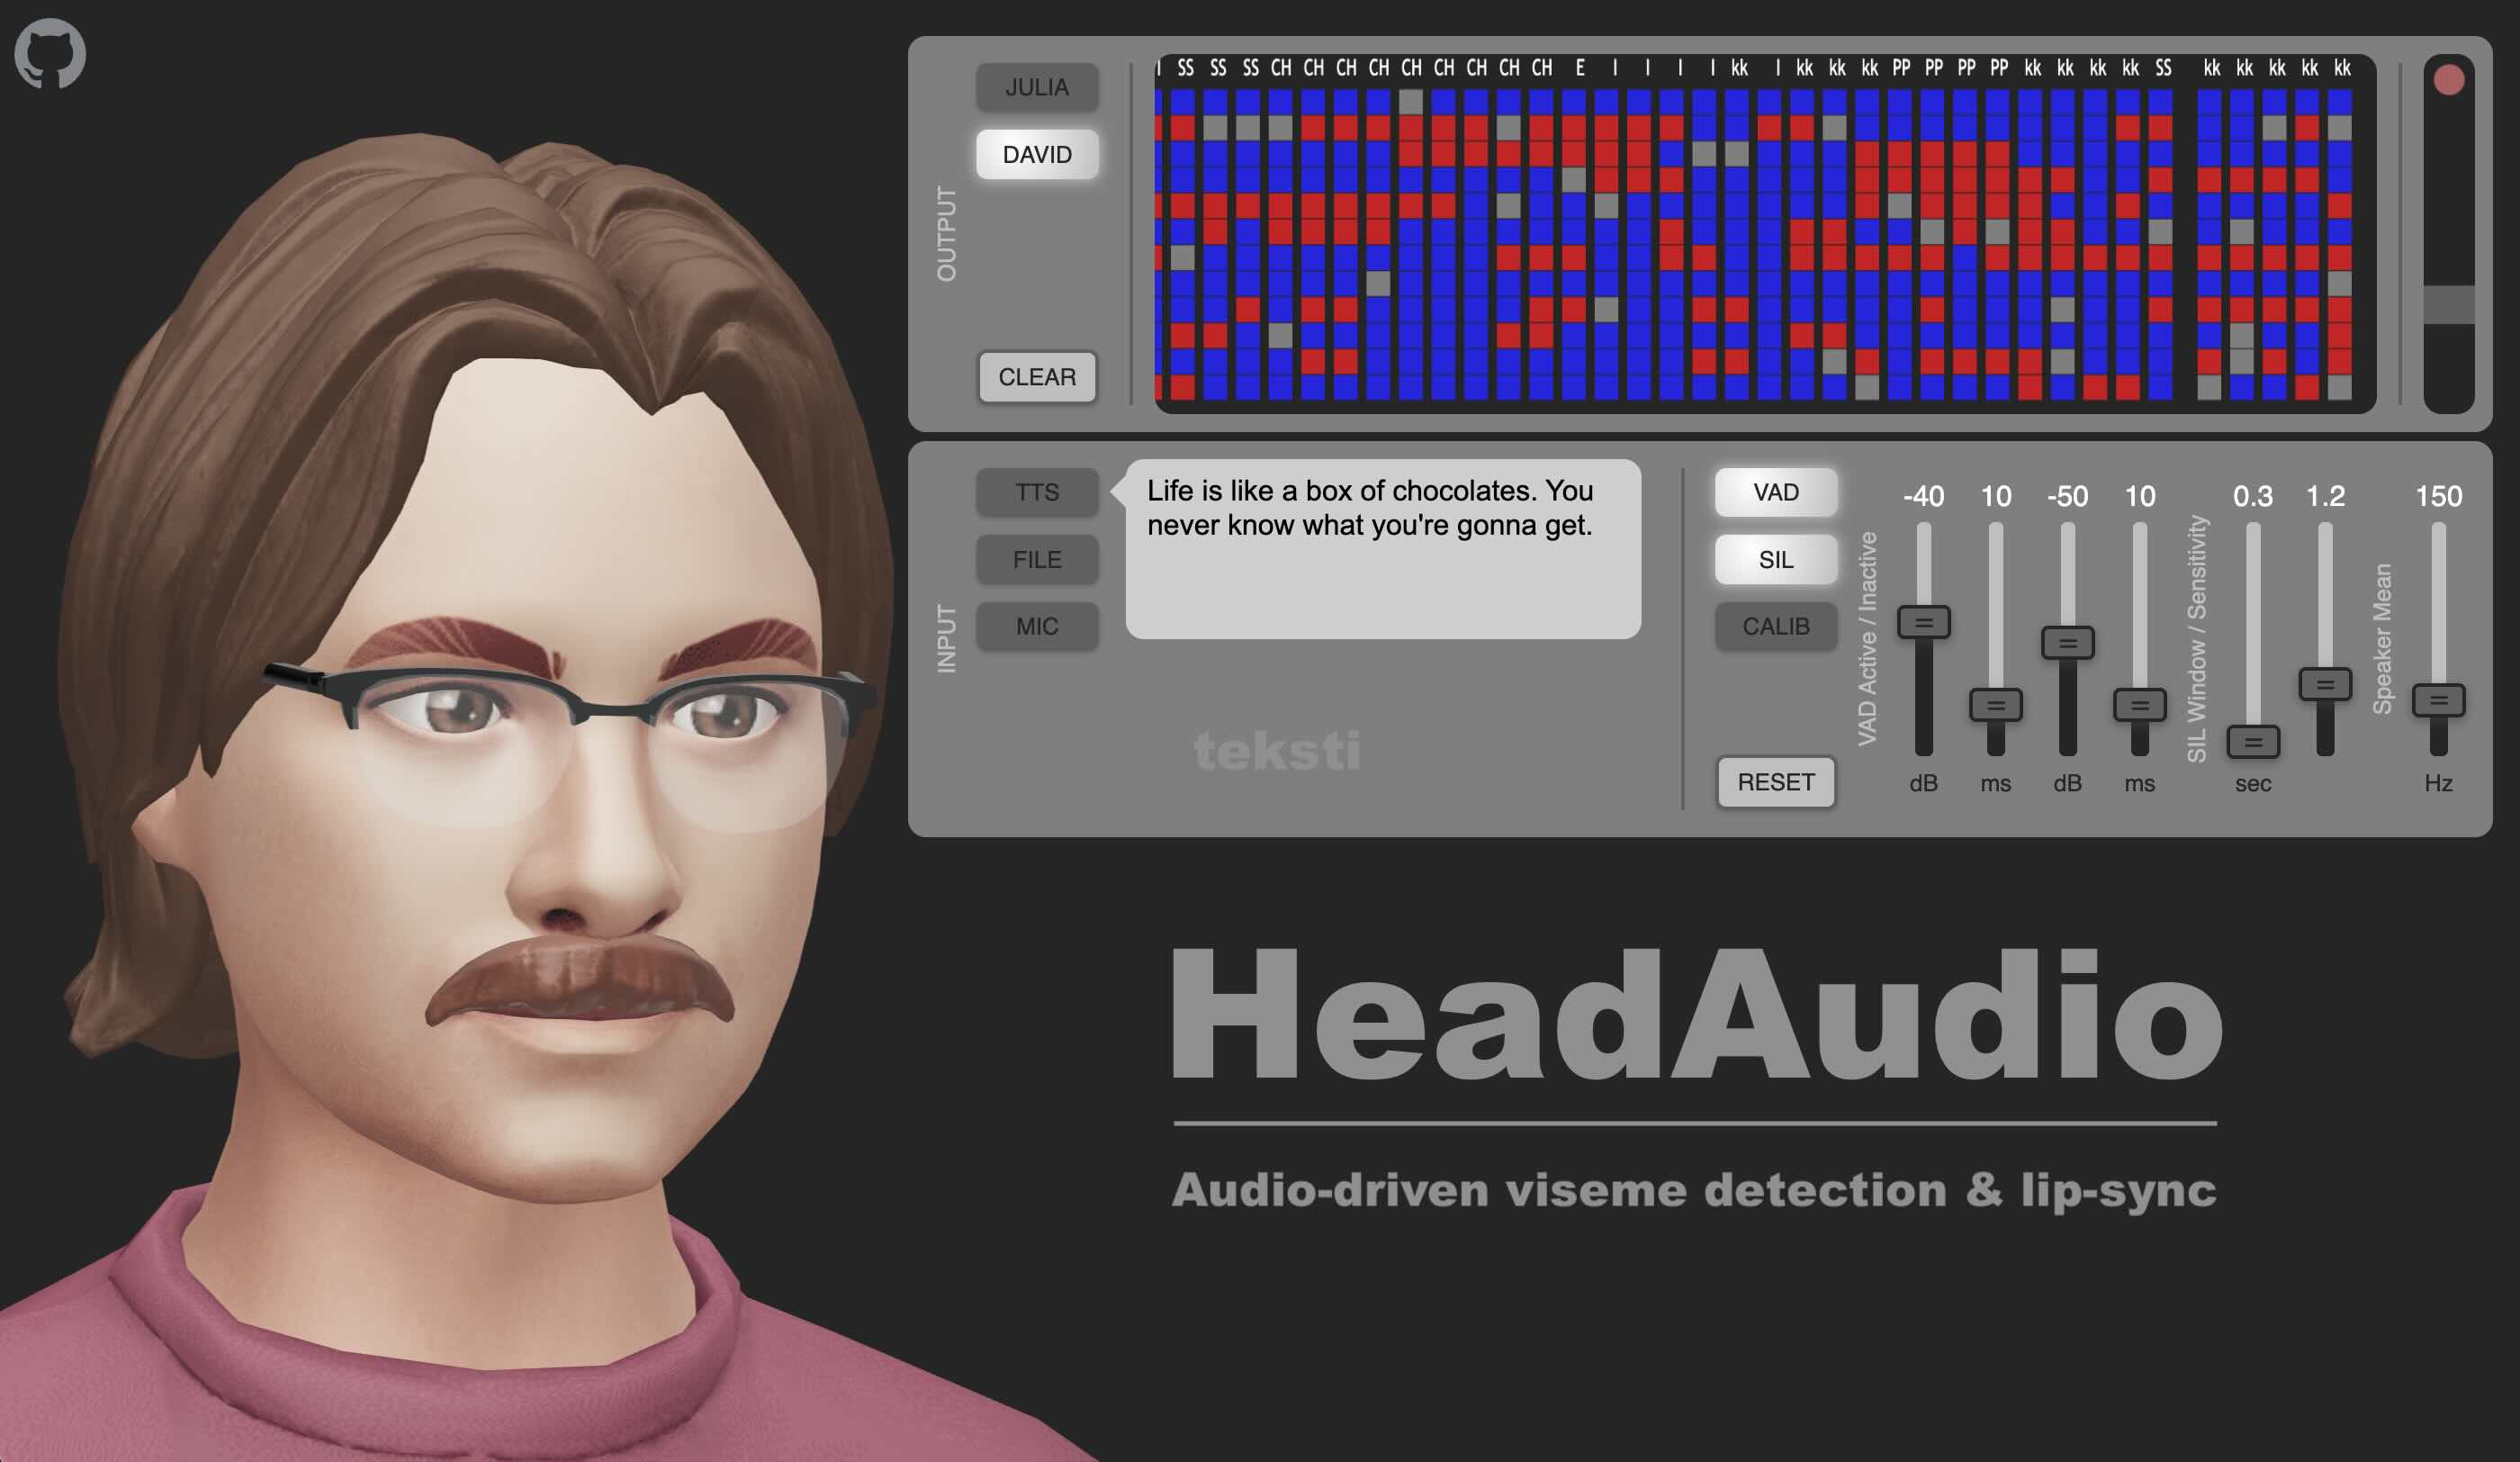 ](https://github.com/met4citizen/HeadAudio) | [HeadAudio](https://github.com/met4citizen/HeadAudio) in an audio worklet node/processor for audio-driven, real-time viseme detection and lip-sync. No text transcription or timestamps needed. Fast and fully in-browser.
[
](https://github.com/met4citizen/HeadAudio) | [HeadAudio](https://github.com/met4citizen/HeadAudio) in an audio worklet node/processor for audio-driven, real-time viseme detection and lip-sync. No text transcription or timestamps needed. Fast and fully in-browser.
[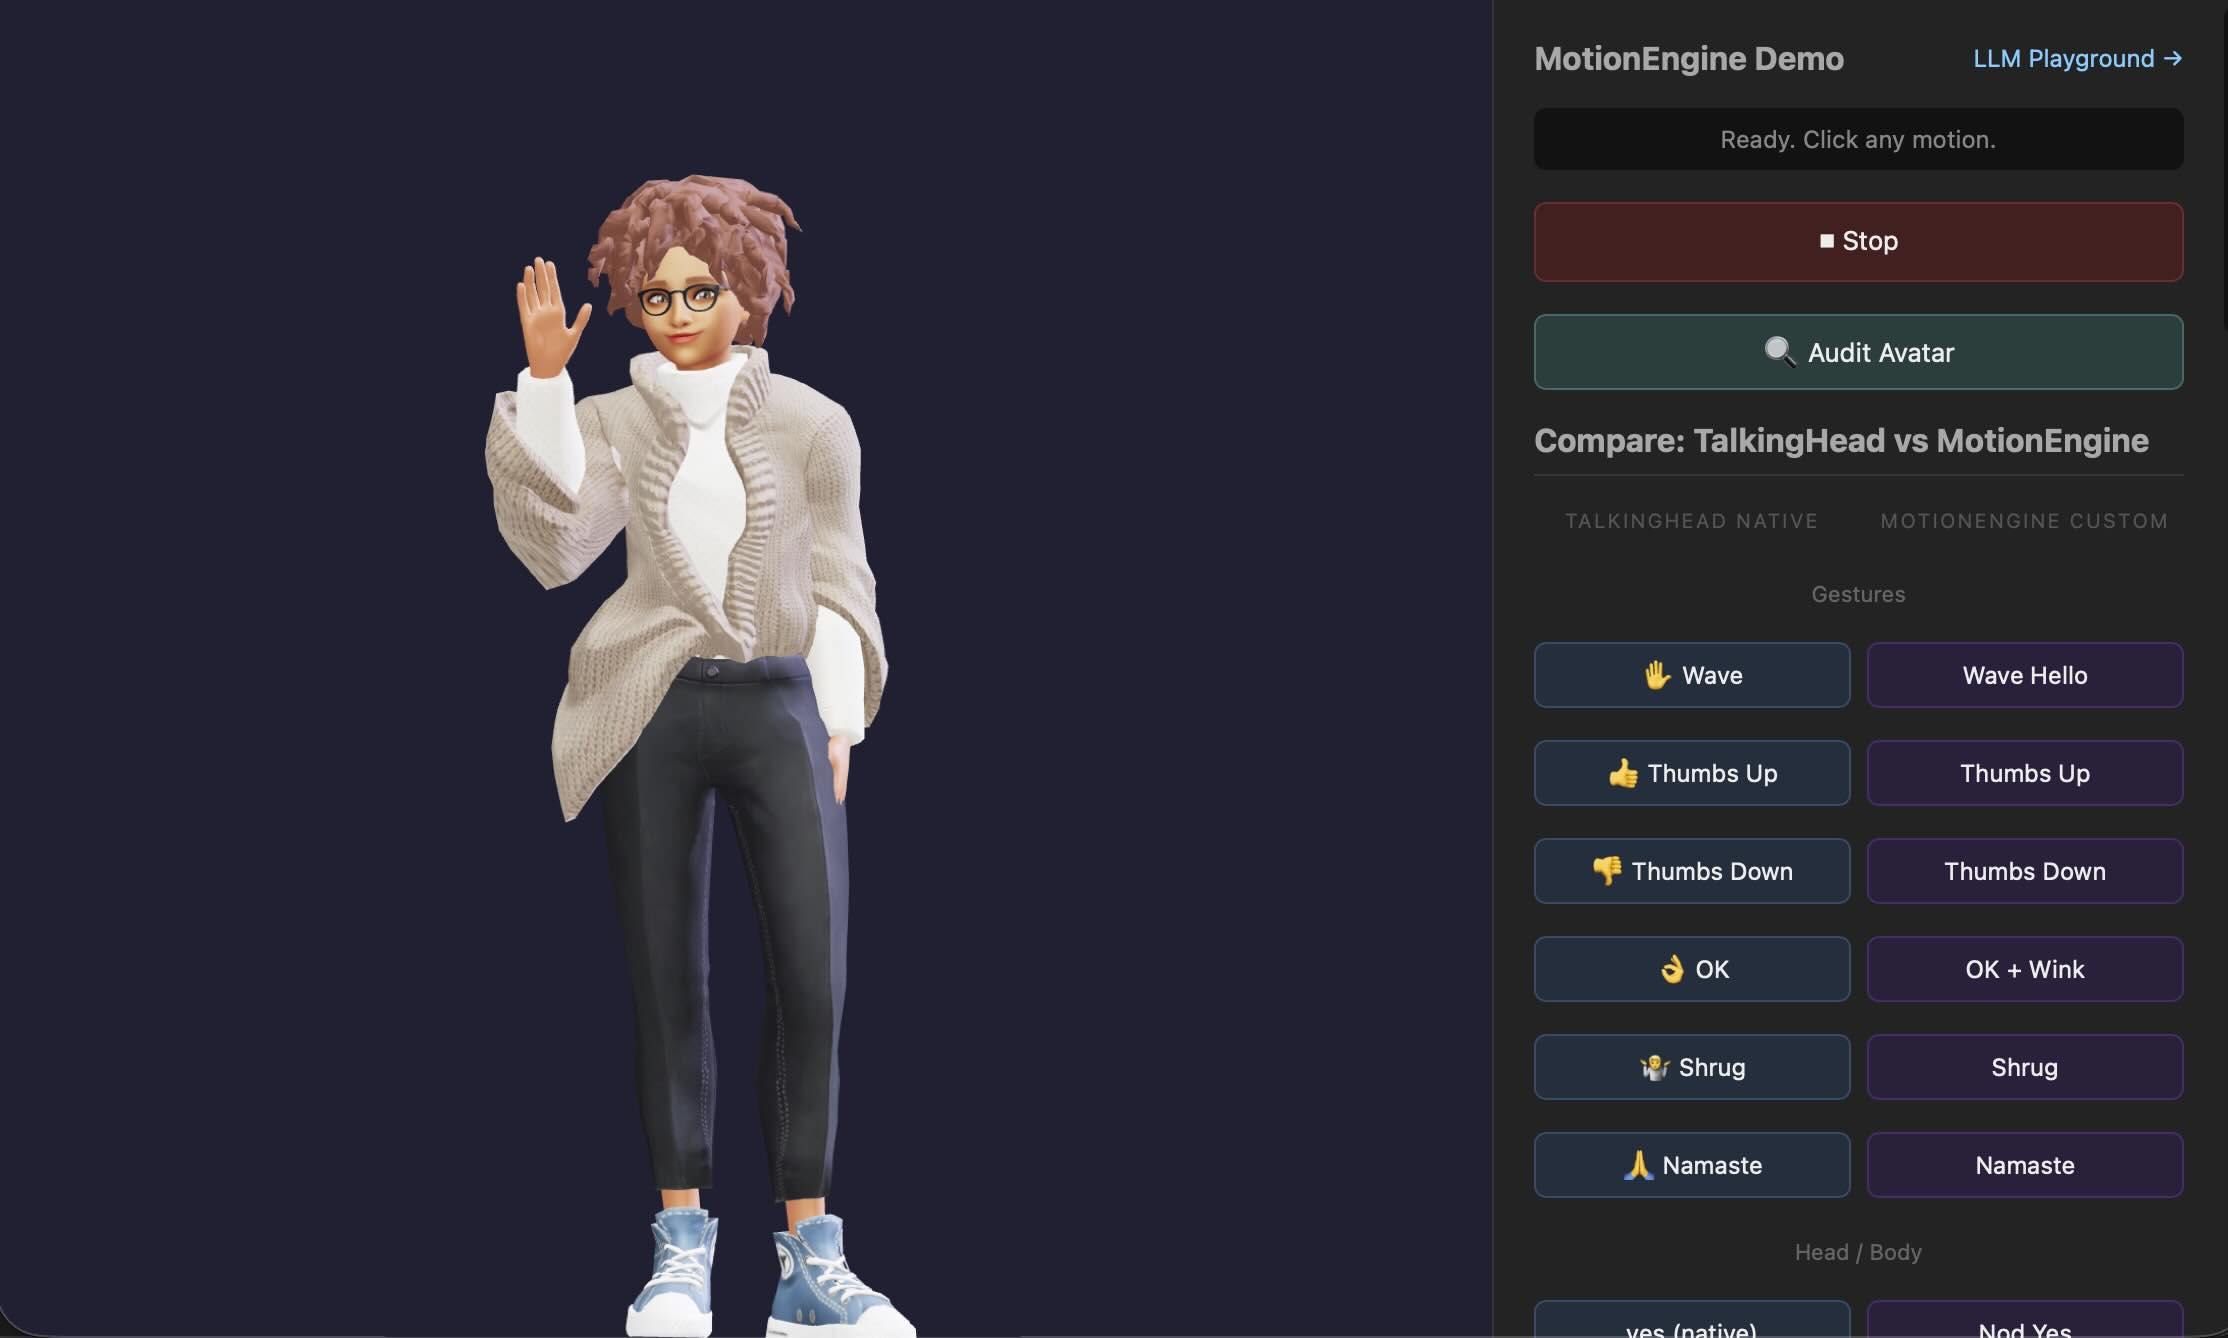 ](https://github.com/lhupyn/motion-engine) $$\color{transparent}{\rule{200px}{0px}}$$ | [MotionEngine](https://github.com/lhupyn/motion-engine) extends the TalkingHead's built-in animation system with a new set of advanced gestures/expressions, a semantic control layer tailored for LLM-driven execution, and LLM-based tooling for authoring and composing new motions.
---
### TalkingHead class
You can download the TalkingHead modules from
[releases](https://github.com/met4citizen/TalkingHead/releases)
(without dependencies). Alternatively, you can install them from
[NPM](https://www.npmjs.com/package/@met4citizen/talkinghead),
or import all the needed modules from a CDN:
```javascript
```
> [!TIP]
> **FOR HOBBYISTS:** If you're just looking to experiment on your personal
laptop without dealing with proxies, JSON Web Tokens, or Single Sign-On,
take a look at the [minimal code example](https://github.com/met4citizen/TalkingHead/blob/main/examples/minimal.html).
Simply download the file, add your Google TTS API key, and you'll
have a basic web app template with a talking head.
If you want to use the built-in Google TTS and lip-sync using
Single Sign-On (SSO) functionality, give the class your TTS proxy endpoint and
a function from which to obtain the JSON Web Token needed to use that proxy.
Refer to Appendix B for one way to implement JWT SSO.
```javascript
import { TalkingHead } from "talkinghead";
// Create the talking head avatar
const nodeAvatar = document.getElementById('avatar');
const head = new TalkingHead( nodeAvatar, {
ttsEndpoint: "/gtts/",
jwtGet: jwtGet,
lipsyncModules: ["en", "fi"],
mixerGainSpeech: 3
});
```
](https://github.com/lhupyn/motion-engine) $$\color{transparent}{\rule{200px}{0px}}$$ | [MotionEngine](https://github.com/lhupyn/motion-engine) extends the TalkingHead's built-in animation system with a new set of advanced gestures/expressions, a semantic control layer tailored for LLM-driven execution, and LLM-based tooling for authoring and composing new motions.
---
### TalkingHead class
You can download the TalkingHead modules from
[releases](https://github.com/met4citizen/TalkingHead/releases)
(without dependencies). Alternatively, you can install them from
[NPM](https://www.npmjs.com/package/@met4citizen/talkinghead),
or import all the needed modules from a CDN:
```javascript
```
> [!TIP]
> **FOR HOBBYISTS:** If you're just looking to experiment on your personal
laptop without dealing with proxies, JSON Web Tokens, or Single Sign-On,
take a look at the [minimal code example](https://github.com/met4citizen/TalkingHead/blob/main/examples/minimal.html).
Simply download the file, add your Google TTS API key, and you'll
have a basic web app template with a talking head.
If you want to use the built-in Google TTS and lip-sync using
Single Sign-On (SSO) functionality, give the class your TTS proxy endpoint and
a function from which to obtain the JSON Web Token needed to use that proxy.
Refer to Appendix B for one way to implement JWT SSO.
```javascript
import { TalkingHead } from "talkinghead";
// Create the talking head avatar
const nodeAvatar = document.getElementById('avatar');
const head = new TalkingHead( nodeAvatar, {
ttsEndpoint: "/gtts/",
jwtGet: jwtGet,
lipsyncModules: ["en", "fi"],
mixerGainSpeech: 3
});
```
Click here to see all the CLASS-LEVEL OPTIONS.
Option | Description | Default
---|---|---
`jwsGet` | Function to get the JSON Web Token (JWT). See Appendix B for more information. | `null`
`ttsEndpoint` | Text-to-speech backend/endpoint/proxy implementing the Google Text-to-Speech API. | `null`
`ttsApikey` | If you don't want to use a proxy or JWT, you can use Google TTS endpoint directly and provide your API key here. **NOTE: I recommend that you don't use this in production and never put your API key in any client-side code.** | `null`
`ttsLang` | Google text-to-speech language. | `"fi-FI"`
`ttsVoice` | Google text-to-speech voice. The used voice must support SSML and \ tags that are needed to get word-level timestamps. Currently, Google supports SSML and \ tags when using Standard, Wavenet, Neural2, News, or Casual voice types. | `"fi-FI-Standard-A"`
`ttsRate` | Google text-to-speech rate in the range [0.25, 4.0]. | `1.0`
`ttsPitch` | Google text-to-speech pitch in the range [-20.0, 20.0]. | `0`
`ttsVolume` | Google text-to-speech volume gain (in dB) in the range [-96.0, 16.0]. | `0`
`ttsTrimStart` | Trim the viseme sequence start relative to the beginning of the audio (shift in milliseconds). | `0`
`ttsTrimEnd` | Trim the viseme sequence end relative to the end of the audio (shift in milliseconds). | `400`
`mixerGainSpeech` | The amount of gain for speech. See Web Audio API / GainNode for more information. | `null`
`mixerGainBackground` | The amount of gain for background audio. See Web Audio API / GainNode for more information. | `null`
`lipsyncModules`| Lip-sync modules to load dynamically at start-up. Limiting the number of language modules improves the loading time and memory usage. | `["en", "fi", "lt"]`
`lipsyncLang`| Lip-sync language. | `"fi"`
`pcmSampleRate` | PCM (signed 16bit little endian) sample rate used in `speakAudio` in Hz. | `22050`
`audioCtx` | The audio context to be used. By default, a new one is created. | `null`
`modelRoot` | The root name of the armature. If not found, the default scene is used as the root (flatten structure). | `"Armature"`
`modelPixelRatio` | Sets the device's pixel ratio. | `1`
`modelFPS` | Frames per second. Note that actual frame rate will be a bit lower than the set value. | `30`
`modelMovementFactor` | A factor in the range [0,1] limiting the avatar's upper body movement when standing. | `1`
`dracoEnabled` | If `true`, use Draco geometry compression. | `false`
`dracoDecoderPath` | Draco decoder library path. | `"https://www.gstatic.com/`
`draco/v1/decoders/"`
`cameraView` | Initial view. Supported views are `"full"`, `"mid"`, `"upper"` and `"head"`. | `"full"`
`cameraDistance` | Camera distance offset for initial view in meters. | `0`
`cameraX` | Camera position offset in X direction in meters. | `0`
`cameraY` | Camera position offset in Y direction in meters. | `0`
`cameraRotateX` | Camera rotation offset in X direction in radians. | `0`
`cameraRotateY` | Camera rotation offset in Y direction in radians. | `0`
`cameraRotateEnable` | If true, the user is allowed to rotate the 3D model. | `true`
`cameraPanEnable` | If true, the user is allowed to pan the 3D model. | `false`
`cameraZoomEnable` | If true, the user is allowed to zoom the 3D model. | `false`
`lightAmbientColor` | Ambient light color. The value can be a hexadecimal color or CSS-style string. | `0xffffff`
`lightAmbientIntensity` | Ambient light intensity. | `2`
`lightDirectColor` | Direction light color. The value can be a hexadecimal color or CSS-style string. | `0x8888aa`
`lightDirectIntensity` | Direction light intensity. | `30`
`lightDirectPhi` | Direction light phi angle. | `0.1`
`lightDirectTheta` | Direction light theta angle. | `2`
`lightSpotColor` | Spot light color. The value can be a hexadecimal color or CSS-style string. | `0x3388ff`
`lightSpotIntensity` | Spot light intensity. | `0`
`lightSpotPhi` | Spot light phi angle. | `0.1`
`lightSpotTheta` | Spot light theta angle. | `4`
`lightSpotDispersion` | Spot light dispersion. | `1`
`avatarMood` | The mood of the avatar. Supported moods: `"neutral"`, `"happy"`, `"angry"`, `"sad"`, `"fear"`, `"disgust"`, `"love"`, `"sleep"`. | `"neutral"`
`avatarMute`| Mute the avatar. This can be helpful option if you want to output subtitles without audio and lip-sync. | `false`
`avatarIdle`
`EyeContact` | The average proportion of eye contact while idle in the range [0,1]. | `0.2`
`avatarIdle`
`HeadMove` | The average proportion of head movement while idle in the range [0,1]. | `0.5`
`avatarSpeaking`
`EyeContact` | The average proportion of eye contact while speaking in the range [0,1]. | `0.5`
`avatarSpeaking`
`HeadMove` | The average proportion of head movement while speaking in the range [0,1]. | `0.5`
`avatarIgnoreCamera` | If set to `true`, makes the avatar to ignore the camera and speak to whatever it is facing. | `false`
`listeningSilence`
`ThresholdLevel` | Silence detection threshold in the range of [0,100]. If the volume stays below the level for the set duration, a `"stop"` event is triggered. | `40`
`listeningSilence`
`ThresholdMs` | Silence detection duration in milliseconds. If the volume stays below the level for the set duration, a `"stop"` event is triggered. | `2000`
`listeningSilence`
`DurationMax` | Maximum silence in milliseconds before `"maxsilence"` event is triggered. | `10000`
`listeningActive`
`ThresholdLevel` | Activity detection threshold in the range of [0,100]. If the volume stays above the set level for the set duration, a `"start"` event is triggered. | `90`
`listeningActive`
`ThresholdMs` | Activity detection duration in milliseconds. If the volume stays above the set level for the set duration, a `"start"` event is triggered. | `400`
`listeningActive`
`DurationMax` | Maximum activity in milliseconds before `"maxactive"` event is triggered. | `240000`
`avatarOnly` | If `true`, creates an avatar armature object instead of a standalone instance with a 3D scene, lights, and renderer. Read Appendix H for more details about the `avatarOnly` mode. (EXPERIMENTAL) | `false`
`avatarOnlyCamera` | In `avatarOnly` mode, sets the camera to which the avatar is linked. | `null`
`avatarOnlyScene` | If set in `avatarOnly` mode, the armature object is automatically added to the specified scene. | `null`
`update` | Custom callback function inside the `requestAnimationFrame` animation loop. Enables the app to do custom processing before rendering the 3D scene. If `null`, disabled. | `null`
`statsNode` | Parent DOM element for the three.js stats display. If `null`, don't use. | `null`
`statsStyle` | CSS style for the stats element. If `null`, use the three.js default style. | `null`
Once the instance has been created, you can load and display your avatar.
Refer to Appendix A for how to make your avatar:
```javascript
// Load and show the avatar
try {
await head.showAvatar( {
url: './avatars/avaturn.glb',
body: 'F',
avatarMood: 'neutral',
ttsLang: "en-GB",
ttsVoice: "en-GB-Standard-A",
lipsyncLang: 'en',
baseline: {
// Adjust Avaturn head angle and eye lids
headRotateX: -0.05,
eyeBlinkLeft: 0.15,
eyeBlinkRight: 0.15
}
});
} catch (error) {
console.log(error);
}
```
Click here to see AVATAR-LEVEL OPTIONS for showAvatar.
Option | Description | Example
---|---|---
`url` | URL of the GLB file. **MANDATORY** | `"./avatars/brunette.glb"`
`avatarMood` | The initial mood of the avatar. | `"neutral"`
`body` | Either `"M"` (male) or `"F"` (male) body form. | `"F"`
`baseline` | Object containing blend shape baseline values. Note: In some cases, this is the value to which the blend shape automatically returns when no other value is applied. In other cases, it is an offset or factor that corrects the dynamically calculated value. | `{ headRotateX: -0.04 }`
`retarget` | Object for skeleton adjustments. Properties are bone names with corrections for position (in meters) and/or rotation (Euler) `{ x, y, z, rx, ry, rz }`. Special keywords are `scaleToHipsLevel` and `scaleToEyesLevel` for scaling factors and `origin` for adjusting the root position `{ x, y, z }` | See `./siteconfig.js`
`modelDynamicBones` | Array defining dynamic bones. | See Appendix E
`lipsyncLang` | Lip-sync language. | `"en"`
`ttsLang` | Google text-to-speech language. | `"fi-FI"`
`ttsVoice` | Google text-to-speech voice. | `"fi-FI-Standard-A"`
`ttsRate` | Google text-to-speech rate in the range [0.25, 4.0]. | `1.0`
`ttsPitch` | Google text-to-speech pitch in the range [-20.0, 20.0]. | `0`
`ttsVolume` | Google text-to-speech volume gain (in dB) in the range [-96.0, 16.0]. | `0`
`avatarIdleEyeContact` | Eye contact factor while idle [0,1]. | `0.2`
`avatarSpeakingEyeContact` | Eye contact factor while speaking [0,1]. | `0.5`
`avatarListeningEyeContact` | Eye contact factor while listening [0,1]. | `0.5`
`avatarSpeakingHeadMove` | Head movement factor while speaking [0,1]. | `0.5`
`avatarIgnoreCamera` | If `true`, looks straight ahead when speaking instead of speaking to the camera. | `false`
An example of how to make the avatar speak the text on input `text` when
the button `speak` is clicked:
```javascript
// Speak 'text' when the button 'speak' is clicked
const nodeSpeak = document.getElementById('speak');
nodeSpeak.addEventListener('click', function () {
try {
const text = document.getElementById('text').value;
if ( text ) {
head.speakText( text );
}
} catch (error) {
console.log(error);
}
});
```
Click here to see the key CLASS METHODS.
Method | Description
---|---
`showAvatar(avatar, [onprogress=null])` | Load and show the specified avatar. The `avatar` object must include the `url` for GLB file. Optional properties include `body` for either male `M` or female `F` body form, `lipsyncLang`, `baseline` object for blend shape baseline, `retarget` for skeleton adjustments, `modelDynamicBones` for dynamic bones (see Appendix E) and more. See the full list earlier in this README.
`setView(view, [opt])` | Set view. Supported views are `"full"`, `"mid"`, `"upper"` and `"head"`. The `opt` object can be used to set `cameraDistance`, `cameraX`, `cameraY`, `cameraRotateX`, `cameraRotateY`.
`setLighting(opt)` | Change lighting settings. The `opt` object can be used to set `lightAmbientColor`, `lightAmbientIntensity`, `lightDirectColor`, `lightDirectIntensity`, `lightDirectPhi`, `lightDirectTheta`, `lightSpotColor`, `lightSpotIntensity`, `lightSpotPhi`, `lightSpotTheta`, `lightSpotDispersion`.
`speakText(text, [opt={}], [onsubtitles=null], [excludes=[]])` | Add the `text` string to the speech queue. The text can contain face emojis. Options `opt` can be used to set text-specific `lipsyncLang`, `ttsLang`, `ttsVoice`, `ttsRate`, `ttsPitch`, `ttsVolume`, `avatarMood`, `avatarMute`. Optional callback function `onsubtitles` is called whenever a new subtitle is to be written with the parameter of the added string. The optional `excludes` is an array of [start,end] indices to be excluded from audio but to be included in the subtitles.
`speakAudio(audio, [opt={}], [onsubtitles=null])` | Add a new `audio` object to the speech queue. In audio object, property `audio` is either `AudioBuffer` or an array of PCM 16bit LE audio chunks. Property `words` is an array of words, `wtimes` is an array of corresponding starting times in milliseconds, and `wdurations` an array of durations in milliseconds. If the Oculus viseme IDs are known, they can be given in optional `visemes`, `vtimes` and `vdurations` arrays. The object also supports optional timed callbacks using `markers` and `mtimes`. In addition, you can provide an optional `anim` as an animation template object that can drive your own blendshape or morph target data in sync with audio playback. See Appendix F for more details. The `opt` object can be used to set text-specific `lipsyncLang` or skip all breaks and eye contacts by setting `isRaw` to `true`.
`streamStart(opt={}, onAudioStart = null, onAudioEnd = null, onSubtitles = null, onMetrics = null)` | Sets the talking head in streaming mode. See Appendix G for streaming instructions.
`streamAudio(audio)` | Starts feeding audio chunks to talkinghead in the streaming mode. See Appendix G for streaming instructions.
`streamNotifyEnd()` | Signals the end of streaming audio chunks to the talkinghead. See Appendix G for streaming instructions.
`streamInterrupt()` | Interrupts ongoing audio and lip-sync in streaming mode without ending the session. See Appendix G for streaming instructions.
`streamStop()` | Exits the streaming mode and ends the session. See Appendix G for streaming instructions.
`speakEmoji(e)` | Add an emoji `e` to the speech queue.
`speakBreak(t)` | Add a break of `t` milliseconds to the speech queue.
`speakMarker(onmarker)` | Add a marker to the speech queue. The callback function `onmarker` is called when the queue processes the marker.
`lookAt(x,y,t)` | Make the avatar's head turn to look at the screen position (`x`,`y`) for `t` milliseconds.
`lookAhead(t)` | Make avatar look ahead for `t` milliseconds.
`lookAtCamera(t)` | Make the avatar's head turn to look at the camera for `t` milliseconds. If `avatarIgnoreCamera` is set to `true`, looks ahead for `t` milliseconds.
`makeEyeContact(t)` | Make the avatar maintain eye contact with the person in front of it for (at least) `t` milliseconds.
`setMood(mood)` | Set avatar mood.
`playBackgroundAudio(url)` | Play background audio such as ambient sounds/music in a loop.
`stopBackgroundAudio()` | Stop playing the background audio.
`setMixerGain(speech, [background=null], [fadeSecs=0])` | The amount of gain for speech and background audio (see Web Audio API / GainNode for more information). Value `null` means no change. Optional `fadeSecs` parameter sets exponential fade in/out time in seconds.
`playAnimation(url, [onprogress=null], [dur=10], [ndx=0], [scale=0.01])` | Play Mixamo animation file for `dur` seconds, but full rounds and at least once. If the FBX file includes several animations, the parameter `ndx` specifies the index. Since Mixamo rigs have a scale 100 and TalkingHead a scale 1, the `scale` factor can be used to scale the positions.
`stopAnimation()` | Stop the current animation started by `playAnimation`.
`playPose(url, [onprogress=null], [dur=5], [ndx=0], [scale=0.01])` | Play the initial pose of a Mixamo animation file for `dur` seconds. If the FBX file includes several animations, the parameter `ndx` specifies the index. Since Mixamo rigs have a scale 100 and TalkingHead a scale 1, the `scale` factor can be used to scale the positions.
`stopPose()` | Stop the current pose started by `playPose`.
`playGesture(name, [dur=3], [mirror=false], [ms=1000])` | Play a named hand gesture and/or animated emoji for `dur` seconds with the `ms` transition time. The available hand gestures are `handup`, `index`, `ok`, `thumbup`, `thumbdown`, `side`, `shrug`. By default, hand gestures are done with the left hand. If you want the right handed version, set `mirror` to true. You can also use `playGesture` to play emojis. See Appendix D for more details.
`stopGesture([ms=1000])` | Stop the gesture with `ms` transition time.
`startListening(analyzer, [opt={}], [onchange=null])` | Start listening `analyzer` AnalyserNode. The `opt` object can be used to set options `listeningSilenceThresholdLevel`, `listeningSilenceThresholdMs`, `listeningSilenceDurationMax`, `listeningActiveThresholdLevel`, `listeningActiveThresholdMs`, `listeningActiveDurationMax`. The callback function `onchange` is called, when the state changes with one of the following parameter: `start`, `stop`, `maxsilence`, `maxactive`.
`stopListening` | Stop listening the incoming audio.
`start` | Start/re-start the Talking Head animation loop.
`stop` | Stop the Talking Head animation loop.
The class has been tested on the latest Chrome, Firefox, Safari,
and Edge desktop browsers, as well as on iPad.
---
### The `index.html` Test App
**NOTE:** *The `index.html` app was created for testing and developing
the TalkingHead class. It includes various integrations with several paid
services. If you only want to use the TalkingHead class in your own app,
there is no need to install and configure the `index.html` app.*
In addition to testing and development, the test app be used as an example of
how to integrate the TalkingHead class with [ElevenLabs WebSocket API](https://elevenlabs.io),
[Microsoft Azure Speech SDK](https://github.com/microsoft/cognitive-services-speech-sdk-js),
[OpenAI](https://openai.com),
[Gemini](https://ai.google.dev/gemini-api) and
[Grok](https://docs.x.ai).
You can try out the test app online [here on GitHub](https://met4citizen.github.io/TalkingHead/).
By default, the text-to-speech and AI features will not work, but you
can activate them by navigating to the settings menu (☰) and pasting
your own API key in the relevant field(s). Your API keys will not be stored,
so you will need to re-enter them each time you reload the page.
To set up the test app in your local environment, follow these steps:
1. Copy the latest files to your own web server, for example:
```bash
git clone --depth 1 https://github.com/met4citizen/TalkingHead.git && rm -r TalkingHead/.git
```
2. Optional: Create API proxies as described in Appendix B and check/update your proxy configuration in `index.html`:
```javascript
// API proxys
const jwtEndpoint = "/app/jwt/get"; // Get JSON Web Token for Single Sign-On
const openaiChatCompletionsProxy = "/openai/v1/chat/completions";
const openaiModerationsProxy = "/openai/v1/moderations";
const openaiAudioTranscriptionsProxy = "/openai/v1/audio/transcriptions";
const vertexaiChatCompletionsProxy = "/vertexai/";
const googleTTSProxy = "/gtts/";
const elevenTTSProxy = [
"wss://" + window.location.host + "/elevenlabs/",
"/v1/text-to-speech/",
"/stream-input?model_id=eleven_turbo_v2_5&output_format=pcm_22050&auto_mode=true&apply_text_normalization=off"
];
const microsoftTTSProxy = [
"wss://" + window.location.host + "/mstts/",
"/cognitiveservices/websocket/v1"
];
const grokChatCompletionsProxy = "/grok/v1/chat/completions"; // Grok-beta
const llamaChatCompletionsProxy = "/llama/v1/chat/completions"; // Local llama.cpp
const localWhisperCppProxy = "/whisper/"; // Local whisper.cpp
```
3. The test app's UI supports Finnish and English. If you want to add another language, you need to add an another entry to the `i18n` object.
4. Add you own background images, videos, audio files, avatars etc. in the directory structure and update your site configuration `siteconfig.js` accordingly. The keys are in English, but the entries can include translations to other languages.
Licenses, attributions and notes related to the `index.html` web app assets:
- The app uses [Marked](https://github.com/markedjs/marked) Markdown parser and [DOMPurify](https://github.com/cure53/DOMPurify) XSS sanitizer.
- Fira Sans Condensed and Fira Sans Extra Condensed fonts are licensed under the SIL Open Font License, version 1.1, available with a FAQ at [http://scripts.sil.org/OFL](http://scripts.sil.org/OFL). Digitized data copyright (c) 2012-2015, The Mozilla Foundation and Telefonica S.A.
- SVG icons from [css.gg](https://github.com/astrit/css.gg), MIT License (versions prior to license update).
- Example avatar "brunette.glb" was created at [Ready Player Me](https://readyplayer.me/). The avatar is free to all developers for non-commercial use under the [CC BY-NC 4.0 DEED](https://creativecommons.org/licenses/by-nc/4.0/).
- Example avatar "mpfb.glb" was created using [Blender](https://www.blender.org/) and [MPFB](https://static.makehumancommunity.org/mpfb.html) Blender extension. The avatar is licensed under [CC0](https://creativecommons.org/public-domain/cc0/).
- Example avatar "avatar.glb" was created at [Avaturn](https://avaturn.me) for non-commercial use.
- Example avatar "avatarsdk.glb" was created at [AvatarSDK](https://avatarsdk.com) for non-commercial use.
- Example avatar "vroid.glb" was created using [VRoid Studio](https://vroid.com/en/studio) for non-commercial use.
- Example animation `walking.fbx` and the pose `dance.fbx` are from Mixamo, a subsidiary of Adobe Inc. [Mixamo](https://www.mixamo.com) service is free and its animations/poses (>2000) can be used royalty free for personal, commercial, and non-profit projects. Raw animation files can't be distributed outside the project team and can't be used to train ML models.
- Background view examples are from [Virtual Backgrounds](https://virtualbackgrounds.site)
- Impulse response (IR) files for reverb effects:
* ir-room: [OpenAir](www.openairlib.net), Public Domain Creative Commons license
* ir-basement: [OpenAir](www.openairlib.net), Public Domain Creative Commons license
* ir-forest (Abies Grandis Forest, Wheldrake Wood): [OpenAir](www.openairlib.net), Creative Commons Attribution 4.0 International License
* ir-church (St. Andrews Church): [OpenAir](www.openairlib.net), Share Alike Creative Commons 3.0
- Ambient sounds/music attributions:
* murmur.mp3: https://github.com/siwalikm/coffitivity-offline
**NOTE:** None of the assets described above are used or distributed as
part of the TalkingHead class releases. If you wish to use them in your
own application, please refer to the exact terms of use provided by
the copyright holders.
---
### FAQ
**Why not use the free Web Speech API?**
The free Web Speech API can't provide word-to-audio timestamps, which are
essential for accurate lip-sync. As far as I know, there is no way even to
get Web Speech API speech synthesis as an audio file or determine its
duration in advance. At some point I tried to use the Web Speech API
events for syncronization, but the results were not good.
**What paid text-to-speech service should I use?**
It depends on your use case and budget. If the built-in lip-sync support
is sufficient for your needs, I would recommend Google TTS, because
it gives you up to 4 million characters for free each month. If your
app needs to support multiple languages, I would consider Microsoft
Speech SDK.
**I would like to have lip-sync support for language X.**
You have two options. First, you can implement a word-to-viseme
class similar to those that currently exist for English and Finnish.
See Appendix C for detailed instructions.
Alternatively, you can check if Microsoft Azure TTS can provide visemes
for your language and use Microsoft Speech SDK integration (`speakAudio`)
instead of Google TTS and the built-in lip-sync (`speakText`).
**Can I use a custom 3D model?**
Yes. You can make your own custom model, but it needs to have a Mixamo
compatible rig/bone structure and all the needed blend shapes.
Please refer to Appendix A for more details.
**Any future plans for the project?**
This is just a small side-project for me, so I don't have any big
plans for it. That said, there are several companies that are currently
developing text-to-3D-avatar and text-to-3D-animation features. If and
when they get released as APIs, I will probably take a look at them and see
if they can be used/integrated in some way to the project.
---
### References
[1] [Finnish pronunciation](https://en.wiktionary.org/wiki/Appendix:Finnish_pronunciation), Wiktionary
[2] Elovitz, H. S., Johnson, R. W., McHugh, A., Shore, J. E., Automatic
Translation of English Text to Phonetics by Means of Letter-to-Sound Rules
(NRL Report 7948). Naval Research Laboratory (NRL).
Washington, D. C., 1976. https://apps.dtic.mil/sti/pdfs/ADA021929.pdf
---
### Appendix A: Create Your Own 3D Avatar
You can create and use your own 3D full-body character, but the model
must have a Mixamo-compatible rig and include ARKit and Oculus viseme
blend shapes.
Mixamo-compatible rig:
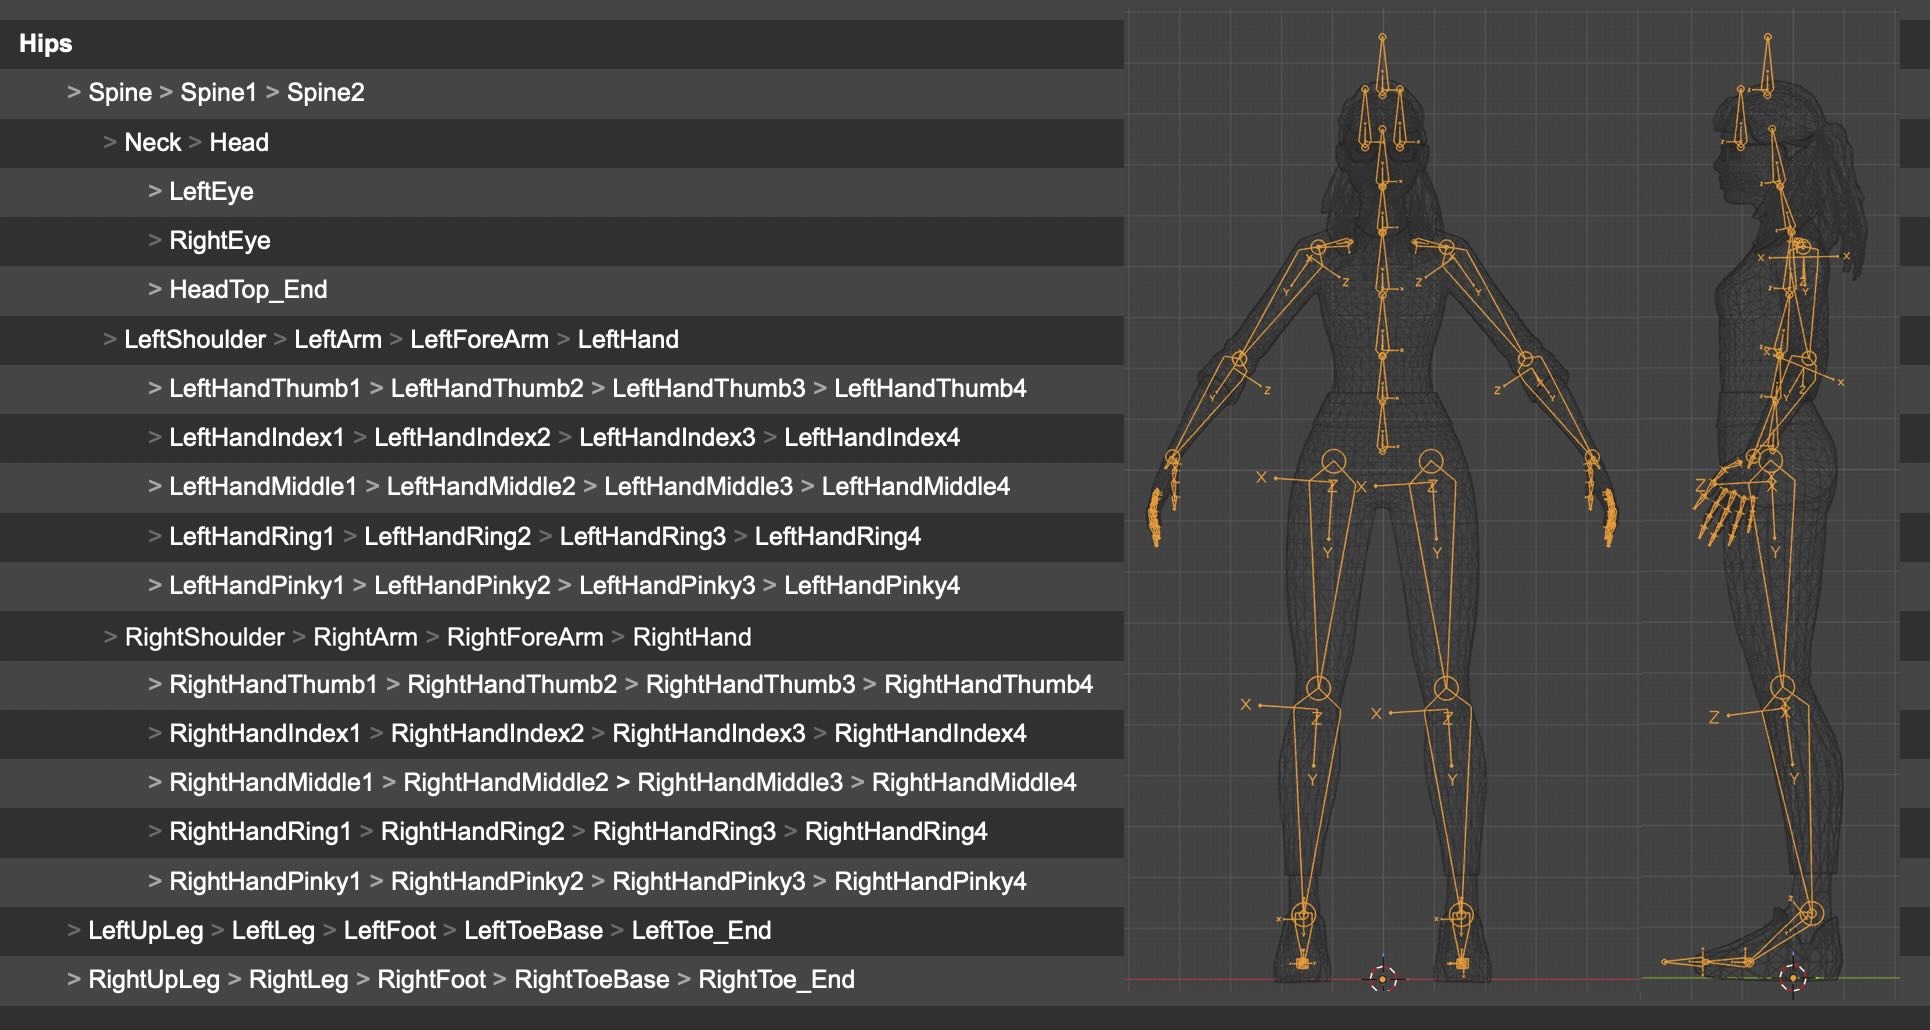 Name the root object "Armature", which is the default value for
the `modelRoot` class-level option. If a root with that name is not found,
the class assumes a flattened scene graph and uses the default
scene as the fallback root.
Use `./avatars/brunette.glb` (A-pose) or `./avatars/brunette-t.glb` (T-pose)
as reference models when specifying bone axes and rolls. The common
"mixamorig" prefix in bone names is allowed, but it is automatically
removed by the class.
The skeleton may include additional bones, such as hair bones,
which can be used as dynamic bones.
[ARKit](https://developer.apple.com/documentation/arkit/arfaceanchor/blendshapelocation) blend shapes (52):
*
Name the root object "Armature", which is the default value for
the `modelRoot` class-level option. If a root with that name is not found,
the class assumes a flattened scene graph and uses the default
scene as the fallback root.
Use `./avatars/brunette.glb` (A-pose) or `./avatars/brunette-t.glb` (T-pose)
as reference models when specifying bone axes and rolls. The common
"mixamorig" prefix in bone names is allowed, but it is automatically
removed by the class.
The skeleton may include additional bones, such as hair bones,
which can be used as dynamic bones.
[ARKit](https://developer.apple.com/documentation/arkit/arfaceanchor/blendshapelocation) blend shapes (52):
*eyeBlinkLeft, eyeBlinkRight, eyeLookDownLeft, eyeLookDownRight,
eyeLookInLeft, eyeLookInRight, eyeLookOutLeft, eyeLookOutRight,
eyeLookUpLeft, eyeLookUpRight, eyeSquintLeft, eyeSquintRight,
eyeWideLeft, eyeWideRight, jawForward, jawLeft, jawRight, jawOpen,
mouthClose, mouthFunnel, mouthPucker, mouthLeft, mouthRight,
mouthSmileLeft, mouthSmileRight, mouthFrownLeft, mouthFrownRight,
mouthDimpleLeft, mouthDimpleRight, mouthStretchLeft, mouthStretchRight,
mouthRollLower, mouthRollUpper, mouthShrugLower, mouthShrugUpper,
mouthPressLeft, mouthPressRight, mouthLowerDownLeft, mouthLowerDownRight,
mouthUpperUpLeft, mouthUpperUpRight, browDownLeft, browDownRight,
browInnerUp, browOuterUpLeft, browOuterUpRight,
cheekPuff, cheekSquintLeft, cheekSquintRight,
noseSneerLeft, noseSneerRight, tongueOut
*
[Oculus visemes](https://developers.meta.com/horizon/documentation/unity/audio-ovrlipsync-viseme-reference/) shape keys (15):
*viseme_sil, viseme_PP, viseme_FF, viseme_TH, viseme_DD,
viseme_kk, viseme_CH, viseme_SS, viseme_nn, viseme_RR,
viseme_aa, viseme_E, viseme_I, viseme_O, viseme_U
*
Additional shape keys (not strictly required, as they will
be automatically generated from ARKit blend shapes if missing):
*mouthOpen, mouthSmile, eyesClosed, eyesLookUp, eyesLookDown
*
If you need to create ARKit and Oculus blend shapes from scratch,
I recommend using the Faceit Blender add-on. It is a paid add-on,
but it can save you a significant amount of time. See the detailed
instructions for using
[Faceit with TalkingHead](https://github.com/met4citizen/TalkingHead/blob/main/blender/Faceit/FACEIT.md).
Some third-party services/apps that can be used to create avatars for
use with the TalkingHead class:
Service | Description
---|---
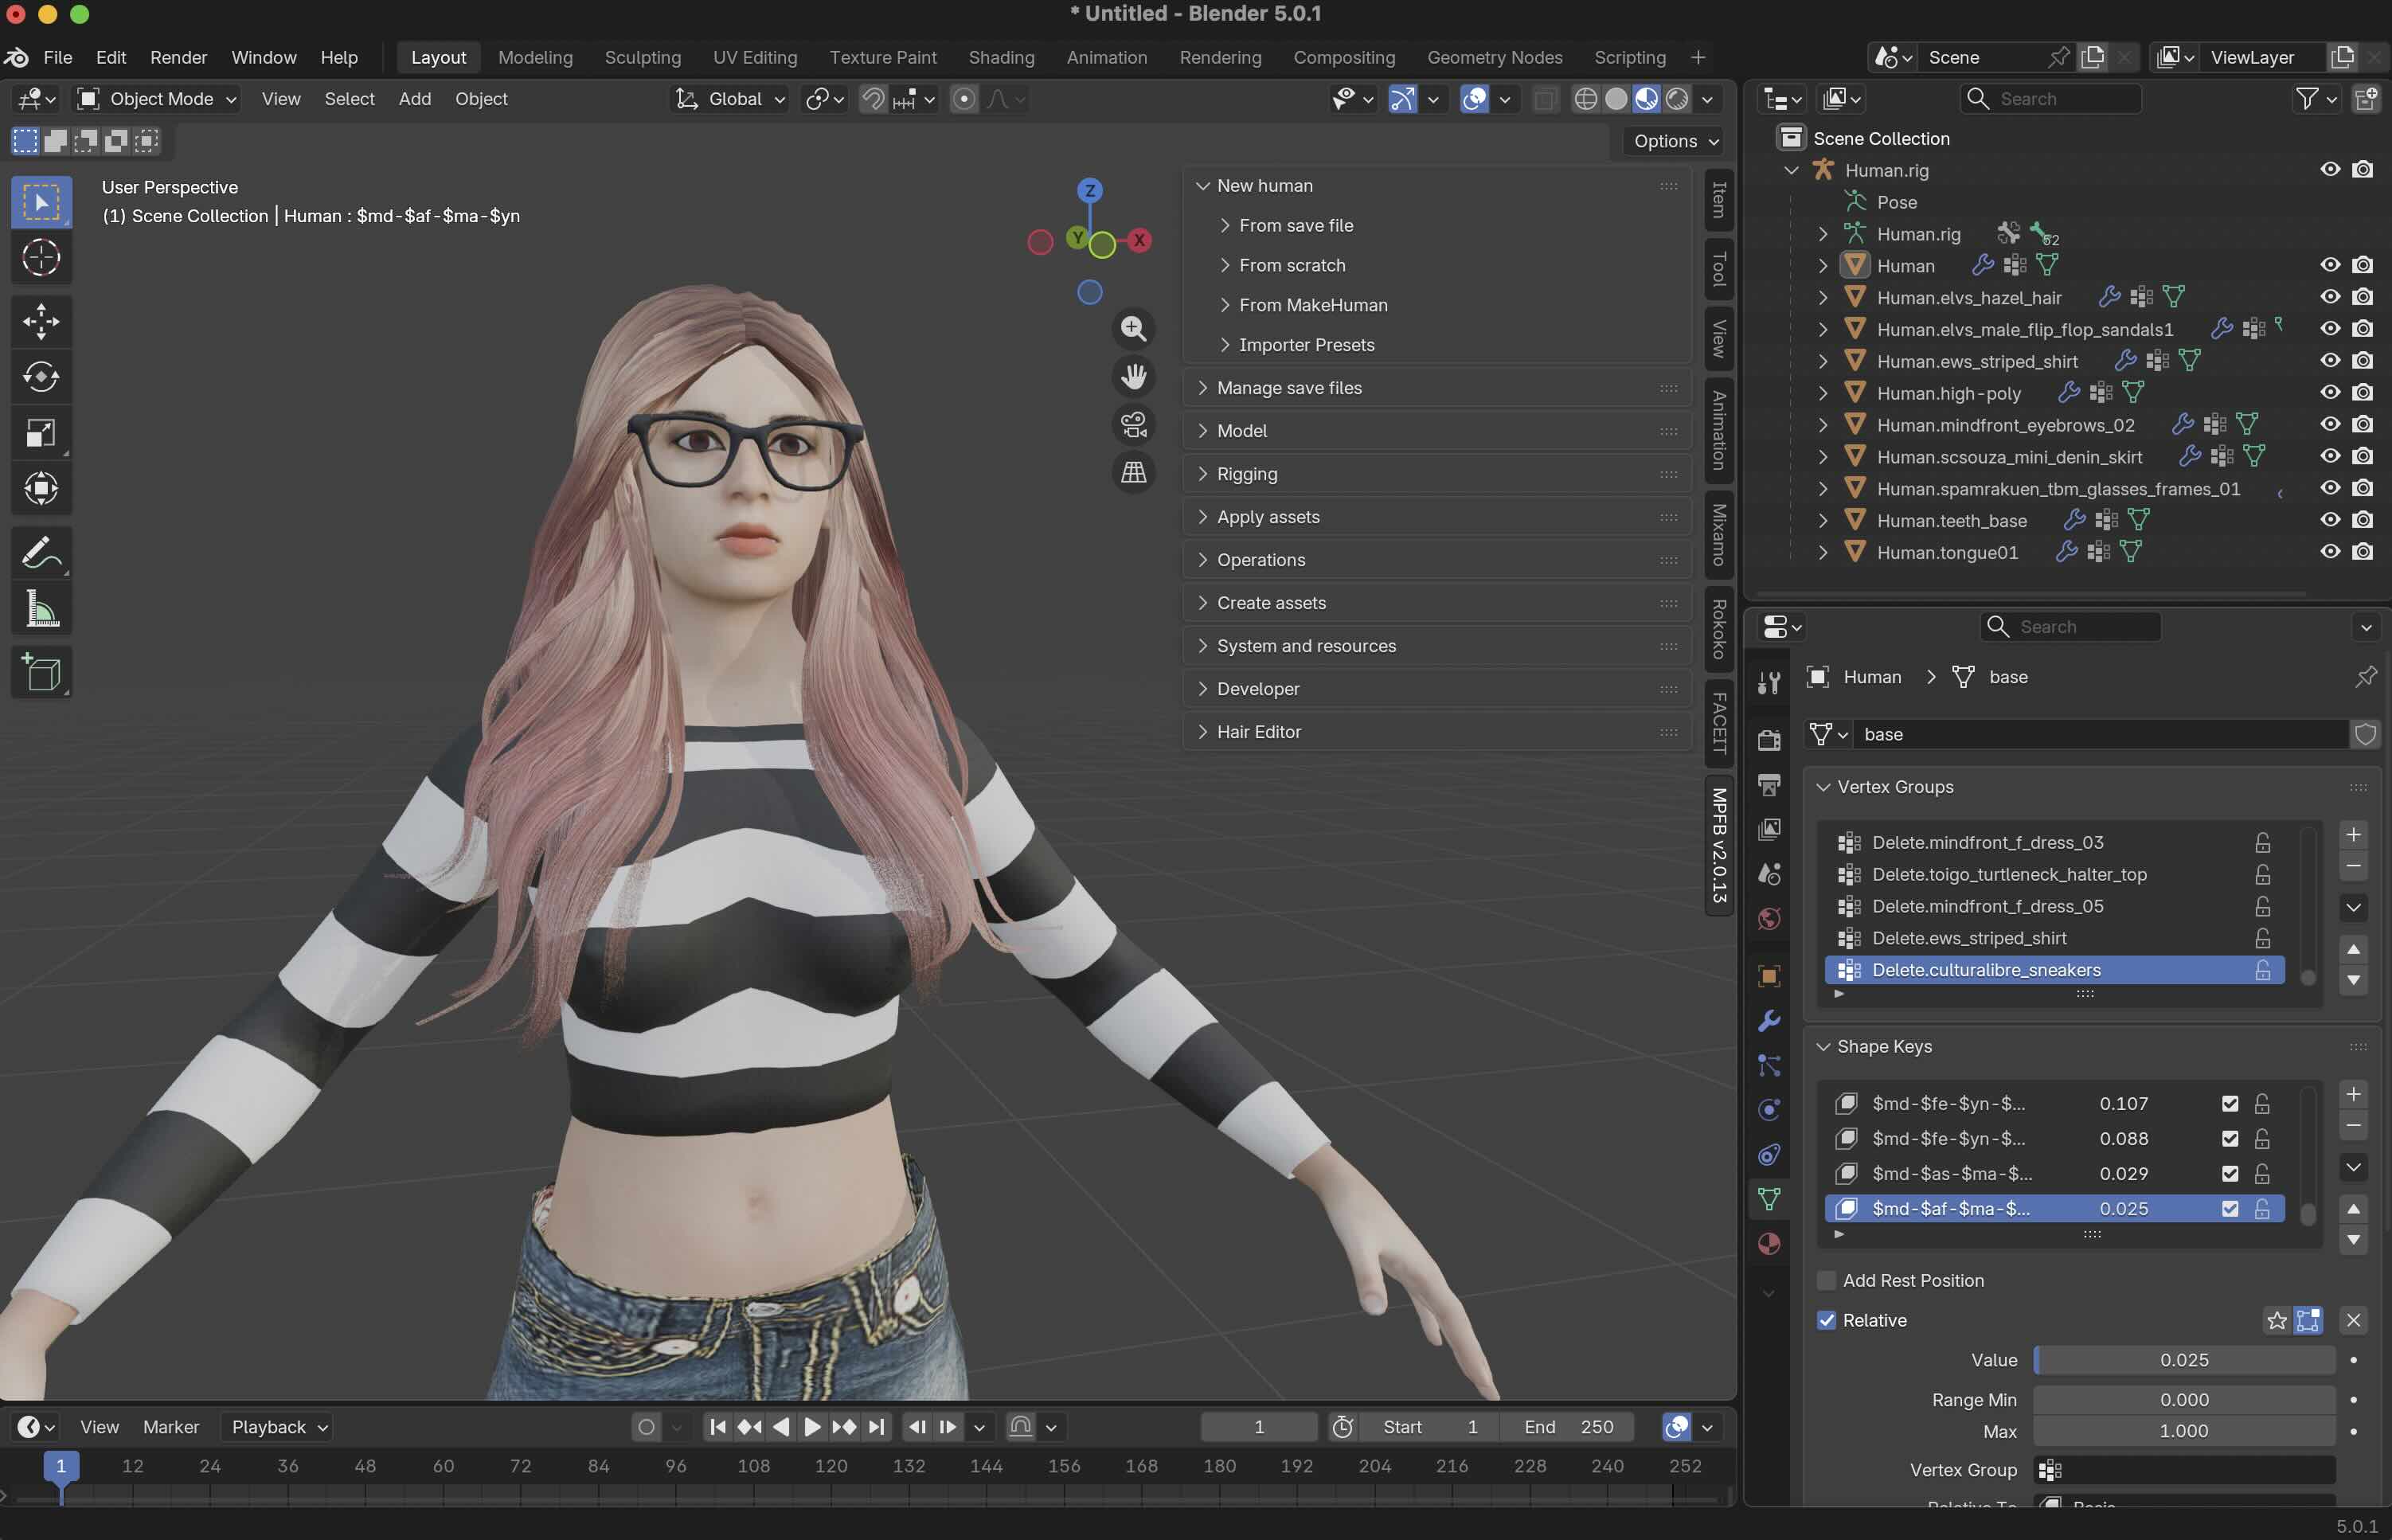 | [MPFB](https://static.makehumancommunity.org/mpfb.html) a free and open source human character extension for Blender. It uses 3D assets from the MakeHuman ecosystem (licensed CC0/CC-BY) and provides parametric control over character's age, gender, body shape, etc. Read instructions for how to install and use [MPFB with TalkingHead](https://github.com/met4citizen/TalkingHead/blob/main/blender/MPFB/MPFB.md).
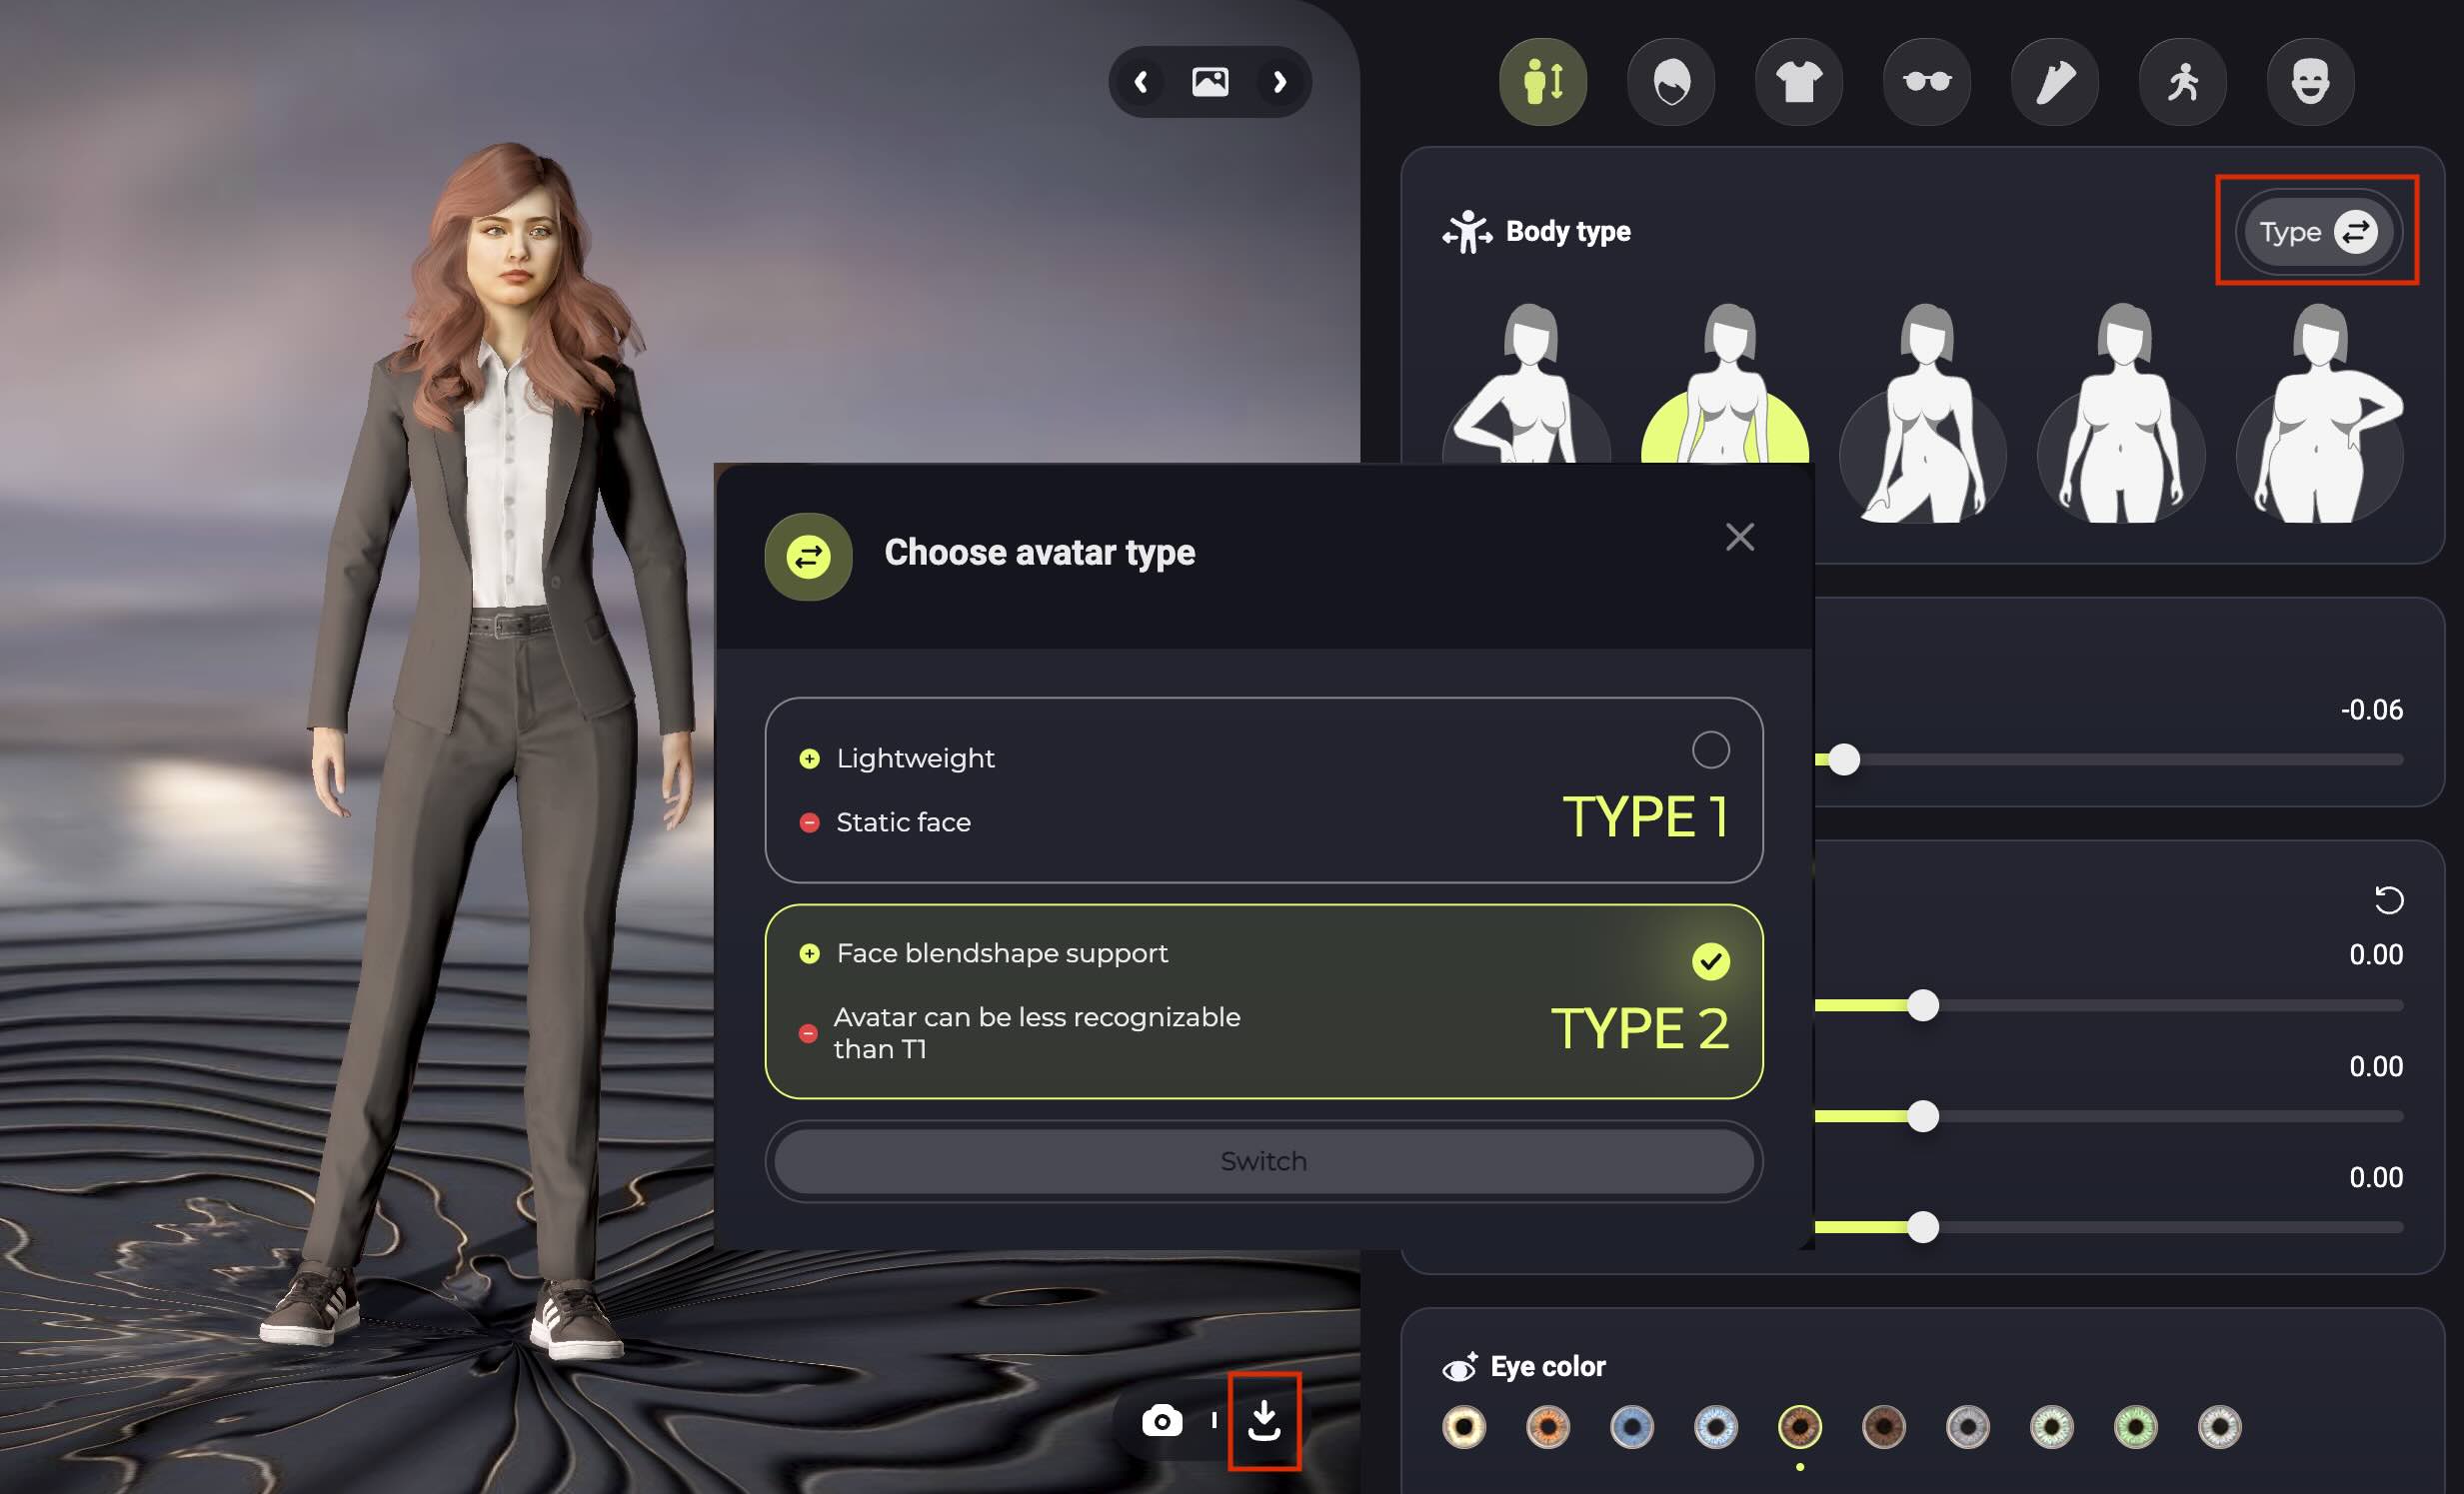 | [Avaturn](https://avaturn.me) is a web-based avatar creator focused on generating realistic 3D avatars from photos. It is free for non-commercial use. For commercial use, you must notify the company, and some additional terms apply. Avaturn Type-2 (T2) avatars are fully TalkingHead-compatible. For a small shoulder/neck bone adjustment, see the [example config](https://github.com/met4citizen/TalkingHead/blob/main/siteconfig.js).
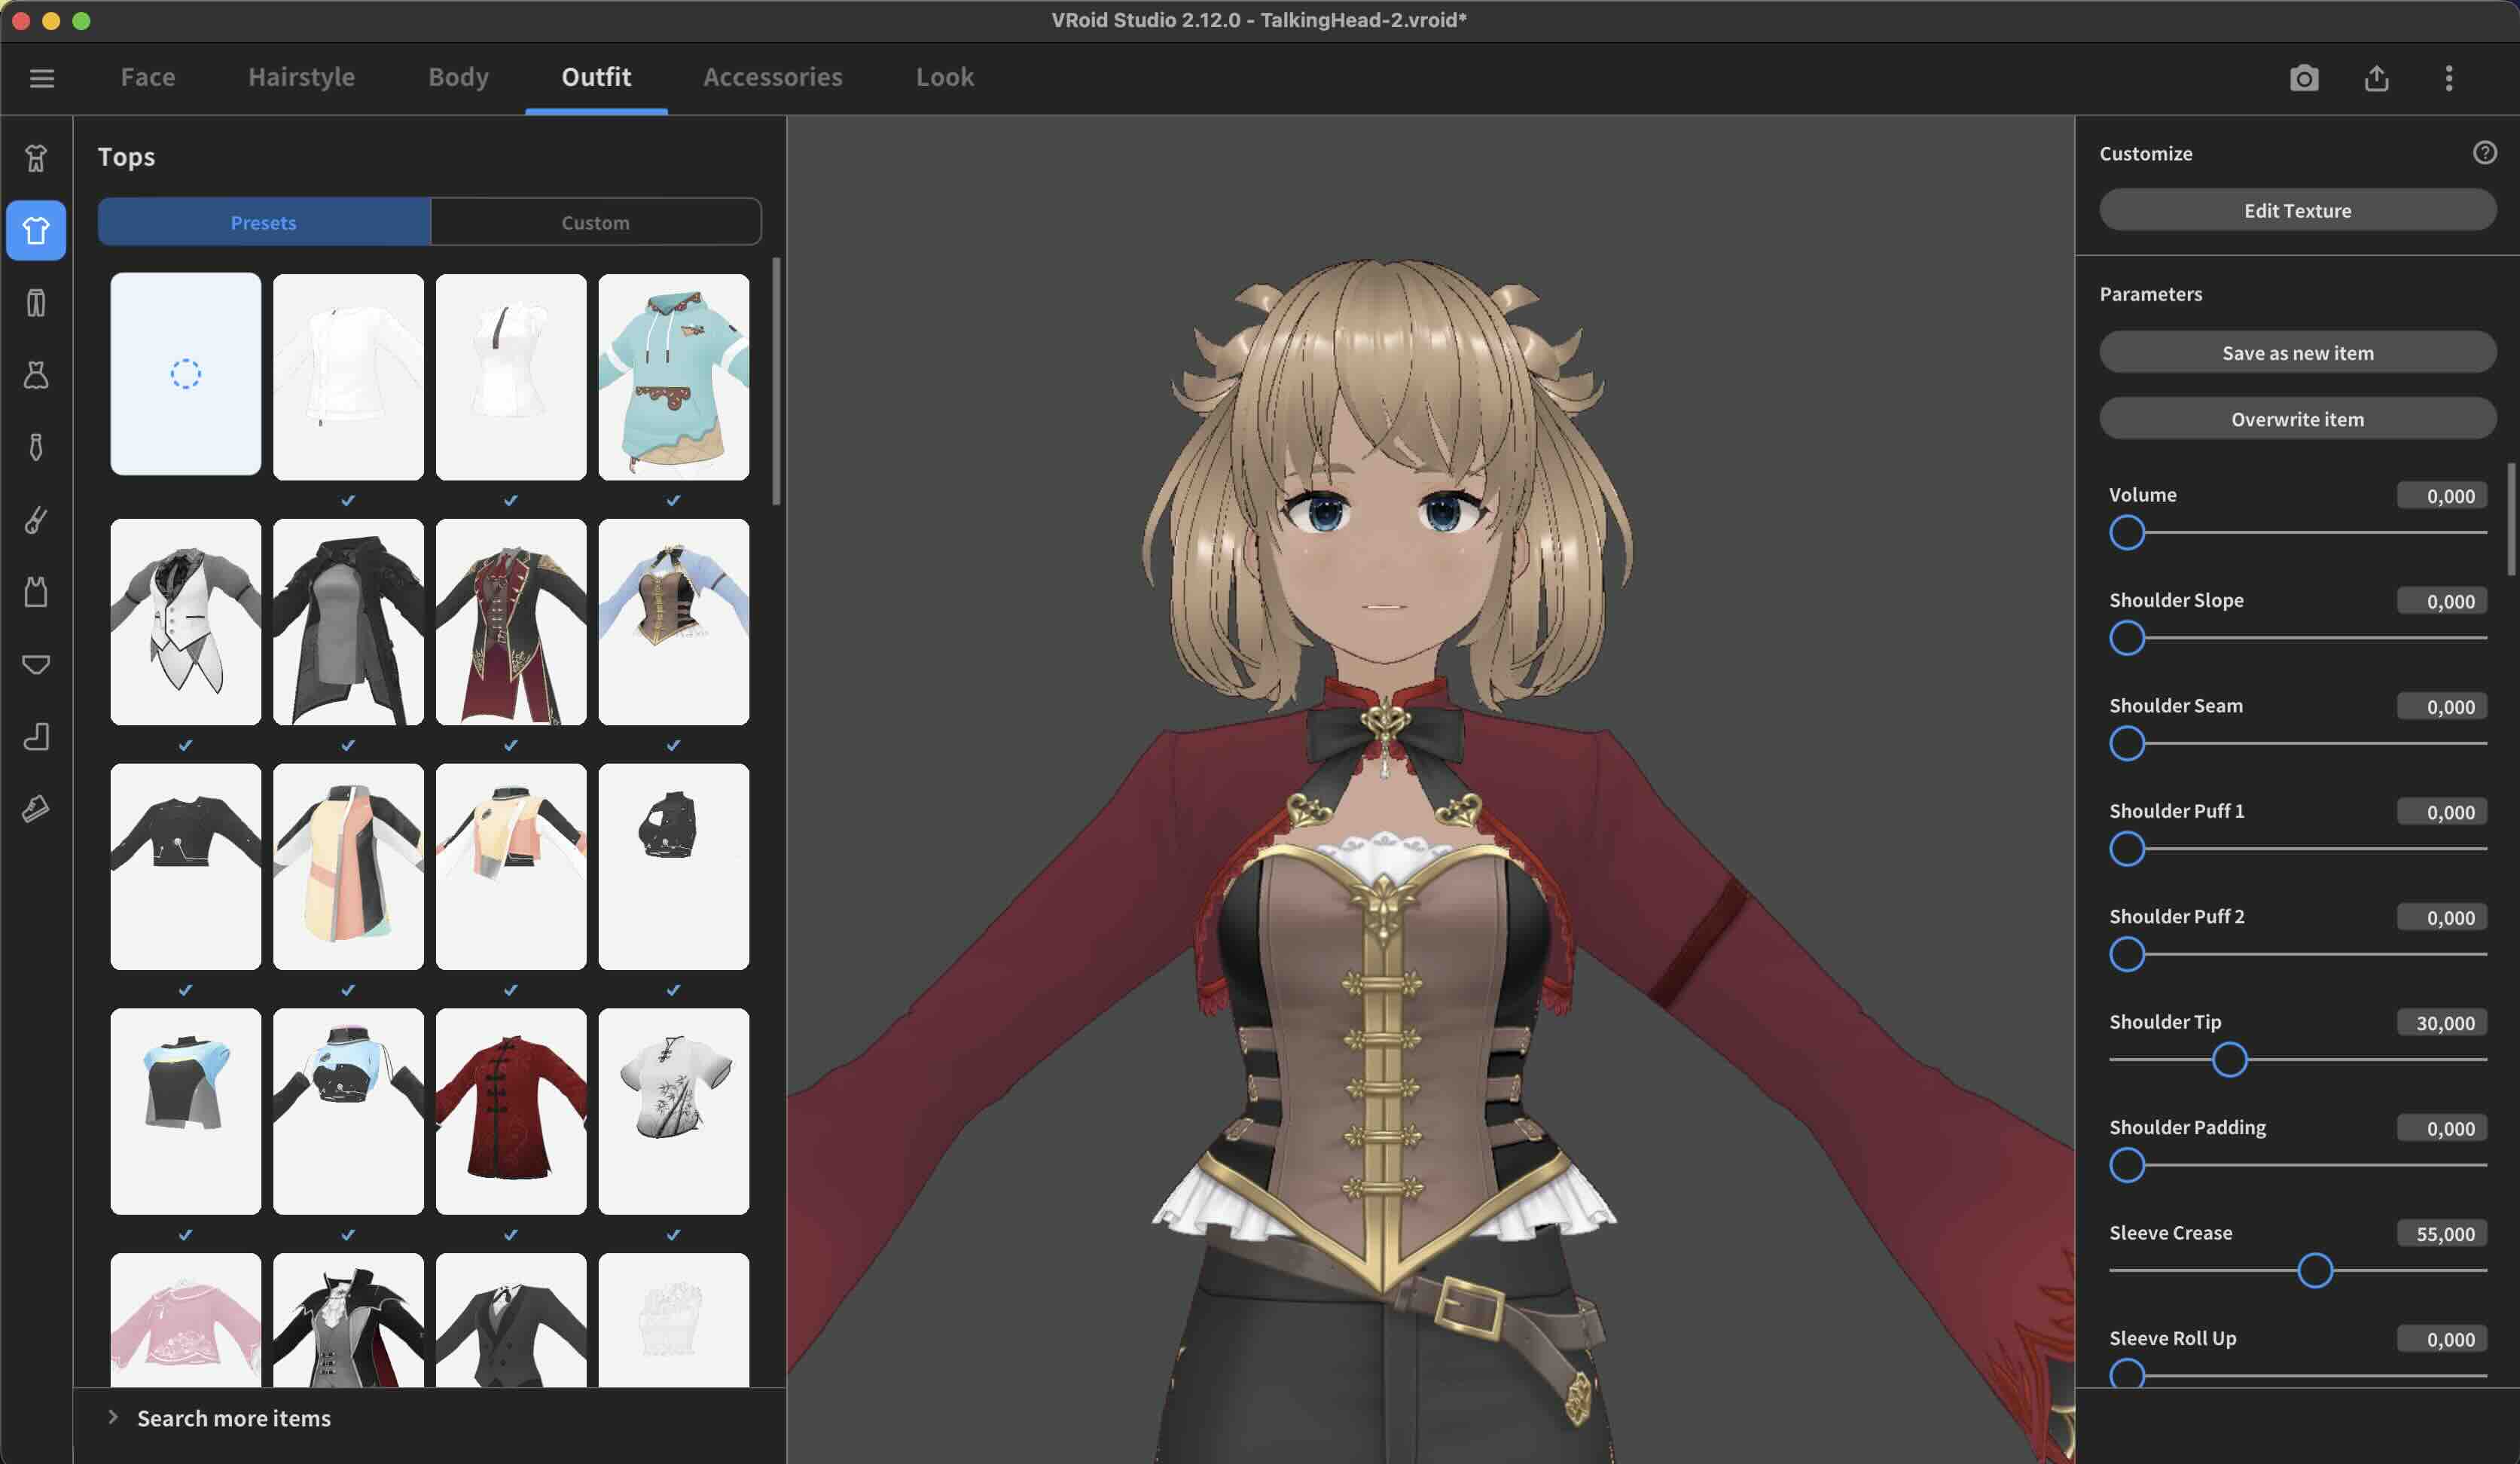 | [VRoid Studio](https://vroid.com/en/studio) is a free tool for creating anime-style 3D characters. The licensing model is not CC0, but very permissive. Read instructions on how to use Blender to convert [VRoid/VRM format to TalkingHead compatible avatars](https://github.com/met4citizen/TalkingHead/blob/main/blender/VRoid/VROID.md).
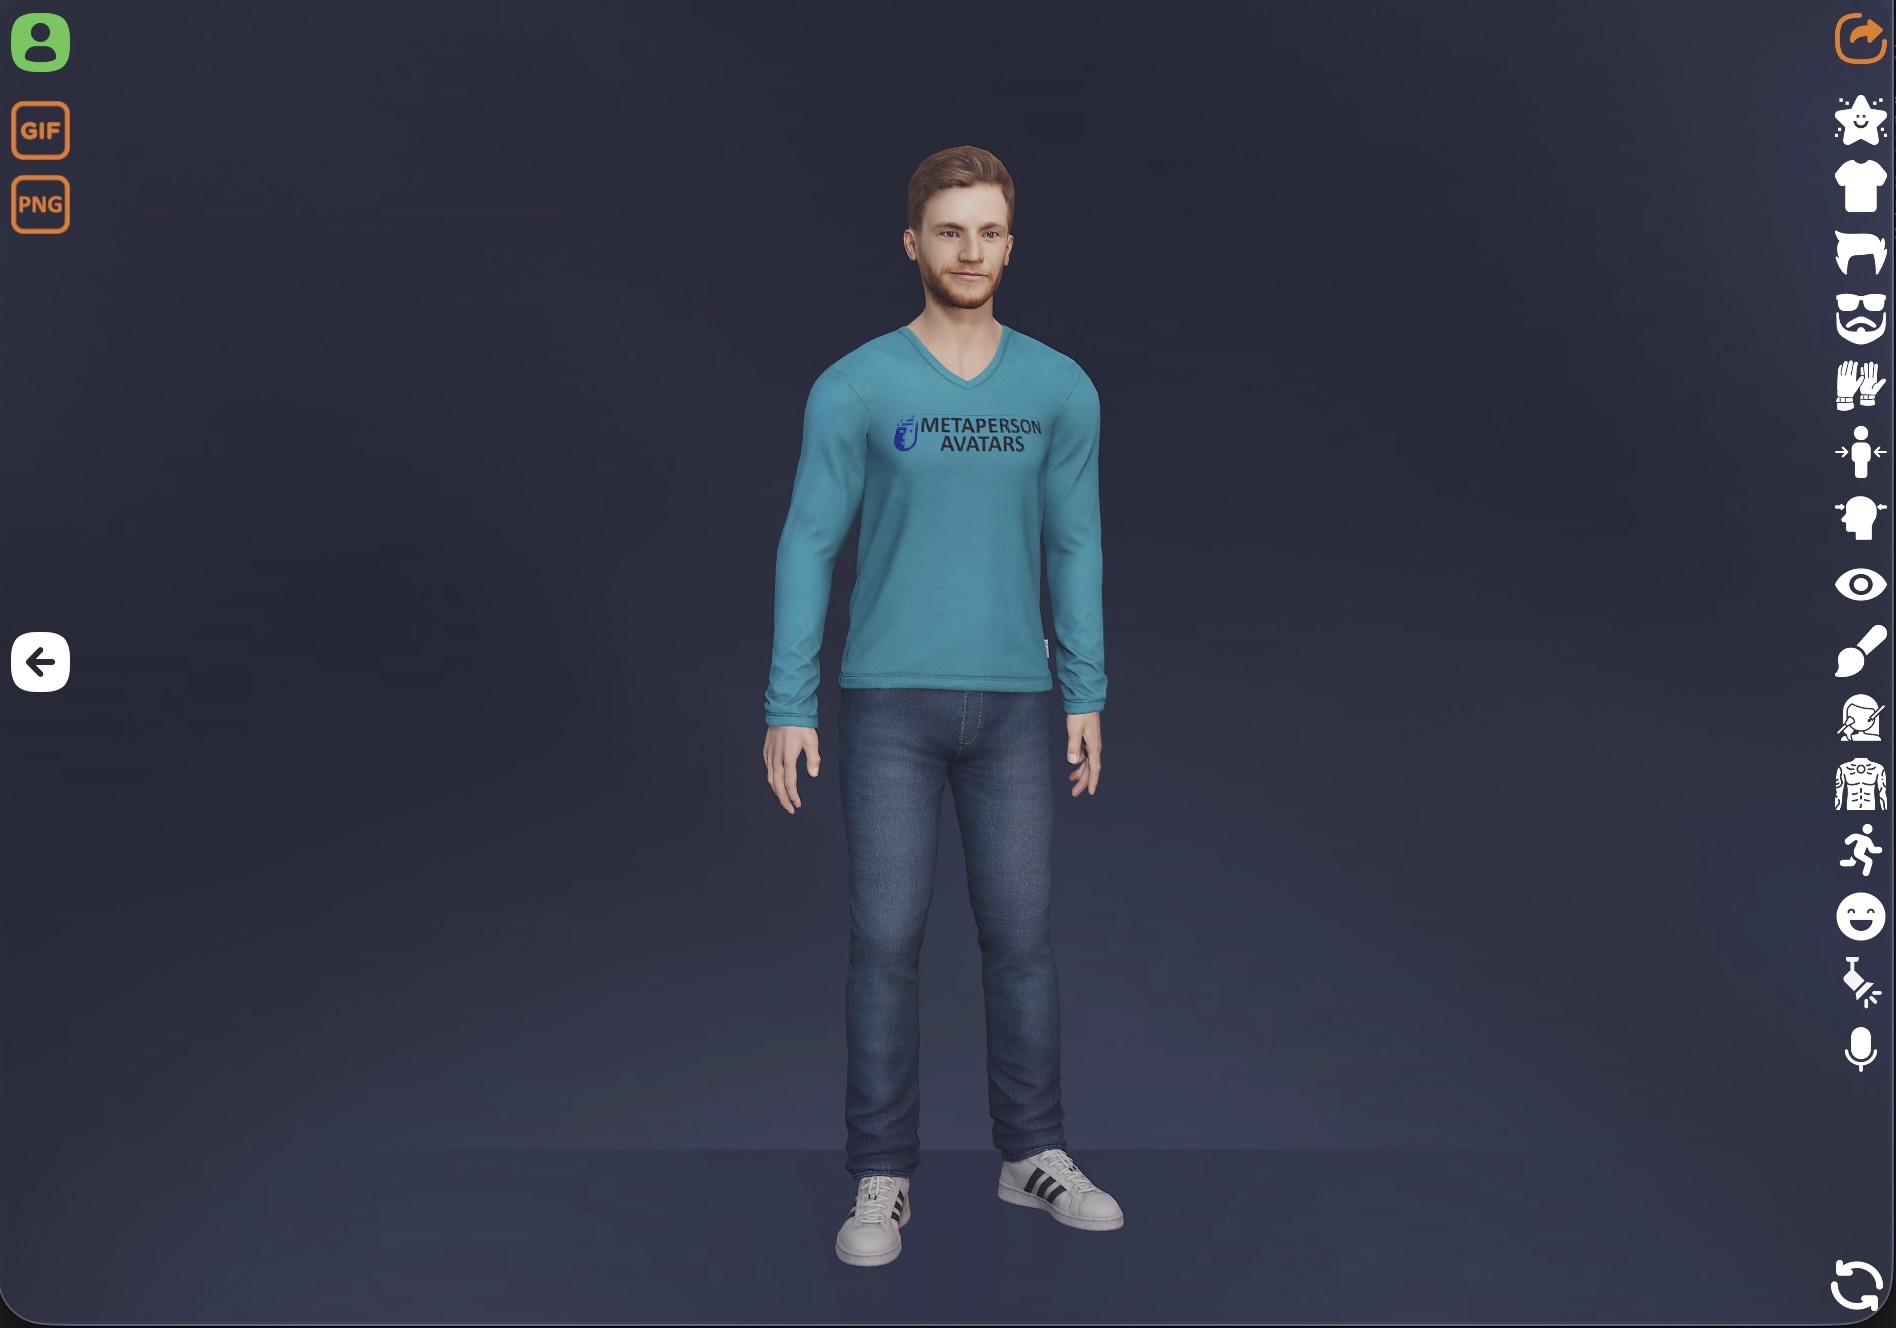 | [Avatar SDK / MetaPerson Creator](https://avatarsdk.com) is a commercial service for generating personalized 3D avatars from photos. Blender scripts: [build-avatarsdk-eyes.py](https://github.com/met4citizen/TalkingHead/blob/main/blender/build-avatarsdk-eyes.py) [rename-avatarsdk-shapekeys.py](https://github.com/met4citizen/TalkingHead/blob/main/blender/rename-avatarsdk-shapekeys.py) + [example config](https://github.com/met4citizen/TalkingHead/blob/main/siteconfig.js)
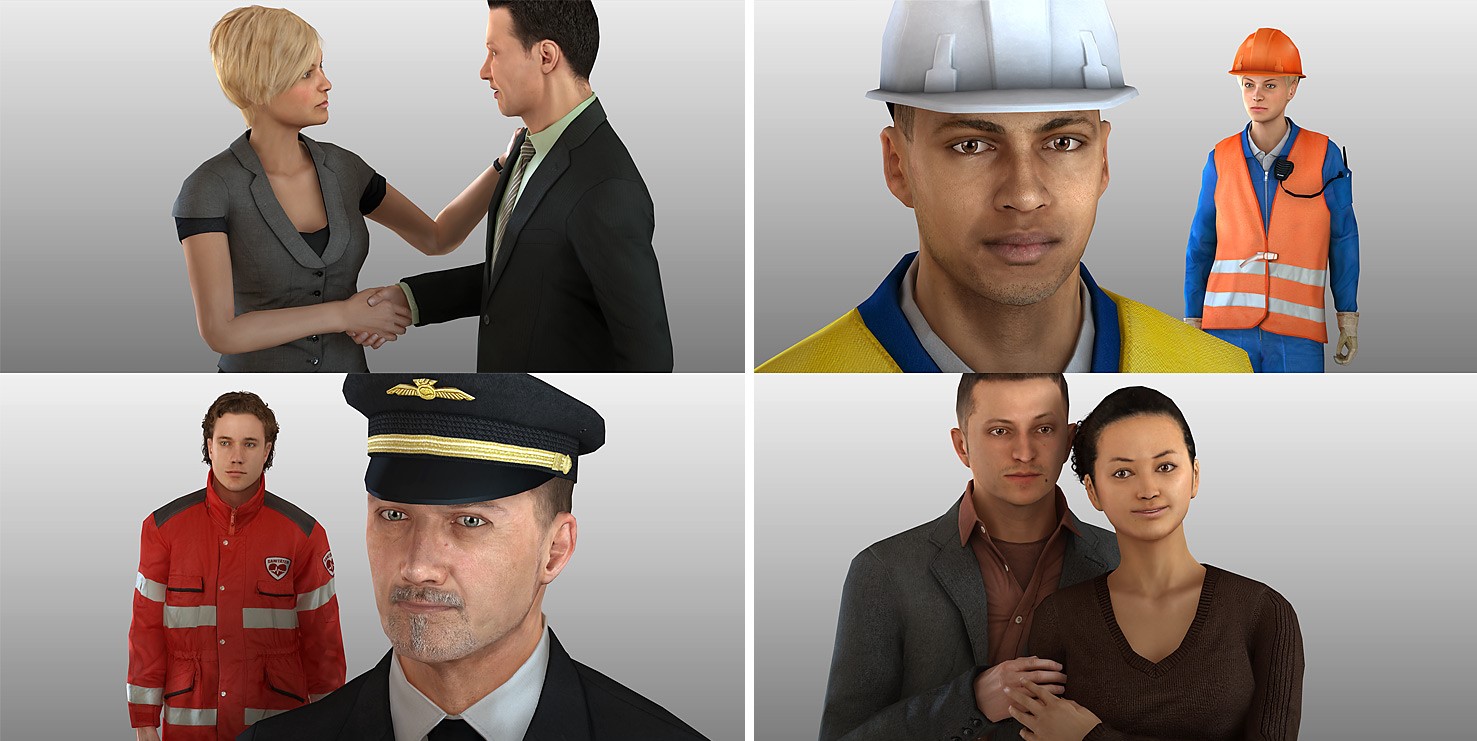 $$\color{transparent}{\rule{200px}{0px}}$$ | [Microsoft RocketBox](https://github.com/microsoft/Microsoft-Rocketbox) provides a library of ready-made 3D human characters. The models are MIT Licensed and include ARKit+Oculus, but they need to be re-rigged, for example, in Mixamo. Blender script (with instructions): [rename-rocketbox-shapekeys.py](https://github.com/met4citizen/TalkingHead/blob/main/blender/rename-rocketbox-shapekeys.py)
> [!IMPORTANT]
> Whenever you use avatars or any 3D assets, always check the
terms of use carefully. Many commercial 3D products generate
avatars that cannot be used in public web apps, where the asset
is delivered to the client and effectively becomes downloadable.
Likewise, many ready-made avatars sold in 3D marketplaces are
distributed under similarly restrictive licenses.
TalkingHead class supports Meshopt compression by default, and
Draco compression when the class-level option `dracoEnabled` is
set to `true`. You can use tools such as
[glTF-Transform](https://github.com/donmccurdy/glTF-Transform)
to apply compression:
```bash
gltf-transform optimize avatar.glb avatar-compressed.glb \
--compress meshopt \
--texture-compress webp
```
---
### Appendix B: Create API Proxies with JSON Web Token (JWT) Single Sign-On (SSO)
1. Make a CGI script that generates a new JSON Web Token with an expiration time (exp). See [jwt.io](https://jwt.io) for more information about JWT and libraries that best fit your needs and architecture. In my own test setup, I return the generated JWT as JSON.
```json
{ "jwt": "eyJhbGciOiJIUzI1NiIsInR5cCI6IkpXVCJ9.eyJzdWIiOiIxMjM0NTY3ODkwIiwibmFtZSI6IkpvaG4gRG9lIiwiaWF0IjoxNTE2MjM5MDIyfQ.SflKxwRJSMeKKF2QT4fwpMeJf36POk6yJV_adQssw5c" }
```
2. Protect your CGI script with some authentication scheme. Below is an example Apache 2.4 directory config that uses Basic authentication (remember to always use HTTPS/SSL!). Put your CGI script `get` in the `jwt` directory.
```apacheconf
# Restricted applications
AuthType Basic
AuthName "Restricted apps"
AuthUserFile /etc/httpd/.htpasswd
Require valid-user
# JSON Web Token
Options ExecCGI
SetEnv REMOTE_USER %{REMOTE_USER}
SetHandler cgi-script
```
3. Make an [External Rewriting Program](https://httpd.apache.org/docs/2.4/rewrite/rewritemap.html#prg) script that verifies JSON Web Tokens. The script should return `OK` if the given token is not expired and its signature is valid. Start the script in Apache 2.4 config. User's don't use the verifier script directly, so put it in some internal directory, not under document root.
```apacheconf
# JSON Web Token verifier
RewriteEngine On
RewriteMap jwtverify "prg:/etc/httpd/jwtverify" apache:apache
```
4. Make a proxy configuration for each service you want to use. Add the required API keys and protect the proxies with the JWT token verifier. Below are some example configs for Apache 2.4 web server. Note that when opening a WebSocket connection (ElevenLabs, Azure) you can't add authentication headers in browser JavaScript. This problem is solved here by including the JWT token as a part of the request URL. The downside is that the token might end up in server log files. This is typically not a problem as long as you are controlling the proxy server, you are using HTTPS/SSL, and the token has an expiration time.
```apacheconf
# OpenAI API
RewriteCond ${jwtverify:%{http:Authorization}} !=OK
RewriteRule .+ - [F]
ProxyPass https://api.openai.com/
ProxyPassReverse https://api.openai.com/
ProxyPassReverseCookiePath "/" "/openai/"
ProxyPassReverseCookieDomain ".api.openai.com" "."
RequestHeader set Authorization "Bearer "
# Google TTS API
RewriteCond ${jwtverify:%{http:Authorization}} !=OK
RewriteRule .+ - [F]
ProxyPass https://eu-texttospeech.googleapis.com/v1beta1/text:synthesize?key= nocanon
RequestHeader unset Authorization
# Microsoft Azure TTS WebSocket API (Speech SDK)
[^/]+)/>
RewriteCond ${jwtverify:%{env:MATCH_JWT}} !=OK
RewriteRule .+ - [F]
RewriteCond %{HTTP:Connection} Upgrade [NC]
RewriteCond %{HTTP:Upgrade} websocket [NC]
RewriteRule /mstts/[^/]+/(.+) "wss://.tts.speech.microsoft.com/$1" [P]
RequestHeader set "Ocp-Apim-Subscription-Key"
# ElevenLabs Text-to-speech WebSocket API
[^/]+)/>
RewriteCond ${jwtverify:%{env:MATCH_JWT}} !=OK
RewriteRule .+ - [F]
RewriteCond %{HTTP:Connection} Upgrade [NC]
RewriteCond %{HTTP:Upgrade} websocket [NC]
RewriteRule /elevenlabs/[^/]+/(.+) "wss://api.elevenlabs.io/$1" [P]
RequestHeader set "xi-api-key" ""
```
---
### Appendix C: Create A New Lip-sync Module
The steps that are common to all new languages:
- Create a new file named `lipsync-xx.mjs` where `xx` is your language code, and place the file in the `./modules/` directory. The language module should have a class named `LipsyncXx` where Xx is the language code. The naming in important, because the modules are loaded dynamically based on their names.
- The class should have (at least) the following two methods: `preProcessText` and `wordsToVisemes`. These are the methods used in the TalkingHead class.
- The purpose of the `preProcessText` method is to preprocess the given text by converting symbols to words, numbers to words, and filtering out characters that should be left unspoken (if any), etc. This is often needed to prevent ambiguities between TTS and lip-sync engines. This method takes a string as a parameter and returns the preprocessed string.
- The purpose of the `wordsToVisemes` method is to convert the given text into visemes and timestamps. The method takes a string as a parameter and returns a lip-sync object. The lipsync object has three required properties: `visemes`, `times`and `durations`.
- Property `visemes` is an array of Oculus OVR viseme codes. Each viseme is one of the strings: `'aa'`, `'E'`, `'I'`, `'O'`, `'U'`, `'PP'`, `'SS'`, `'TH'`, `'CH'`, `'FF'`, `'kk'`, `'nn'`, `'RR'`, `'DD'`, `'sil'`. See the reference images here: https://developer.oculus.com/documentation/unity/audio-ovrlipsync-viseme-reference/
- Property `times` is an array of starting times, one entry for each viseme in `visemes`. Starting times are to be given in relative units. They will be scaled later on based on the word timestamps that we get from the TTS engine.
- Property `durations` is an array of relative durations, one entry for each viseme in `visemes`. Durations are to be given in relative units. They will be scaled later on based on the word timestamps that we get from the TTS engine.
The difficult part is to actually make the conversion from words to visemes.
What is the best approach depends on the language. Here are some typical
approaches to consider (not a comprehensive list):
- **Direct mapping from graphemes to phonemes to visemes**. This works well for languages that have a consistent one-to-one mapping between individual letters and phonemes. This was used as the approach for the Finnish language (`lipsync-fi.mjs`) giving >99.9% lip-sync accuracy compared to the Finnish phoneme dictionary. Implementation size was ~4k. Unfortunately not all languages are phonetically orthographic languages.
- **Rule-based mapping**. This was used as the approach for the English language (`lipsync-en.mjs`) giving around 80% lip-sync accuracy compared to the English phoneme dictionary. However, since the rules cover the most common words, the effective accuracy is higher. Implementation size ~12k.
- **Dictionary based approach**. If neither of the previous approaches work for your language, make a search from some open source phoneme dictionary. Note that you still need some backup algorithm for those words that are not in the dictionary. The problem with phoneme dictionaries is their size. For example, the CMU phoneme dictionary for English is ~5M.
- **Neural-net approach based on transformer models**. Typically this should be done on server-side as the model size can be >50M.
TalkingHead is supposed to be a real-time class, so latency is
always something to consider. It is often better to be small and fast than
to aim for 100% accuracy.
---
### Appendix D: Adding Custom Poses, Moods, Gestures, and Emojis (ADVANCED)
In the TalkingHead class, the avatar's movements are based on four
data structures: `head.poseTemplates`, `head.animMoods`,
`head.gestureTemplates`, and `head.animEmojis`. By using these
objects, you can give your avatar its own personal body language.
In `head.poseTemplates` the hip position is defined as an {x, y, z} coordinate
in meters, and all bone rotations are defined either as Euler XYZ rotations
(e.g., "Hips.rotation") or as quaternions (e.g., "Hips.quaternion"), in radians.
In each pose, the avatar should have its weight on the left leg, if any, as
the class automatically mirrors it for the right side. Setting the boolean
properties `standing`, `sitting`, `bend`, `kneeling`, and `lying` helps the class
make the transitions between different poses in proper steps.
```javascript
head.poseTemplates["custom-pose-1"] = {
standing: true, sitting: false, bend: false, kneeling: false, lying: false,
props: {
'Hips.position':{x:0, y:0.989, z:0.001}, 'Hips.rotation':{x:0.047, y:0.007, z:-0.007}, 'Spine.rotation':{x:-0.143, y:-0.007, z:0.005}, 'Spine1.rotation':{x:-0.043, y:-0.014, z:0.012}, 'Spine2.rotation':{x:0.072, y:-0.013, z:0.013}, 'Neck.rotation':{x:0.048, y:-0.003, z:0.012}, 'Head.rotation':{x:0.05, y:-0.02, z:-0.017}, 'LeftShoulder.rotation':{x:1.62, y:-0.166, z:-1.605}, 'LeftArm.rotation':{x:1.275, y:0.544, z:-0.092}, 'LeftForeArm.rotation':{x:0, y:0, z:0.302}, 'LeftHand.rotation':{x:-0.225, y:-0.154, z:0.11}, 'LeftHandThumb1.rotation':{x:0.435, y:-0.044, z:0.457}, 'LeftHandThumb2.rotation':{x:-0.028, y:0.002, z:-0.246}, 'LeftHandThumb3.rotation':{x:-0.236, y:-0.025, z:0.113}, 'LeftHandIndex1.rotation':{x:0.218, y:0.008, z:-0.081}, 'LeftHandIndex2.rotation':{x:0.165, y:-0.001, z:-0.017}, 'LeftHandIndex3.rotation':{x:0.165, y:-0.001, z:-0.017}, 'LeftHandMiddle1.rotation':{x:0.235, y:-0.011, z:-0.065}, 'LeftHandMiddle2.rotation':{x:0.182, y:-0.002, z:-0.019}, 'LeftHandMiddle3.rotation':{x:0.182, y:-0.002, z:-0.019}, 'LeftHandRing1.rotation':{x:0.316, y:-0.017, z:0.008}, 'LeftHandRing2.rotation':{x:0.253, y:-0.003, z:-0.026}, 'LeftHandRing3.rotation':{x:0.255, y:-0.003, z:-0.026}, 'LeftHandPinky1.rotation':{x:0.336, y:-0.062, z:0.088}, 'LeftHandPinky2.rotation':{x:0.276, y:-0.004, z:-0.028}, 'LeftHandPinky3.rotation':{x:0.276, y:-0.004, z:-0.028}, 'RightShoulder.rotation':{x:1.615, y:0.064, z:1.53}, 'RightArm.rotation':{x:1.313, y:-0.424, z:0.131}, 'RightForeArm.rotation':{x:0, y:0, z:-0.317}, 'RightHand.rotation':{x:-0.158, y:-0.639, z:-0.196}, 'RightHandThumb1.rotation':{x:0.44, y:0.048, z:-0.549}, 'RightHandThumb2.rotation':{x:-0.056, y:-0.008, z:0.274}, 'RightHandThumb3.rotation':{x:-0.258, y:0.031, z:-0.095}, 'RightHandIndex1.rotation':{x:0.169, y:-0.011, z:0.105}, 'RightHandIndex2.rotation':{x:0.134, y:0.001, z:0.011}, 'RightHandIndex3.rotation':{x:0.134, y:0.001, z:0.011}, 'RightHandMiddle1.rotation':{x:0.288, y:0.014, z:0.092}, 'RightHandMiddle2.rotation':{x:0.248, y:0.003, z:0.02}, 'RightHandMiddle3.rotation':{x:0.249, y:0.003, z:0.02}, 'RightHandRing1.rotation':{x:0.369, y:0.019, z:0.006}, 'RightHandRing2.rotation':{x:0.321, y:0.004, z:0.026}, 'RightHandRing3.rotation':{x:0.323, y:0.004, z:0.026}, 'RightHandPinky1.rotation':{x:0.468, y:0.085, z:-0.03}, 'RightHandPinky2.rotation':{x:0.427, y:0.007, z:0.034}, 'RightHandPinky3.rotation':{x:0.142, y:0.001, z:0.012}, 'LeftUpLeg.rotation':{x:-0.077, y:-0.058, z:3.126}, 'LeftLeg.rotation':{x:-0.252, y:0.001, z:-0.018}, 'LeftFoot.rotation':{x:1.315, y:-0.064, z:0.315}, 'LeftToeBase.rotation':{x:0.577, y:-0.07, z:-0.009}, 'RightUpLeg.rotation':{x:-0.083, y:-0.032, z:3.124}, 'RightLeg.rotation':{x:-0.272, y:-0.003, z:0.021}, 'RightFoot.rotation':{x:1.342, y:0.076, z:-0.222}, 'RightToeBase.rotation':{x:0.44, y:0.069, z:0.016}
}
};
head.playPose("custom-pose-1");
```
In `head.animMoods` the syntax is more complex, so I suggest that you take
a look at the existing moods. In `anims`, each leaf object is an animation
loop template. Whenever a loop starts, the class iterates through
the nested hierarchy of objects by following keys that match the current
state (`idle`, `talking`), body form (`M`, `F`), current view
(`full`, `upper`, `mid`, `head`), and/or probabilities (`alt` + `p`).
The next animation will be created internally by using the `animFactory`
method. The property `delay` (ms) determines how long that pose is held,
`dt` defines durations (ms) for each part in the sequence, and
`vs` defines the shapekeys and their target values for each part.
```javascript
head.animMoods["custom-mood-1"] = {
baseline: { eyesLookDown: 0.1 },
speech: { deltaRate: 0, deltaPitch: 0, deltaVolume: 0 },
anims: [
{ name: 'breathing', delay: 1500, dt: [ 1200,500,1000 ], vs: { chestInhale: [0.5,0.5,0] } },
{ name: 'pose', alt: [
{ p: 0.2, delay: [5000,20000], vs: { pose: ['side'] } },
{ p: 0.2, delay: [5000,20000], vs: { pose: ['hip'] },
'M': { delay: [5000,20000], vs: { pose: ['wide'] } }
},
{ delay: [5000,20000], vs: { pose: ['custom-pose-1'] } }
]},
{ name: 'head',
idle: { delay: [0,1000], dt: [ [200,5000] ], vs: { headRotateX: [[-0.04,0.10]], headRotateY: [[-0.3,0.3]], headRotateZ: [[-0.08,0.08]] } },
talking: { dt: [ [0,1000,0] ], vs: { headRotateX: [[-0.05,0.15,1,2]], headRotateY: [[-0.1,0.1]], headRotateZ: [[-0.1,0.1]] } }
},
{ name: 'eyes', delay: [200,5000], dt: [ [100,500],[100,5000,2] ], vs: { eyesRotateY: [[-0.6,0.6]], eyesRotateX: [[-0.2,0.6]] } },
{ name: 'blink', delay: [1000,8000,1,2], dt: [50,[100,300],100], vs: { eyeBlinkLeft: [1,1,0], eyeBlinkRight: [1,1,0] } },
{ name: 'mouth', delay: [1000,5000], dt: [ [100,500],[100,5000,2] ], vs : { mouthRollLower: [[0,0.3,2]], mouthRollUpper: [[0,0.3,2]], mouthStretchLeft: [[0,0.3]], mouthStretchRight: [[0,0.3]], mouthPucker: [[0,0.3]] } },
{ name: 'misc', delay: [100,5000], dt: [ [100,500],[100,5000,2] ], vs : { eyeSquintLeft: [[0,0.3,3]], eyeSquintRight: [[0,0.3,3]], browInnerUp: [[0,0.3]], browOuterUpLeft: [[0,0.3]], browOuterUpRight: [[0,0.3]] } }
]
};
head.setMood("custom-mood-1");
```
Typical value range is [0,1] or [-1,1]. At the end of each animation,
the value will automatically return to its baseline value.
If the value is an array, it defines a range for a uniform/Gaussian
random value (approximated using CLT). See the class method
`gaussianRandom` for more information.
In `head.gestureTemplates` each property is a subset of bone rotations
that will be used to override the current pose.
```javascript
head.gestureTemplates["salute"] = {
'LeftShoulder.rotation':{x:1.706, y:-0.171, z:-1.756}, 'LeftArm.rotation':{x:0.883, y:-0.288, z:0.886}, 'LeftForeArm.rotation':{x:0, y:0, z:2.183}, 'LeftHand.rotation':{x:0.029, y:-0.298, z:0.346}, 'LeftHandThumb1.rotation':{x:1.43, y:-0.887, z:0.956}, 'LeftHandThumb2.rotation':{x:-0.406, y:0.243, z:0.094}, 'LeftHandThumb3.rotation':{x:-0.024, y:0.008, z:-0.012}, 'LeftHandIndex1.rotation':{x:0.247, y:-0.011, z:-0.084}, 'LeftHandIndex2.rotation':{x:0.006, y:0, z:0}, 'LeftHandIndex3.rotation':{x:-0.047, y:0, z:0.004}, 'LeftHandMiddle1.rotation':{x:0.114, y:-0.004, z:-0.055}, 'LeftHandMiddle2.rotation':{x:0.09, y:0, z:-0.007}, 'LeftHandMiddle3.rotation':{x:0.078, y:0, z:-0.006}, 'LeftHandRing1.rotation':{x:0.205, y:-0.009, z:0.023}, 'LeftHandRing2.rotation':{x:0.109, y:0, z:-0.009}, 'LeftHandRing3.rotation':{x:-0.015, y:0, z:0.001}, 'LeftHandPinky1.rotation':{x:0.267, y:-0.012, z:0.031}, 'LeftHandPinky2.rotation':{x:0.063, y:0, z:-0.005}, 'LeftHandPinky3.rotation':{x:0.178, y:-0.001, z:-0.014}
};
head.playGesture("salute",3);
```
In `head.animEmojis` each object is an animated emoji. Note that you can
also use `head.playGesture` to play animated emojis. This makes it easy to
combine a hand gesture and a facial expression by giving the gesture and
the emoji the same name.
```javascript
head.animEmojis["🫤"] = { dt: [300,2000], vs: {
browInnerUp: [0.5], eyeWideLeft: [0.5], eyeWideRight: [0.5], mouthLeft: [0.5], mouthPressLeft: [0.8], mouthPressRight: [0.2], mouthRollLower: [0.5], mouthStretchLeft: [0.7], mouthStretchRight: [0.7]
}
};
head.playGesture("🫤",3);
```
---
### Appendix E: Dynamic Bones (ADVANCED)
If you want your character's hair or other body parts to wiggle as
the character moves, you can use TalkingHead's Dynamic Bones feature.
The built-in physics engine simulates Newton's equations
of motions using a spring-damper model and the
[velocity Verlet integration](https://en.wikipedia.org/wiki/Verlet_integration)
method.
Here's an example of rigged hair in Blender:
$$\color{transparent}{\rule{200px}{0px}}$$ | [Microsoft RocketBox](https://github.com/microsoft/Microsoft-Rocketbox) provides a library of ready-made 3D human characters. The models are MIT Licensed and include ARKit+Oculus, but they need to be re-rigged, for example, in Mixamo. Blender script (with instructions): [rename-rocketbox-shapekeys.py](https://github.com/met4citizen/TalkingHead/blob/main/blender/rename-rocketbox-shapekeys.py)
> [!IMPORTANT]
> Whenever you use avatars or any 3D assets, always check the
terms of use carefully. Many commercial 3D products generate
avatars that cannot be used in public web apps, where the asset
is delivered to the client and effectively becomes downloadable.
Likewise, many ready-made avatars sold in 3D marketplaces are
distributed under similarly restrictive licenses.
TalkingHead class supports Meshopt compression by default, and
Draco compression when the class-level option `dracoEnabled` is
set to `true`. You can use tools such as
[glTF-Transform](https://github.com/donmccurdy/glTF-Transform)
to apply compression:
```bash
gltf-transform optimize avatar.glb avatar-compressed.glb \
--compress meshopt \
--texture-compress webp
```
---
### Appendix B: Create API Proxies with JSON Web Token (JWT) Single Sign-On (SSO)
1. Make a CGI script that generates a new JSON Web Token with an expiration time (exp). See [jwt.io](https://jwt.io) for more information about JWT and libraries that best fit your needs and architecture. In my own test setup, I return the generated JWT as JSON.
```json
{ "jwt": "eyJhbGciOiJIUzI1NiIsInR5cCI6IkpXVCJ9.eyJzdWIiOiIxMjM0NTY3ODkwIiwibmFtZSI6IkpvaG4gRG9lIiwiaWF0IjoxNTE2MjM5MDIyfQ.SflKxwRJSMeKKF2QT4fwpMeJf36POk6yJV_adQssw5c" }
```
2. Protect your CGI script with some authentication scheme. Below is an example Apache 2.4 directory config that uses Basic authentication (remember to always use HTTPS/SSL!). Put your CGI script `get` in the `jwt` directory.
```apacheconf
# Restricted applications
AuthType Basic
AuthName "Restricted apps"
AuthUserFile /etc/httpd/.htpasswd
Require valid-user
# JSON Web Token
Options ExecCGI
SetEnv REMOTE_USER %{REMOTE_USER}
SetHandler cgi-script
```
3. Make an [External Rewriting Program](https://httpd.apache.org/docs/2.4/rewrite/rewritemap.html#prg) script that verifies JSON Web Tokens. The script should return `OK` if the given token is not expired and its signature is valid. Start the script in Apache 2.4 config. User's don't use the verifier script directly, so put it in some internal directory, not under document root.
```apacheconf
# JSON Web Token verifier
RewriteEngine On
RewriteMap jwtverify "prg:/etc/httpd/jwtverify" apache:apache
```
4. Make a proxy configuration for each service you want to use. Add the required API keys and protect the proxies with the JWT token verifier. Below are some example configs for Apache 2.4 web server. Note that when opening a WebSocket connection (ElevenLabs, Azure) you can't add authentication headers in browser JavaScript. This problem is solved here by including the JWT token as a part of the request URL. The downside is that the token might end up in server log files. This is typically not a problem as long as you are controlling the proxy server, you are using HTTPS/SSL, and the token has an expiration time.
```apacheconf
# OpenAI API
RewriteCond ${jwtverify:%{http:Authorization}} !=OK
RewriteRule .+ - [F]
ProxyPass https://api.openai.com/
ProxyPassReverse https://api.openai.com/
ProxyPassReverseCookiePath "/" "/openai/"
ProxyPassReverseCookieDomain ".api.openai.com" "."
RequestHeader set Authorization "Bearer "
# Google TTS API
RewriteCond ${jwtverify:%{http:Authorization}} !=OK
RewriteRule .+ - [F]
ProxyPass https://eu-texttospeech.googleapis.com/v1beta1/text:synthesize?key= nocanon
RequestHeader unset Authorization
# Microsoft Azure TTS WebSocket API (Speech SDK)
[^/]+)/>
RewriteCond ${jwtverify:%{env:MATCH_JWT}} !=OK
RewriteRule .+ - [F]
RewriteCond %{HTTP:Connection} Upgrade [NC]
RewriteCond %{HTTP:Upgrade} websocket [NC]
RewriteRule /mstts/[^/]+/(.+) "wss://.tts.speech.microsoft.com/$1" [P]
RequestHeader set "Ocp-Apim-Subscription-Key"
# ElevenLabs Text-to-speech WebSocket API
[^/]+)/>
RewriteCond ${jwtverify:%{env:MATCH_JWT}} !=OK
RewriteRule .+ - [F]
RewriteCond %{HTTP:Connection} Upgrade [NC]
RewriteCond %{HTTP:Upgrade} websocket [NC]
RewriteRule /elevenlabs/[^/]+/(.+) "wss://api.elevenlabs.io/$1" [P]
RequestHeader set "xi-api-key" ""
```
---
### Appendix C: Create A New Lip-sync Module
The steps that are common to all new languages:
- Create a new file named `lipsync-xx.mjs` where `xx` is your language code, and place the file in the `./modules/` directory. The language module should have a class named `LipsyncXx` where Xx is the language code. The naming in important, because the modules are loaded dynamically based on their names.
- The class should have (at least) the following two methods: `preProcessText` and `wordsToVisemes`. These are the methods used in the TalkingHead class.
- The purpose of the `preProcessText` method is to preprocess the given text by converting symbols to words, numbers to words, and filtering out characters that should be left unspoken (if any), etc. This is often needed to prevent ambiguities between TTS and lip-sync engines. This method takes a string as a parameter and returns the preprocessed string.
- The purpose of the `wordsToVisemes` method is to convert the given text into visemes and timestamps. The method takes a string as a parameter and returns a lip-sync object. The lipsync object has three required properties: `visemes`, `times`and `durations`.
- Property `visemes` is an array of Oculus OVR viseme codes. Each viseme is one of the strings: `'aa'`, `'E'`, `'I'`, `'O'`, `'U'`, `'PP'`, `'SS'`, `'TH'`, `'CH'`, `'FF'`, `'kk'`, `'nn'`, `'RR'`, `'DD'`, `'sil'`. See the reference images here: https://developer.oculus.com/documentation/unity/audio-ovrlipsync-viseme-reference/
- Property `times` is an array of starting times, one entry for each viseme in `visemes`. Starting times are to be given in relative units. They will be scaled later on based on the word timestamps that we get from the TTS engine.
- Property `durations` is an array of relative durations, one entry for each viseme in `visemes`. Durations are to be given in relative units. They will be scaled later on based on the word timestamps that we get from the TTS engine.
The difficult part is to actually make the conversion from words to visemes.
What is the best approach depends on the language. Here are some typical
approaches to consider (not a comprehensive list):
- **Direct mapping from graphemes to phonemes to visemes**. This works well for languages that have a consistent one-to-one mapping between individual letters and phonemes. This was used as the approach for the Finnish language (`lipsync-fi.mjs`) giving >99.9% lip-sync accuracy compared to the Finnish phoneme dictionary. Implementation size was ~4k. Unfortunately not all languages are phonetically orthographic languages.
- **Rule-based mapping**. This was used as the approach for the English language (`lipsync-en.mjs`) giving around 80% lip-sync accuracy compared to the English phoneme dictionary. However, since the rules cover the most common words, the effective accuracy is higher. Implementation size ~12k.
- **Dictionary based approach**. If neither of the previous approaches work for your language, make a search from some open source phoneme dictionary. Note that you still need some backup algorithm for those words that are not in the dictionary. The problem with phoneme dictionaries is their size. For example, the CMU phoneme dictionary for English is ~5M.
- **Neural-net approach based on transformer models**. Typically this should be done on server-side as the model size can be >50M.
TalkingHead is supposed to be a real-time class, so latency is
always something to consider. It is often better to be small and fast than
to aim for 100% accuracy.
---
### Appendix D: Adding Custom Poses, Moods, Gestures, and Emojis (ADVANCED)
In the TalkingHead class, the avatar's movements are based on four
data structures: `head.poseTemplates`, `head.animMoods`,
`head.gestureTemplates`, and `head.animEmojis`. By using these
objects, you can give your avatar its own personal body language.
In `head.poseTemplates` the hip position is defined as an {x, y, z} coordinate
in meters, and all bone rotations are defined either as Euler XYZ rotations
(e.g., "Hips.rotation") or as quaternions (e.g., "Hips.quaternion"), in radians.
In each pose, the avatar should have its weight on the left leg, if any, as
the class automatically mirrors it for the right side. Setting the boolean
properties `standing`, `sitting`, `bend`, `kneeling`, and `lying` helps the class
make the transitions between different poses in proper steps.
```javascript
head.poseTemplates["custom-pose-1"] = {
standing: true, sitting: false, bend: false, kneeling: false, lying: false,
props: {
'Hips.position':{x:0, y:0.989, z:0.001}, 'Hips.rotation':{x:0.047, y:0.007, z:-0.007}, 'Spine.rotation':{x:-0.143, y:-0.007, z:0.005}, 'Spine1.rotation':{x:-0.043, y:-0.014, z:0.012}, 'Spine2.rotation':{x:0.072, y:-0.013, z:0.013}, 'Neck.rotation':{x:0.048, y:-0.003, z:0.012}, 'Head.rotation':{x:0.05, y:-0.02, z:-0.017}, 'LeftShoulder.rotation':{x:1.62, y:-0.166, z:-1.605}, 'LeftArm.rotation':{x:1.275, y:0.544, z:-0.092}, 'LeftForeArm.rotation':{x:0, y:0, z:0.302}, 'LeftHand.rotation':{x:-0.225, y:-0.154, z:0.11}, 'LeftHandThumb1.rotation':{x:0.435, y:-0.044, z:0.457}, 'LeftHandThumb2.rotation':{x:-0.028, y:0.002, z:-0.246}, 'LeftHandThumb3.rotation':{x:-0.236, y:-0.025, z:0.113}, 'LeftHandIndex1.rotation':{x:0.218, y:0.008, z:-0.081}, 'LeftHandIndex2.rotation':{x:0.165, y:-0.001, z:-0.017}, 'LeftHandIndex3.rotation':{x:0.165, y:-0.001, z:-0.017}, 'LeftHandMiddle1.rotation':{x:0.235, y:-0.011, z:-0.065}, 'LeftHandMiddle2.rotation':{x:0.182, y:-0.002, z:-0.019}, 'LeftHandMiddle3.rotation':{x:0.182, y:-0.002, z:-0.019}, 'LeftHandRing1.rotation':{x:0.316, y:-0.017, z:0.008}, 'LeftHandRing2.rotation':{x:0.253, y:-0.003, z:-0.026}, 'LeftHandRing3.rotation':{x:0.255, y:-0.003, z:-0.026}, 'LeftHandPinky1.rotation':{x:0.336, y:-0.062, z:0.088}, 'LeftHandPinky2.rotation':{x:0.276, y:-0.004, z:-0.028}, 'LeftHandPinky3.rotation':{x:0.276, y:-0.004, z:-0.028}, 'RightShoulder.rotation':{x:1.615, y:0.064, z:1.53}, 'RightArm.rotation':{x:1.313, y:-0.424, z:0.131}, 'RightForeArm.rotation':{x:0, y:0, z:-0.317}, 'RightHand.rotation':{x:-0.158, y:-0.639, z:-0.196}, 'RightHandThumb1.rotation':{x:0.44, y:0.048, z:-0.549}, 'RightHandThumb2.rotation':{x:-0.056, y:-0.008, z:0.274}, 'RightHandThumb3.rotation':{x:-0.258, y:0.031, z:-0.095}, 'RightHandIndex1.rotation':{x:0.169, y:-0.011, z:0.105}, 'RightHandIndex2.rotation':{x:0.134, y:0.001, z:0.011}, 'RightHandIndex3.rotation':{x:0.134, y:0.001, z:0.011}, 'RightHandMiddle1.rotation':{x:0.288, y:0.014, z:0.092}, 'RightHandMiddle2.rotation':{x:0.248, y:0.003, z:0.02}, 'RightHandMiddle3.rotation':{x:0.249, y:0.003, z:0.02}, 'RightHandRing1.rotation':{x:0.369, y:0.019, z:0.006}, 'RightHandRing2.rotation':{x:0.321, y:0.004, z:0.026}, 'RightHandRing3.rotation':{x:0.323, y:0.004, z:0.026}, 'RightHandPinky1.rotation':{x:0.468, y:0.085, z:-0.03}, 'RightHandPinky2.rotation':{x:0.427, y:0.007, z:0.034}, 'RightHandPinky3.rotation':{x:0.142, y:0.001, z:0.012}, 'LeftUpLeg.rotation':{x:-0.077, y:-0.058, z:3.126}, 'LeftLeg.rotation':{x:-0.252, y:0.001, z:-0.018}, 'LeftFoot.rotation':{x:1.315, y:-0.064, z:0.315}, 'LeftToeBase.rotation':{x:0.577, y:-0.07, z:-0.009}, 'RightUpLeg.rotation':{x:-0.083, y:-0.032, z:3.124}, 'RightLeg.rotation':{x:-0.272, y:-0.003, z:0.021}, 'RightFoot.rotation':{x:1.342, y:0.076, z:-0.222}, 'RightToeBase.rotation':{x:0.44, y:0.069, z:0.016}
}
};
head.playPose("custom-pose-1");
```
In `head.animMoods` the syntax is more complex, so I suggest that you take
a look at the existing moods. In `anims`, each leaf object is an animation
loop template. Whenever a loop starts, the class iterates through
the nested hierarchy of objects by following keys that match the current
state (`idle`, `talking`), body form (`M`, `F`), current view
(`full`, `upper`, `mid`, `head`), and/or probabilities (`alt` + `p`).
The next animation will be created internally by using the `animFactory`
method. The property `delay` (ms) determines how long that pose is held,
`dt` defines durations (ms) for each part in the sequence, and
`vs` defines the shapekeys and their target values for each part.
```javascript
head.animMoods["custom-mood-1"] = {
baseline: { eyesLookDown: 0.1 },
speech: { deltaRate: 0, deltaPitch: 0, deltaVolume: 0 },
anims: [
{ name: 'breathing', delay: 1500, dt: [ 1200,500,1000 ], vs: { chestInhale: [0.5,0.5,0] } },
{ name: 'pose', alt: [
{ p: 0.2, delay: [5000,20000], vs: { pose: ['side'] } },
{ p: 0.2, delay: [5000,20000], vs: { pose: ['hip'] },
'M': { delay: [5000,20000], vs: { pose: ['wide'] } }
},
{ delay: [5000,20000], vs: { pose: ['custom-pose-1'] } }
]},
{ name: 'head',
idle: { delay: [0,1000], dt: [ [200,5000] ], vs: { headRotateX: [[-0.04,0.10]], headRotateY: [[-0.3,0.3]], headRotateZ: [[-0.08,0.08]] } },
talking: { dt: [ [0,1000,0] ], vs: { headRotateX: [[-0.05,0.15,1,2]], headRotateY: [[-0.1,0.1]], headRotateZ: [[-0.1,0.1]] } }
},
{ name: 'eyes', delay: [200,5000], dt: [ [100,500],[100,5000,2] ], vs: { eyesRotateY: [[-0.6,0.6]], eyesRotateX: [[-0.2,0.6]] } },
{ name: 'blink', delay: [1000,8000,1,2], dt: [50,[100,300],100], vs: { eyeBlinkLeft: [1,1,0], eyeBlinkRight: [1,1,0] } },
{ name: 'mouth', delay: [1000,5000], dt: [ [100,500],[100,5000,2] ], vs : { mouthRollLower: [[0,0.3,2]], mouthRollUpper: [[0,0.3,2]], mouthStretchLeft: [[0,0.3]], mouthStretchRight: [[0,0.3]], mouthPucker: [[0,0.3]] } },
{ name: 'misc', delay: [100,5000], dt: [ [100,500],[100,5000,2] ], vs : { eyeSquintLeft: [[0,0.3,3]], eyeSquintRight: [[0,0.3,3]], browInnerUp: [[0,0.3]], browOuterUpLeft: [[0,0.3]], browOuterUpRight: [[0,0.3]] } }
]
};
head.setMood("custom-mood-1");
```
Typical value range is [0,1] or [-1,1]. At the end of each animation,
the value will automatically return to its baseline value.
If the value is an array, it defines a range for a uniform/Gaussian
random value (approximated using CLT). See the class method
`gaussianRandom` for more information.
In `head.gestureTemplates` each property is a subset of bone rotations
that will be used to override the current pose.
```javascript
head.gestureTemplates["salute"] = {
'LeftShoulder.rotation':{x:1.706, y:-0.171, z:-1.756}, 'LeftArm.rotation':{x:0.883, y:-0.288, z:0.886}, 'LeftForeArm.rotation':{x:0, y:0, z:2.183}, 'LeftHand.rotation':{x:0.029, y:-0.298, z:0.346}, 'LeftHandThumb1.rotation':{x:1.43, y:-0.887, z:0.956}, 'LeftHandThumb2.rotation':{x:-0.406, y:0.243, z:0.094}, 'LeftHandThumb3.rotation':{x:-0.024, y:0.008, z:-0.012}, 'LeftHandIndex1.rotation':{x:0.247, y:-0.011, z:-0.084}, 'LeftHandIndex2.rotation':{x:0.006, y:0, z:0}, 'LeftHandIndex3.rotation':{x:-0.047, y:0, z:0.004}, 'LeftHandMiddle1.rotation':{x:0.114, y:-0.004, z:-0.055}, 'LeftHandMiddle2.rotation':{x:0.09, y:0, z:-0.007}, 'LeftHandMiddle3.rotation':{x:0.078, y:0, z:-0.006}, 'LeftHandRing1.rotation':{x:0.205, y:-0.009, z:0.023}, 'LeftHandRing2.rotation':{x:0.109, y:0, z:-0.009}, 'LeftHandRing3.rotation':{x:-0.015, y:0, z:0.001}, 'LeftHandPinky1.rotation':{x:0.267, y:-0.012, z:0.031}, 'LeftHandPinky2.rotation':{x:0.063, y:0, z:-0.005}, 'LeftHandPinky3.rotation':{x:0.178, y:-0.001, z:-0.014}
};
head.playGesture("salute",3);
```
In `head.animEmojis` each object is an animated emoji. Note that you can
also use `head.playGesture` to play animated emojis. This makes it easy to
combine a hand gesture and a facial expression by giving the gesture and
the emoji the same name.
```javascript
head.animEmojis["🫤"] = { dt: [300,2000], vs: {
browInnerUp: [0.5], eyeWideLeft: [0.5], eyeWideRight: [0.5], mouthLeft: [0.5], mouthPressLeft: [0.8], mouthPressRight: [0.2], mouthRollLower: [0.5], mouthStretchLeft: [0.7], mouthStretchRight: [0.7]
}
};
head.playGesture("🫤",3);
```
---
### Appendix E: Dynamic Bones (ADVANCED)
If you want your character's hair or other body parts to wiggle as
the character moves, you can use TalkingHead's Dynamic Bones feature.
The built-in physics engine simulates Newton's equations
of motions using a spring-damper model and the
[velocity Verlet integration](https://en.wikipedia.org/wiki/Verlet_integration)
method.
Here's an example of rigged hair in Blender:
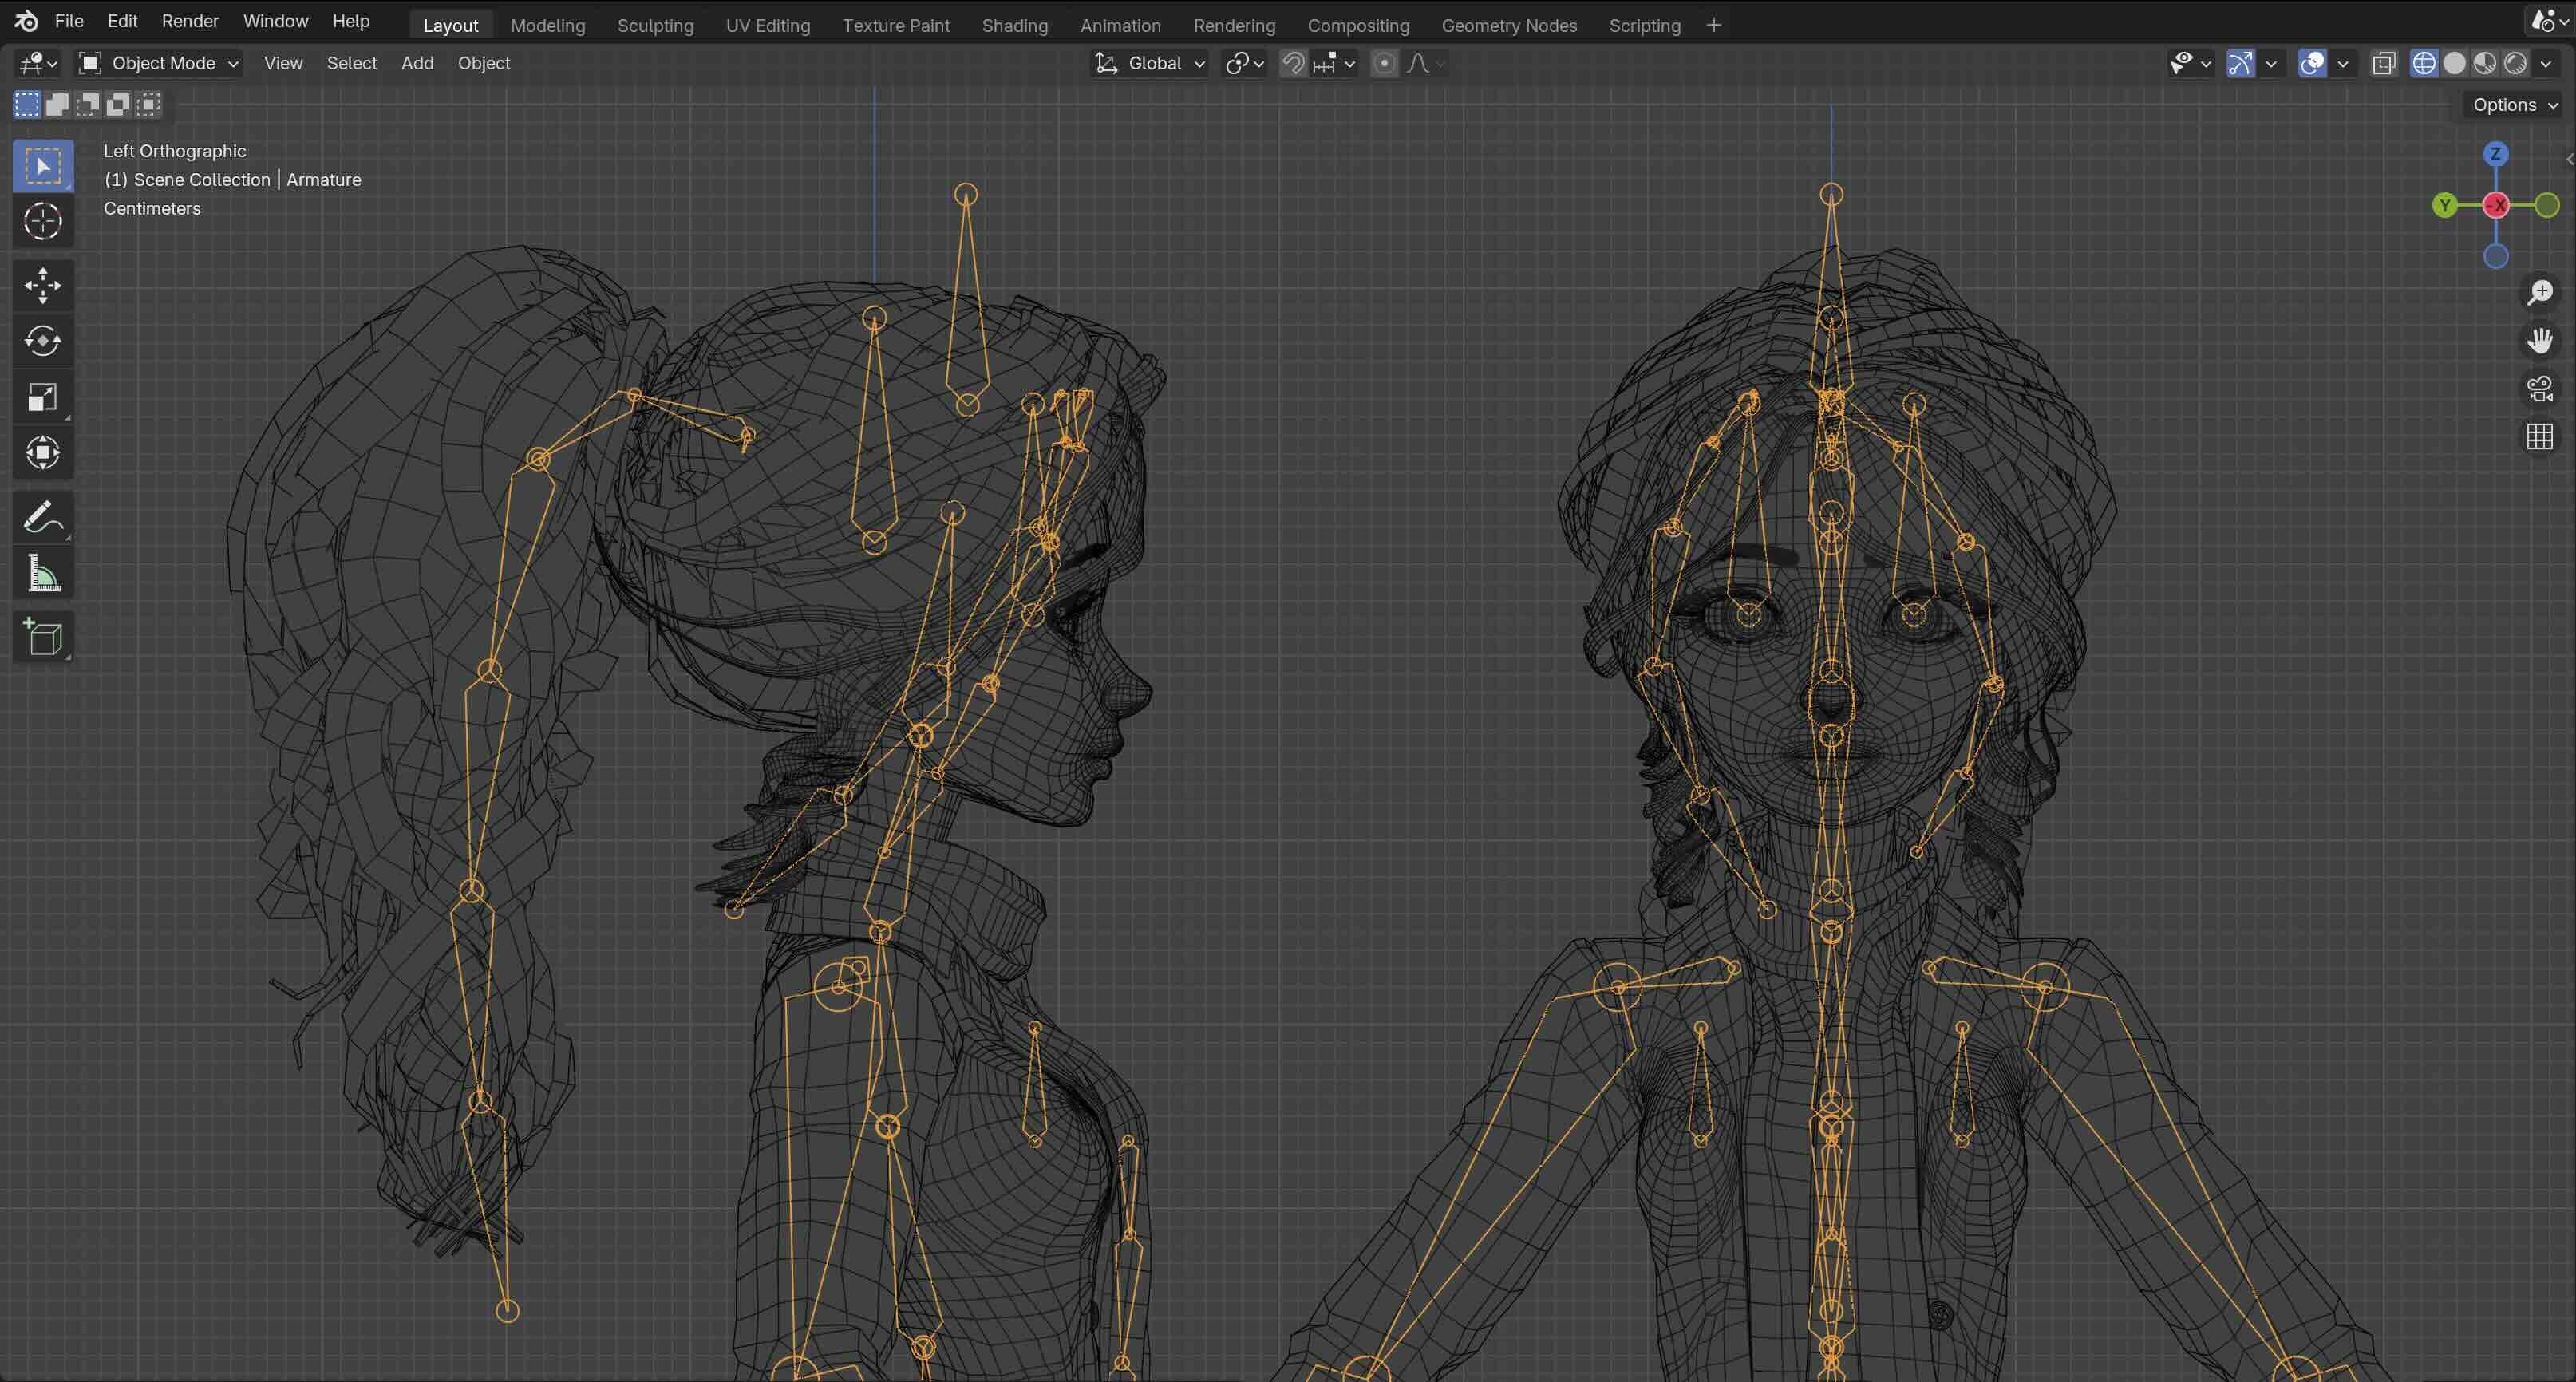 Once your custom rig is in place, you can configure the dynamic bones
by setting the `modelDynamicBones` property to the `avatar` object of
the `showAvatar` method. Here's an example:
```javascript
// Load and show the avatar
try {
await head.showAvatar( {
url: './avatars/custom.glb',
body: 'F',
avatarMood: 'neutral',
ttsLang: "en-GB",
ttsVoice: "en-GB-Standard-A",
lipsyncLang: 'en',
modelDynamicBones: [
{
bone: "ponytail1", type: "full", stiffness: 20, damping: 2,
limits: [null,null,[null,0.01],null],
},
{
bone: "ponytail2", type: "full", stiffness: 200, damping: 10,
pivot: true
},
{
bone: "ponytail3", type: "full", stiffness: 400, damping: 10,
excludes: [{"bone":"Head","deltaLocal":[0,0.05,0.02],"radius":0.13}]
}
]
});
} catch (error) {
console.log(error);
}
```
Each item in `modelDynamicBones` array represents one dynamic bone, which
can be configured separately.
Once your custom rig is in place, you can configure the dynamic bones
by setting the `modelDynamicBones` property to the `avatar` object of
the `showAvatar` method. Here's an example:
```javascript
// Load and show the avatar
try {
await head.showAvatar( {
url: './avatars/custom.glb',
body: 'F',
avatarMood: 'neutral',
ttsLang: "en-GB",
ttsVoice: "en-GB-Standard-A",
lipsyncLang: 'en',
modelDynamicBones: [
{
bone: "ponytail1", type: "full", stiffness: 20, damping: 2,
limits: [null,null,[null,0.01],null],
},
{
bone: "ponytail2", type: "full", stiffness: 200, damping: 10,
pivot: true
},
{
bone: "ponytail3", type: "full", stiffness: 400, damping: 10,
excludes: [{"bone":"Head","deltaLocal":[0,0.05,0.02],"radius":0.13}]
}
]
});
} catch (error) {
console.log(error);
}
```
Each item in `modelDynamicBones` array represents one dynamic bone, which
can be configured separately.
Click here to see all the PROPERTIES.
Property | Description | Example
--- | --- | ---
`bone` | The name of the bone in your custom skeleton. Note that each dynamic bone must have a parent bone. | `"ponytail1"`
`type` | - `"point"` updates only the bone's local position [x,y,z]. It is fast to calculate, but may cause skinned meshes to deform unnaturally.
- `"link"` updates only the parent's quaternions (XZ rotations).
- `"mix1"` mixes XZ rotations with a stretch (bone length, position change).
- `"mix2"` mixes XZ rotations with a twist (Y rotations).
- `"full"` link with both stretch and twist.
| `"full"`
`stiffness` | Mass-normalized spring constant `k` [m/s^2]. Either a non-negative number or an array with separate values for each dimension [x, y, z, t]. | `20`
`damping` | Mass-normalized damping coefficient `c` [1/s]. Either a non-negative number or an array with separate values for each dimension [x, y, z, t]. | `2`
`external` | External scaling factor between [0,1] that can be used to scale down the external forces caused by parent's movement. If set to `0`, the bone is rigid and moves with its parent without experiencing any external force. If set to `1`, the bone follows its parent with a lag (inertia) and feels the force. OPTIONAL, default value `1.0` | `0.7`
`limits` | Sets the limiting range [low, high] for each dimension [x, y, z, t] in meters [m]. This can help prevent situations in which meshes overlap due to sudden movements or when the amplitude becomes unrealistic. Limits are applied in local space. OPTIONAL, default `null` (no limit) | `[null,null,[null,0.01],null]`
`deltaLocal` | Local position translation [dx,dy,dz] in meters [m]. OPTIONAL, default `null` | `[0,0.01,0]`
`deltaWorld` | World position translation [dx,dy,dz] in meters [m]. OPTIONAL, default `null` | `[0,-0.02,0]`
`pivot` | If `true`, the bone becomes a free-hanging bone along the Y-axis. This means that the parent's X/Z rotations are automatically compensated. Use with caution, as this requires additional computational effort, and the `limits` do not apply as usual. OPTIONAL, default `false` | `true`
`excludes` | Sets one or more spherical excluded zones that act as invisible force fields, limiting the movement of the bone. An array of objects in the format `{ bone, deltaLocal, radius}` in which `bone` specifies the center bone name, `deltaLocal` (optional) offset [x,y,z] relative to center bone, and `radius` in meters. OPTIONAL, default `null` | `[ { bone: "Head", deltaLocal: [0,0.05,0.02], radius: 0.13 } ]`
`helper` | If `true`, add a helper object to the scene to assist with visualizing the bone during testing. If the dynamic bone type is "point", displays only a square, otherwise also the line from parent to the bone. OPTIONAL, default `false` | `true`
Finding a good combination of `stiffness`, `damping`, and `external`, is mostly
a matter of trial and error. Turn on the helper property or use the test app
to fine-tune the settings while running animations typical to your use case.
> [!TIP]
> For dynamic bones of type `"point"`, you can simulate gravity by applying
a `deltaWorld` translation down the Y-axis and compensating for
the initial stretch in the rest pose by applying `deltaLocal` translation
up the Y-axis.
---
### Appendix F: Controlling Blendshapes Directly (Advanced)
The TalkingHead class provides basic facial expressions and animations
by controlling the 3D avatar's blendshapes (a.k.a. morph targets).
It also possible to control these blendshapes directly from your app.
Below are some of the available approaches, with simple code examples:
- Use `setFixedValue` method to smoothly transition from the current
blendshape value to some fixed value. The fixed value will override
all other methods as well as internal/external animations.
To return back to normal operation, set the fixed value to `null`:
```javascript
head.setFixedValue("jawOpen",1);
```
- Use the `realtime` value of the `head.mtAvatar` property to set
the blend shape value without any smooth transition. This is useful
for cases like face landmark detection, where you need to stay
in sync with real-time input. To return back to normal operation,
set the realtime value to `null`:
```javascript
Object.assign( head.mtAvatar["jawOpen"],{ realtime: 1, needsUpdate: true });
```
- Add an animation template object `anim` to the audio data in `speakAudio`
to drive blendshapes in sync with audio playback. This is especially useful
when using facial animation data from external sources (e.g., Azure TTS 3D
blendshapes or motion capture) and want to play it alongside spoken audio:
```javascript
head.speakAudio({
audio: audio,
anim: {
name: "blendshapes",
dt: [ 33, 33, 33, ... ], // durations in milliseconds for each frame
vs: { // Blend shape keys and values for each frame
"jawOpen": [ 0, 0.2, 0.4, ... ],
"mouthRollLower": [ 0, 0.05, 0.1, ... ],
// ... additional blendshape keys
}
}
});
```
See a full code example using Azure blendshape
output [here](./examples/azure-blendshapes.html). **Note**: Azure's output
relies solely on ARKit blendshapes and is not optimized for TalkingHead avatars.
As a result, the quality of lip-sync may be less natural compared
to using Oculus visemes and the TalkingHead's internal lip-sync language
module. For example, the mouth may open too widely, or the lips may fail to touch
for certain phonemes they should.
See also the next Appendix G for how to stream audio with lip-sync.
---
### Appendix G: Streaming Audio and Lip-sync (Advanced)
This low-level streaming interface is designed for real-time scenarios, such as speech-to-speech or live TTS integrations where latency must be minimized. Use this interface if you require direct, chunked audio playback and on-the-fly lip-sync updates. You can, for instance, integrate a real-time TTS pipeline (like Azure Speech SDK or another live audio source) that continuously streams audio and word/viseme data into TalkingHead.
> [!IMPORTANT]
> The calling application must handle all aspects of managing and synchronizing the data streams (e.g., facial expressions, eye contact, hand gestures), as well as preventing concurrency issues and buffering multiple sources. The system is designed to handle one stream at a time.
Once a streaming session is started with `streamStart()`, the session remains active and reusable until explicitly ended with `streamStop()`. You can:
- **Natural completion**: Call `streamNotifyEnd()` after streaming all data with `streamAudio()` to signal the end of an utterance. The session remains active for reuse.
- **Interruption**: Call `streamInterrupt()` to immediately stop ongoing audio and lip-sync. The session remains active for reuse.
- **Reconfiguration**: Call `streamStart()` again at any time to reconfigure the session with new options.
- **Session termination**: Call `streamStop()` to completely end the streaming session.
API Overview:
1. `streamStart(opt={}, onAudioStart, onAudioEnd, onSubtitles, onMetrics)`
Enters streaming mode using an `AudioWorklet` for low-latency playback. Parameters:
- `opt` *(object, optional)* – Settings controlling streaming behavior:
- `sampleRate` – A number in the range \[8000, 96000\].
- `gain` – Sets the playback gain (volume) for the streaming audio.
- `lipsyncLang` – Specifies lip-sync language if you want viseme generation using words. Defaults to avatar `lipsyncLang`, or to options `lipsyncLang` value.
- `lipsyncType` – Specifies lip-sync data type. Can take one of the values `visemes` (default), `blendshapes`, and `words`.
- `waitForAudioChunks` – Boolean (default: `true`). If `false`, lip-sync will play immediately without waiting for audio chunks. This can be used to play lip-sync without audio.
- `mood` – Sets avatar mood upon starting the stream.
- `metrics` – Used for in development performance monitoring: `{enabled: true, intervalHz: 2}`. Enables queue depth and underrun tracking in the audio worklet. Do not set in production.
- `onAudioStart` *(function, optional)* – Callback invoked the moment audio playback starts.
- `onAudioEnd` *(function, optional)* – Callback invoked automatically once audio playback concludes.
- `onSubtitles` *(function, optional)* – Callback to handle showing subtitle text.
- `onMetrics` *(function, optional)* – Callback receiving performance monitoring data: queue depth, underruns, playback state.
Upon calling `streamStart`, all queued speech (`speakText`, `speakAudio`) is stopped, the engine enters streaming mode, and the avatar prepares for real-time lip-sync. You can then feed audio via `streamAudio()`. The session remains active until `streamStop()` is called.
2. `streamAudio(r)`
Sends one chunk of PCM audio data (16-bit little-endian) plus lip-sync data. Parameters:
- `r.audio` – An `ArrayBuffer` or typed array of **16-bit LE PCM** samples. These are played immediately.
- `r.visemes`, `r.vtimes`, `r.vdurations` *(optional)* – Directly schedule lip-sync visemes at specific times with specific durations. This is the default type of lip-sync data.
- `r.words`, `r.wtimes`, `r.wdurations` *(optional)* – Per-word timings and durations (e.g. TTS), allowing the library to create subtitles and/or calculate visemes if the `lipsyncType` option is set to `words`.
- `r.anims` *(optional)* – An array of blendshape animations that play in sync with the audio. Requires setting `lipsyncType` option to `blendshapes`.
Each call to `streamAudio()` schedules an immediate chunk for playback and any included lip-sync or subtitle data on the animation timeline. Include only lip-sync data as specified in the `lipsyncType` option via the `streamStart` call. You can include any number of visemes, anims, or words which are not necessarily associated with the included audio chunk. You need to buffer the lip-sync data in the application and send it alongside the audio chunks.
3. `streamNotifyEnd()`
Signals that no more chunks are expected for the current streaming utterance. Playback stops automatically once queued audio finishes. This is useful for gracefully concluding real-time TTS streams when your pipeline has no additional data to send. The streaming session remains active and can be reused by calling `streamAudio()` again. After the call, wait untill the playback has ended to have effect. If `streamAudio()` is called after `streamNotifyEnd()` and before the playback has ended, the notification end is canceled.
4. `streamInterrupt()`
Immediately interrupts any ongoing audio playback and lip-sync animations in the streaming session. This method stops the current utterance but keeps the streaming session active for reuse. You can continue using the session by calling `streamAudio()` again after interruption.
5. `streamStop()`
Forces an immediate end to the streaming session. All queued audio and lip-sync animations are cleared, the avatar reverts to its idle state, and the audio worklet is disconnected and cleaned up. To start streaming again after calling `streamStop()`, you must call `streamStart()` to create a new session.
Note: Refer to the example provided in the repository `azure-audio-streaming.html` on how to integrate this interface with Azure TTS streamed audio.
---
### Appendix H: Avatar-Only Mode (ADVANCED)
By default, the TalkingHead class operates in standalone mode, creating its own 3D scene,
renderer, lights, and other 3D components. If you already have your own 3D scene,
you can create an avatar-only instance and call the `head.animate(dt)` update function
from within your own renderer. For example:
```javascript
// Create avatarOnly instance and load
const head = new TalkingHead( container, {
/* ... */
avatarOnly: true, // set avatarOnly mode
avatarOnlyCamera: camera // Your camera avatar talks to
});
await head.showAvatar({ /* ... */ });
// Add to your own scene
head.armature.position.set(1,0,0);
head.armature.rotation.set(0,0.5,0);
scene.add(head.armature);
// You own animation loop
const clock = new THREE.Clock();
function animate() {
const delta = clock.getDelta();
head.animate(delta * 1000); // Update avatar
renderer.render( scene, camera );
}
renderer.setAnimationLoop(animate);
```
You can also add `avatarOnly` armatures to your standalone TalkingHead scene
to have multiple avatars in one scene. For example:
```javascript
let headStandalone, headAvatarOnly;
// Standalone instance
headStandalone = new TalkingHead( container, {
/* ... */
update: (dt) => { headAvatarOnly?.animate(dt); }
});
await headStandalone.showAvatar({ /* ... */ });
// avatarOnly instance
headAvatarOnly = new TalkingHead( container, {
/* ... */
avatarOnly: true, // set avatarOnly mode
avatarOnlyCamera: headStandalone.camera // Standalone camera
});
await headAvatarOnly.showAvatar({ /* ... */ });
// Add avatarOnly to standalone scene
headAvatarOnly.armature.position.set(1,0,0);
headStandalone.scene.add( headAvatarOnly.armature );
```
If you want one TalkingHead avatar to speak to another, set its
`speakTo` property. The value can be another TalkingHead
instance, any 3D object, or a world position. For example, to make
two avatars talk to each other:
```javascript
headAvatarOnly.speakTo = headStandalone;
headStandalone.speakTo = headAvatarOnly;
```
If you want the avatar to address the user again, set `speakTo` value to `null`.