# About The Project
## Components:
### Mux:
- [Direct uploads](https://docs.mux.com/docs/direct-upload) - this is an API for uploading video files from a client to create Mux Assets
- [Webhook signature verification](https://docs.mux.com/docs/webhook-security) - webhook signature verification to make sure Mux webhooks are coming from a trusted source
- [HLS.js](https://github.com/video-dev/hls.js/) - for doing HLS video playback of videos
- [Mux Data](https://docs.mux.com/docs/data) - for tracking video quality metrics.
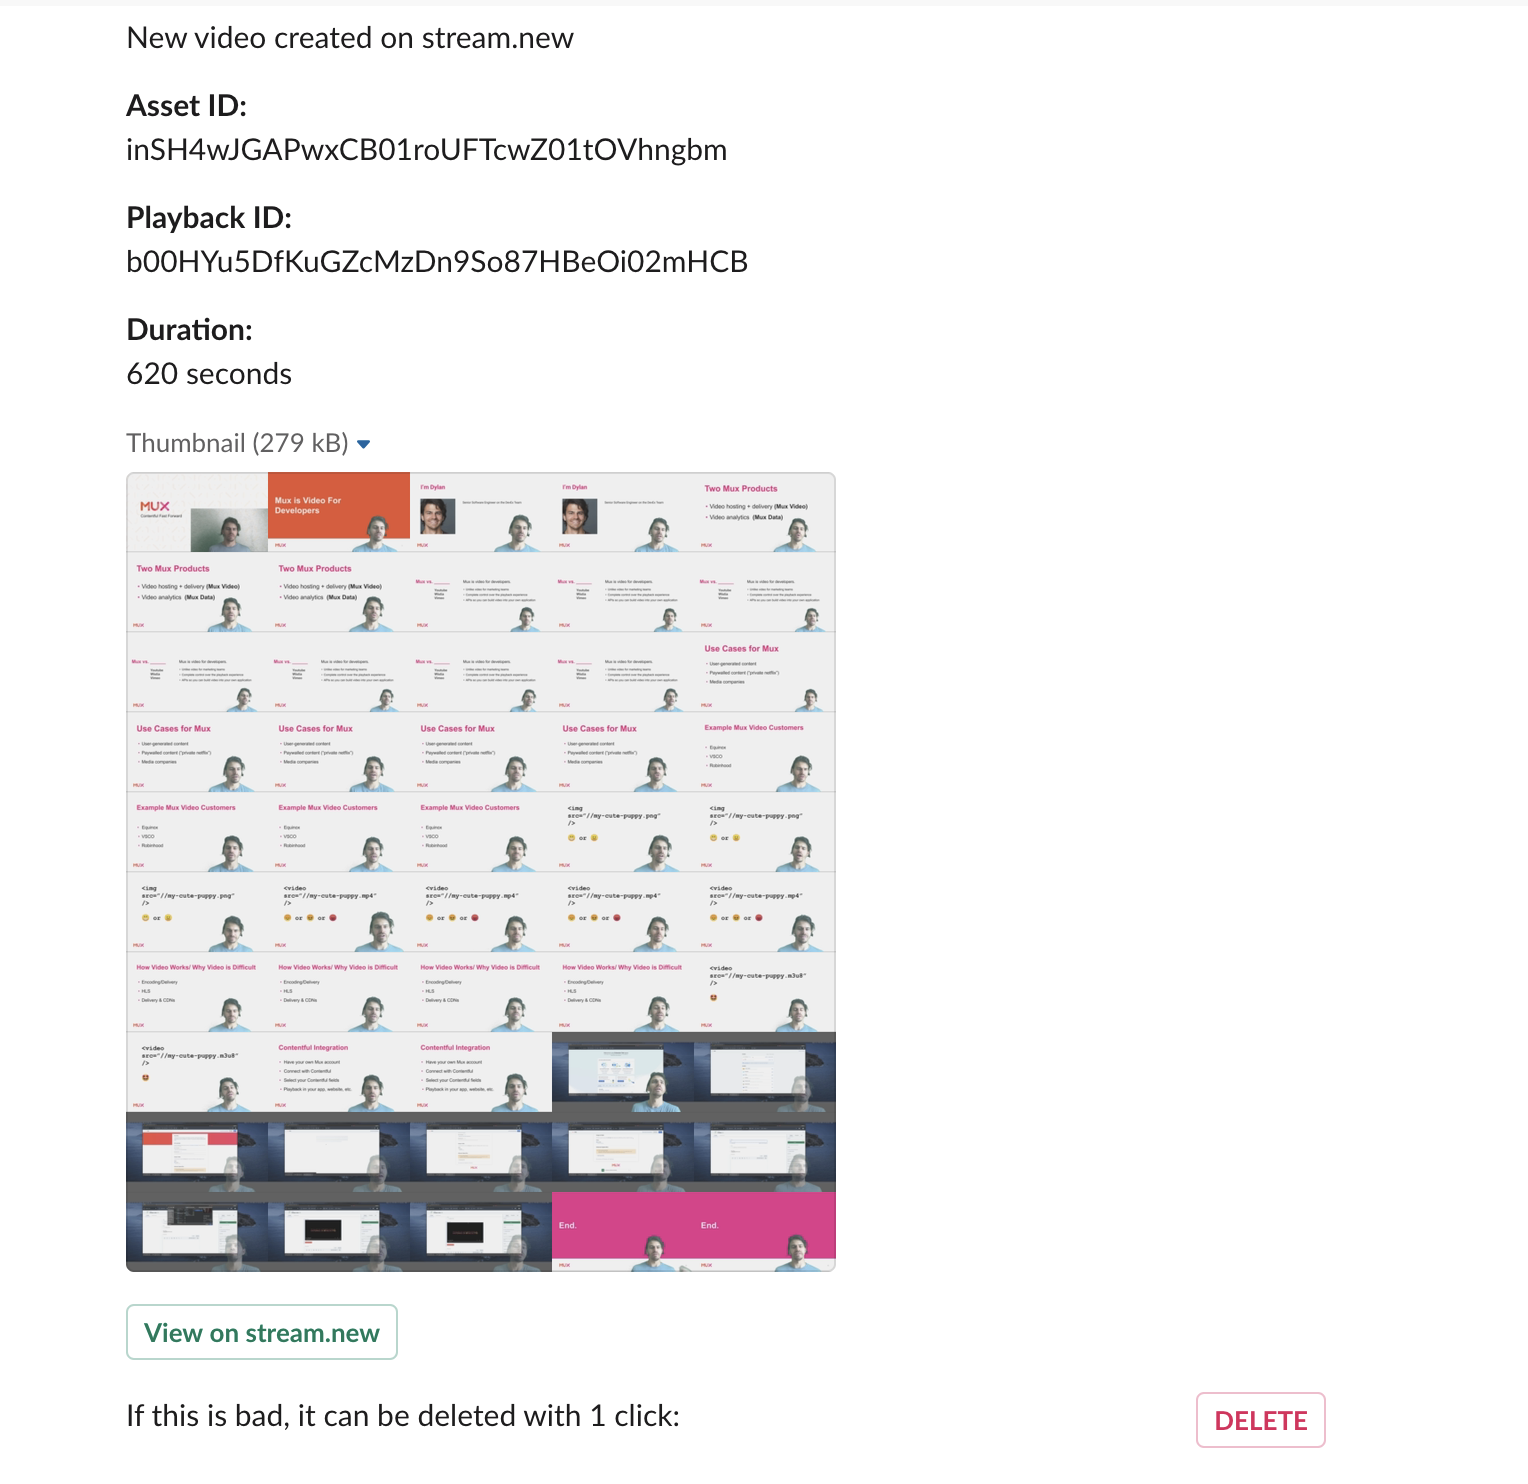
**Slackbot moderator**. This examples allows you to configure a `SLACK_WEBHOOK_ASSET_READY`. When a new Mux asset is `ready`, an Incoming Webhook for slack will be sent. This is an example of how you might integrate a Slack channel that can be used to moderate content. The Slack message contains the asset ID, playback ID and a storyboard of thumbnails from the video.
### NextJS:
- [SWR](https://swr.now.sh/) — dynamically changing the `refreshInterval` depending on if the client should be polling for updates or not
- [`/pages/api`](pages/api) routes — a couple endpoints for making authenticated requests to the Mux API.
- Dynamic routes using [`getStaticPaths` and `fallback: true`](https://nextjs.org/docs/basic-features/data-fetching#getstaticpaths-static-generation), as well as dynamic API routes.
This app was created with the [NextJS `with-mux-video` example](https://github.com/vercel/next.js/tree/canary/examples/with-mux-video) as a starting point.
# Getting Started
## Step 1. Create an account in Mux
All you need to set this up is a [Mux account](https://mux.com). You can sign up for free and pricing is pay-as-you-go. There are no upfront charges, you get billed monthly only for what you use.
Without entering a credit card on your Mux account all videos are in “test mode” which means they are watermarked and clipped to 10 seconds. If you enter a credit card all limitations are lifted and you get \$20 of free credit. The free credit should be plenty for you to test out and play around with everything before you are charged.
## Step 2. Set up environment variables
Copy the `.env.local.example` file in this directory to `.env.local` (which will be ignored by Git):
```bash
cp .env.local.example .env.local
```
Then, go to the [settings page](https://dashboard.mux.com/settings/access-tokens) in your Mux dashboard, get a new **API Access Token** that allows for "Full Access" against Mux Video and set each variable in `.env.local`:
- `MUX_TOKEN_ID` should be the `TOKEN ID` of your new token
- `MUX_TOKEN_SECRET` should be `TOKEN SECRET`
- `MUX_WEBHOOK_SIGNATURE_SECRET` (optional) - the webhook signing secret if you set up webhooks (see below)
- `SLACK_WEBHOOK_ASSET_READY` (optional) - the slack webhook URL that will be used for the **Slackbot moderator** feature (see below)
- `SLACK_MODERATOR_PASSWORD` (optional) - this is the password when you want to take actions from the **Slackbot moderator** feature (see below)
- `NEXT_PUBLIC_MUX_ENV_KEY` (optional) - this is the mux environment key for Mux Data integration
## Step 3. Run locally
```bash
npm install
npm run dev
```
Open [http://localhost:3000](http://localhost:3000) to see the app.
## Step 4. Deploy on Vercel
You can deploy this app to the cloud with [Vercel](https://vercel.com/import?filter=next.js&utm_source=github&utm_medium=readme&utm_campaign=next-example) ([Documentation](https://nextjs.org/docs/deployment)).
To deploy on Vercel, you need to set the environment variables using [Vercel CLI](https://vercel.com/download) ([Documentation](https://vercel.com/docs/cli#commands/secrets)).
Install the [Vercel CLI](https://vercel.com/download), log in to your account from the CLI, and run the following commands to add the environment variables. Replace the values with the corresponding strings in `.env.local`:
```bash
vercel secrets add stream_new_token_id
vercel secrets add stream_new_token_secret
```
Then push the project to GitHub/GitLab/Bitbucket and [import to Vercel](https://vercel.com/import?filter=next.js&utm_source=github&utm_medium=readme&utm_campaign=next-example) to deploy.
## Step 5 (optional) Slackbot Moderator
This application uses a slackbot to send message to a slack channel every time a new asset is ready for playback. This requires a few steps for setup.
First, login to your Mux dashboard and in the left sidebar navigation find Settings > Webhooks. Create a new webhook and makes sure you are creating a webhook for the environment that matches the access token that you are using.
For local development you may want to use a tool [like ngrok](https://ngrok.com/) to receive webhooks on localhost. The route for the webhook handler is `/api/webhooks/mux` (defined in this NextJS app under `./pages/api/webhooks/mux`).
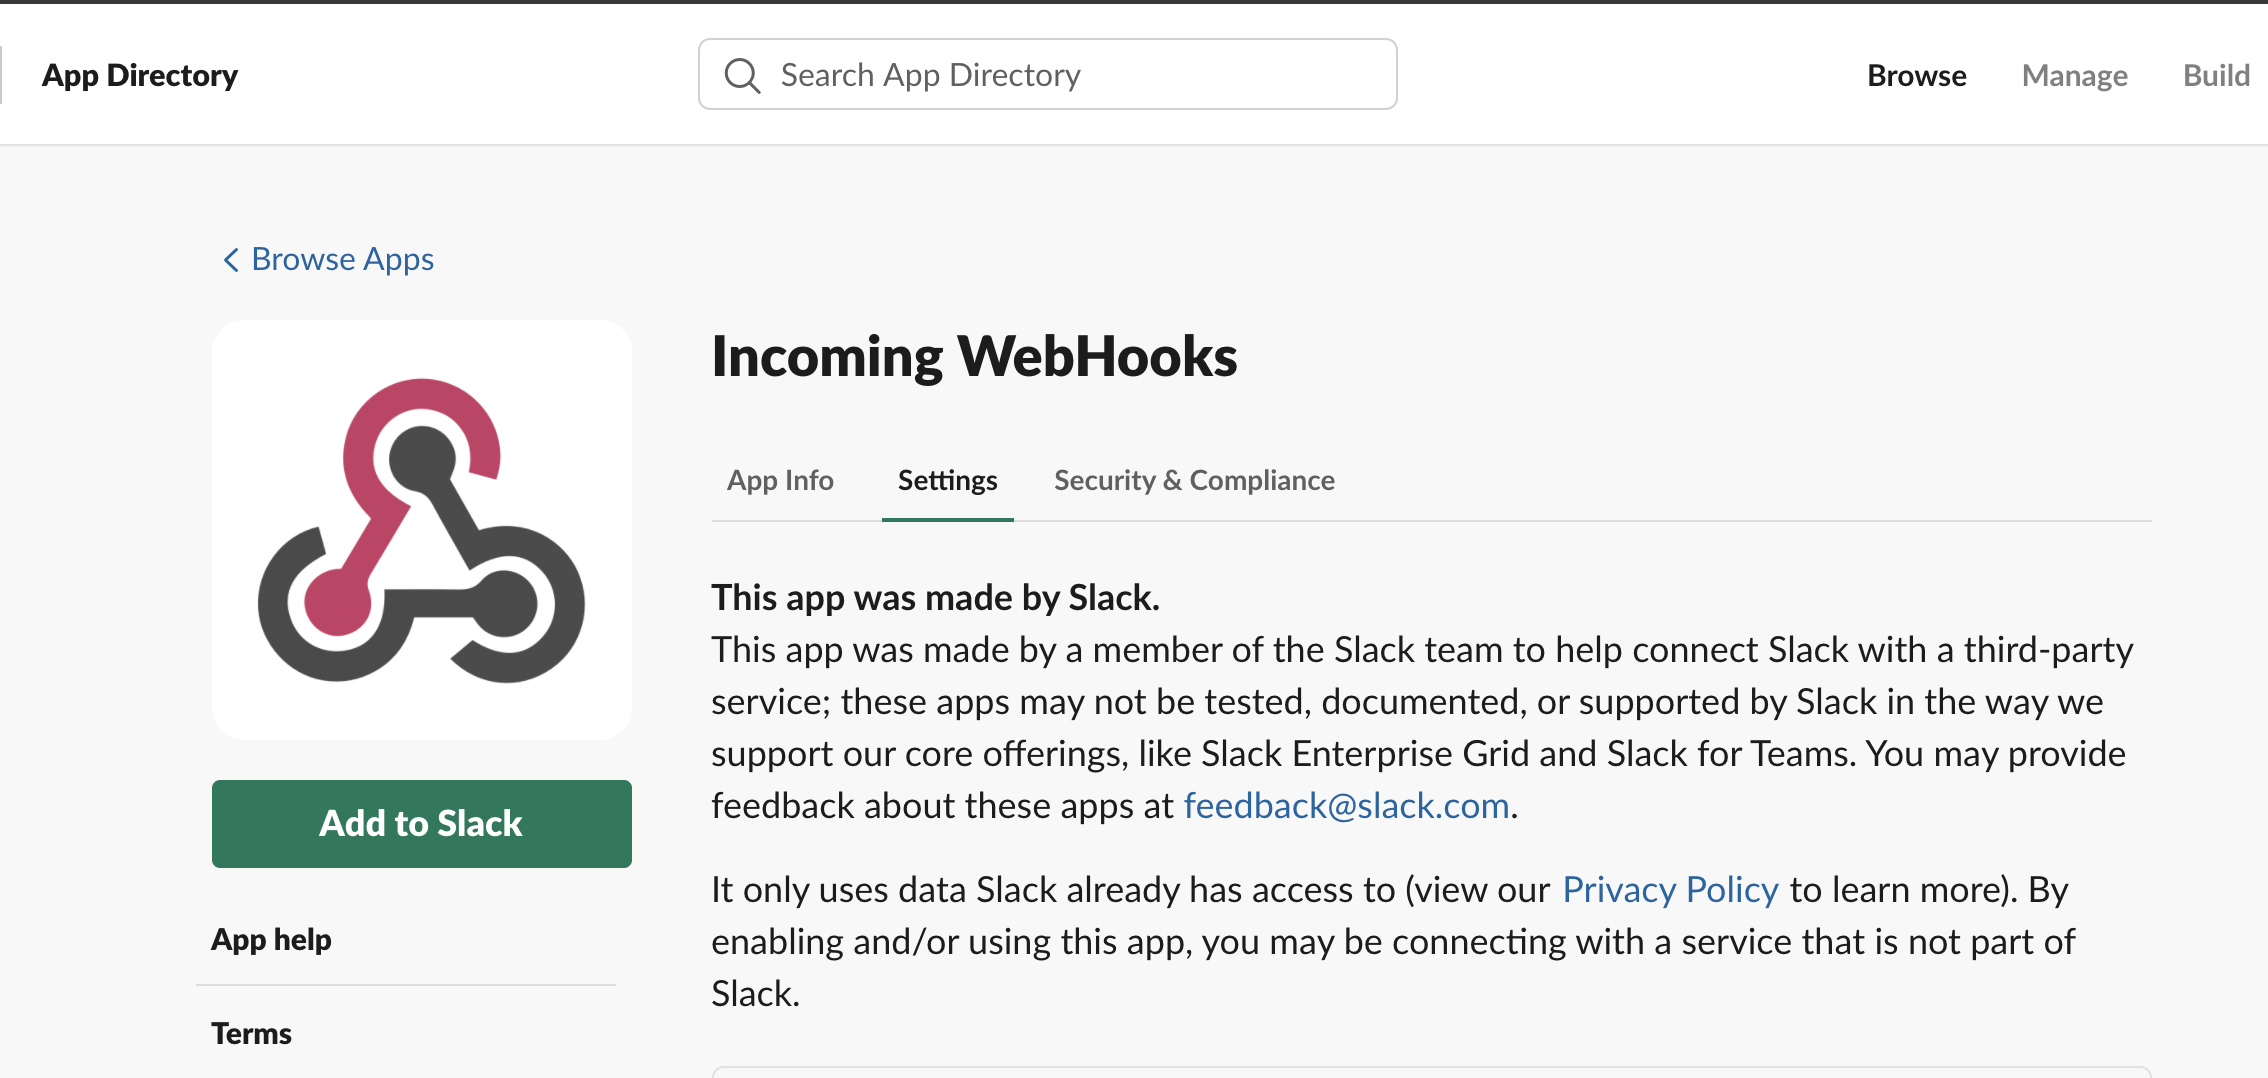
Create a Slack 'Incoming Webhook'. Configure the channel you want to post to, the icon, etc.
When you're done with this, you should have a slack webhook URL that looks something like `https://hooks.slack.com/services/...`.
Set the optional environment variables either directly in the vercel UI or by updating `vercel.json` and setting them as secrets for your organization. The optional environment variables are:
- `MUX_WEBHOOK_SIGNATURE_SECRET` - This is a security mechanism that checks the webhook signature header when the request hits your server so that your server can verify that the webhook came from Mux. Read more about [webhook signature verification](https://docs.mux.com/docs/webhook-security). Note that in `./pages/api/webhooks/mux` the code will only verify the signature if you have set a signature secret variable, so this step is optional.
- `SLACK_WEBHOOK_ASSET_READY` - This is the `https://hooks.slack.com/services/....` URL when you created the Slack Incoming Webhook.
- `SLACK_MODERATOR_PASSWORD` - This is the password that will be used to authorize deleting assets from the slack moderator (The button with the red text "DELETE (cannot be undone)")
- `NEXT_PUBLIC_MUX_ENV_KEY` - This is the env key to use with [Mux Data](https://docs.mux.com/docs/data). Note this is different than your API key and this environment key can be found on your [environment page in the Mux dashboard](https://dashboard.mux.com/environments)
After all of this is set up the flow will be:
1. Asset is uploaded
1. Mux sends a webhook to your server (NextJS API function)
1. (optional) Your server verifies the webhook signature
1. If the webhook matches `video.asset.ready` then your server will post a message to your slack channel that has the Mux Asset ID, the Mux Playback ID, and a thumbnail of the video.
## Step 6 (optional) Add AI-powered content moderation and summarization using @mux/ai
stream.new can automatically moderate and summarize content with the help of [@mux/ai](https://www.npmjs.com/package/@mux/ai).
This integration provides:
* **Automatic moderation** using both OpenAI and Hive AI providers to detect inappropriate content
* **Auto-deletion** of content that exceeds moderation thresholds
* **AI-generated summaries** with titles, descriptions, and tags
* **Custom Q&A** to answer specific questions about video content
### Setup
1. Set the following environment variables:
- `MUX_TOKEN_ID` and `MUX_TOKEN_SECRET` - Your Mux API credentials
- `OPENAI_API_KEY` - Your OpenAI API key (for moderation and summarization)
- `HIVE_API_KEY` - Your Hive AI API key (for moderation)
- `AUTO_DELETE_ENABLED=1` - Enable automatic deletion of flagged content (optional)
2. Configure the webhook endpoint in your Mux dashboard to point to `/api/webhooks/mux-ai`
3. Subscribe to these webhook events:
- `video.asset.ready` - triggers moderation workflow
- `video.asset.track.ready` - triggers summarization when subtitles are generated
### How it works
When a video is uploaded:
1. The `video.asset.ready` webhook triggers moderation using both OpenAI and Hive AI
2. If either service detects content exceeding thresholds (default: 0.9), the playback ID is automatically deleted
3. Moderation results are posted to Slack with visual indicators (🚨 for flagged, ✅ for clean)
4. When generated subtitles are ready, the `video.asset.track.ready` webhook triggers AI summarization
5. Summary results with title, description, tags, and custom Q&A answers are posted to Slack
# Hidden playback features via query params:
- `time`: will start the video at a specific timestamp in seconds, for example `?time=10` will start at 10 seconds [like this](https://stream.new/v/XQDCNm01ZPyGg81GzK4mQfL7fxFoqP8uo?time=10)
- `color`: a hex value *without* the `#` character will theme the Mux Player with the primaryColor. It's important to omit the `#` for example `?color=f97316` [like this](https://stream.new/v/XQDCNm01ZPyGg81GzK4mQfL7fxFoqP8uo?color=f97316)
# Videos to test in development:
When developing, if you make any changes to the video player, make sure it works and looks good with videos of various dimensions:
Horizontal
- http://localhost:3000/v/Hi6we01h00uVvZc00GzvVXZW8C02Y8QC8OX7
Vertical
- http://localhost:3000/v/UNDUU7tU7vYt02CRMDTlZd1qKjvk41LN6yI5LbHgtxo8
Super vertical
- http://localhost:3000/v/seK501Bf00kyqSnGdMwQFi3lgqgdoS00qm5PAiV7Yjf2ew
Also be sure to check: Safari, Mobile Safari, Chrome, Firefox because they all behave a little differently.