 # Our Shopping List
OSL is a simple **shared list** application. Typical uses include **shopping
lists** of course, and any other small todo-list that needs to be used
**collaboratively**.
# Our Shopping List
OSL is a simple **shared list** application. Typical uses include **shopping
lists** of course, and any other small todo-list that needs to be used
**collaboratively**.
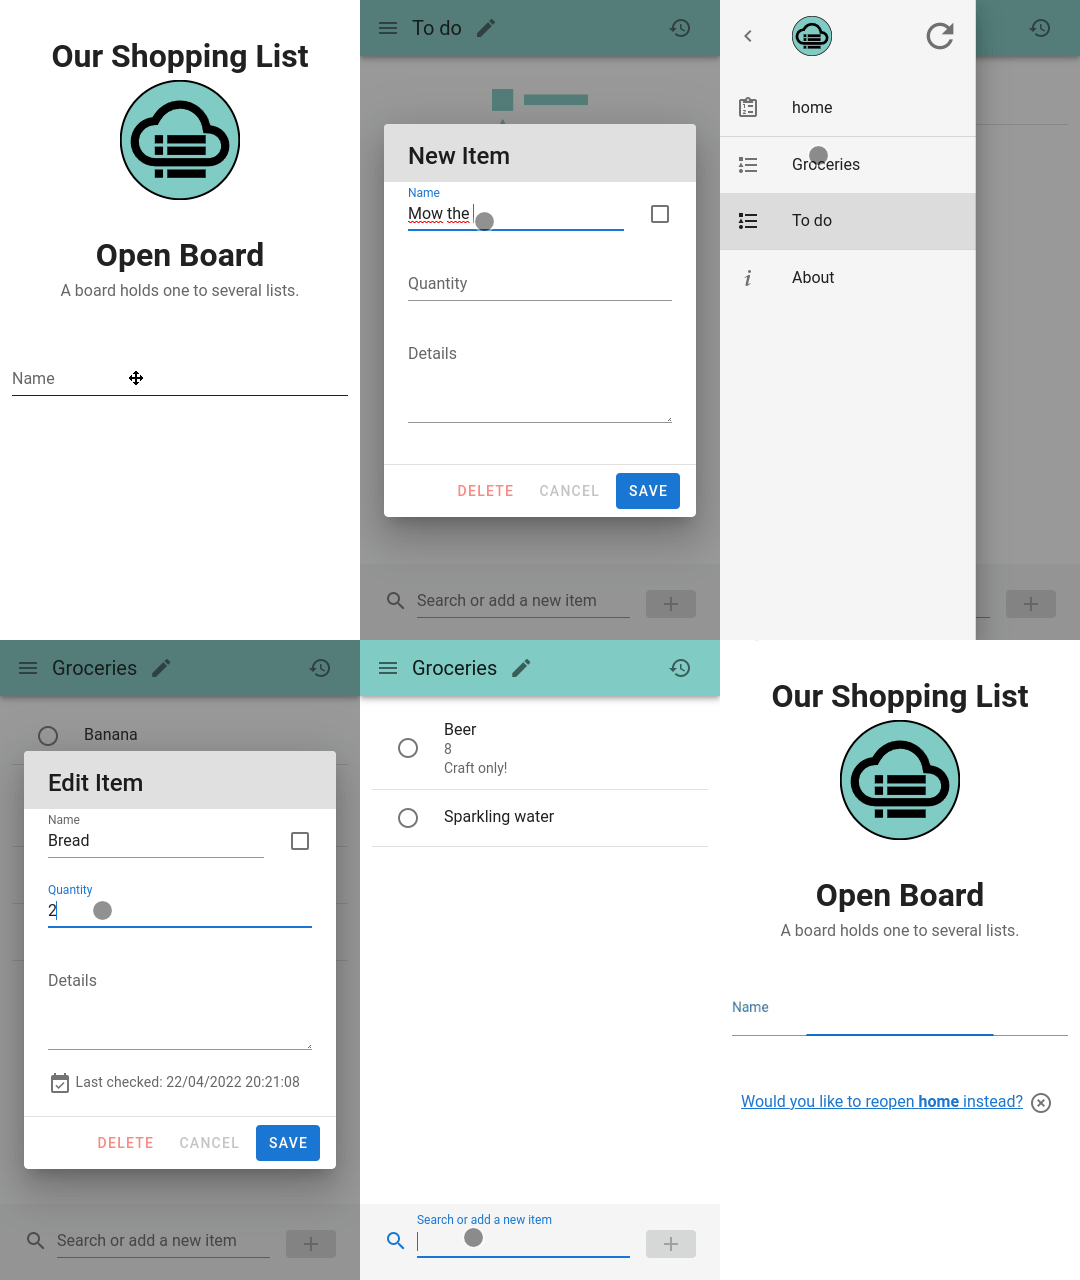
The current implementation provides the following features:
- **Multiple boards** (can be disabled, see `VITE_APP_SINGLEBOARD_MODE`)
- Each board with **multiple lists**
- **Real-time sync** between users
- Items with the following fields: name, quantity, details
- **Checkable** items
- 2 **display modes** for items (unchecked only / checked only, sorted by check time)
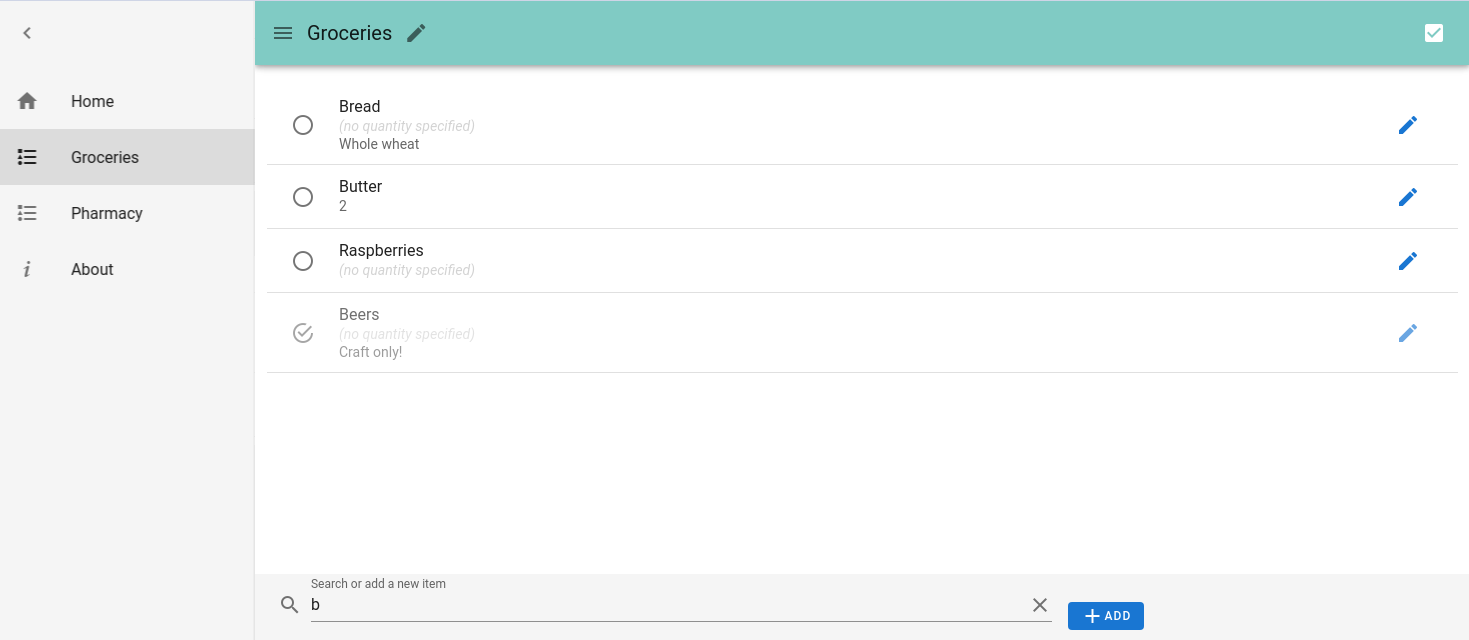
- Intuitive **search**
- **Mobile-first UI** with swipeable items
- [PWA](https://en.wikipedia.org/wiki/Progressive_web_application) basic support
- Internationalisation (i18n) ([available languages listed here](./client/src/locales))
- Want to help? Create or update translations on [Weblate](https://hosted.weblate.org/projects/our-shopping-list/client-src-locales/)
- Mass-create items by [pasting a CSV](https://github.com/nanawel/our-shopping-list/issues/51#issuecomment-3985512155)
in the search field (can be disabled, see `VITE_APP_DISABLE_PASTE_CSV`)
But, at this date it lacks the following:
- Full PWA support with offline mode and deferred sync
## ⭐ New in v2: Boards feature
Before v2, **all of the lists** on an instance were available to **all users**.
Version 2 introduces a new feature called "boards". It's simply a way to group
lists together under a common name. That name can then be shared so that
people use the lists from a board collaboratively.
But, you might want to disable that feature and keep using a unique board for
your whole instance. In that case, just use the provided
`VITE_APP_SINGLEBOARD_MODE` environment variable.
**But have no fear, you can always:**
- Switch from _singleboard_ mode to multi-board
- In that case you'll have to
create a new board and choose it as target for existing lists with the
provided CLI tool.
- Switch from multi-board mode to _singleboard_
- In that case you can choose which lists to migrate to the special
unique board, but you'll lose access to all other lists (they are not
deleted, just not accessible anymore)
> See next § for instructions on how to enable one mode or the other.
## ☝ Instructions when migrating from v1 to v2
Version 2 has added the _multiboard_ feature which changes the default mode
the application runs into.
If you already had a working v1, and would like to upgrade to v2 please follow
the steps below:
> ⚠ **Back up your data before proceeding!**
### If you want to keep using one single board on your instance (just like on v1)
- Make sure you set the `VITE_APP_SINGLEBOARD_MODE` to `1`
- Once started, use the CLI to migrate existing lists to the special board
used as common parent for lists in "singleboard" mode.
```shell
docker compose exec app node cli.js board:create --singleboard
docker compose exec app node cli.js list:move-to-board --all --singleboard
```
- Use the application as usual (you might have to clear your browser's cache
to make sure there's no invalid data left).
### If you want to enable the new _boards_ feature and migrate your existing lists to a dedicated board
- Make sure `VITE_APP_SINGLEBOARD_MODE` is **not set** or set to `0`
- Create a new board with the name of your choice
```shell
# Get the created board's slug from the output and use it in the following command
docker compose exec app node cli.js board:create my-board
docker compose exec app node cli.js list:move-to-board --all --board my-board
```
- Open the application, and from the home screen open the board you've just created
to find your lists.
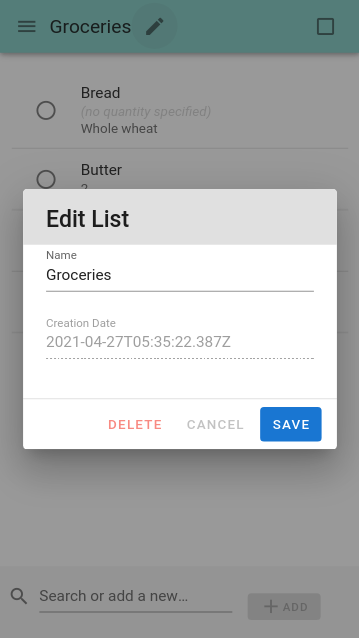
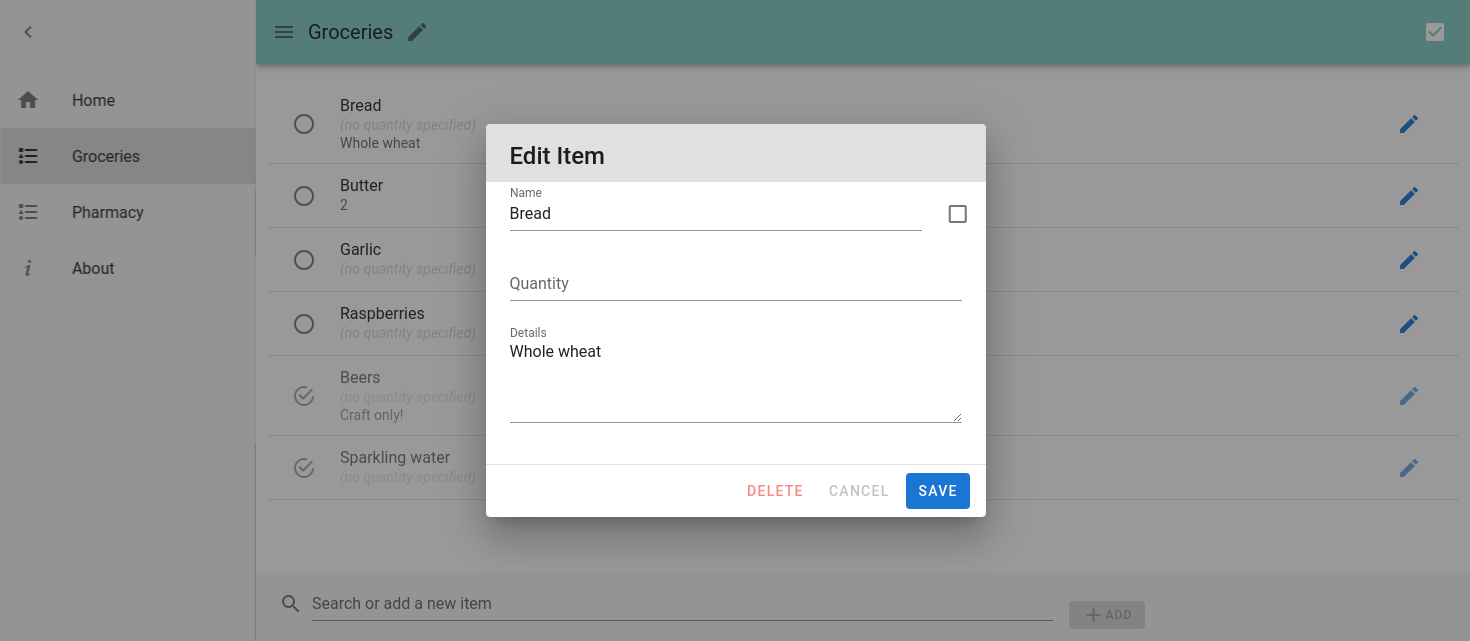
## 🖼 Screenshots
### Mobile
> ☝ Screenshots are from v1, but v2 looks mostly the same.
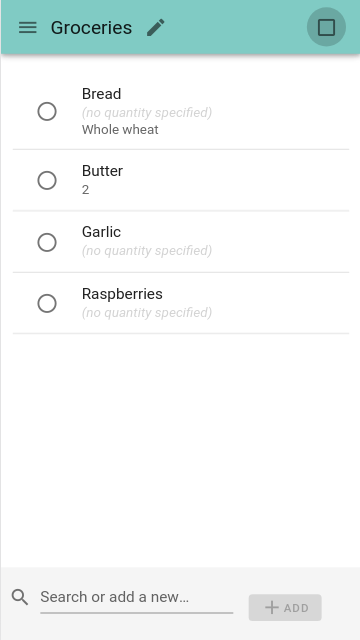
Click here to see more!
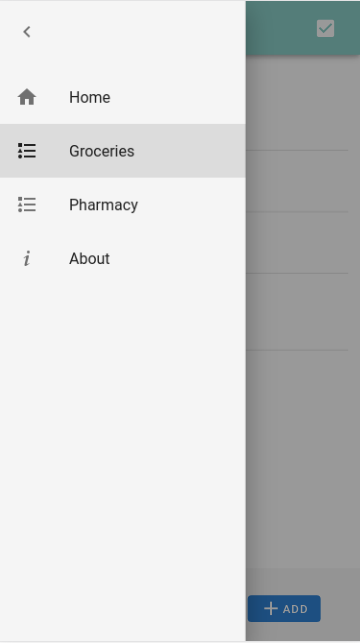
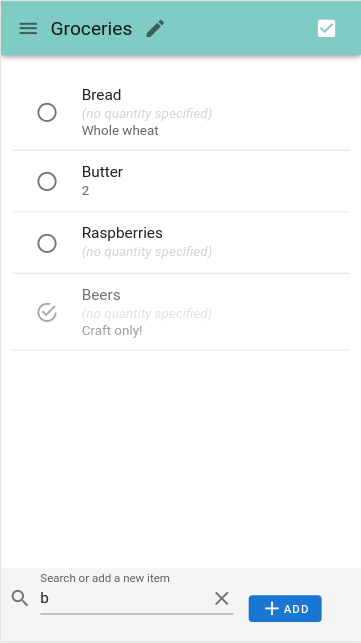
### Desktop
> ☝ Screenshots are from v1, but v2 looks mostly the same.
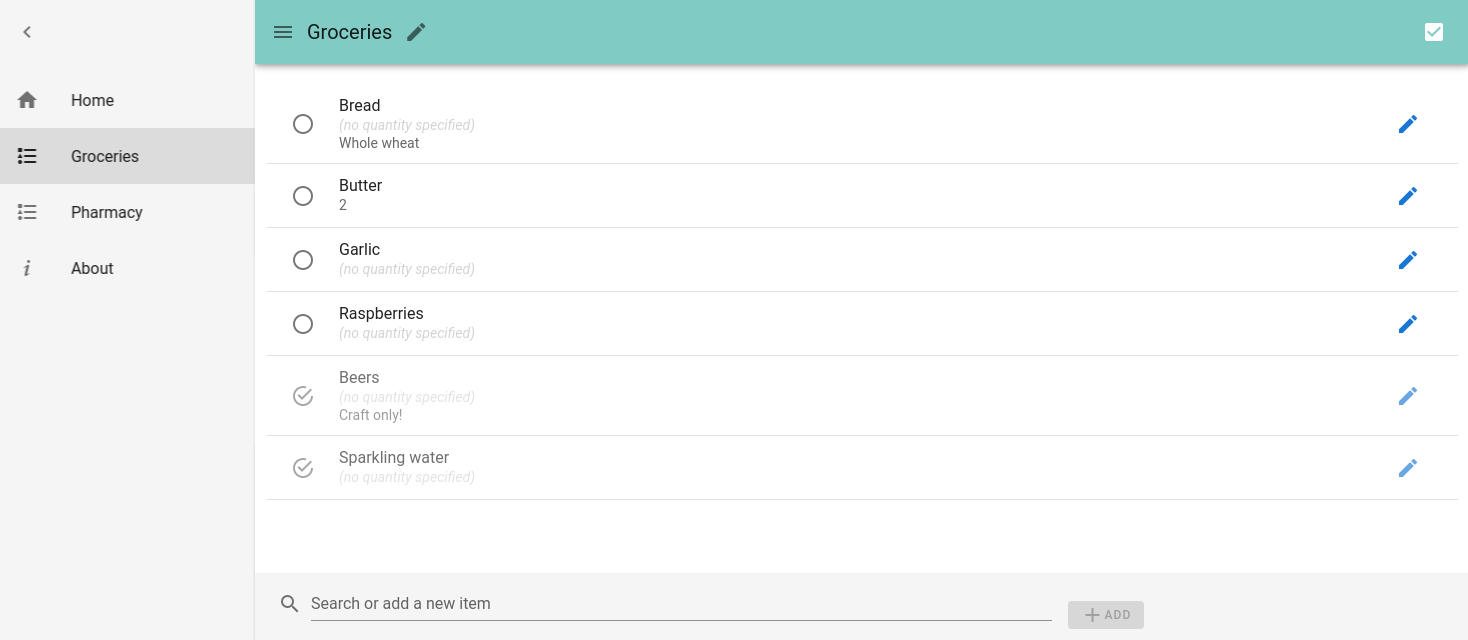
Click here to see more!

## 📦 Installation
### 🐋 With Docker
With a running [MongoDB](https://hub.docker.com/_/mongo) container as
`mymongo` on the host:
```shell
docker run --detach \
--name our-shopping-list \
--link mymongo:mongodb \
--publish 80:8080 \
ourshoppinglist/our-shopping-list
```
### 🐋 With `docker compose`
Use the provided [`docker-compose.yml`](doc/docker-compose.yml) and adapt it to
your needs.
Then to start the containers:
```shell
docker compose up -d
```
**Available environment variables for the `app` container**
⚠️ The original `VUE_APP_` prefix has been replaced due to the migration to Vite.
You must now use `VITE_APP_` instead.
- **System keys**
- `LISTEN_PORT` (default: `8080`)
- `MONGODB_HOST` (default: `mongodb`)
- `MONGODB_PORT` (default: `27017`)
- `MONGODB_DB` (default: `osl`)
- `BASE_URL` (default: _empty_) Set to base path if your web root is not `/` (ex: `/my-osl/`)
- ⚠️ Not supported in development mode (Vite-related limitation)
> MongoDB authentication is not supported yet.
- **Application keys**
- `VITE_APP_APM_ENABLED` (default: `0`) [Reference](https://www.elastic.co/guide/en/apm/agent/rum-js/current/intro.html)
- `VITE_APP_APM_LOGLEVEL` (default: `warn`) [Reference](https://www.elastic.co/guide/en/apm/agent/rum-js/current/configuration.html#log-level)
- `VITE_APP_APM_SERVERURL` (default: `http://localhost:8200`) [Reference](https://www.elastic.co/guide/en/apm/agent/rum-js/current/configuration.html#server-url)
- `VITE_APP_APM_SERVERURLPREFIX` (default: `/intake/v${apiVersion}/rum/events`) [Reference](https://www.elastic.co/guide/en/apm/agent/rum-js/current/configuration.html#server-url-prefix)
- `VITE_APP_APM_SERVICENAME` [Reference](https://www.elastic.co/guide/en/apm/agent/rum-js/current/configuration.html#service-name)
- `VITE_APP_BOARD_DELETION_ENABLED` (default: `0`) [Reference](https://github.com/nanawel/our-shopping-list/issues/17)
- `VITE_APP_CHECKED_ITEMS_HISTORY_SORT_FIELD` (default: `lastCheckedAt`, see available fields [here](./client/src/models/Item.js))
- `VITE_APP_CHECKED_ITEMS_HISTORY_SORT_ORDER` (default: `desc`)
- `VITE_APP_CLIENT_LOG_CONSOLE_ENABLED` (default: `false`, [see doc here](https://github.com/dev-tavern/vue-logger-plugin/tree/v1.2.3#enabled-vs-consoleenabled))
- `VITE_APP_CLIENT_LOG_ENABLED` (default: `false`, [see doc here](https://github.com/dev-tavern/vue-logger-plugin/tree/v1.2.3#enabled-vs-consoleenabled))
- `VITE_APP_CLIENT_LOG_LEVEL` (default: `debug`)
- `VITE_APP_DISABLE_PASTE_CSV` (default: `0`)
- `VITE_APP_EDIT_ITEM_ON_CREATE` (default: `0`)
- `VITE_APP_HIDE_FORCE_REFRESH_HINT` (default: `0`)
- `VITE_APP_HOME_MESSAGE` (default: _empty_)
- `VITE_APP_I18N_FALLBACK_LOCALE` (default: `en`)
- `VITE_APP_I18N_FORCE_LOCALE` (default: `0`)
- `VITE_APP_I18N_LOCALE` (default: `en`)
- `VITE_APP_LIST_ALL_BOARDS_ENABLED` (default: `0`, has no effect in _singleboard_ mode)
- `VITE_APP_LOCALSTORAGE_KEY_PREFIX` (default: `OurShoppingList_`)
- `VITE_APP_PASTE_CSV_SEPARATOR` (default: `,`)
- `VITE_APP_SHORT_TITLE` (default: `OSL`)
- `VITE_APP_SINGLEBOARD_MODE` (default: `0`)
- `VITE_APP_SOCKETIO_CSR_MAXDISCONNECTIONDURATION` (default: `1800000` = 30mn)
- `VITE_APP_SOCKETIO_PING_INTERVAL` (default: `25000` = 25sec.)
- `VITE_APP_SOCKETIO_PING_TIMEOUT` (default: `20000` = 20sec.)
- `VITE_APP_THEME` (`system` | `light` | `dark`, default: `system`) [Reference](https://github.com/nanawel/our-shopping-list/issues/48)
- `VITE_APP_TITLE` (default: `Our Shopping List`)
- `VITE_APP_USE_ITEM_QUICK_SYNTAX` (default: `0`) [Reference](https://github.com/nanawel/our-shopping-list/issues/20)
### Robots.txt
By default, the embedded `robots.txt` prevents search engines from browsing the application:
```
User-agent: *
Disallow: /
```
You can change this behavior by mounting the `robots.txt` of your choice at `/app/robots.txt` in the container.
### 🗒 Notes for reverse-proxy (SSL offloading)
OSL uses a WebSocket to allow server-to-client communication. So using a
reverse-proxy to forward the connection implies the presence of the following
sections below in the corresponding virtual host.
Replace `127.0.0.1` and `8080` with the IP of the OSL host if your RP is not
the host itself and/or if you're using another port.
#### Apache
```
Allow from all
ProxyPass / http://127.0.0.1:8080/
ProxyPassReverse / http://127.0.0.1:8080/
ProxyPreserveHost On
RewriteEngine On
RewriteCond %{HTTP:Upgrade} =websocket [NC]
RewriteRule /(.*) ws://127.0.0.1:8080/$1 [P,L]
RewriteCond %{HTTP:Upgrade} !=websocket [NC]
RewriteRule /(.*) http://127.0.0.1:8080/$1 [P,L]
```
#### Nginx
```
location / {
proxy_set_header Host $host;
proxy_set_header X-Real-IP $remote_addr;
proxy_set_header X-Forwarded-For $proxy_add_x_forwarded_for;
proxy_set_header X-Forwarded-Proto $scheme;
proxy_pass http://localhost:8080;
proxy_http_version 1.1;
proxy_set_header Upgrade $http_upgrade;
proxy_set_header Connection "Upgrade";
proxy_redirect http://localhost:8080 https://ourshoppinglist.myhost;
}
```
### ⚠ Notes when serving multiple instances on different web roots
Remember to set the `BASE_URL` variable to the matching web root on each instance.
Make sure you set `VITE_APP_LOCALSTORAGE_KEY_PREFIX` to a unique value too, otherwise clients switching from
one instance to another might corrupt the internal cache in their browser.
Example:
- 1st instance on https://my.host/public-osl
- `BASE_URL` = `public-osl/`
- `VITE_APP_LOCALSTORAGE_KEY_PREFIX` = `OSL1_`
- 2nd instance on https://my.host/private-osl
- `BASE_URL` = `private-osl/`
- `VITE_APP_LOCALSTORAGE_KEY_PREFIX` = `OSL2_`
- etc.
### Debugging on server side
You can use the [standard `DEBUG`](https://dev.to/aderchox/what-is-the-debug-environment-variable-in-nodejs-and-how-to-use-it-3fal)
environment variable to enable the verbose mode of the server:
Example to log all operations related to **socket-io** (WebSocket) and the **URL rewrite** process
(when using a custom `BASE_URL`):
```
DEBUG=socket.io:server,express-urlrewrite
```
Or if you need to log everything:
```
DEBUG=*
```
## Upgrade MongoDB to 7.x
From the original release until june 2024, the stack was shipped with `mongo:4` but this version
of MongoDB is deprecated and you can safely upgrade to MongoDB 7 while keeping your existing data.
Use the provided automated script as follows:
```shell
# Make a backup with mongodump first!
docker compose exec -T mongodb mongodump -d osl --archive > osl-backup.archive
bash doc/update-mongo7.sh
```
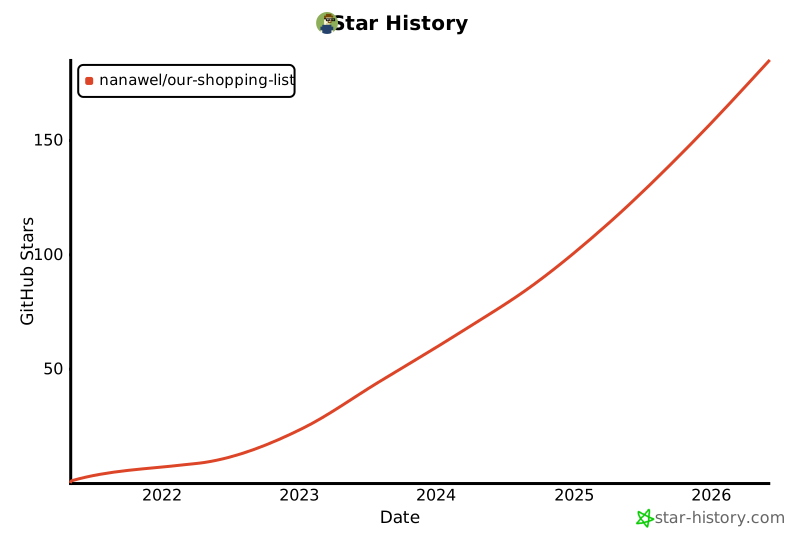
## Star History
[](https://www.star-history.com/#nanawel/our-shopping-list&type=date&legend=top-left)
## 👷 Developer installation
> 🐋 This method also uses Docker, but with the local source files mounted
> into the `node` container.
First of all, clone this project in the directory of your choice. Then from it:
```shell
make dev-pull
make dev-init
make dev-upd
```
Now start the Webpack Development Server with
```shell
make dev-watch
```
> If you don't, you'll get 504 errors in the console on `/sockjs-node/*` requests
> and you won't get hot reloading on changes.
If you want to enter the container, just use
```shell
make dev-shell
```
### Translation
Translations can be very easily added and improved using the files from the `client/src/locales/`
directory.
If you want to translate OSL in a new language, feel free to add your contribution using
[Weblate](https://weblate.org/).
Register on Weblate and go to https://hosted.weblate.org/projects/our-shopping-list/client-src-locales/
### Special cases
In development mode, the service worker is not enabled.
To workaround this limitation, you may want to ponctually build the JS bundle
in "production" mode.
Here's how:
```shell
make dev-shell
cd client/
NODE_ENV=production yarn build
```
Then reload the page in your browser and the SW should be activated.
You have to make sure you are running the app **with TLS enabled**. Use the
`ENABLE_TLS` variable to use the embedded TLS proxy if needed.
### Upgrade MongoDB to 7.x
Use the provided automated script as follows:
```shell
export COMPOSE_FILE=docker-compose.dev.yml
export DOCKER_COMPOSE_FILE=docker-compose.dev.yml
bash doc/update-mongo7.sh
```