placeholders for Note and Tip layout)
[comment]: <> (please keep the ### 1. and 2. titles as is for consistency across all demoguides)
[comment]: <> (section 1 provides a bullet list of resources + clarifying screenshots of the key resources details)
[comment]: <> (section 2 provides summarized step-by-step instructions on what to demo)
[comment]: <> (this is the section for the Note: item; please do not make any changes here)
***
### Azure Storage Account Blobs and File Shares - demo scenario
**Note:** Below demo steps should be used **as a guideline** for doing your own demos. Please consider contributing to add additional demo steps.
[comment]: <> (this is the section for the Tip: item; consider adding a Tip, or remove the section between
and
if there is no tip)
***
### 1. What Resources are getting deployed
This scenario deploys **an Azure Storage Account**, having blobs and file shares as main data storage scenarios, displaying Seattle scenery images.
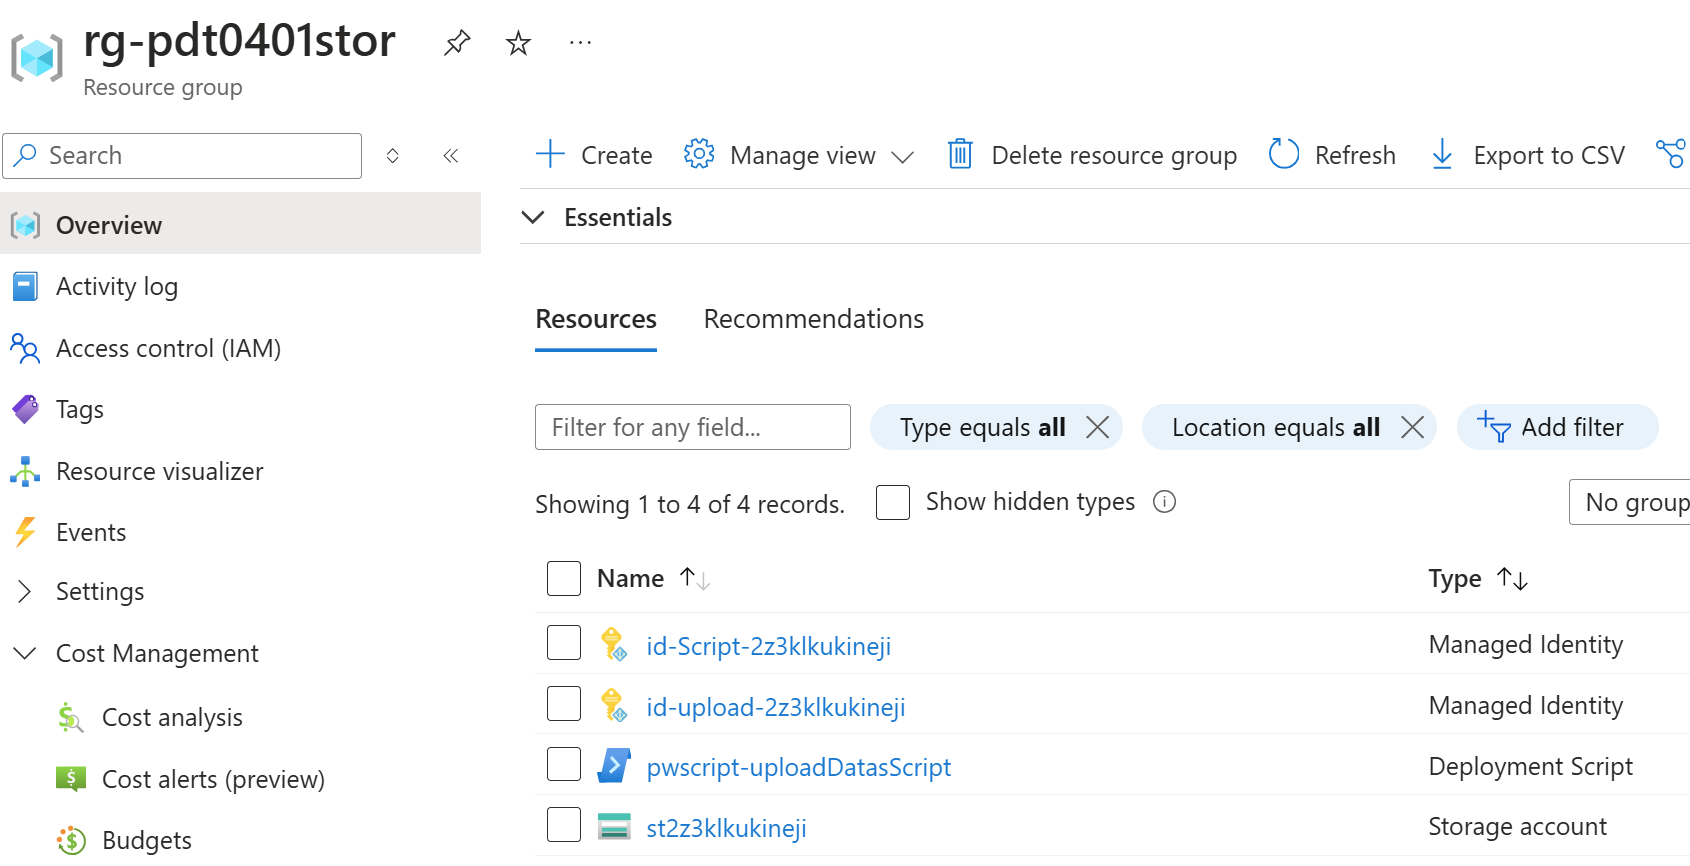
* rg-%azdenvname% - Azure Resource Group.
* id-Script-%guid% - Azure Managed Identity to run the file copy script
* id-upload-%guid% - Azure Managed Identity to upload files into blobs and file share
* %guid%storageaccount - Azure Storage Account, used for Blobs and File Share services
* pwscript-uploadDataScript - PowerShell script to upload files into blobs and file share
### 2. What can I demo from this scenario after deployment
#### 2a. Blob Storage Demo
1. In this scenario, the focus is highlighting the main features of an Azure Storage Account, being Blob storage.
1. Navigate to the **Storage Account**, and open the **Overview** tab.
1. Highlight the **Replication** and **Account Kind** settings.
1. Navigate to **Storage Browser**. Select **Blob Containers**.
1. Open the **images** blob.
1. Notice there are **6 images files** in here. Select one of the image files.
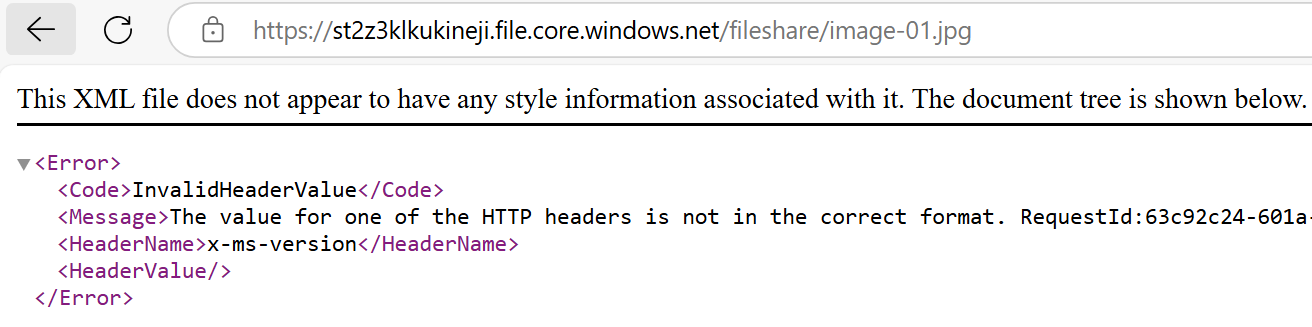
1. From the detailed blade, select URL and copy/paste this into a new browser window.
1. The file will be downloaded in the browser; Open the file to see the actual Seattle scenery image.

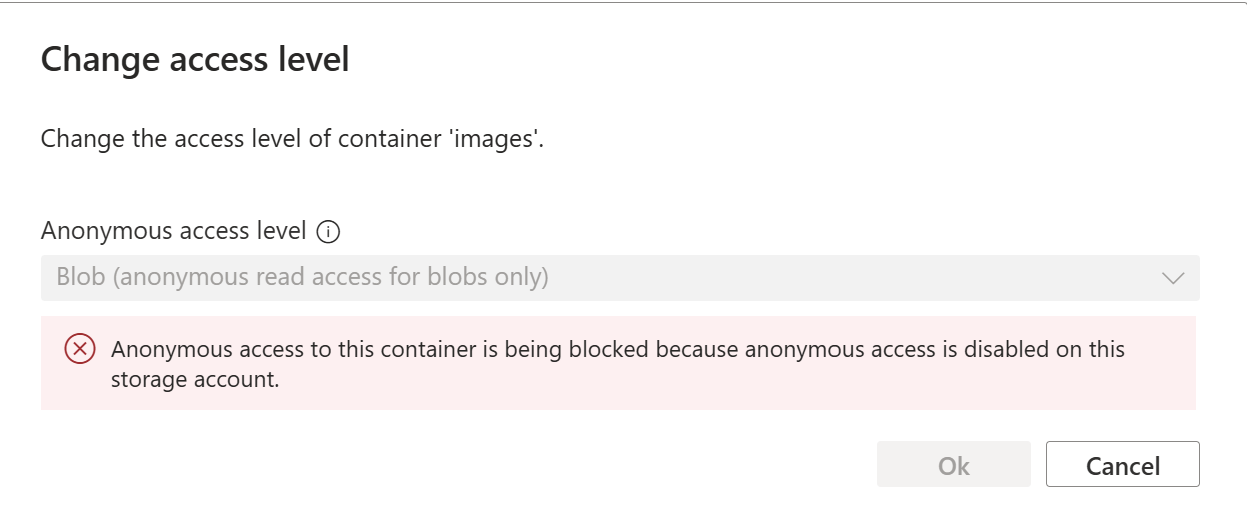
**Note:** The fact the image can be downloaded just by connecting to the URL, is because of the **blob anonymous access level** as well as **storage account public access**.