>**saleor-storefront repository is `DEPRECATED`**
>
>We've decided to build a new storefront starting from scratch, with no fancy design, focusing solely on best practices for building commerce storefronts. The new project, called react-storefront, uses Next.js as its foundation and Tailwind for the looks. You can find it here: https://github.com/saleor/react-storefront.
# Saleor Storefront
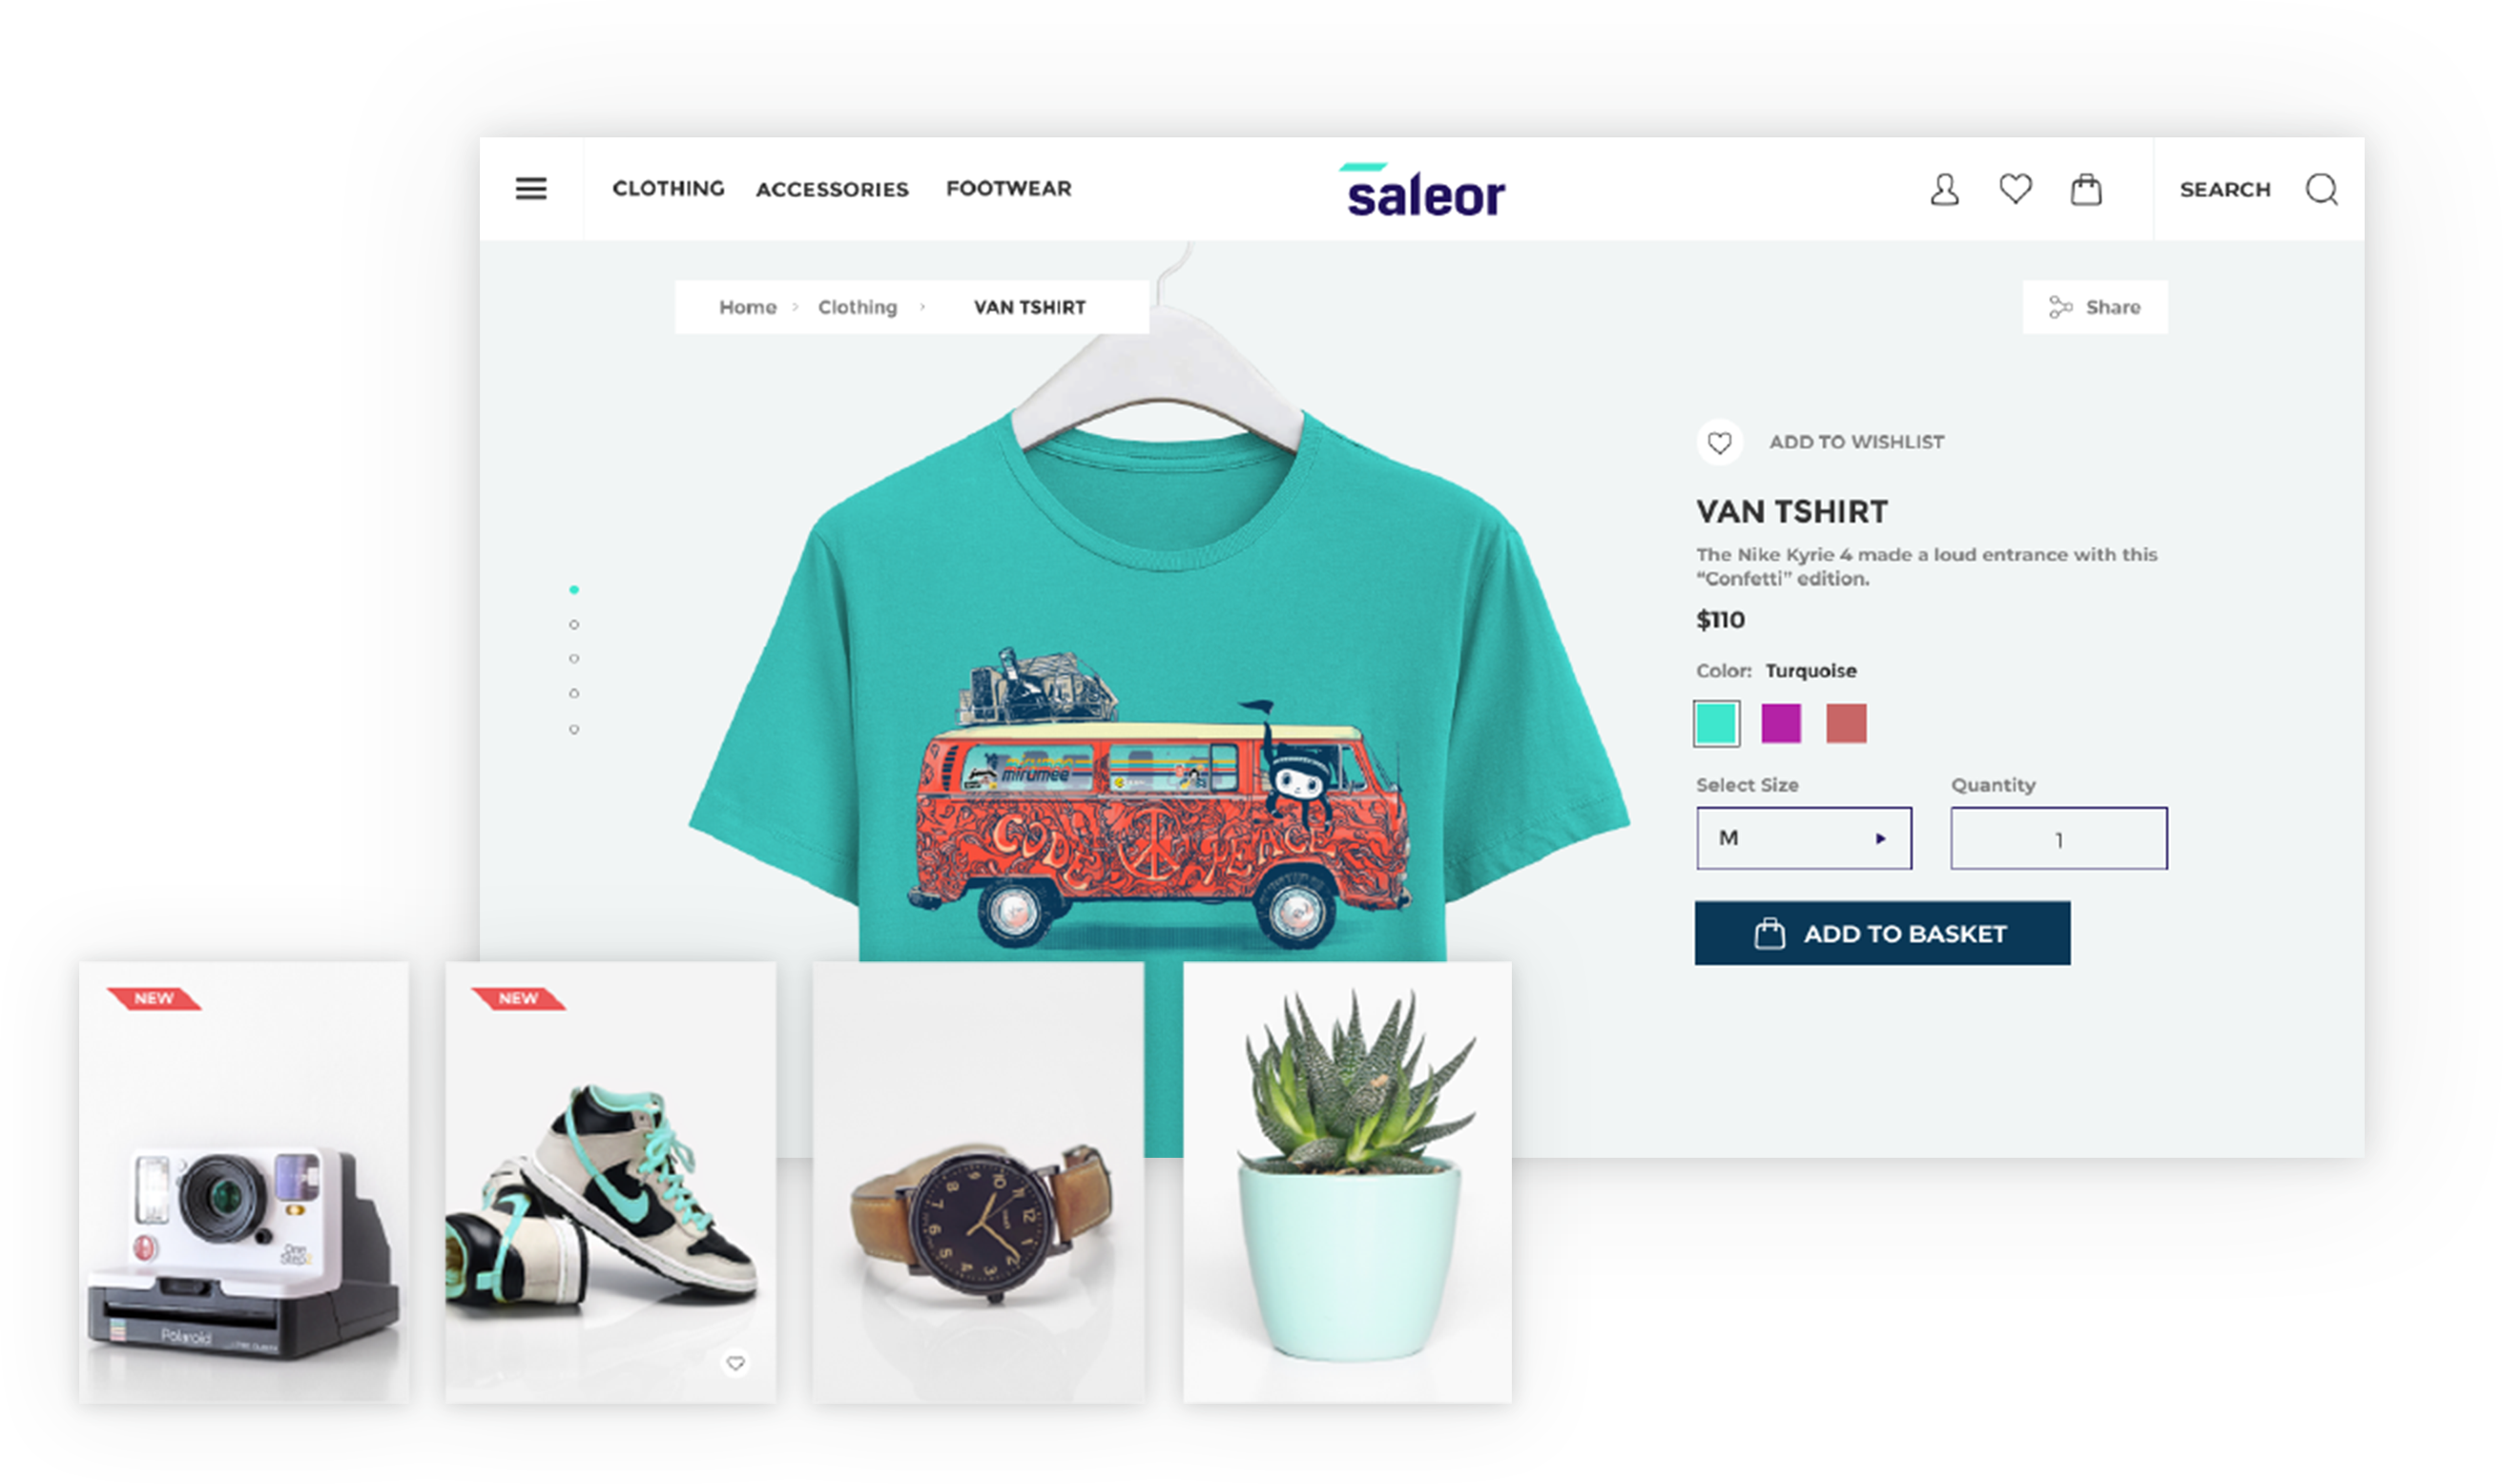
_**Note:** This project is a demonstration on how Saleor can be used. It’s not ready to be a starter but rather show how different cases can be handled and could be used as a recipe book. There **will** be breaking changes and the code is constantly evolving, so use at your own risk._
A GraphQL-powered, PWA, single-page application storefront for [Saleor](https://github.com/mirumee/saleor/).
## Features
- Headless ecommerce storefront built with [GraphQL](https://graphql.org/), [Apollo Client](https://www.apollographql.com/client), [React](https://reactjs.org/), [Next.js](https://nextjs.org/) and [Typescript](https://www.typescriptlang.org/)
- Offline mode (beta)
- Saleor GraphQL API integration
- Single-page application experience
- [Braintree Payment Gateway](https://www.braintreepayments.com/) integration
## Demo
See the [public demo](http://demo.saleor.io) of Saleor Storefront!
Or launch the demo on a free Heroku instance.
[](https://heroku.com/deploy)
## Getting Started
These instructions will get you a copy of the project up and running on your local machine for development and testing purposes.
### Prerequisites
- Node.js 14.16
- A running instance of Saleor.
To run the storefront, you have to set the `NEXT_PUBLIC_API_URI` environment variable to point to the Saleor GraphQL API.
If you are running Saleor locally, with the default settings, `NEXT_PUBLIC_API_URI` is set to: `http://localhost:8000/graphql/`.
To change it, either create a [`.env.local` file](https://nextjs.org/docs/basic-features/environment-variables#loading-environment-variables) and add it there or set an env variable using `export` command.
### Installing
Clone the repository:
```
git clone https://github.com/mirumee/saleor-storefront.git
```
Enter the project directory:
```
cd saleor-storefront
```
#### Using stable release
To use the official stable release, checkout to a release tag:
```
$ git checkout 2.11.0
```
See the list of all releases here: https://github.com/mirumee/saleor-storefront/releases/
#### Using development version
If you want to use the latest development version, checkout to the `master` branch:
```
$ git checkout master
```
Install NPM dependencies:
```
npm i
```
Run the development server:
```
npm start
```
Go to `http://localhost:3000` to access the storefront.
##### Build
To compile the app run:
```
$ npm run build
```
To compile the app and export storefront to the static HTML run:
```
$ npm run build:export
```
To compile the app and run it in production mode with next server run:
```
$ npm run build:start
```
In order to enable Apollo Devtools in the production version, set the environmental variable
```
NEXT_PUBLIC_ENABLE_APOLLO_DEVTOOLS=true
```
## Cypress tests
If you want to run [Cypress](https://www.cypress.io/) tests, make sure that all dependencies (including `Cypress`) are installed by running the install command.
```
npm i
```
Following environment variables are required to be set in order to be able to run tests properly:
- `API_URI` - GraphQL API address.
- `STATIC_URL` - static files destination url, eg. S3 bucket
- `CYPRESS_USER_NAME` - username (email) for `Storefront` user.
- `CYPRESS_USER_PASSWORD` - for the user mentioned above.
If you are running the Storefront from the perspective of `Docker` container, then you can run tests using following commands:
Headless mode:
```
cy:run
```
Cypress UI mode:
```
cy:open
```
If you want to run tests against your local development environment then use following commands:
Headless mode:
```
test:e2e:run
```
Cypress UI mode:
```
test:e2e:dev
```
## Creating new components
All new components should follow Atomic Design Guidelines and be placed in `src/@next/components` directory.
Files structure can be generated using `plop`:
```
npm run generate
```
## Modifying the Storefront
[From Spectrum Post](https://spectrum.chat/saleor/saleor-storefront/modifying-the-storefront~c1955dbf-a421-4fb6-b99e-937dd2642b23)
### Important Files
- **saleor-storefront/config/next/config.base.js** - Base Next.js config file which contains webpack custom adjustments.
- Can change name of the app (displayed when installed on mobile)
- **saleor-storefront/src/pages/_app_.tsx** - Main entry point file. Render's the component, apollo-client, and others to the root div in index.html file above. Contains also head section - You can change the title of storefront here.
- **saleor-storefront/src/core/config.ts** - Controls number of products shown per page, support email, gateway providers, social media, and some meta.
- Can change support email
- Can change products shown per page
- Can change gateway providers
- Can change social media links that are displayed in the footer
- Can change some meta options
- **saleor-storefront/src/images/** - Holds all the images for logo, cart, favicon, etc.
- Can change storefront logo, favicon, or add new images here.
- **saleor-storefront/src/globalStyles/scss/variables.scss** - Contains base styles like colors, font size, container width, media breakpoints and more.
- **saleor-storefront/src/@next/globalStyles/** - Contains more base styles, themes, media, and constants.
- **saleor-storefront/src/views/** - This folder controls the views, or what is displayed for each page. Most views have a file named "Page.tsx" that controls the layout of the page and a file named "View.tsx" that calls the query and renders the component with the data.
- Can add another view to storefront here. Requires adding a route (see routes below).
- saleor-storefront/src/@next/pages/ - Second spot for modifying/adding different pages. This is the recommended directory to add new pages.
- **saleor-storefront/src/paths.ts** - This folder contains all the paths. Here is where you add a new one.
- **saleor-storefront/src/pages/** - This folder contains files which are translated to [Next.js routing](https://nextjs.org/docs/basic-features/pages). Here is where you add a new route.
1. Export a new path in paths.ts
2. Inside pages, create a new file with name correnspond to your desired route ([read more here](https://nextjs.org/docs/routing/dynamic-routes) about nested routes). Import your view in the created route file end export it as a default export.
3. To link to your new view `import Link from "next/link"` and use new path you created in paths.ts (make sure to import it)
- **saleor-storefront/src/app/App.tsx** - This is main component that renders the , (explained below), and a couple other components.
### Adding a Payment Gateway
- **saleor-storefront/src/core/config.ts** - Add new gateway provider name here.
- **saleor-storefront/src/@next/components/organisms/** - Create a new folder for new payment gateway component here.
- **saleor-storefront/src/@next/components/organisms/PaymentGatewaysList/PaymentGatewaysList.tsx** - Import new gateway component, create a new switch case to handle your gateway component.
### Receiving confirmation emails
- **Set [EMAIL_URL](https://docs.saleor.io/docs/developer/running-saleor/configuration#setting-environment-variables) environment variable for Saleor core.**
- Using Docker - Add EMAIL_URL as new environment variable to both the api and worker service following the format [here](https://docs.saleor.io/docs/developer/running-saleor/configuration#email_url).
- **Issues getting emails working?**
- Gmail
- Check to see that "Less secure app access" is turned ON. Under "Manage your Google Account" > Go to the security tab. By default, the setting is off for security reasons.
- If using 2FA make sure to set an [app password](https://support.google.com/accounts/answer/185833?p=InvalidSecondFactor&visit_id=637355441414497566-1310044707&rd=1) and use that in place of your normal login password.
### Multichannel
- **Set [SALEOR_CHANNEL_SLUG] environment variable.** - Default value: `default-channel`.
## License
This project is licensed under the BSD-3-Clause License - see the [LICENSE](https://github.com/mirumee/saleor-storefront/blob/master/LICENSE) file for details
#### Crafted with ❤️ by [Saleor Commerce](http://saleor.io)
hello@saleor.io