# Writing
[Documentation](README.md) / Writing
ScribeDog is a WYSIWYG Markdown editor. You write and format like in a word
processor, and the file on disk stays clean Markdown that any other tool can
open.
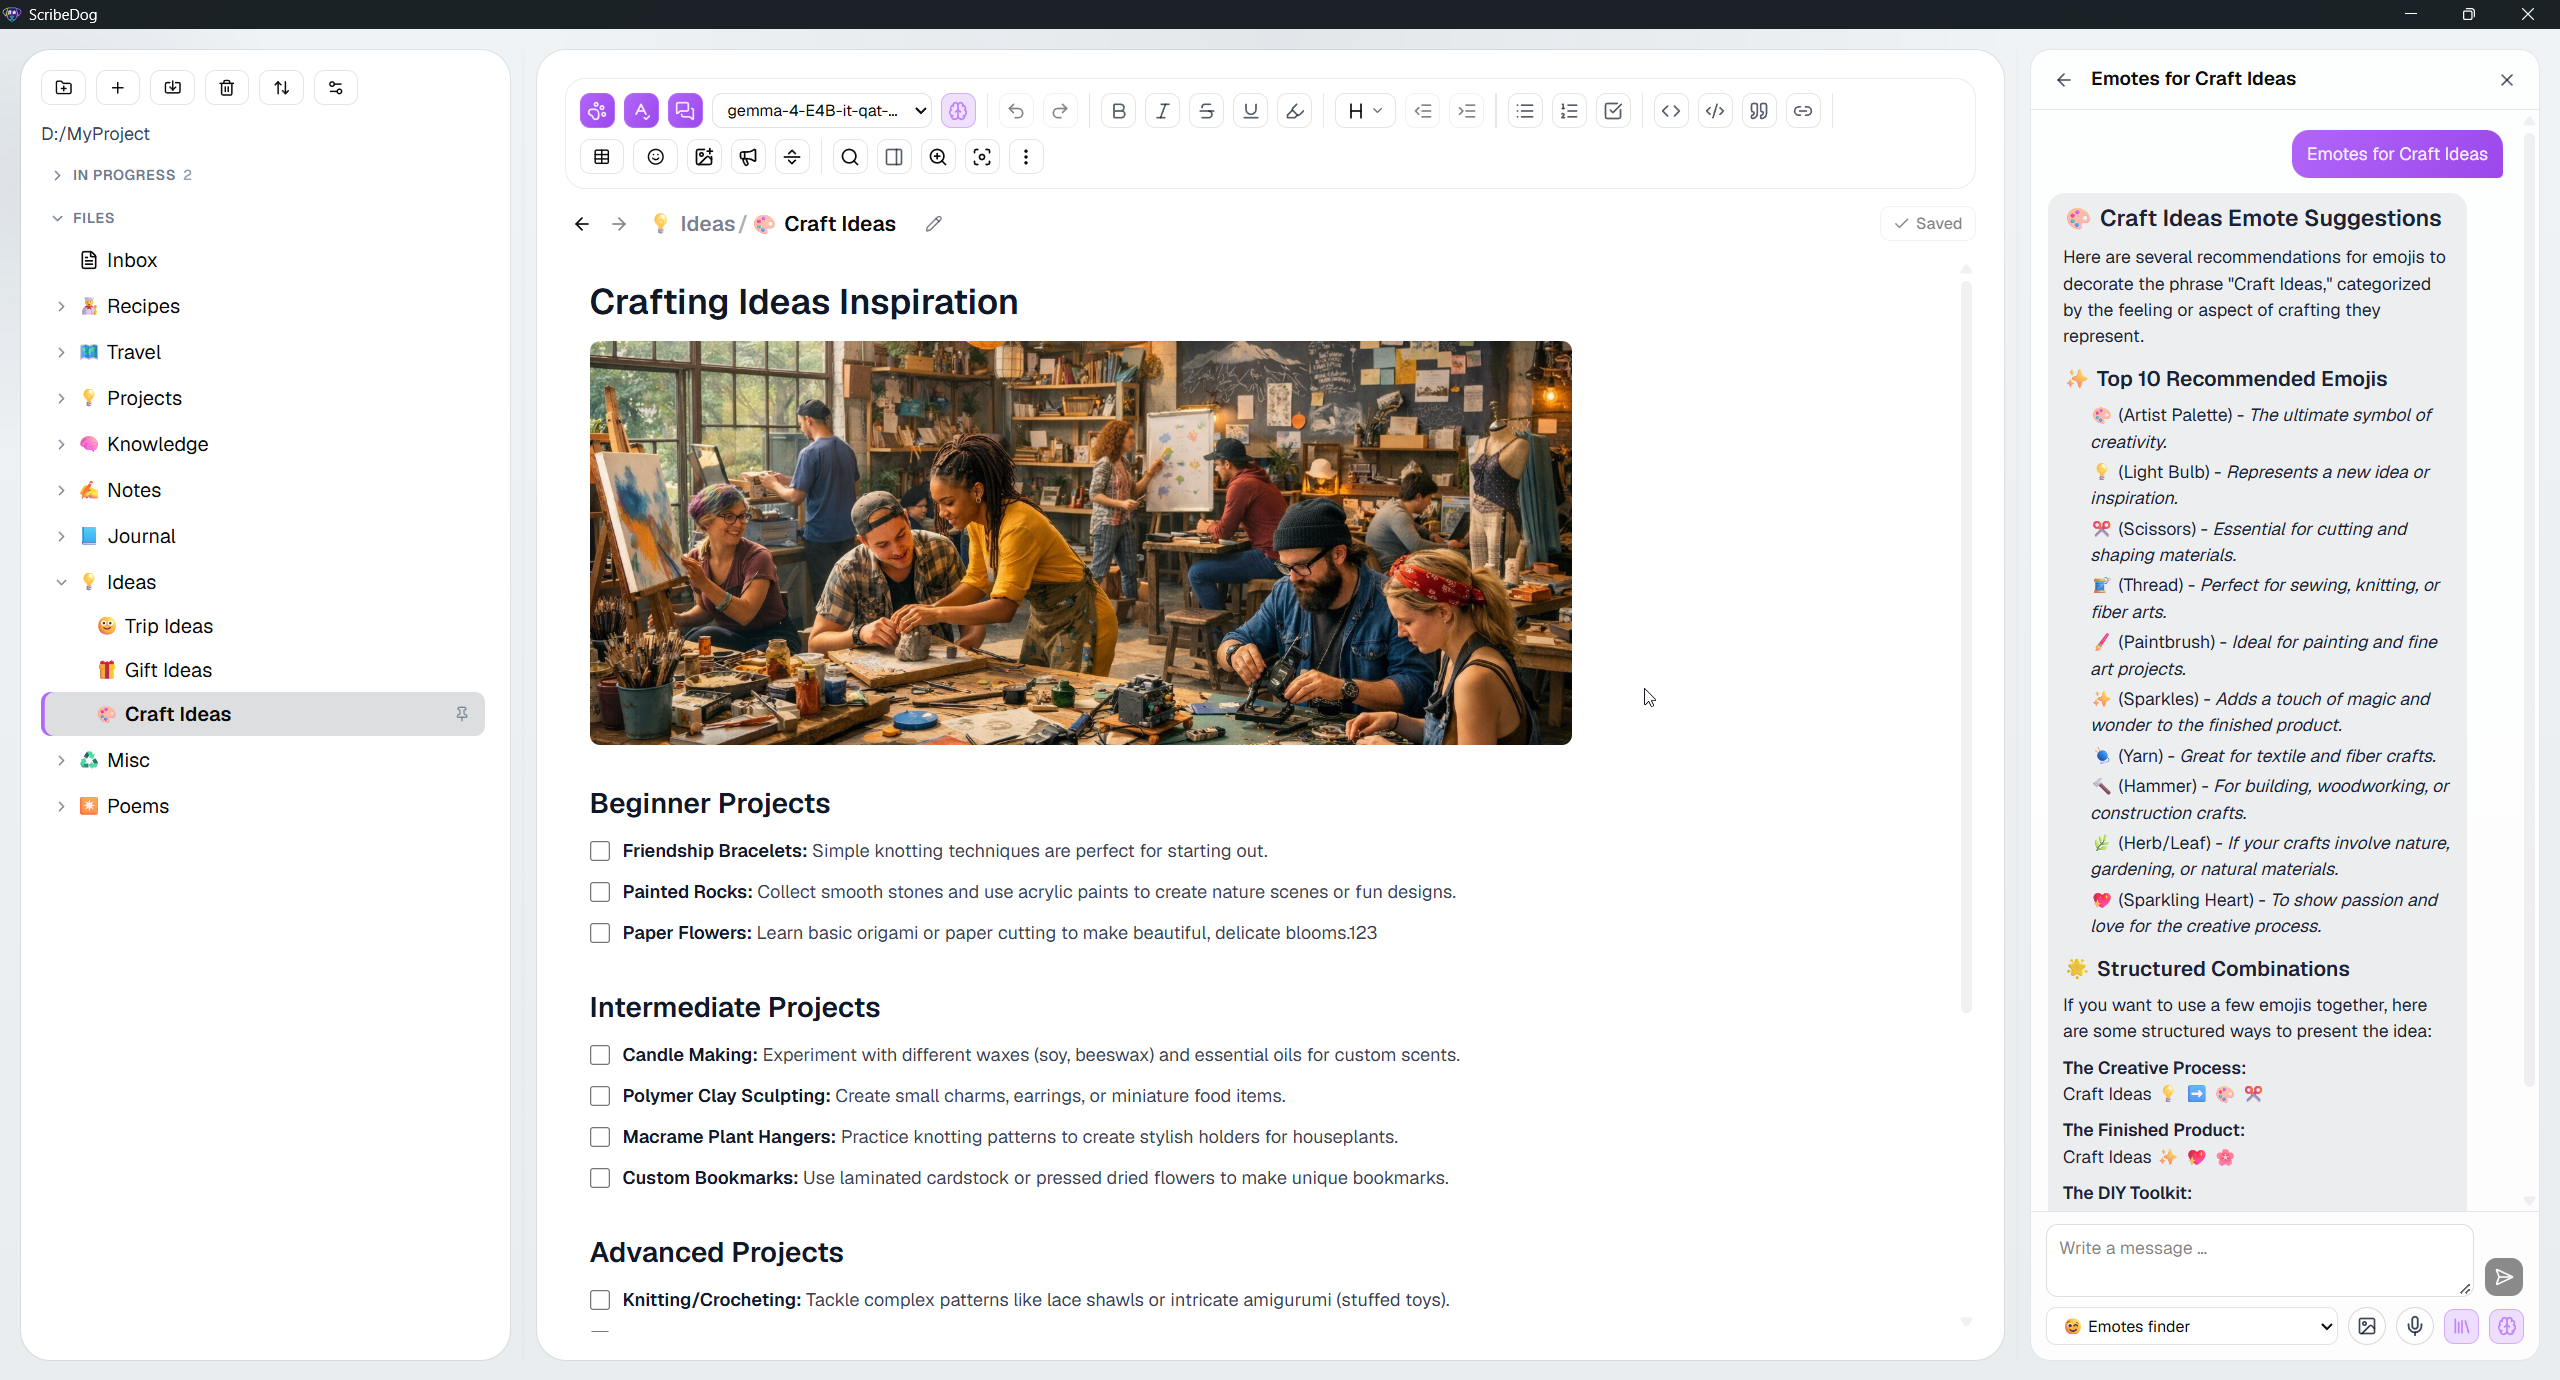 The editor is built on [TipTap](https://tiptap.dev/) and ProseMirror.
## What you can format
- Headings, bold, italic, underline, strikethrough
- Blockquotes, inline code and links
- Ordered, bulleted and task lists
- **Tables**, with a visual grid picker and a context menu for rows and
columns
- **Images**, shown inline. Resize by dragging, and the width is saved back
into the Markdown. Drag an image to move it; on a touch screen, hold it
for a moment first.
- **Drawings**, sketched by hand right in the note (see [Drawings](#drawings))
- **Code blocks**, with a one-click copy button and syntax colouring for
about 30 languages (PowerShell, Bash, INI/TOML, Dockerfile, Nginx, C, C++,
Kotlin and more). The badge on the block's edge switches the language. A
block without a language is recognised automatically and the badge says so
("PowerShell (auto)"); the Markdown file stays unchanged until you pick the
language yourself. Inside a list the block stays part of its list item, so
a numbered step can carry its own code.
- An **emoji picker** with search, including keywords in your language. Open
it from the toolbar or with `Ctrl+Shift+M`, where it appears at the
cursor (with the file tree focused, it sets the icon of the selected entry). It remembers whether you were on the Emoji or the
[Icons](customizing.md#icon-fonts) tab
- **Reminders** on any paragraph, heading or list item, set with the bell in
the toolbar or `Ctrl+Alt+R` (see
[Reminders](notes-and-vault.md#reminders))
Undo and redo work from the toolbar and with `Ctrl+Z` and `Ctrl+Y`.
## Drawings
The pencil button next to "Insert image" opens a drawing surface. Sketch with
the mouse, a finger or a pen; a pen's pressure makes the line thinner or
thicker. Pick one of four line widths and one of the nine palette colours
(black, grey, red, orange, yellow, green, blue, purple and white), or choose
your own. The dialog starts with ink that suits your theme: light in the dark
theme, dark in the light one.
1. Click the pencil button in the toolbar, next to "Insert image".
2. Draw. Switch to the eraser to remove lines, and use undo if you slip.
3. Click **Insert**. The sketch appears at the cursor.
| Tool | What it does |
| --- | --- |
| Pen | Draws a line. Every line is its own object. |
| Eraser | Removes a line you touch, as a whole. |
| Undo / Redo | Steps back and forth one line (or one eraser stroke) at a time, also with `Ctrl+Z` and `Ctrl+Y`. |
| Clear all | Empties the surface. Undo brings it back. |
**Insert** saves the drawing as an SVG file in the `images/` folder and puts it
at the cursor like any other image. The image is cropped to what you drew and
has a transparent background, so it sits on light and dark pages alike. The
note itself stays plain Markdown: ``.
To change a drawing later, **double-click** it (or select it and tap the pencil
in its corner). The surface opens with all your lines, and **Apply** writes the
changes back into the same file.
> [!NOTE]
> Applying replaces the image file. The editor's undo cannot bring the old
> drawing back, only the dialog's own undo can, before you apply. **Cancel**
> throws away everything you changed in the dialog.
Only drawings made in ScribeDog can be edited this way. Other SVG files stay
ordinary images, since the drawing surface would lose whatever it cannot
represent.
## Highlighting
Mark a passage with the highlighter using the toolbar button or
`Ctrl+Shift+H`. In the file it is stored as `==text==`, so other Markdown
tools can show it too. Highlights survive every export.
With nothing selected, the shortcut switches on **marker mode**: everything
you select is highlighted until you press `Esc`.
## Move lines around
`Alt+Shift+Up` and `Alt+Shift+Down` move the current line or list item up or
down.
## Copy and paste
| Action | Shortcut |
|---|---|
| Copy with formatting | `Ctrl+C` |
| Copy as Markdown source | `Ctrl+Alt+C` |
| Copy as plain text | `Ctrl+Shift+C` |
| Paste (Markdown is rendered right away) | `Ctrl+V` |
| Paste the raw text as it is | `Ctrl+Shift+V` |
| Paste as Markdown, always | `Ctrl+Alt+V` |
Pasted Markdown, with headings, lists, tables or bold text, is turned into
formatted content at once. Use the raw paste when you want the syntax.
`Ctrl+V` only converts plain text that clearly looks like Markdown. Text copied
out of a web page or a chat answer usually brings its own formatting along, and
that formatting wins: a Markdown sample selected inside a code block lands as a
code block. `Ctrl+Alt+V` takes the plain text of the clipboard and always
renders it as Markdown, whatever else was copied with it. It also works when
the automatic conversion is switched off in the settings.
## Spell check
Optional red-underline spell check as you type, using the spell checker of
your operating system. Switch it in the toolbar options. On Linux it uses the
Hunspell or enchant dictionaries you have installed.
For AI spelling and grammar help, see [AI writing](ai-writing.md).
## Automatic heading numbering
Off by default. Switch it on per folder under **Settings, Open folder**. The
choice is stored in that folder `.scribedog` directory.
Headings then get `1.`, `1.1.`, `1.1.1.` in the editor, the outline, and in
every export and print.
- The numbers come from the structure and are **never written into the
file**. Reordering sections needs no renumbering.
- Choose whether numbering starts at heading 1 or 2, how deep it goes, and
whether numbers show everywhere or only in the outline. The outline only
option suits a long note whose text and exports should stay clean.
Two markers follow the Pandoc convention:
| Marker at the end of a heading | Effect |
|---|---|
| `{-}` or `{.unnumbered}` | The heading and everything below it stays unnumbered |
| `{.unlisted}` | The heading stays in the text but is kept out of the outline |
| `{.unnumbered .unlisted}` | Both |
The marker is shown only in the heading you are editing, or always, as you
prefer.
## Zen mode
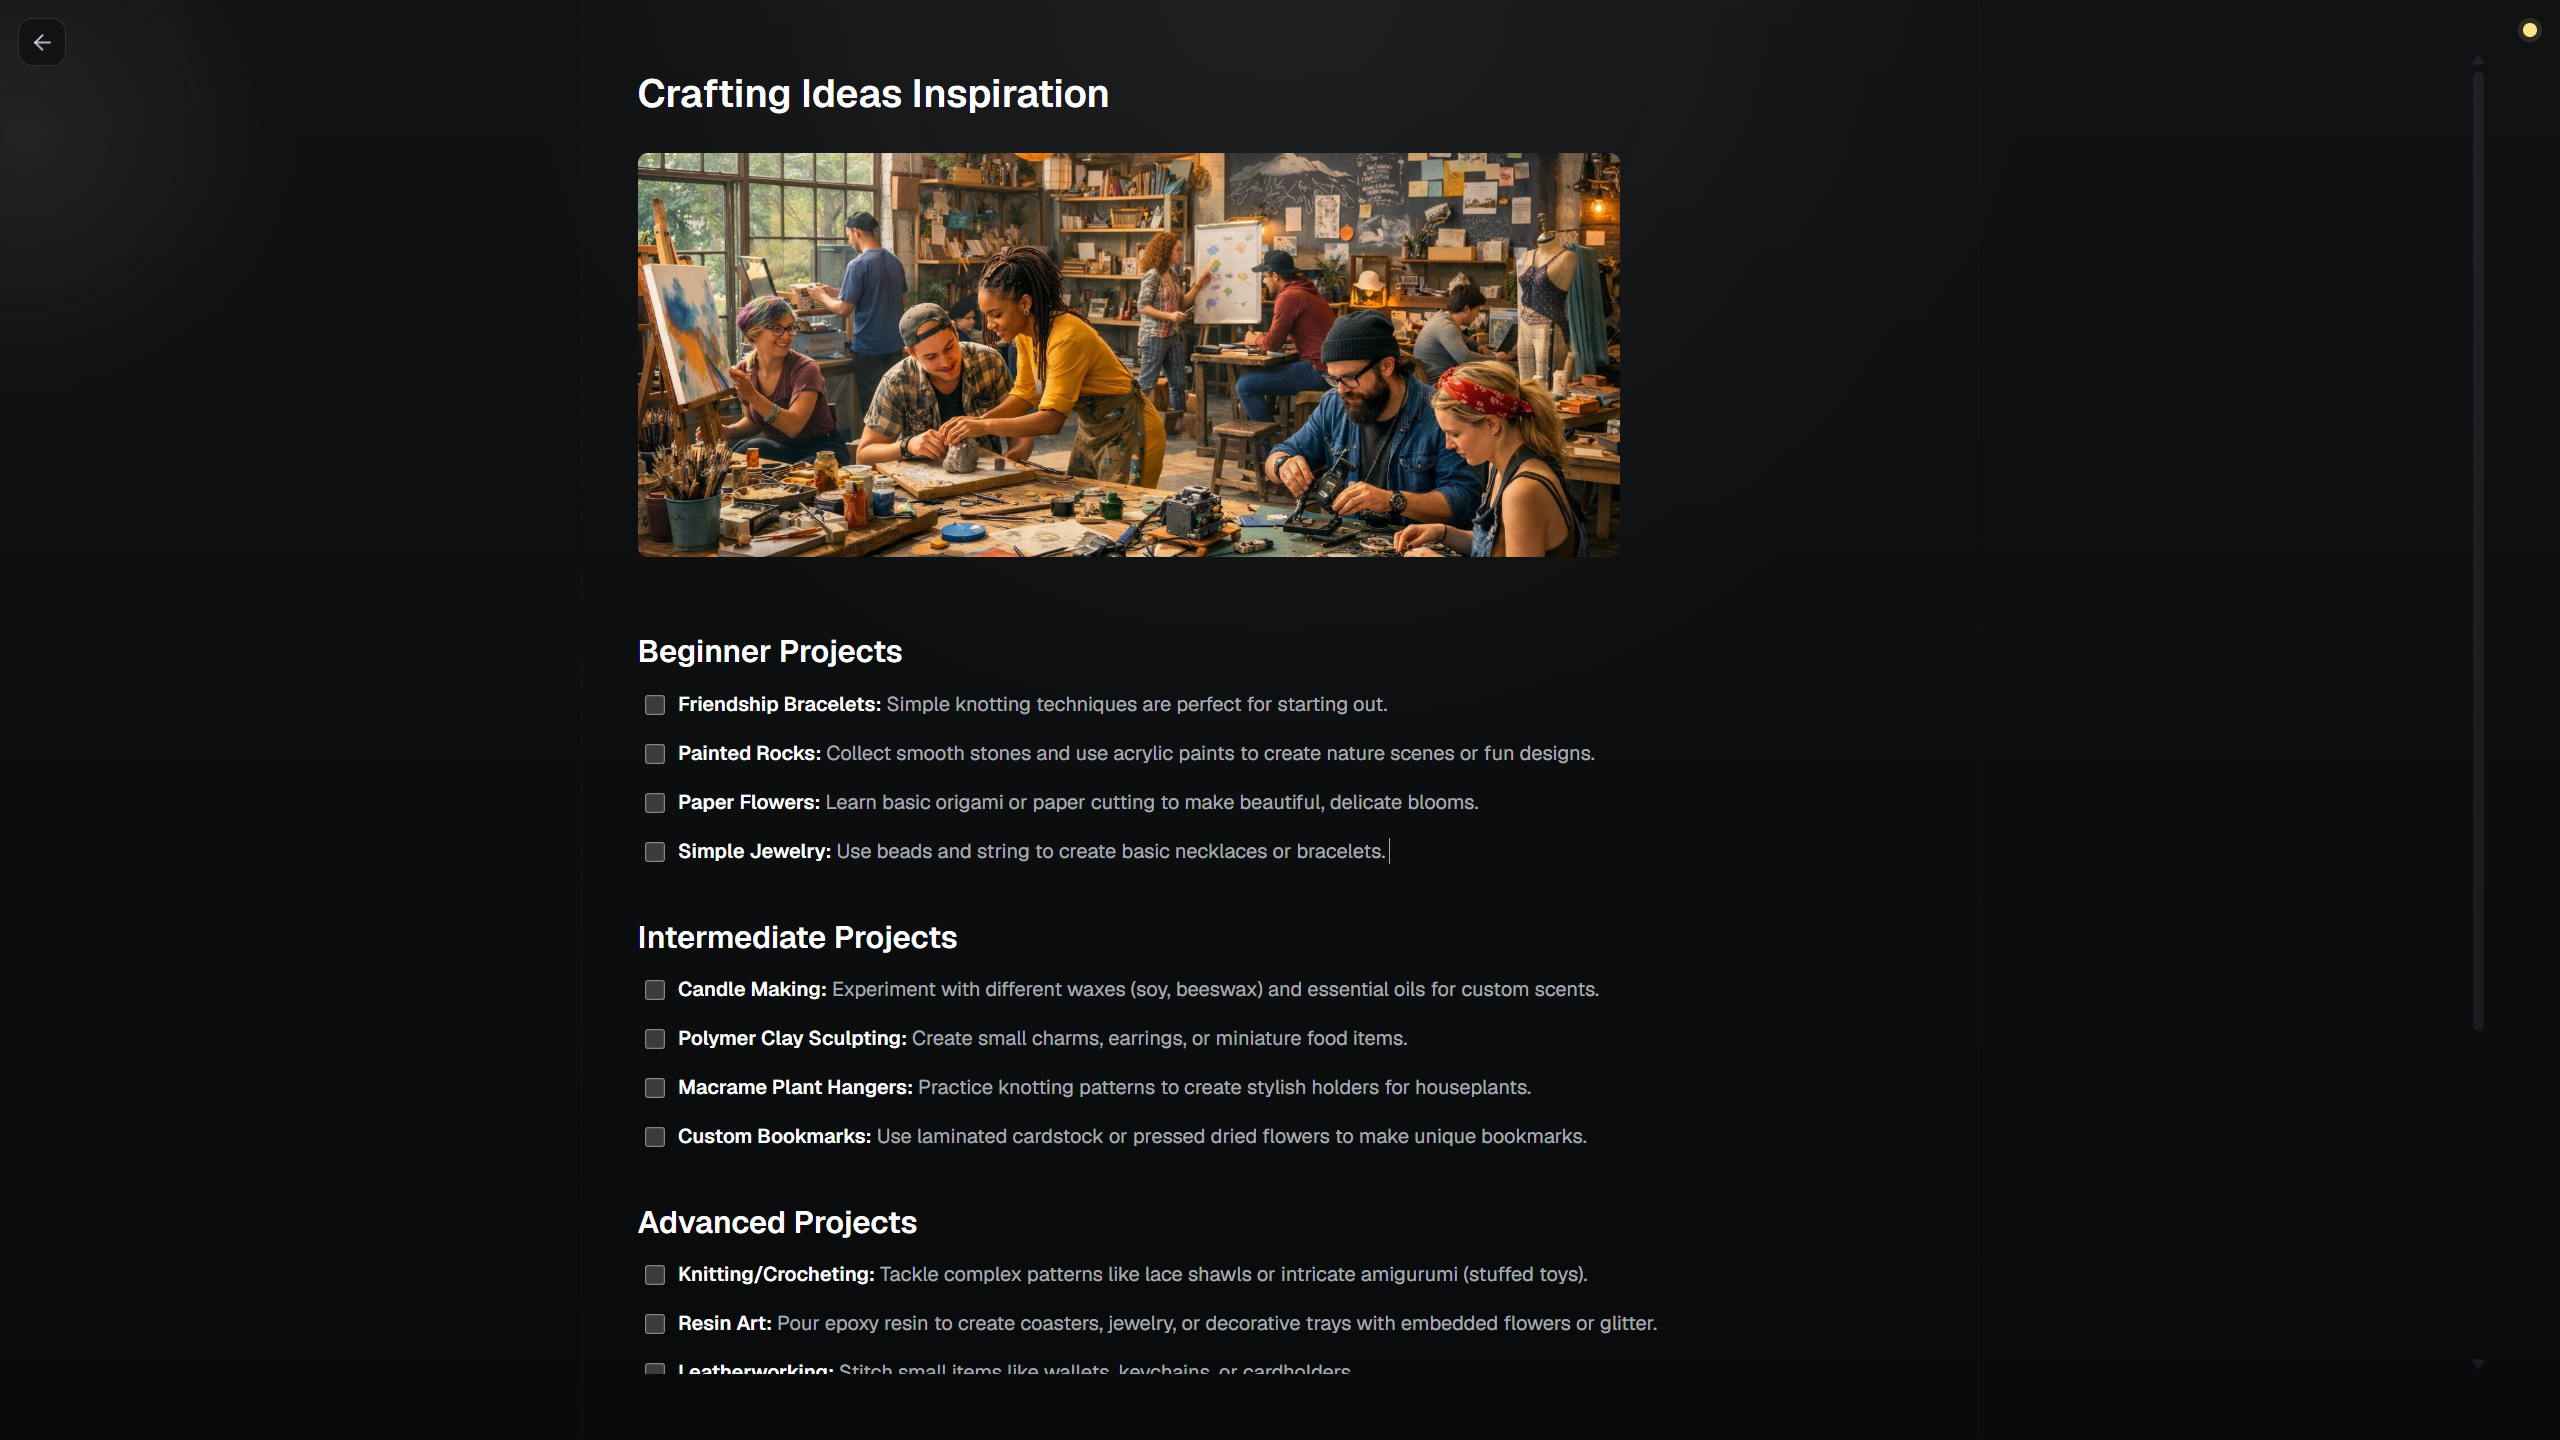
Press `Ctrl+Shift+Y`, or use the toolbar button, to strip away the sidebar,
toolbar and header. You get a full screen with just your text in a
comfortable column.
 - **Resize the column.** Drag its edges, or use the arrow keys once the edge
has focus. The width is remembered.
- **Zoom the text.** `Ctrl` with the mouse wheel, or a pinch on a touch
screen. The zoom is remembered separately from the document font size, so
Zen mode can be larger without touching the normal view.
- A small dot in the top right corner shows unsaved changes. One button in
the top left returns to the normal view.
The Zen page can have its own background and text colour in the
[theme builder](customizing.md#your-own-themes).
## Files stay portable
Notes are saved as clean, diff-friendly Markdown. Open the folder in any
other editor, put it under Git, or sync it. Nothing ties you to ScribeDog.
[Back to the documentation index](README.md)