Pages 

To open this page, go to Content Management -> Pages.
This area is where you can add, publish, edit, and manage new CMS pages, as well as adding content items and multiple CMS blocks. CMS page is an additional page of your online shop, such as Terms and Conditions, About Us, Contact Us, etc.
From the Pages menu, you can:
- Create a new page
- Publish a new page
- Remove a page from the shop website
- View CMS page details
- Manage a CMS page and placeholders
- Manage CMS versions
Graphic User Interface
To open Pages, on the left-side navigation bar, click Pages under Content Management.
 в
в
Hover your mouse over the numbers to view their description.
To create a new page:
- On the left-side navigation bar, select Pages under Content Management.
- In the top right corner, click Create page. This will take you to the Create CMS Page editor.
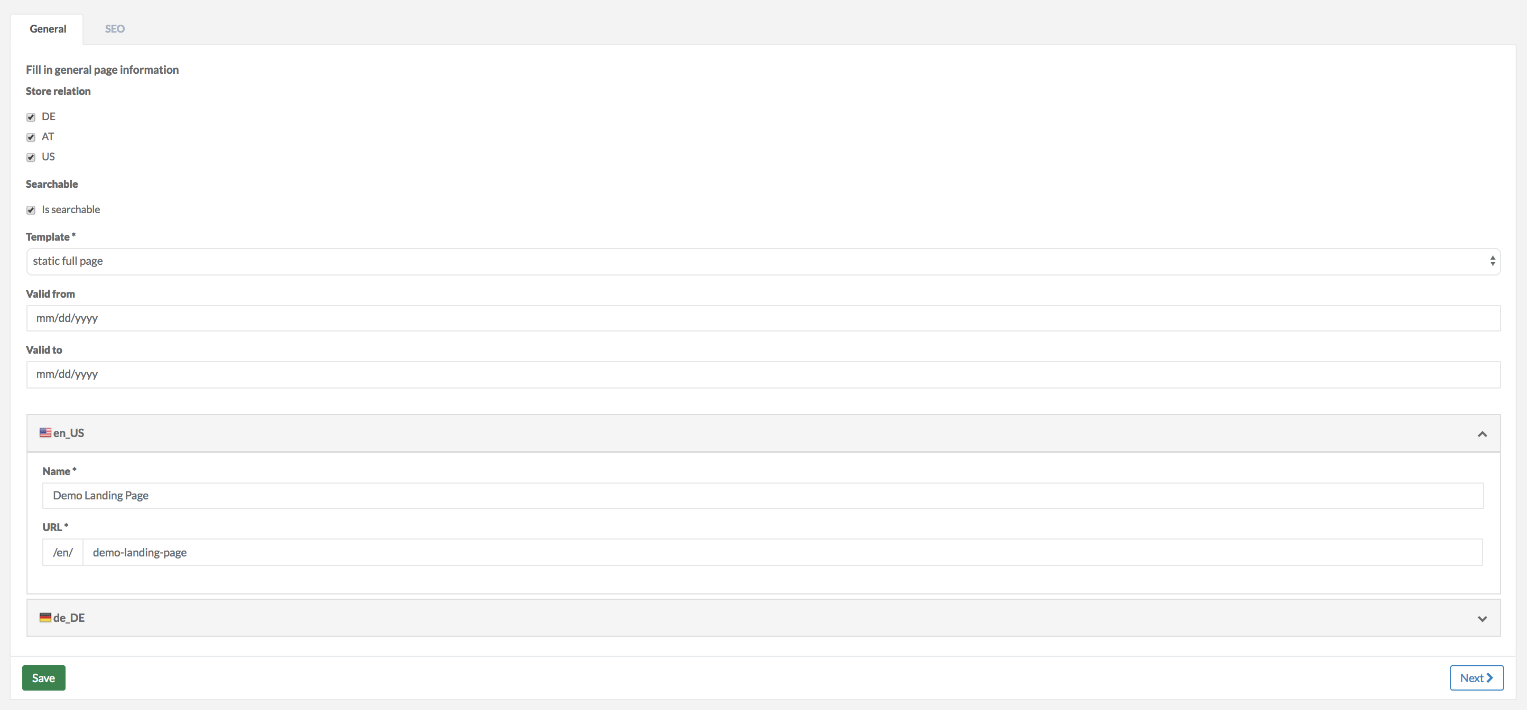
- In the General tab:
- Select Is searchable if you want your page to be searched for on the web.

Use the store selector to set a store for which the CMS page will be visible.
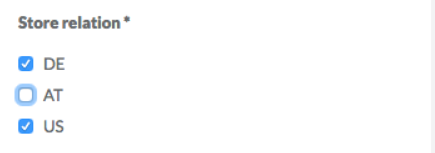 By default, store relation is enabled for all the stores. However, you can change it and hide the CMS page by clearing the checkbox for the particular store. Also, the CMS page must be active and assigned to a store so that it can appear on the shop website; otherwise, it will be hidden. See Managing CMS page content to learn how to activate a page.Please consider the following cases:
- If Is searchable is selected, but store relation is turned off for all stores, the CMS page will not be displayed and will not be searchable.
- If Is searchable is not selected, but store relation is turned on, the CMS page will be shown but will not be searchable.
- Select a page template that will determine a page layout.
- Enter Valid from and Valid to to define the validity period during which your page will be available in the shop.
- Type a name and a URL of the page.
If you want to create different versions of the page per locale, add the general information to the section in the corresponding language.
- Select Is searchable if you want your page to be searched for on the web.
- In the SEO tab, add meta information: title, keywords, and description. The meta details are important for SEO purposes, such as optimizing webpage ranking by search engines and improving website usability.
- Click Save to complete the page creation.
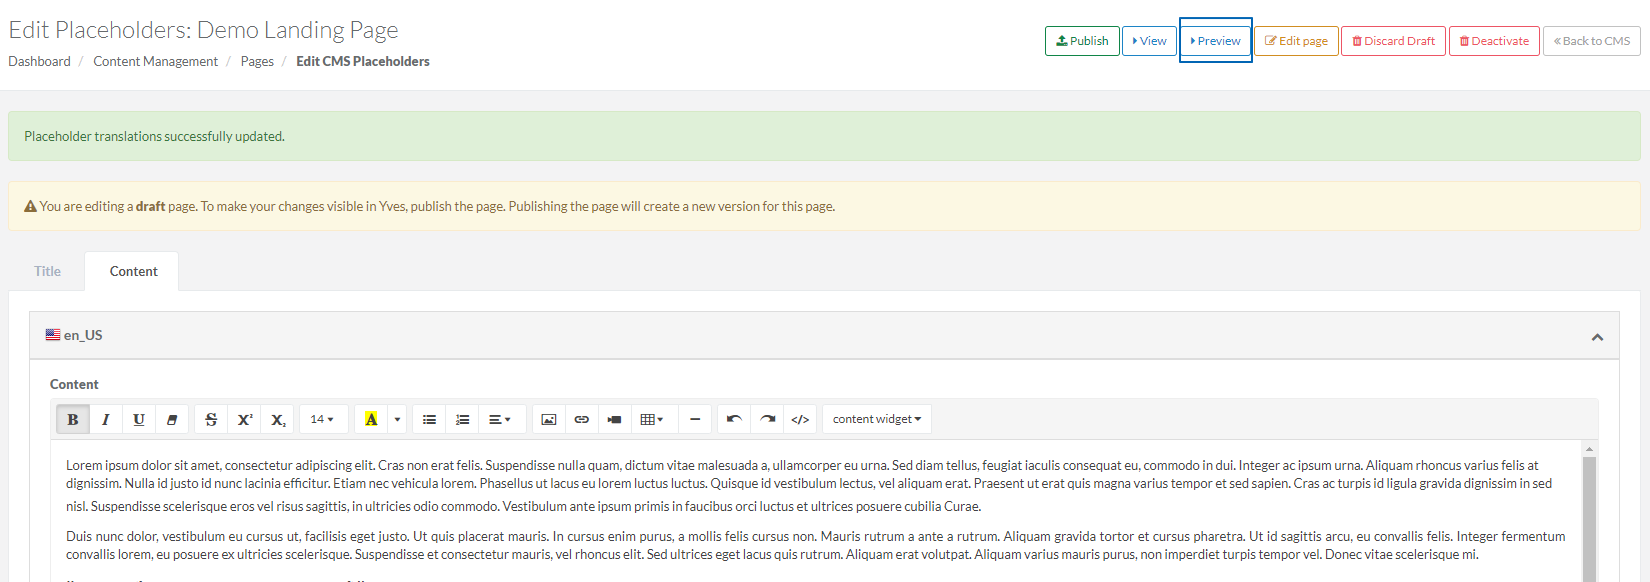
Until now, you have created a page draft. The page itself will be available on the shop website after you publish it.
If you would like to see how your page will look like before you publish it, click Preview. This will open your current page in another web browser tab.
However, to be able to preview the page, you need to link your Zed customer to an Yves customer account.
To link a Zed customer to an Yves customer:
- On the left-side navigation bar, go to Users Control -> User.
- Click Assign Customers. This will take you to the Assign Customers page.
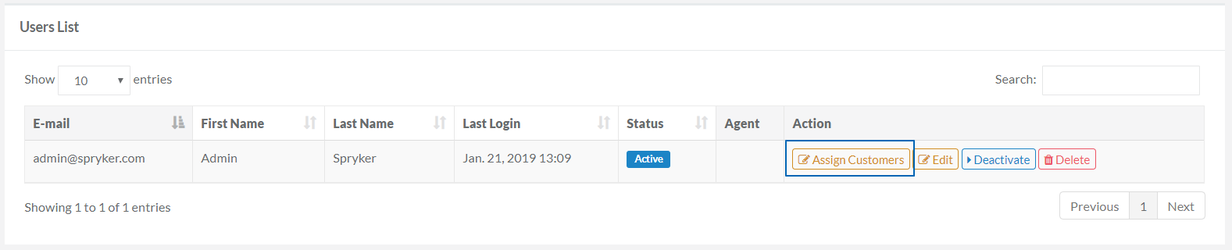
- Select a user you would like to assign to your Zed account.
A customer cannot be assigned to multiple users at a time.

- Click Save.
After you linked an Yves customer to a Zed user, make sure that you are logged in to Zed with your Zed account as well as logged in to Yves with the assigned customer account.
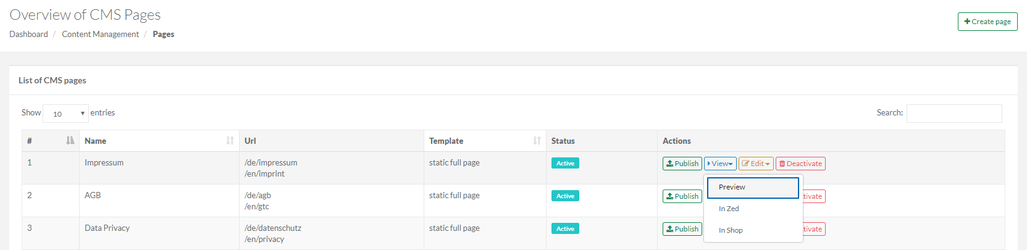
To preview drafts of your CMS page:
- Navigate to Content Management → Pages.
- Click View → Preview next to the respective page.
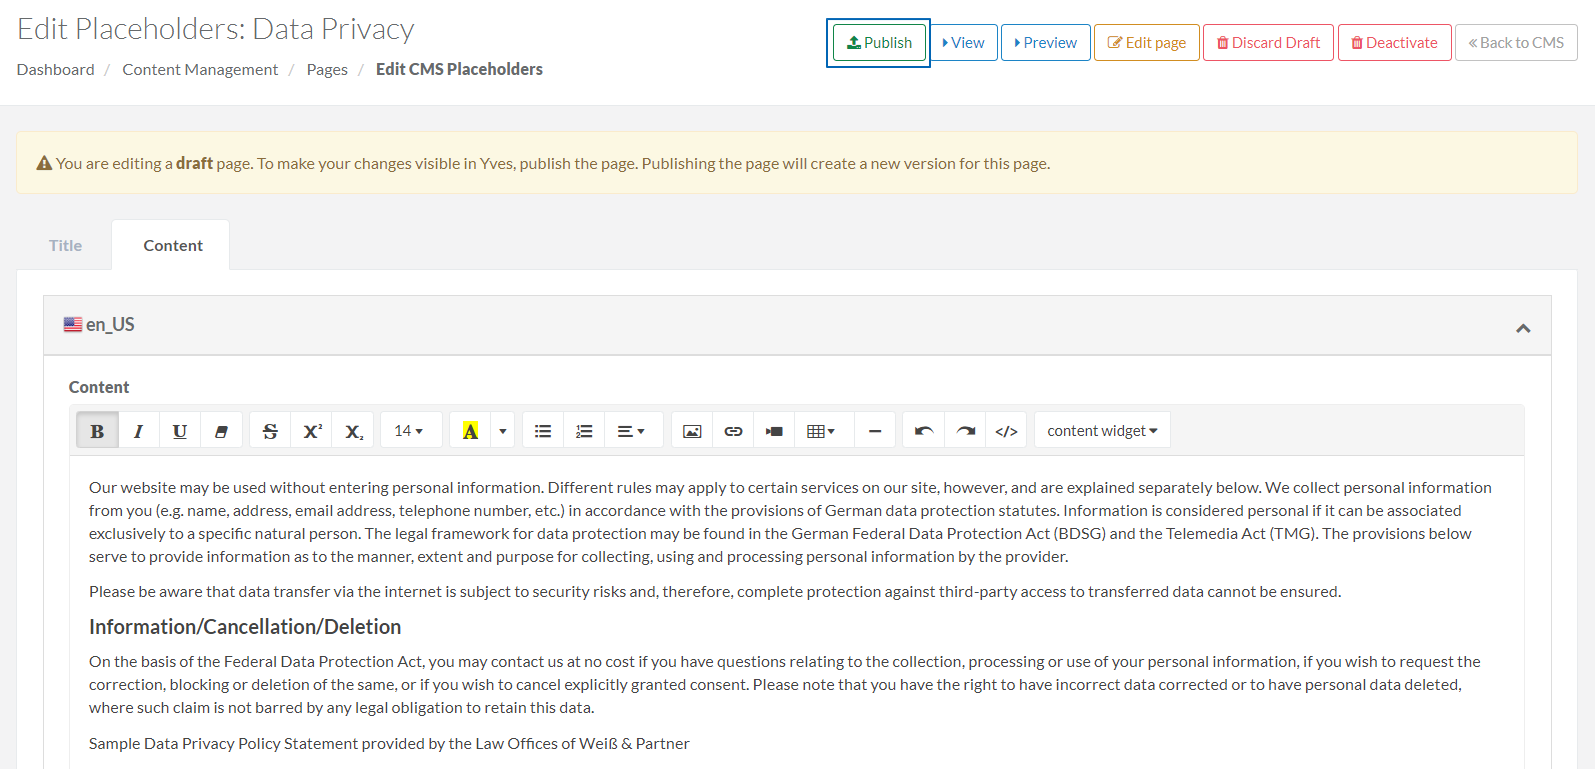
Until now we have created a draft of the page and added placeholders. Thus, to keep changes and display them on the shop website, you need to publish them.
To publish a page, on the Edit CMS Placeholders page, click Publish.
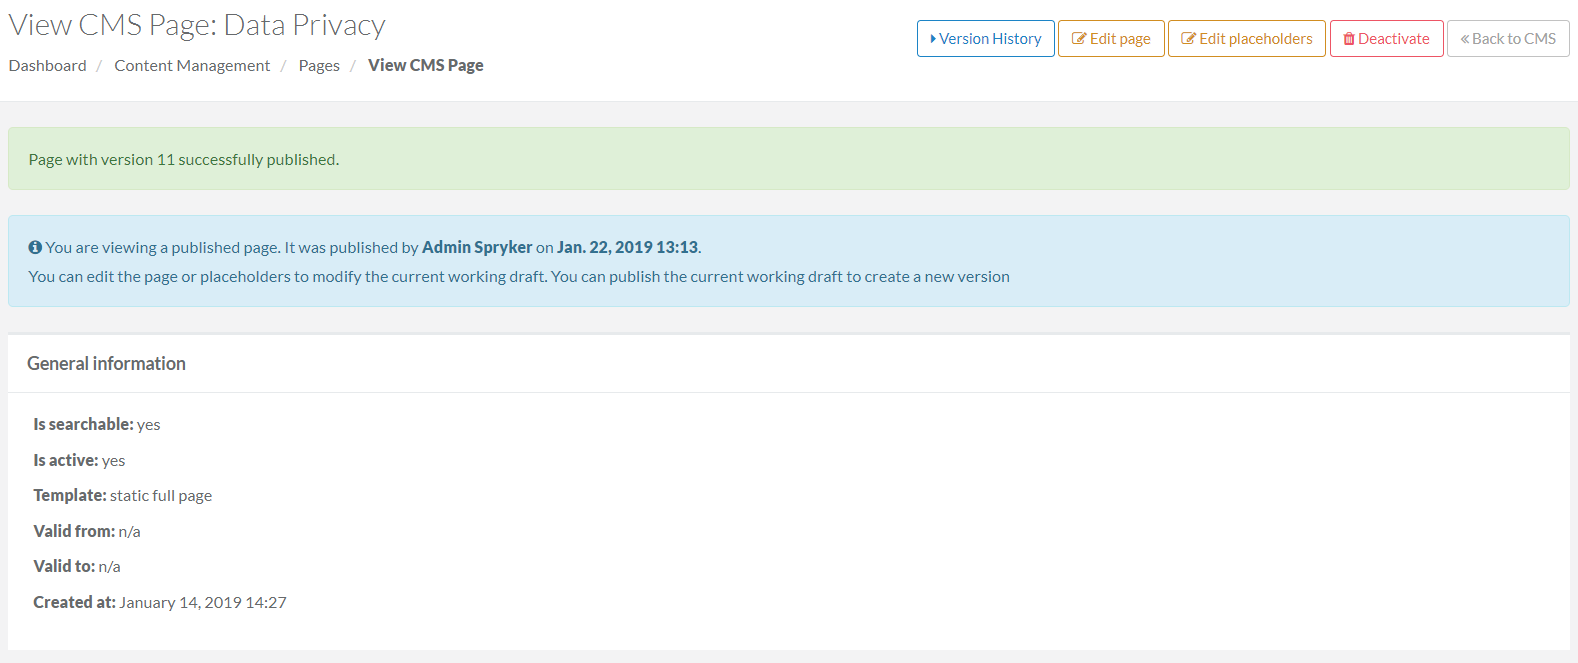
This will take you to View CMS Page where you can see that the page has been successfully published and versioned.
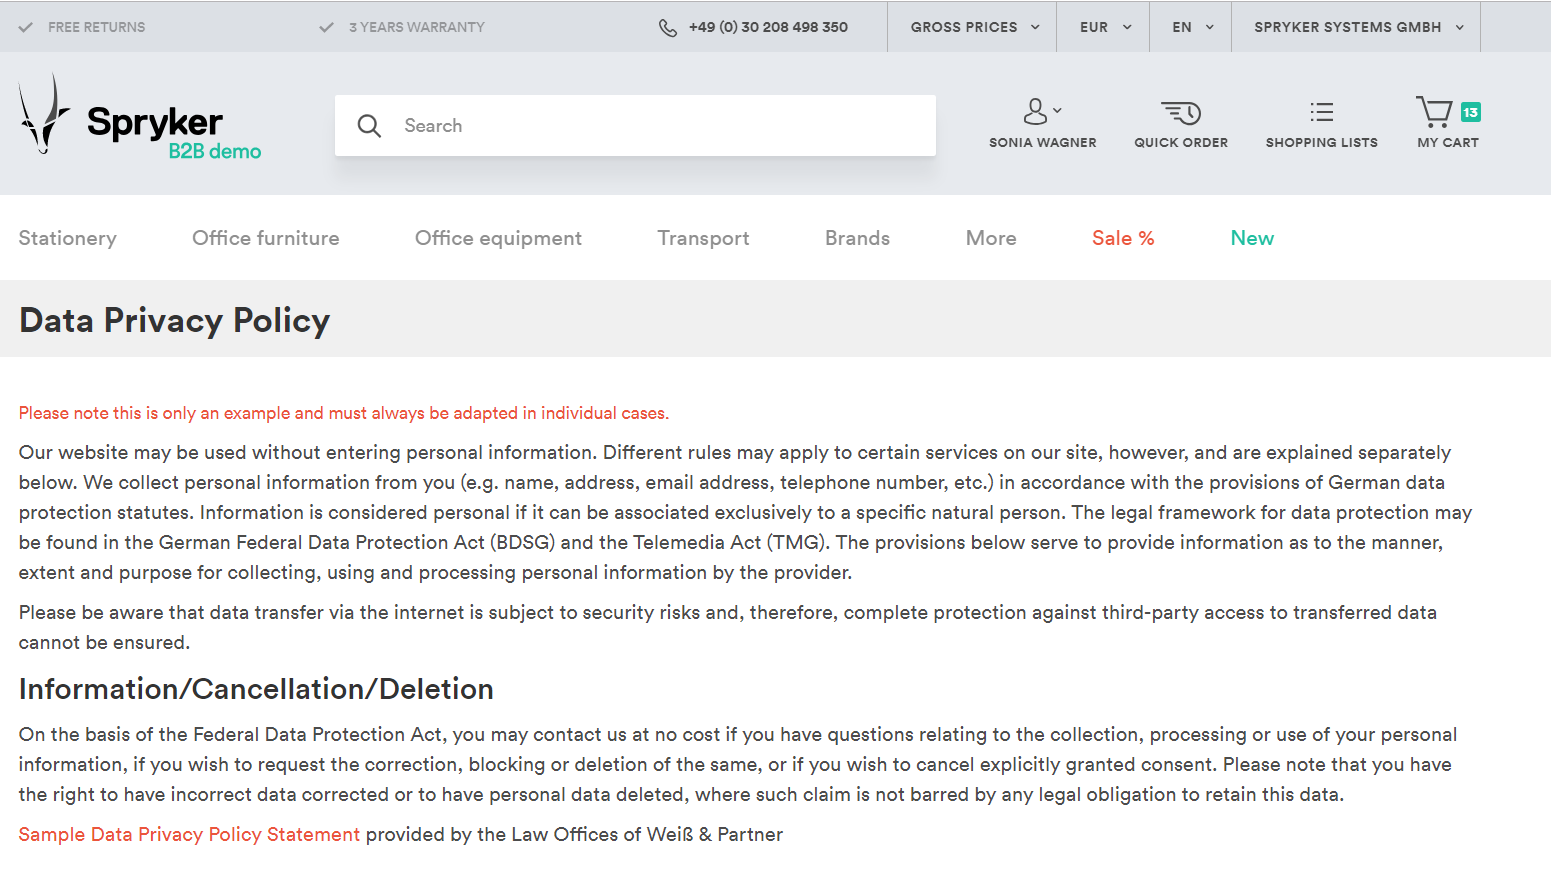
This is how the visitors of the website can see your page.
To see the page in Yves, the client data storage (Redis) must be up-to-date. This is handled through cronjobs.
If you want to execute this step manually, you must run the collectors to update the front-end data storage:
vendor/bin/console collector:storage:export
Now, you can see the new page by accessing, for example, the following URL: http://www.24.b2b.demo-spryker.com/en/demo-landing-page.
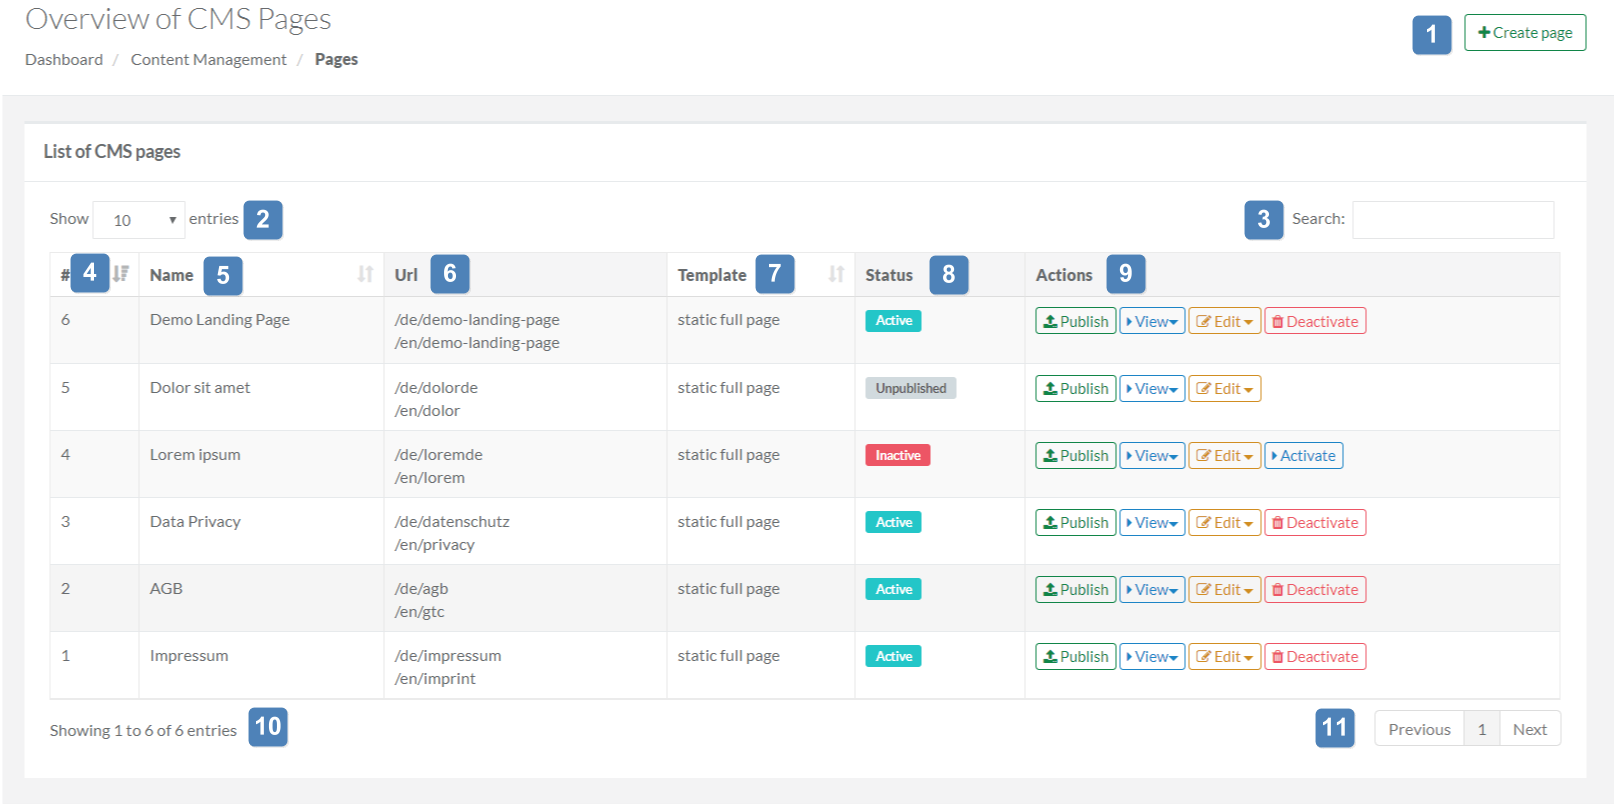
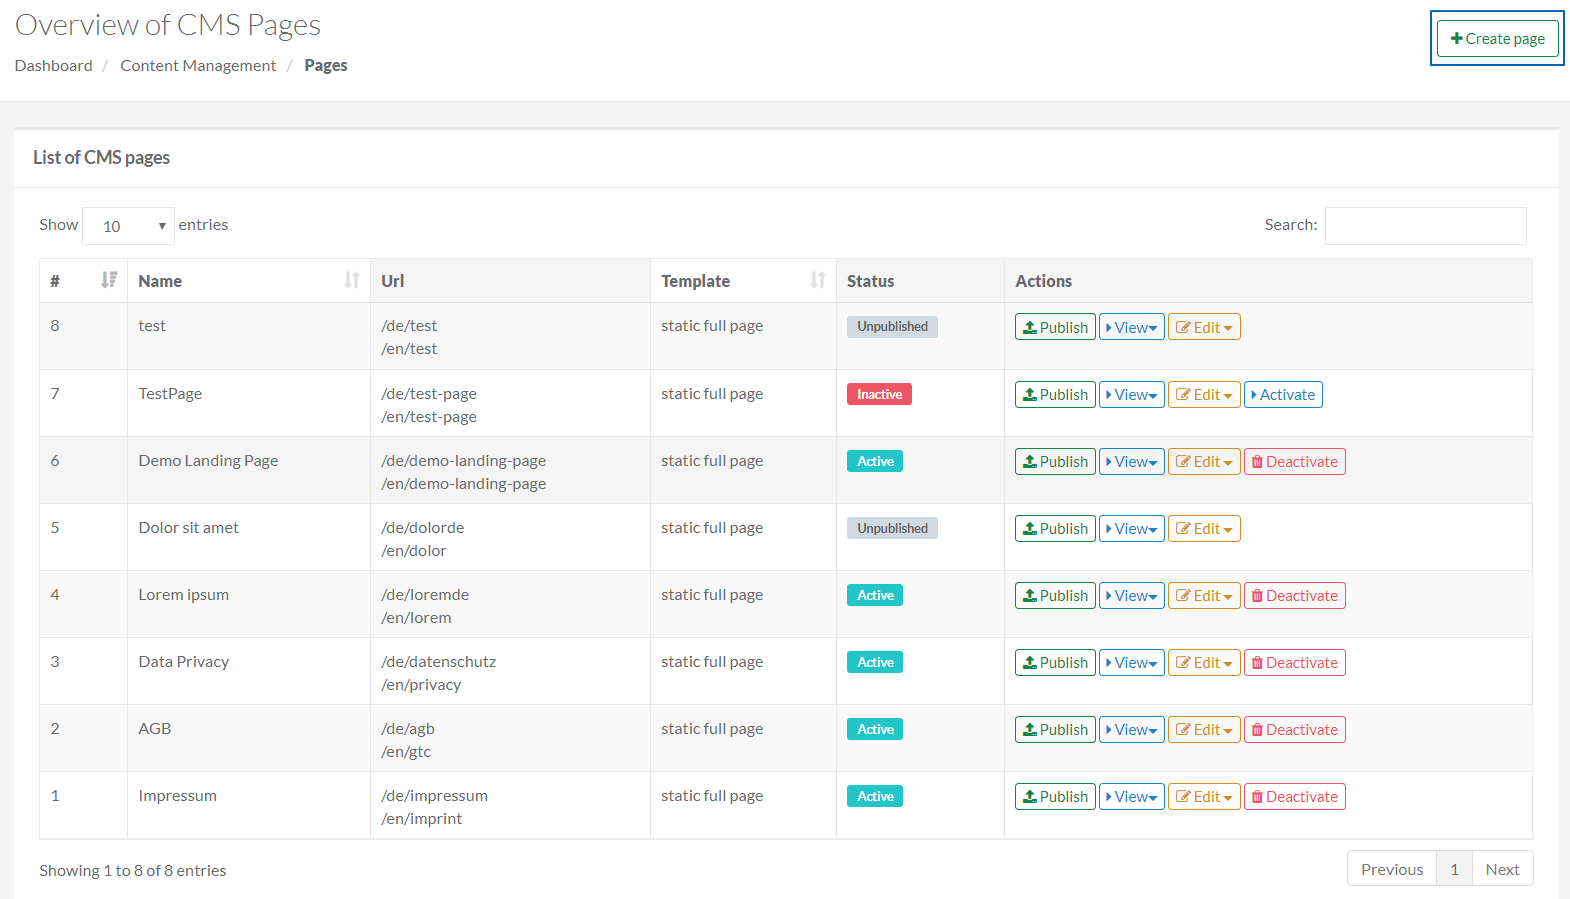
You can publish, view, edit, and activate or deactivate CMS pages.
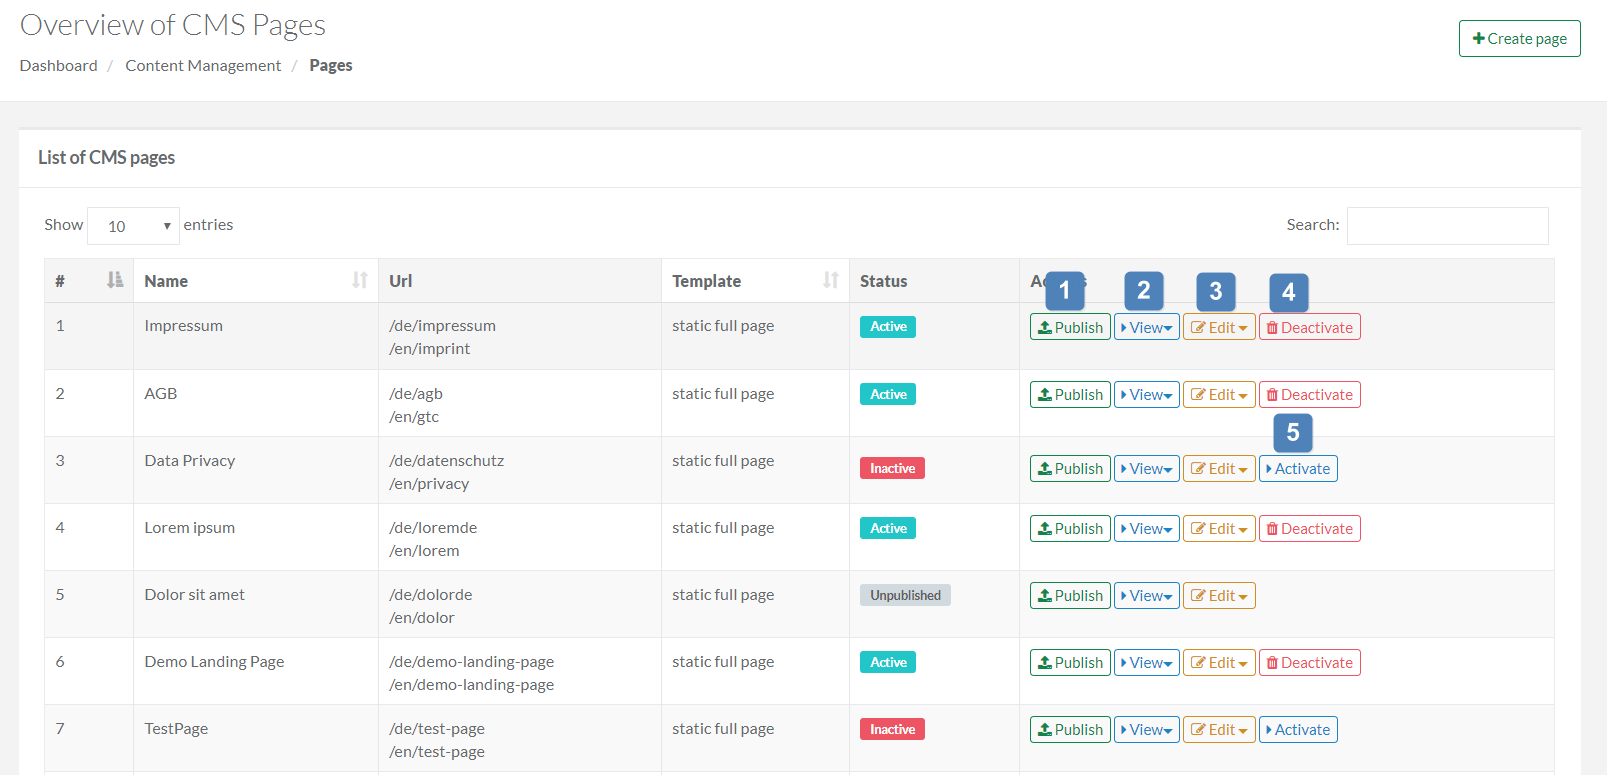
By clicking the respective button, you can:
| # | Element | Description |
|---|---|---|
| 1 | Publish | Make your page visible to your visitors on the shop website. |
| 2 | View | View a CMS page in Zed or Yves. |
| 3 | Edit | Make changes to page layout or its content. |
| 4 | Deactivate | Remove a published page from the shop. |
| 5 | Activate | Add a published CMS page to the shop website. |
Assigning Blocks to Category and Product pages
You can add blocks to category and product detail pages. See Blocks to learn how to assign CMS Blocks to category and product detail pages.
Viewing a CMS Page
If you want to view how a CMS page looks like on the website and see all the information related to the page (general information, SEO details, URLs, and version history), click View.
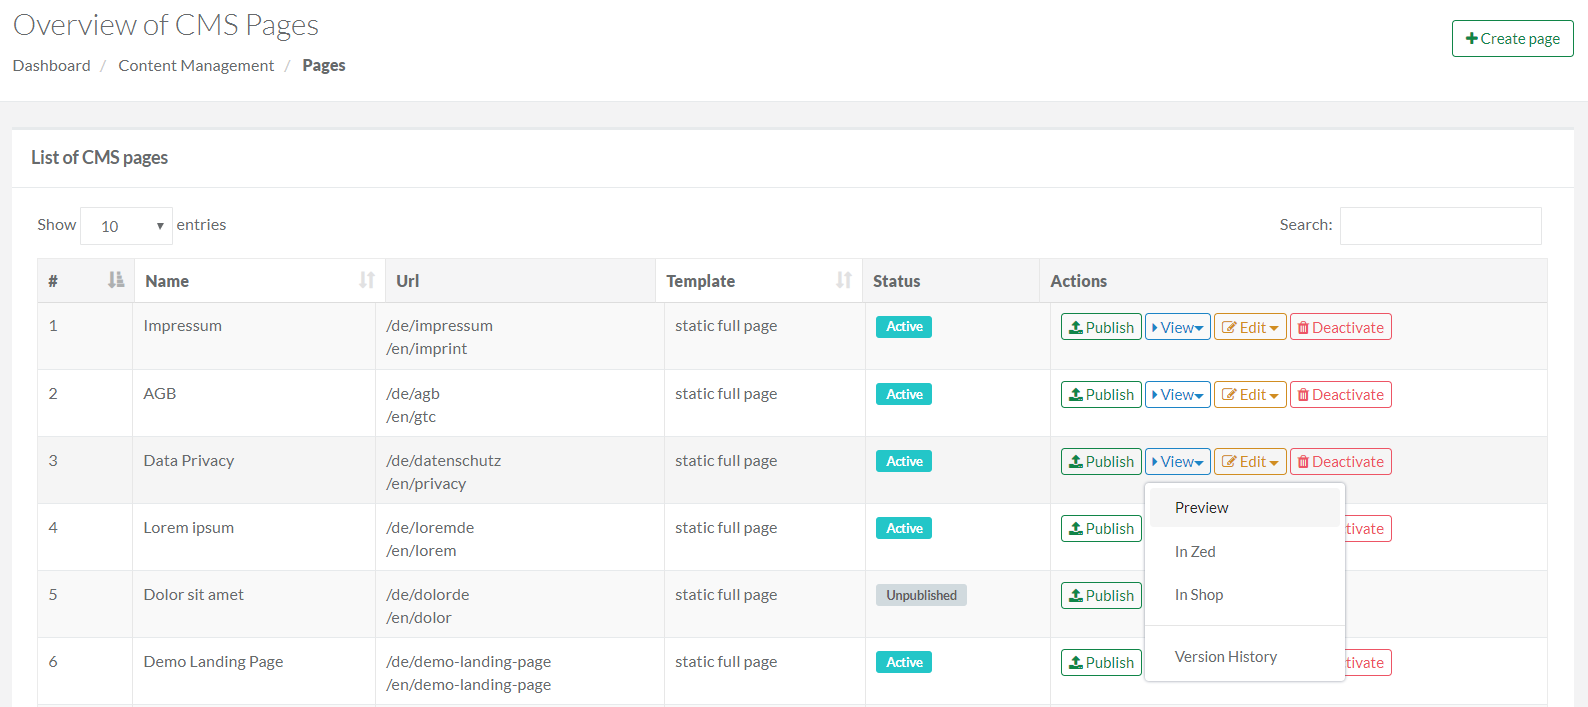
This will drop down a menu with 3 options:
- Preview allows you to see the way the page will look like on the shop before publishing it.
- In Shop opens a live page on the shop website.
- In Zed opens the View CMS Page editor that includes general information about a published page, as well as its URL and metadata.
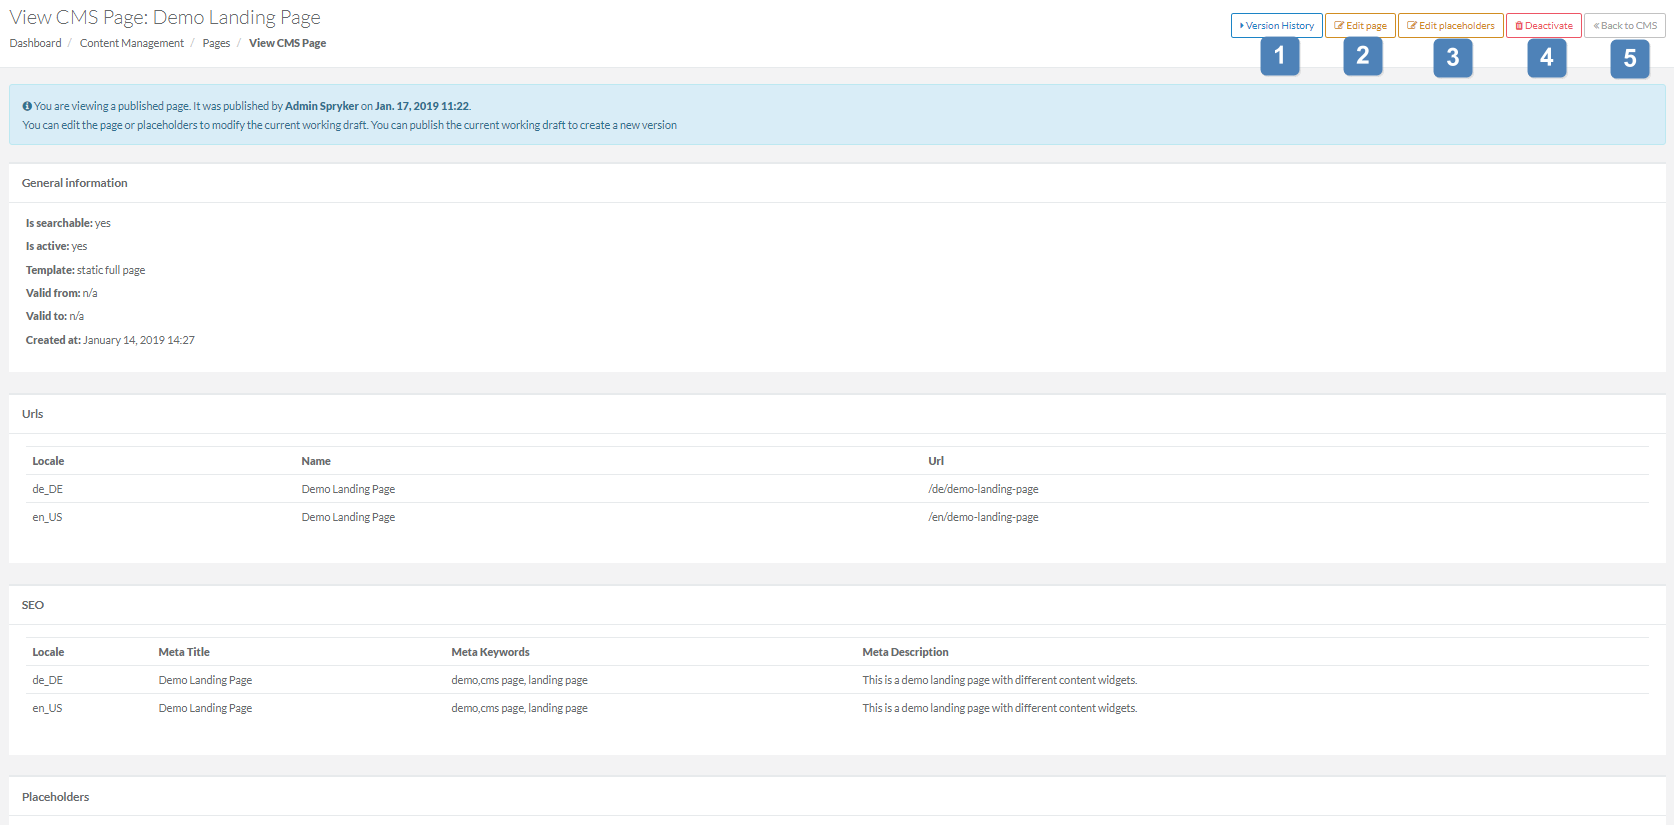
By clicking the respective button, you can:
| # | Element | Description |
|---|---|---|
| 1 | Version History | Displays all available versions for the page, general information of the version you are currently using, and allows you to roll back to the previous page version if needed. |
| 2 | Edit page | Makes changes to page layout or its SEO information. |
| 3 | Edit placeholders | Inserts placeholder items to page title and content. |
| 4 | Deactivate | Removes a published page from the shop. |
| 5 | Back to CMS | Returns to the CMS page overview. |
Editing CMS Pages
As a shop administrator, you can edit page layout, modify SEO information or update page content.
To edit a CMS page, go to Content Management → Pages and click Edit in the Actions column. This will open 2 options: Page and Placeholders.
When you click Edit, this will take you to the CMS Page editor where you can change the appearance of the page, including its general information and SEO details.

Additionally, from this page, you can:
- View all the page-related information
- Edit placeholders to the page layout or content
- Cancel changes since the previous publish
- Remove the published page from the shop
- Display a live page on the website
If you click Edit → Placeholders, the intuitive editor to modify page title and content will open.
If placeholders are missing, the page cannot be published.
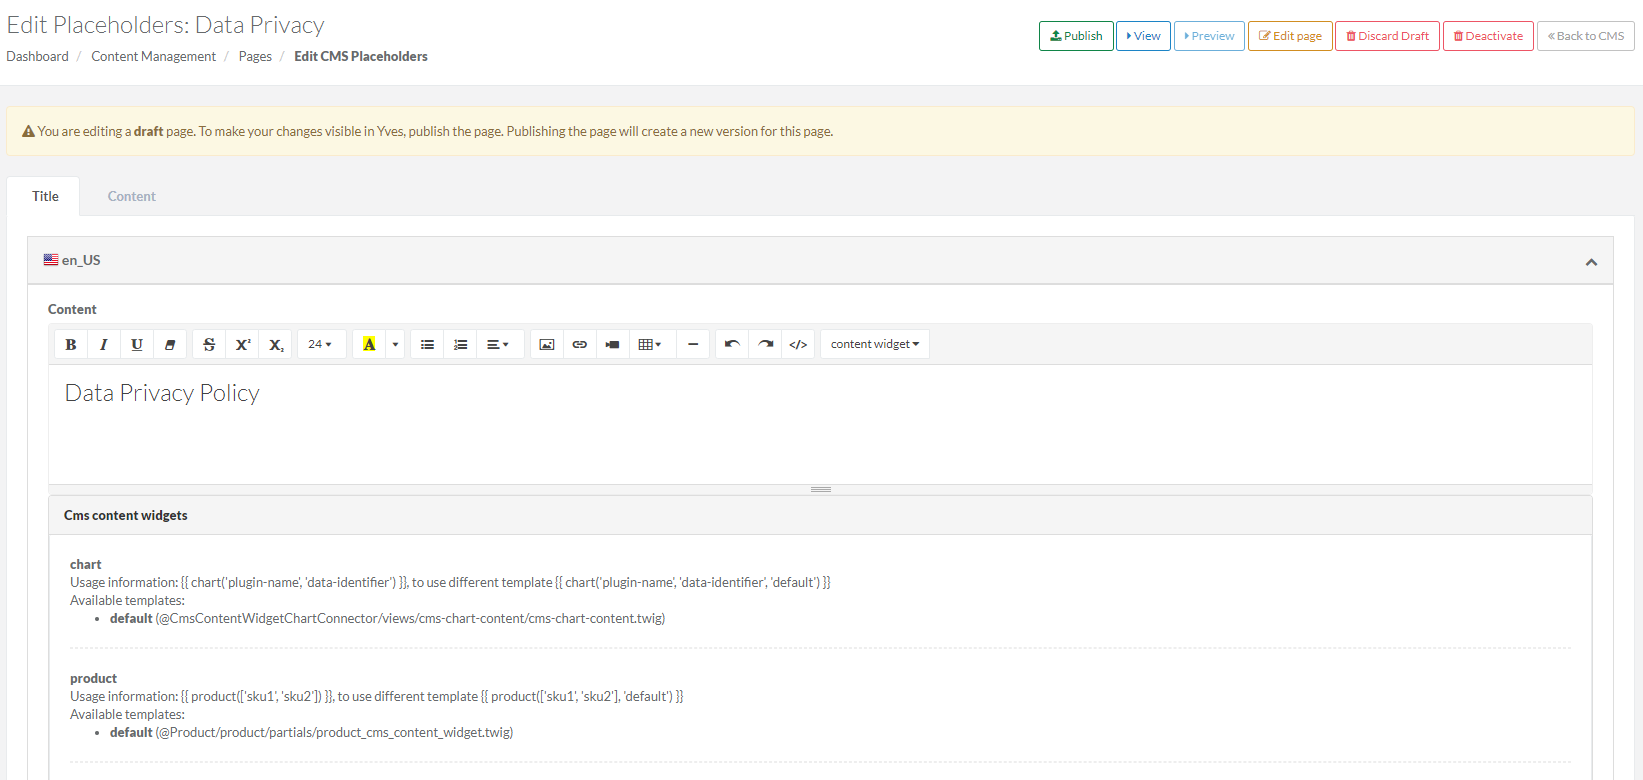
This page allows you to:
- Preview changes made to the page
- View general information on available page versions
- Edit metadata of the page
- Publish or cancel changes on the website
If your page is not multiversioned, this functionality will not be displayed.
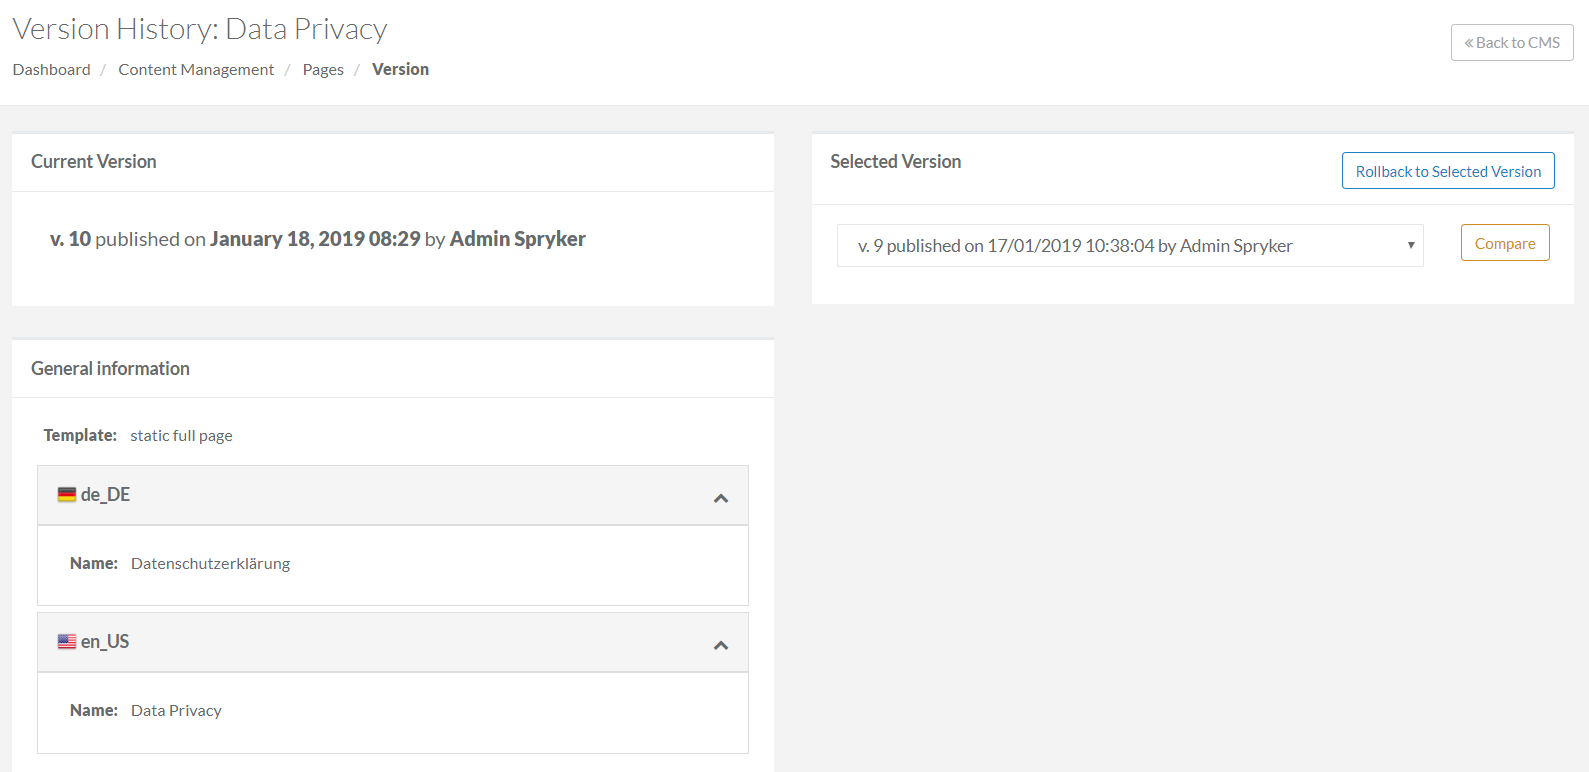
With CMS versioning, you can manage all changes for a CMS page.
You can view general information, SEO details, compare CMS versions, roll back to the selected version or discard changes to a page.
To view versioning for a CMS page:
- Go to Content Management → Pages.
- Click View → Version History next to the respective page.
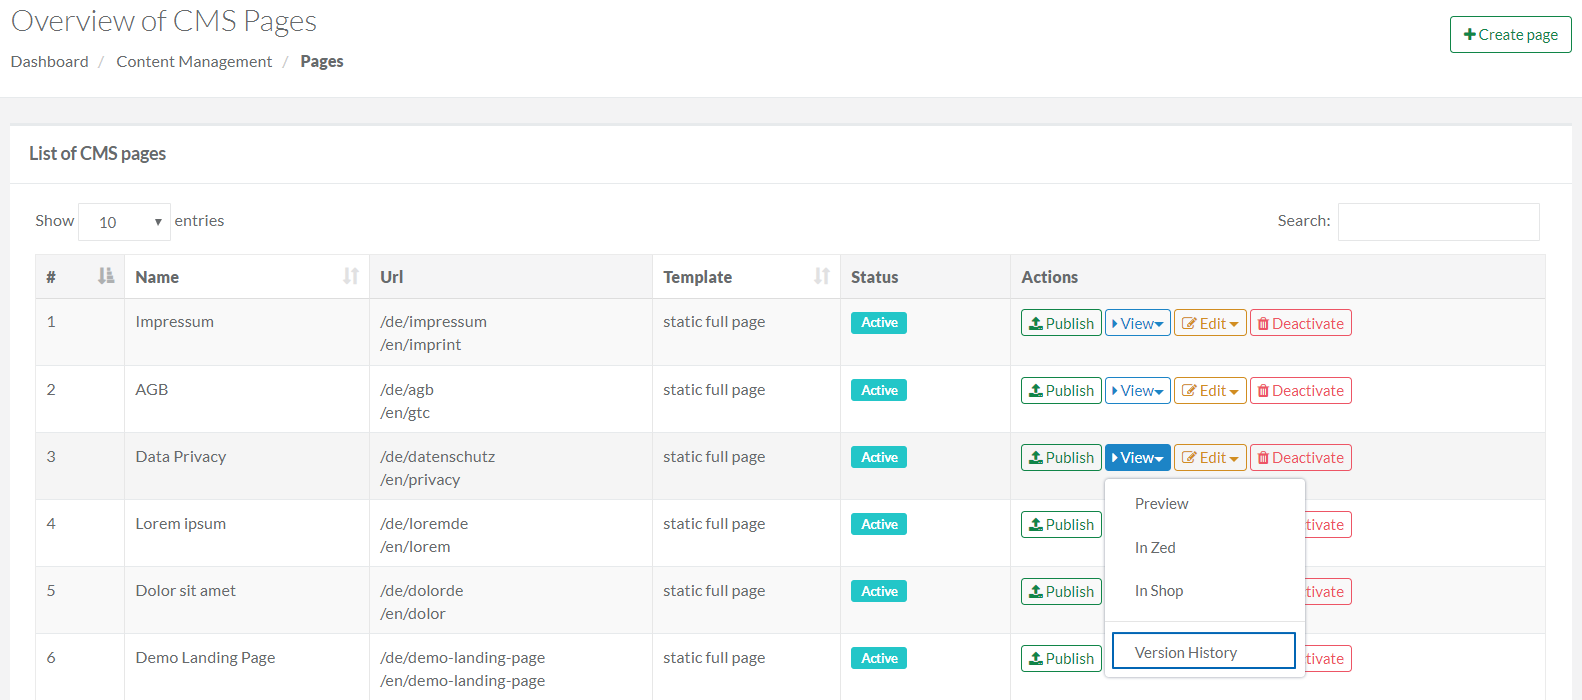
The Version History page will open.
Rolling back to a CMS Version
If you want to roll back all the changes to the specific CMS version, specify the version that you want to return to and click Rollback to Selected Version. This will copy all data from the older version and publish the previous version on the website.
Comparing CMS Versions
You can compare two CMS versions to see what changes you have made to the current version.
To compare CMS versions:
- On the Version History page, specify the version you want to compare with.
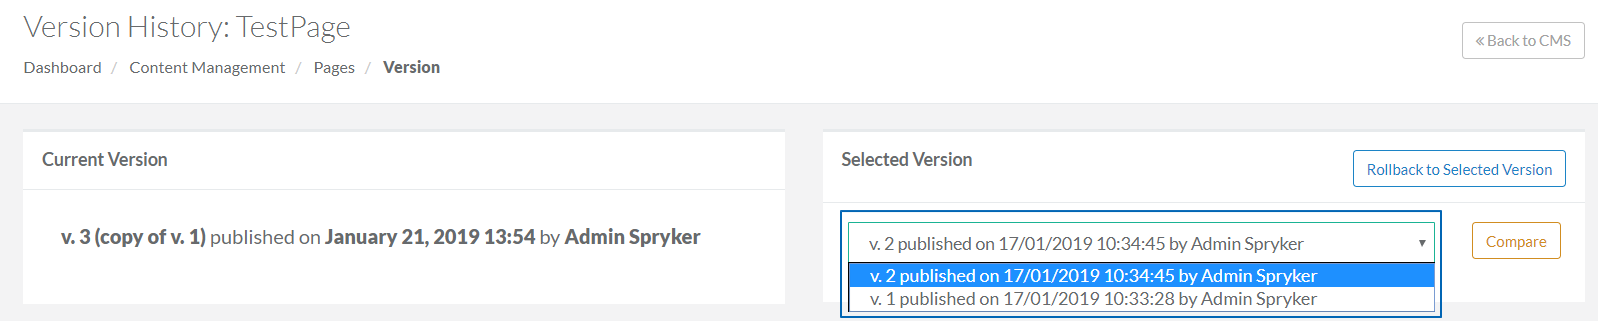
- Click Compare.
See also:
Last review date: Feb 12, 2019