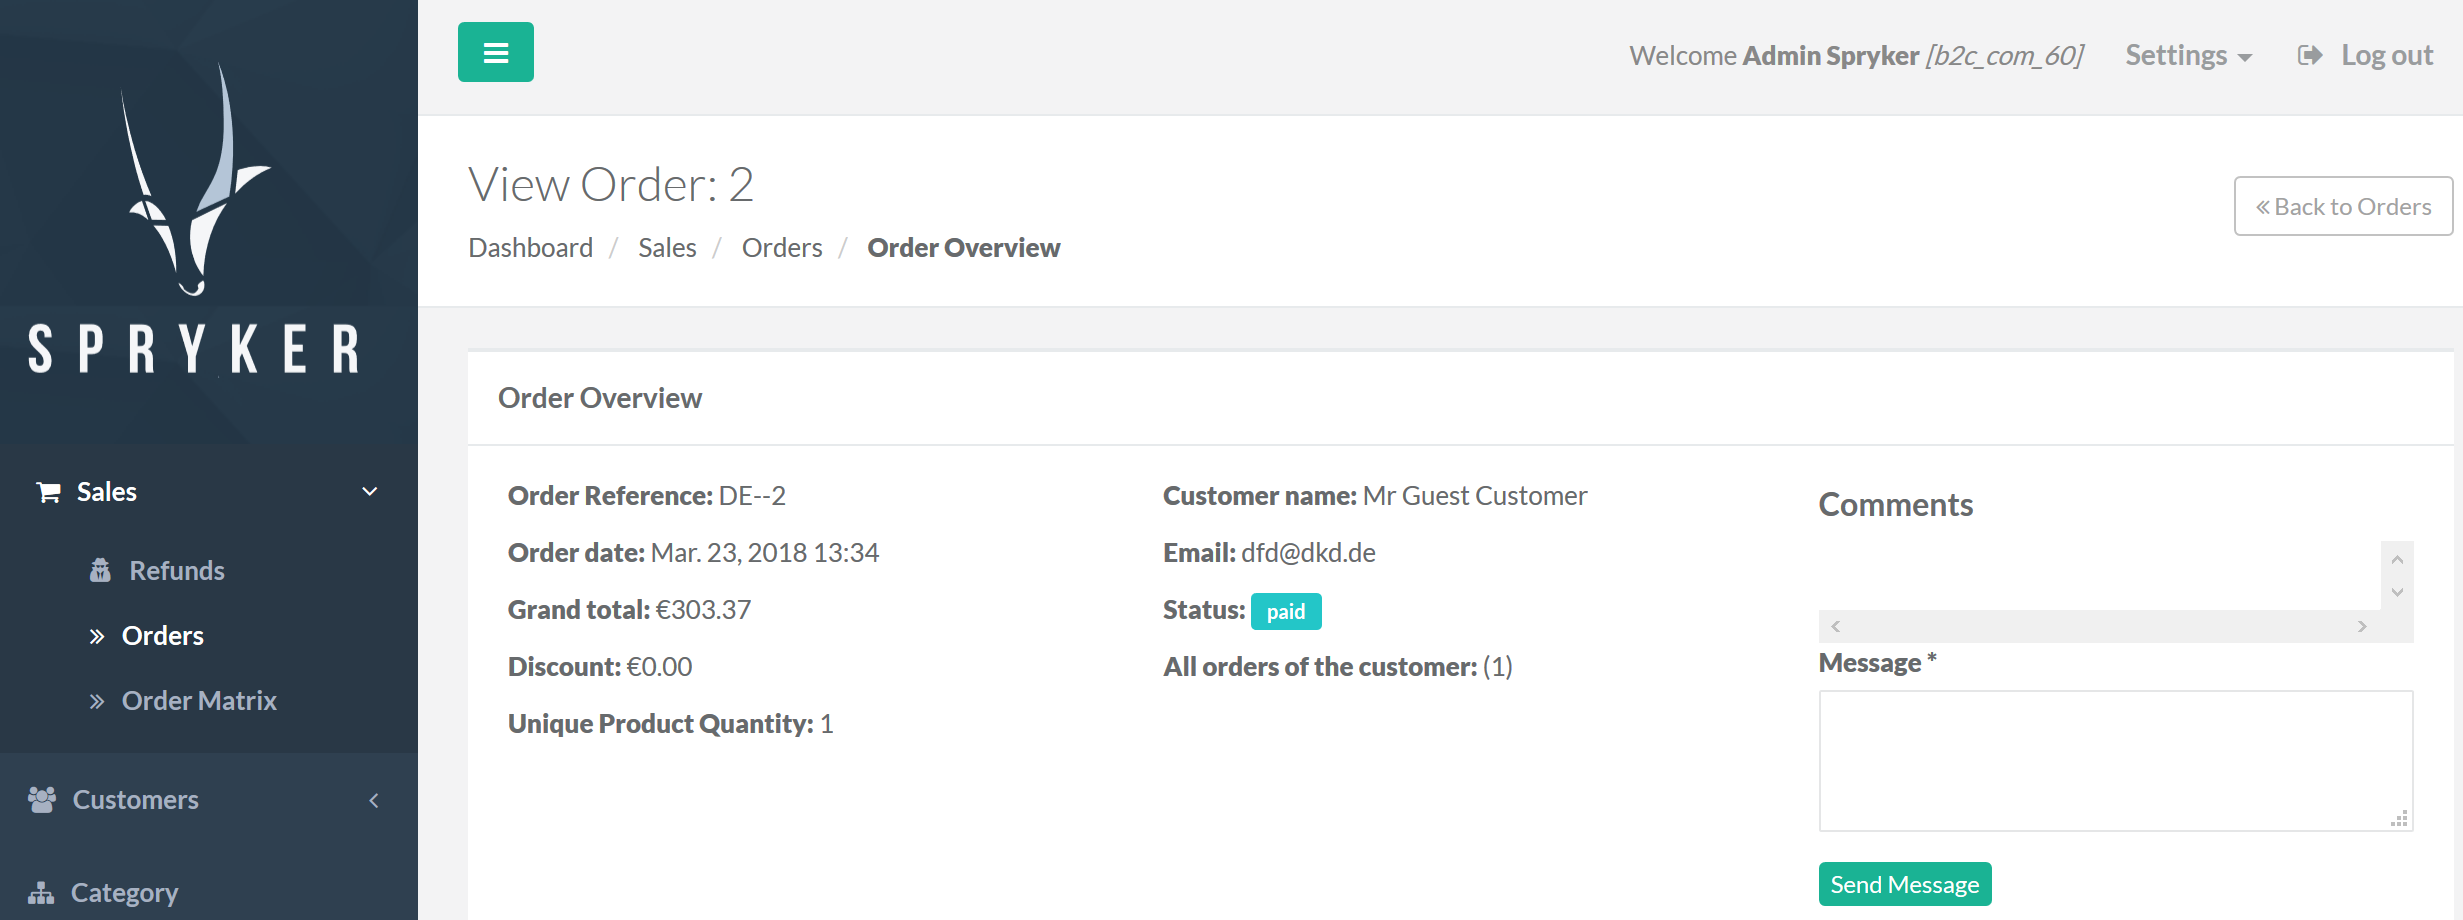
Customers 

Customer data can be managed either by the shop owner from the Administration Interface, or by the customer from the shop interface. When managing customer data from the Administration Interface, you can add personal information like name and email address, as well as customer billing and shipping addresses.
The user registration can be completed only by the customer by setting up the password for the account (either by following the link sent by email or by clicking the reset password button in the shop).
In the Customers menu you can:
- Add new customers
- Delete customers
- View customer details
- Edit customer details
- Manage customer addresses
- View customer orders
Graphic User Interface
To access the Customers page, from the Administration Interface's main menu (on the left), click Customers and then Customers.
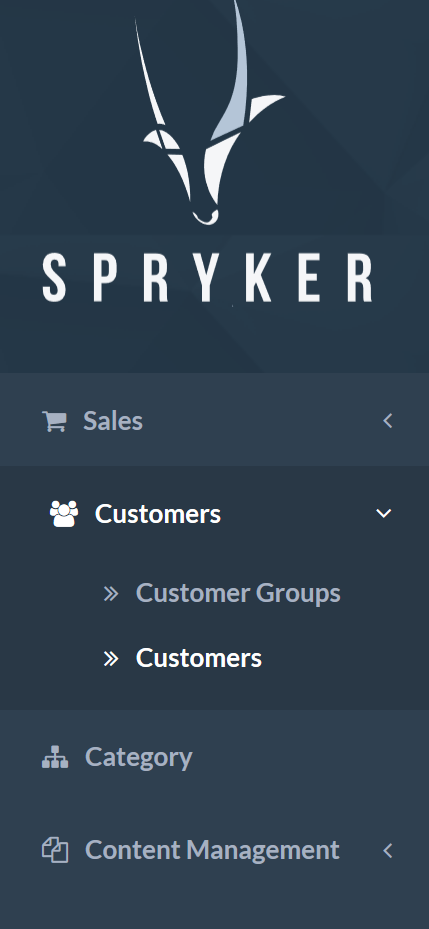
Hover your mouse over the numbers to view their description.

To create a new customer, follow the steps described below.
- On the left side navigation bar, select Customers->Customers
-
Click Add Customer in the top right corner.

-
Enter the customer information.
The customer information must include first name, last name and the email address that will be linked to the new account. The email address is important for completing the registration (by accessing the link that will be sent by email) or for later use of the forgot password functionality.
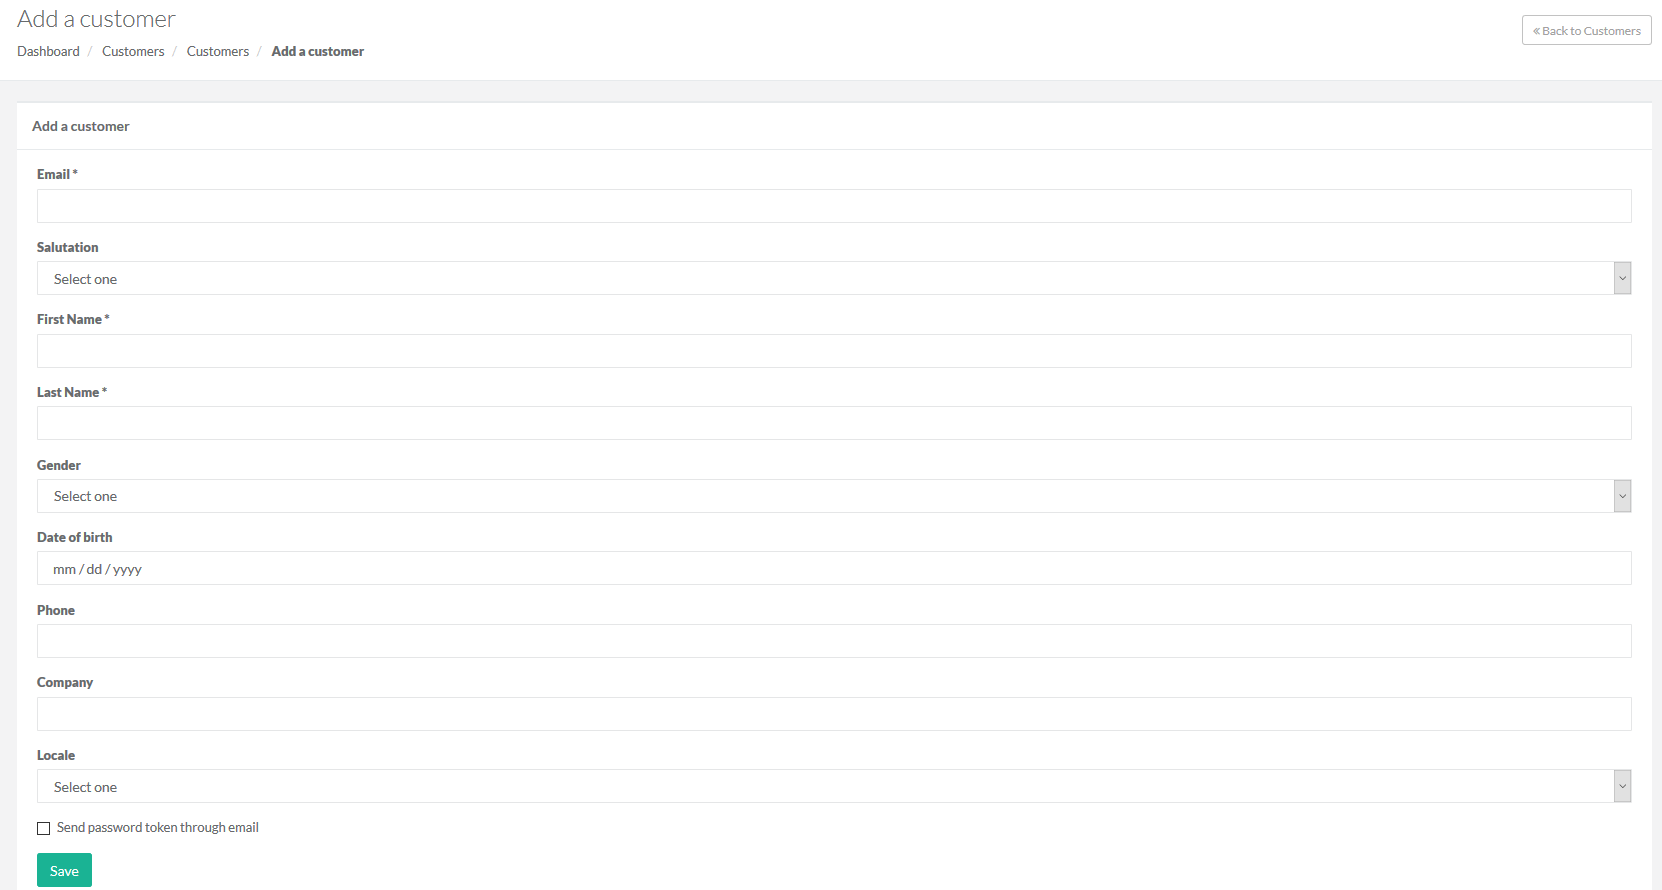
- Send password token by email
by checking the Send password token through email checkbox. After saving the customer data, an email will be sent to the customer containing a link. By accessing the link, the customer will be able to set a password for the account. If you don’t check this option, the customer is still able to set a password for their account, by clicking the reset password link from the shop interface.

- To complete the customer creation, hit Save.
You can either View or Edit the customers' information
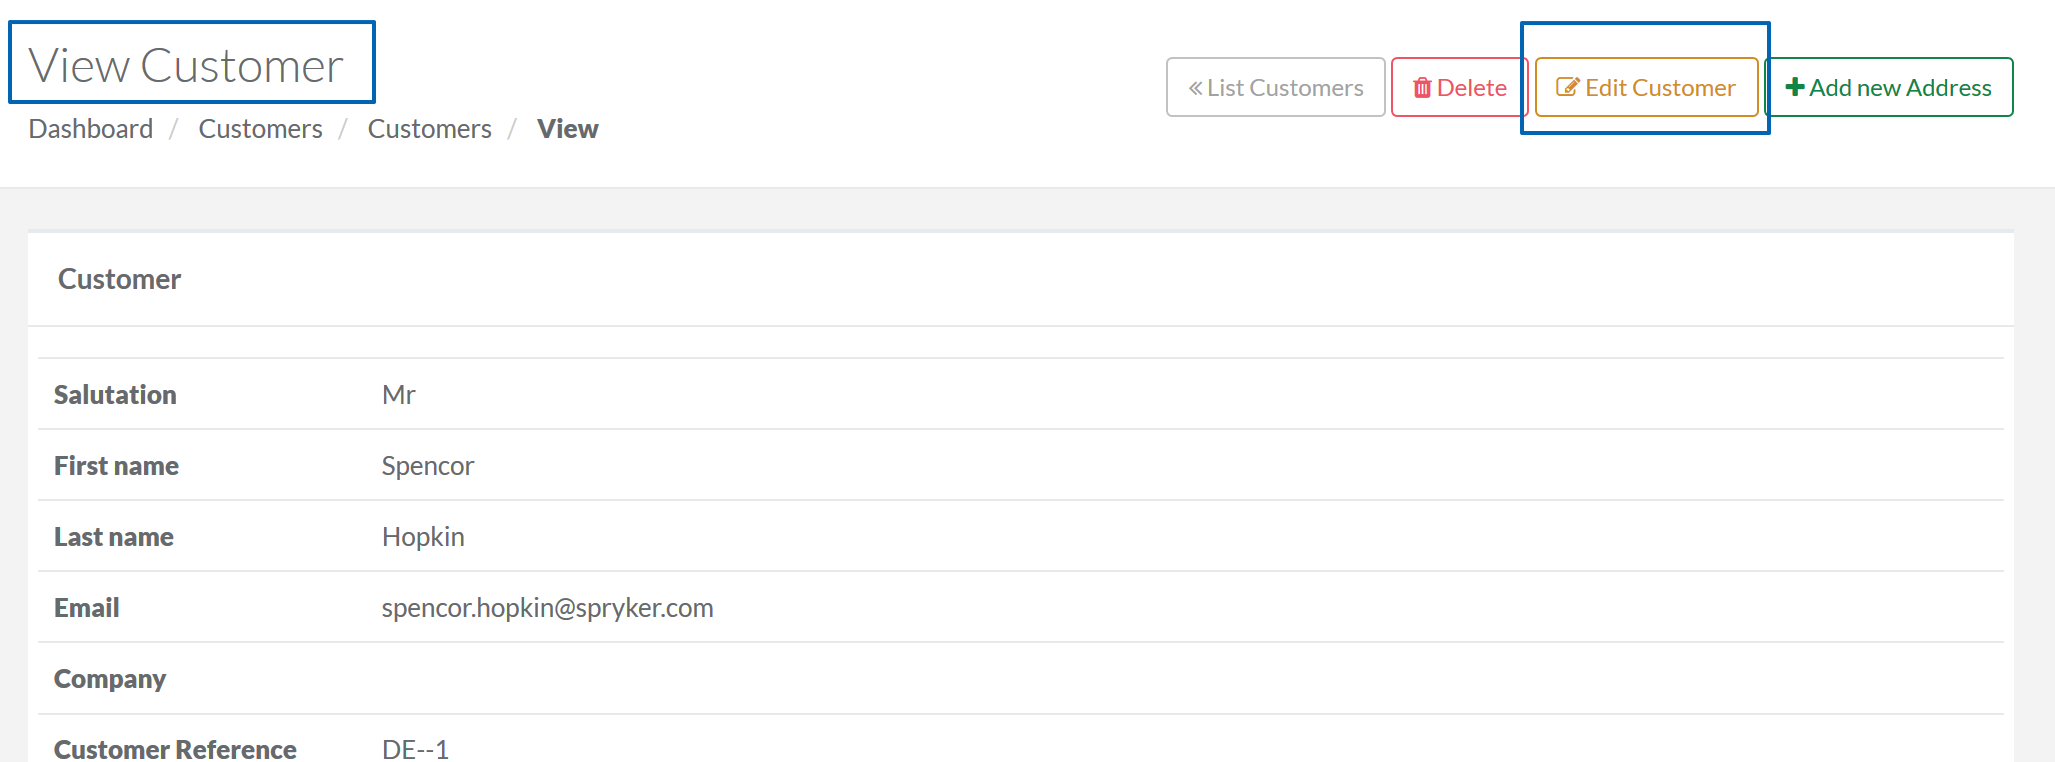
Viewing Customer Details
To view customer's details, click View in the list of customers.

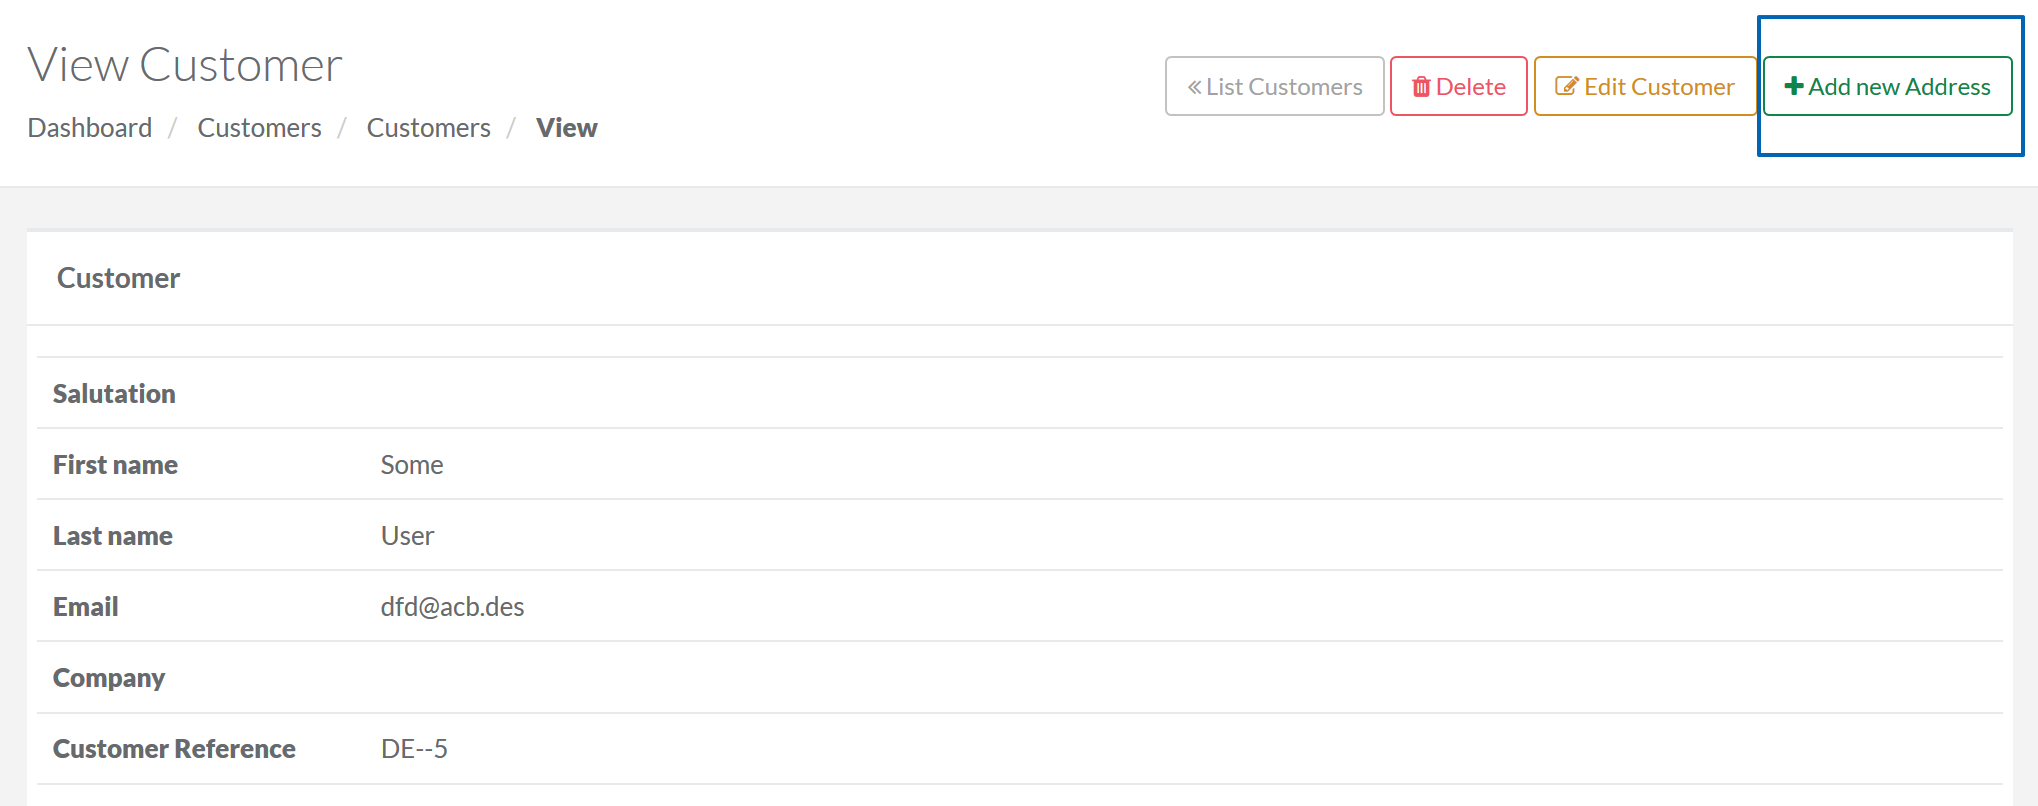
This button will take you to the View Customer page.

By clicking the respective button on the right, you can:
| # | Element | Description |
| 1 | List Customers | Return to the Customers page with the list of customers. |
| 2 | Delete | Delete the customer. |
| 3 | Edit Customer | Go to Edit Customer page. See below to learn what you can do on this page. |
| 4 | Add new Address | Add a new address for the customer. The address can be subsequently used as a billing or a shipping address. See the section below for more information on addresses management, |
If the customer has addresses, they can be edited in the Addresses section of the view page. See the section below for the information on how to do that.
Editing Customer Details
To edit customer details, click Edit in the list of customers.
This button will take you to the Edit Customer page.

By clicking on a respective button on the right, you can:
| # | Element | Description |
| 1 | Delete | Delete the customer. |
| 2 | View | Go to View Customer page. See above to learn what you can do on this page. |
| 3 | Back to Customers | Return to the Customers page with the list of customers. |
The customers can be assigned billing and shipping address on this page as well. See the section below for information on how to do that.
Attaching a Customer to Company
To Attach a Customer to a company, click Attach to company in the list of customers.

This button will take you to the Attach customer to a company page.

By filling the respective fields, you can:
| # | Element | Description |
| 1 | Company | Select the Company from the drop-down. |
| 2 | Business Unit | Select the Business Unit from the drop-down. |
| 3 | Assigned Roles | Check the Roles that have been assigned. |
| 4 | Unassigned Roles | Check the Roles that have been unassigned |
| 5 |
Back to Customers |
Return to the Customers page with the list of customers. |
If any of the roles is marked as default in Company Roles, it is already pre-checked in the Unassigned Roles section.
The customers can be assigned billing and shipping address on this page as well. See the section below for information on how to do that.
By clicking Save, the customer will become attached to a Company, i.e. they will become a Company user with specific rights stipulated by the Assigned roles.
As a Shop Administrator, you can create and manage customer addresses. The addresses attached to a customer account need to be created one by one. Addresses can be updated later.
Creating New Addresses
To create a new address for a customer, do the following:
- On the left side navigation bar, select Customers.
- On the Customers page, click View next to the customer you want to add the address for.
- Click Add new Address in the top right corner.
- Enter the new address for the customer.
- To complete the address creation, hit Save.

By default, the first address added to a customer account is considered both for billing and for shipping.
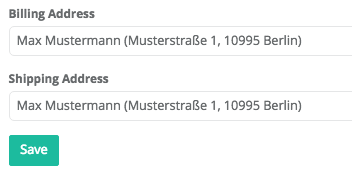
If you need to have a different billing address or shipping address, do the following:
- Create an address as described above.
- Go to Edit Customer page either from the Customers page or from the View Customer page.

- Choose one address to be the billing address and one address to be the shipping address.
- Hit Save.
Editing Existing Addresses
To edit customer's address, do the following:
- On the left side navigation bar, select Customers.
- On the Customers page, click View next to the customer you want to edit the address for.
- On the View Customer page, scroll down to the Addresses section and click Edit next to the address to be edited.
- On the Edit address page, make your changes and click Save.
It is possible to view all orders placed by a customer on the View Customer page.
To view orders made by a specific customer, do the following:
- On the left side navigation bar, select Customers.
- On the Customers page, click View next to the customer whose orders you want to view.
- Add the very bottom of the page, there is Orders section listing all orders made by the customer.

To find a specific order, start typing either its Order Reference value or any other value that the table with the list of orders contains, in the Search field. As you type, the list of matching orders will be created in the table.
To view order details, click View - you will be taken to View Order page from the Orders section under the Sales menu.
