Category Filters 

An essential part of organizing products in a store is to arrange items into categories. Category Filters allow you to refine and customize the way filters are listed when you search by category. With Category Filters you can improve and optimize how visitors to the store locate products.
When a category holds a relatively small amount of products it is easy to simply scroll to locate an item. However, when the volume of products per-category grows to be a long list spanning several pages, it is unreasonable to expect that a customer would stay and look at hundreds of items.
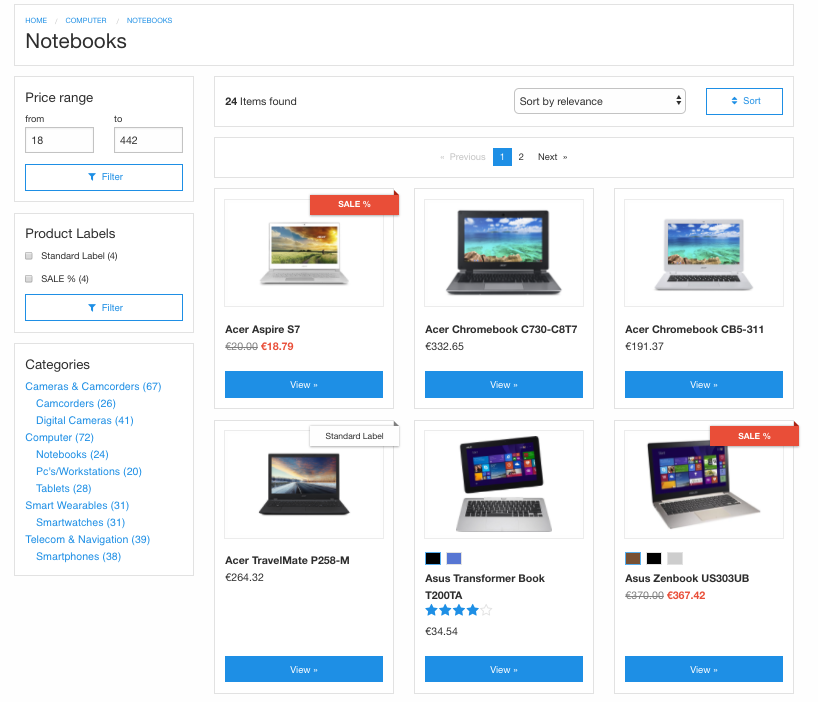
With category filters you can customize your Catalog Page filters. These filters appear in catalog pages and are defined in the Administration Interface.
Customizing category filters is how you use your unique knowledge of your products and consumer behavior to influence and improve your customer's user experience by:
- Making products easier to locate
- Selectively removing unnecessary filters from categories
- Prioritizing the display of filters for specific categories
You can either apply a general filter, or manually create specific settings described in this article.
This page will help you to:
- Access the Category Filters page and what elements this page consists of
- Create filter sets
- Manage the category filters by adding, reordering, or removing filters
Graphic User Interface
Accessing Category Filters Page
To access the Category Filters page, from the Administration Interface's main menu (on the left), click Search and Filters and then Category Filters

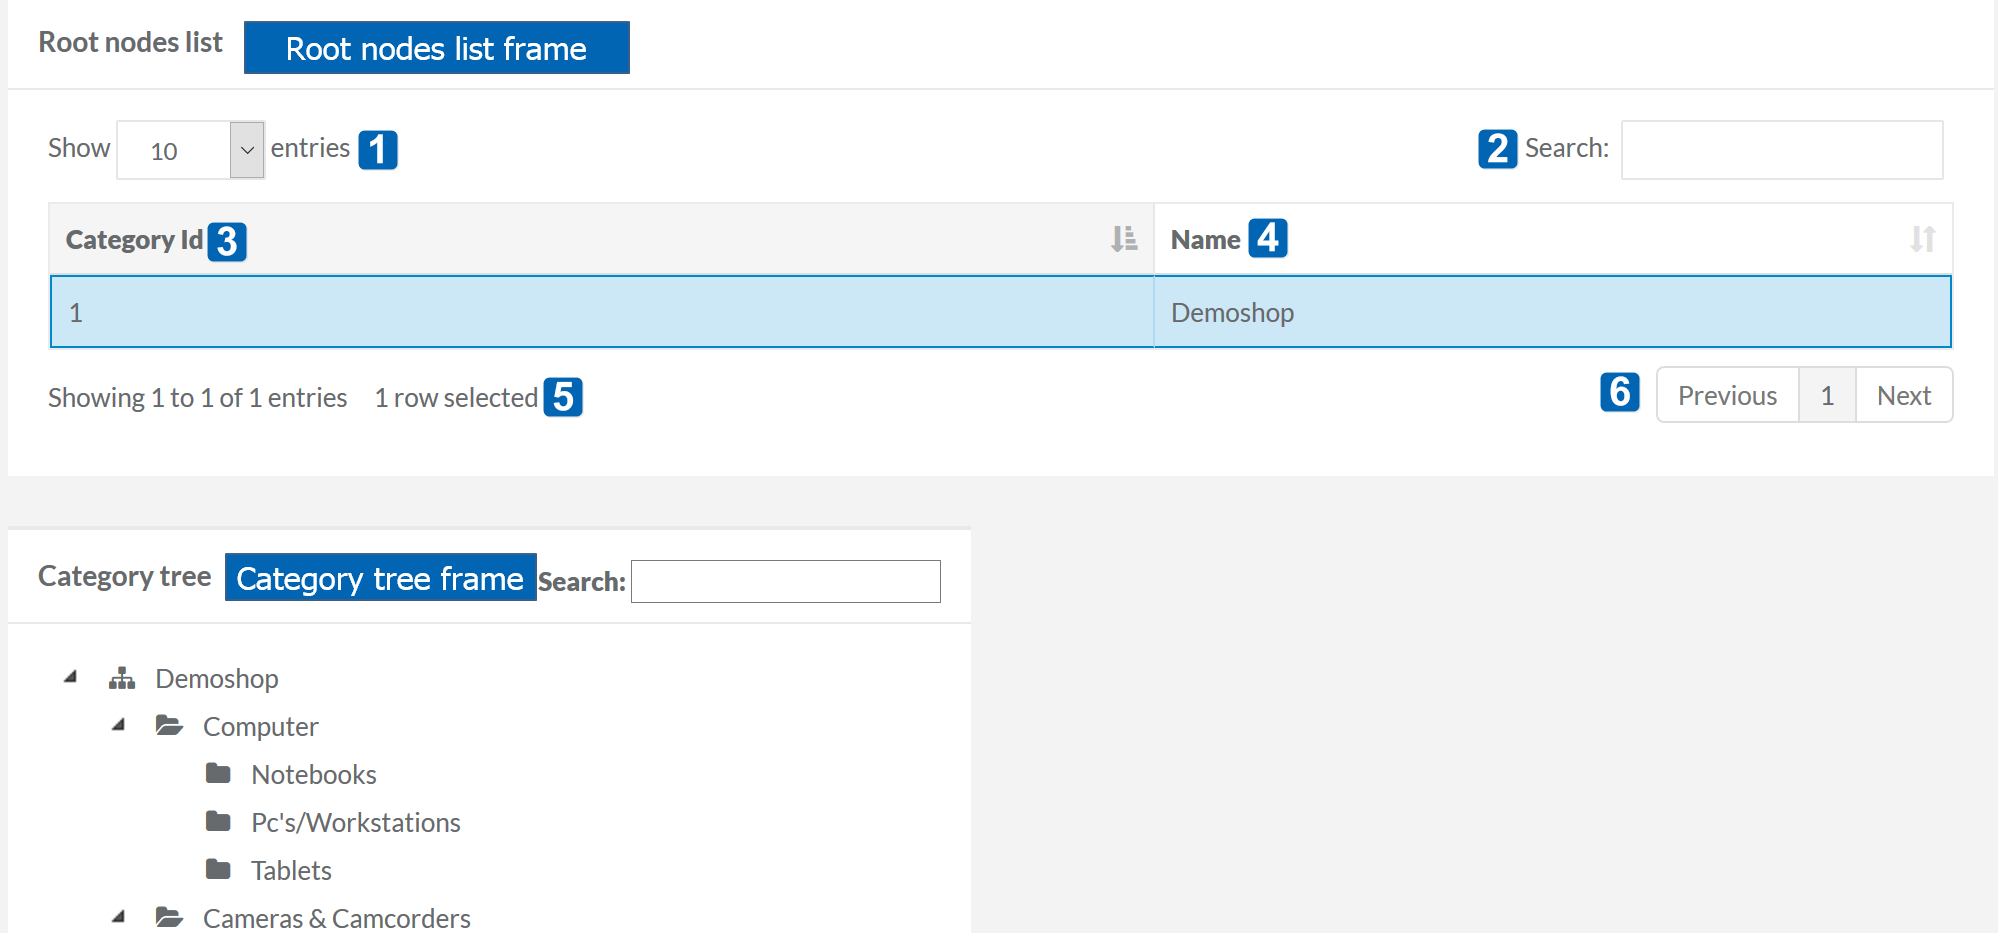
Category filters page has two 2 major areas:
- Roots node list
- Category tree
Hover your mouse over the numbers to view their description.
This procedure will show you how to create a Category Filter Set and customize filter behavior.
- Go to the Search and Filters and click Category Filters.
- Select the root category
from the Root nodes list table.

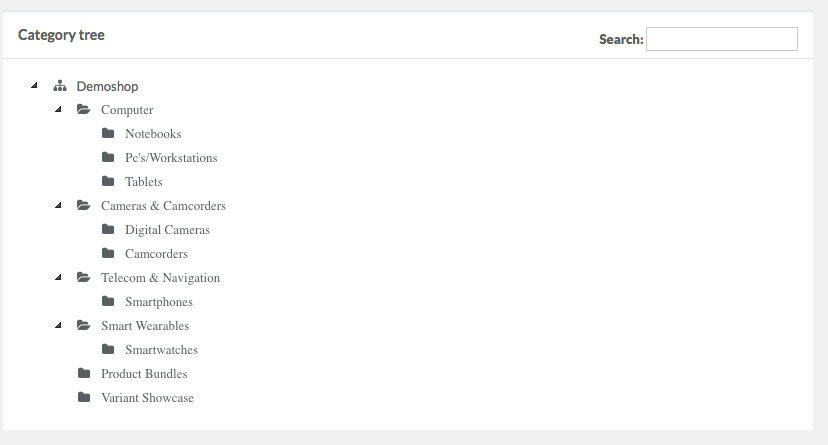
- The Category tree will be populated by the nodes nested under the selected root category.
-
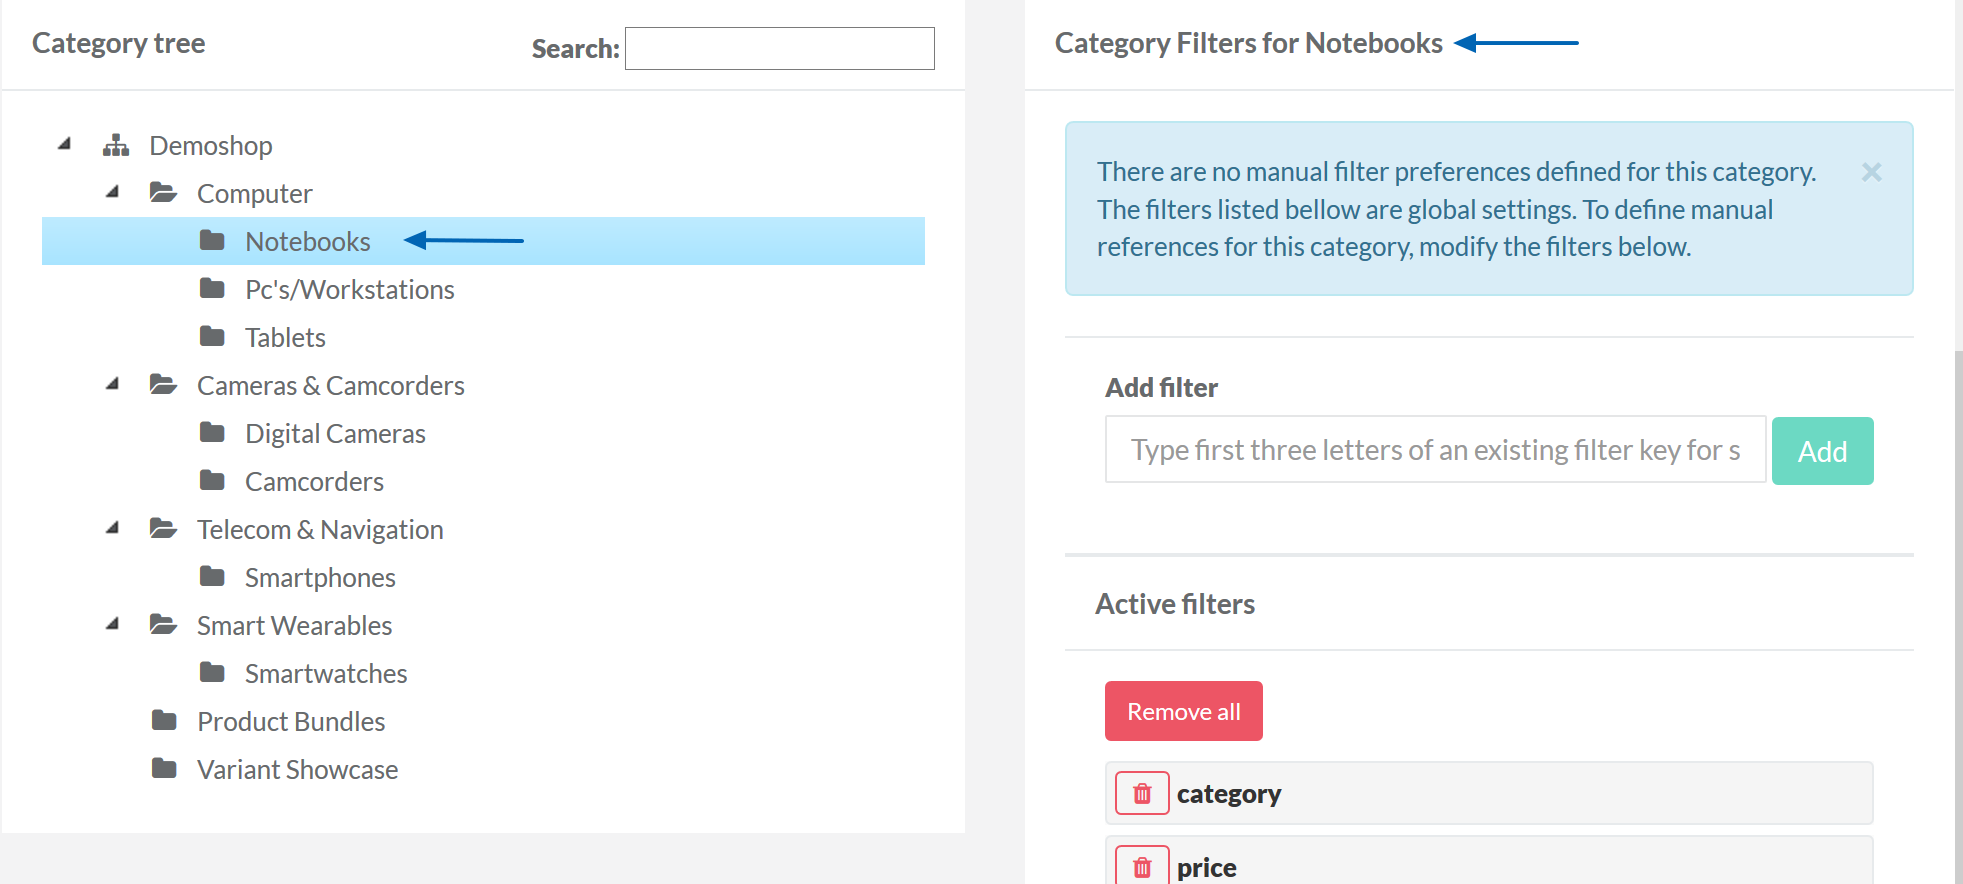
Choose a category for which you would like to overwrite the default global settings.
To find a specific category, start entering its name in the Search field and the results will be automatically highlighted in the category tree.
- After selecting a category, the Category Filters for [Category name] frame opens to show the current configuration.
Categories in the category tree view that do not have default global filter settings, are marked with a pencil icon next to their name. Clicking Reset to global settings in the Category Filters for [Category name] will remove the customized filter settings. - The Category Filters for [Category name] area is for adding new filters, re-ordering the list, removing a specific filter, or re-adding a previously removed filter. To manage category filters see Managing Category Filters below.
- After clicking Save, your changes will be applied to the category and filters.
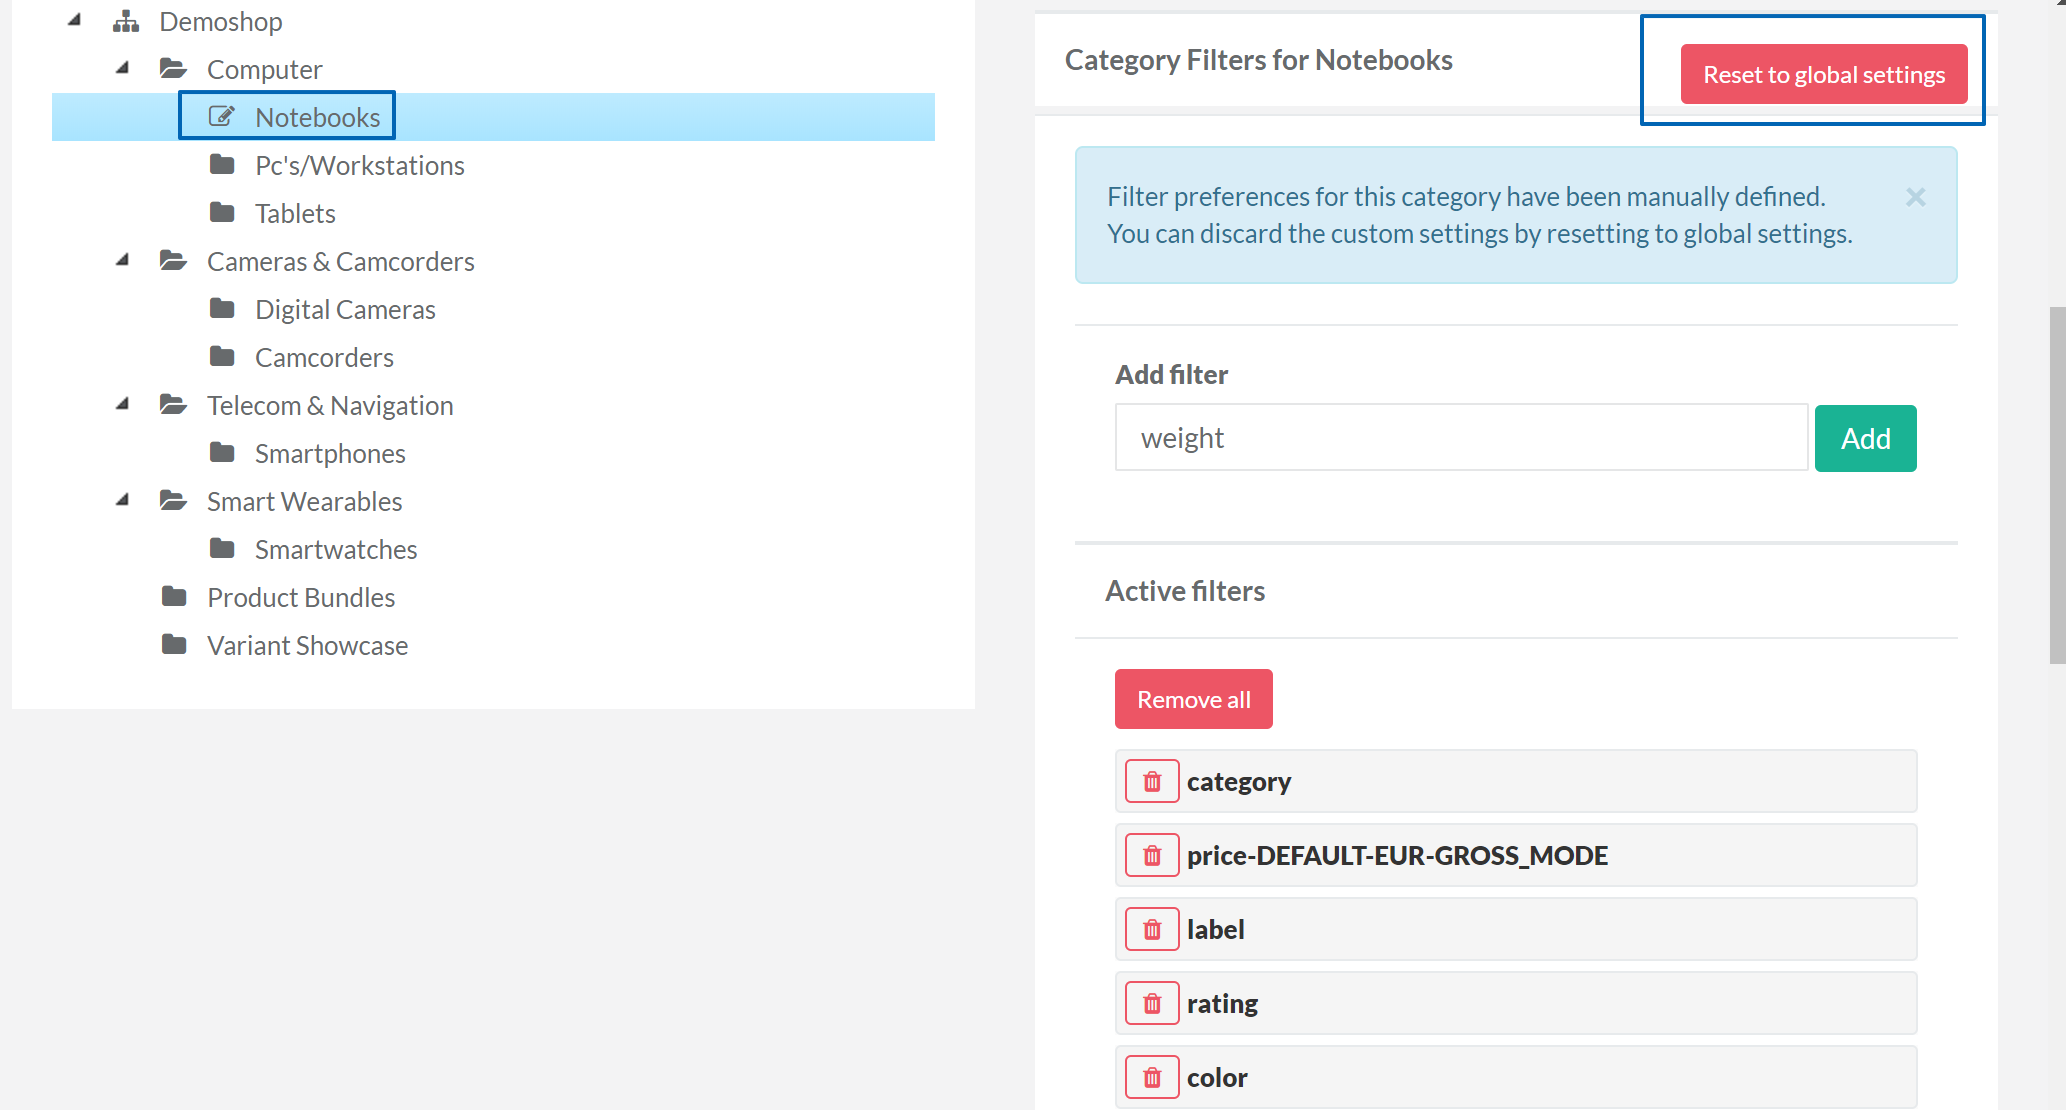

In our example, the order changed, brand, rating and color have been removed.
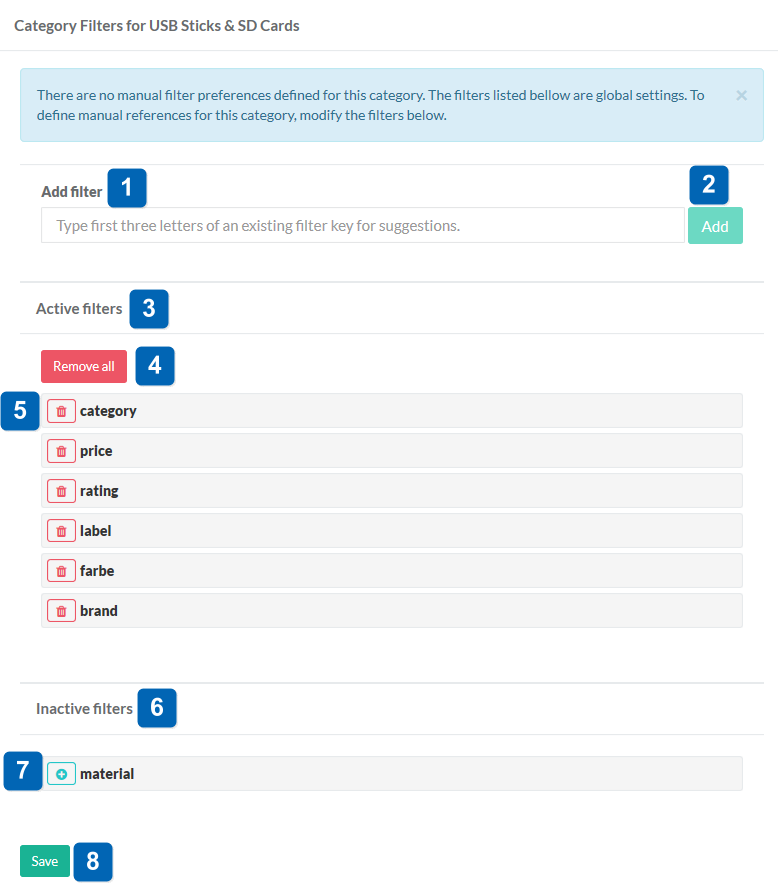
The set of steps described in this section will help you to add a filter.
- Start typing the name of the existing filter in the Add filter field. As you type, the autocompleted drop-down will appear so you can select a filter there.
- After selecting the filter, click Add. The filter will appear in the Active filters list.
If the list of active filters contains filters that have no matching products, such filters are displayed in italics in the list of active filters.
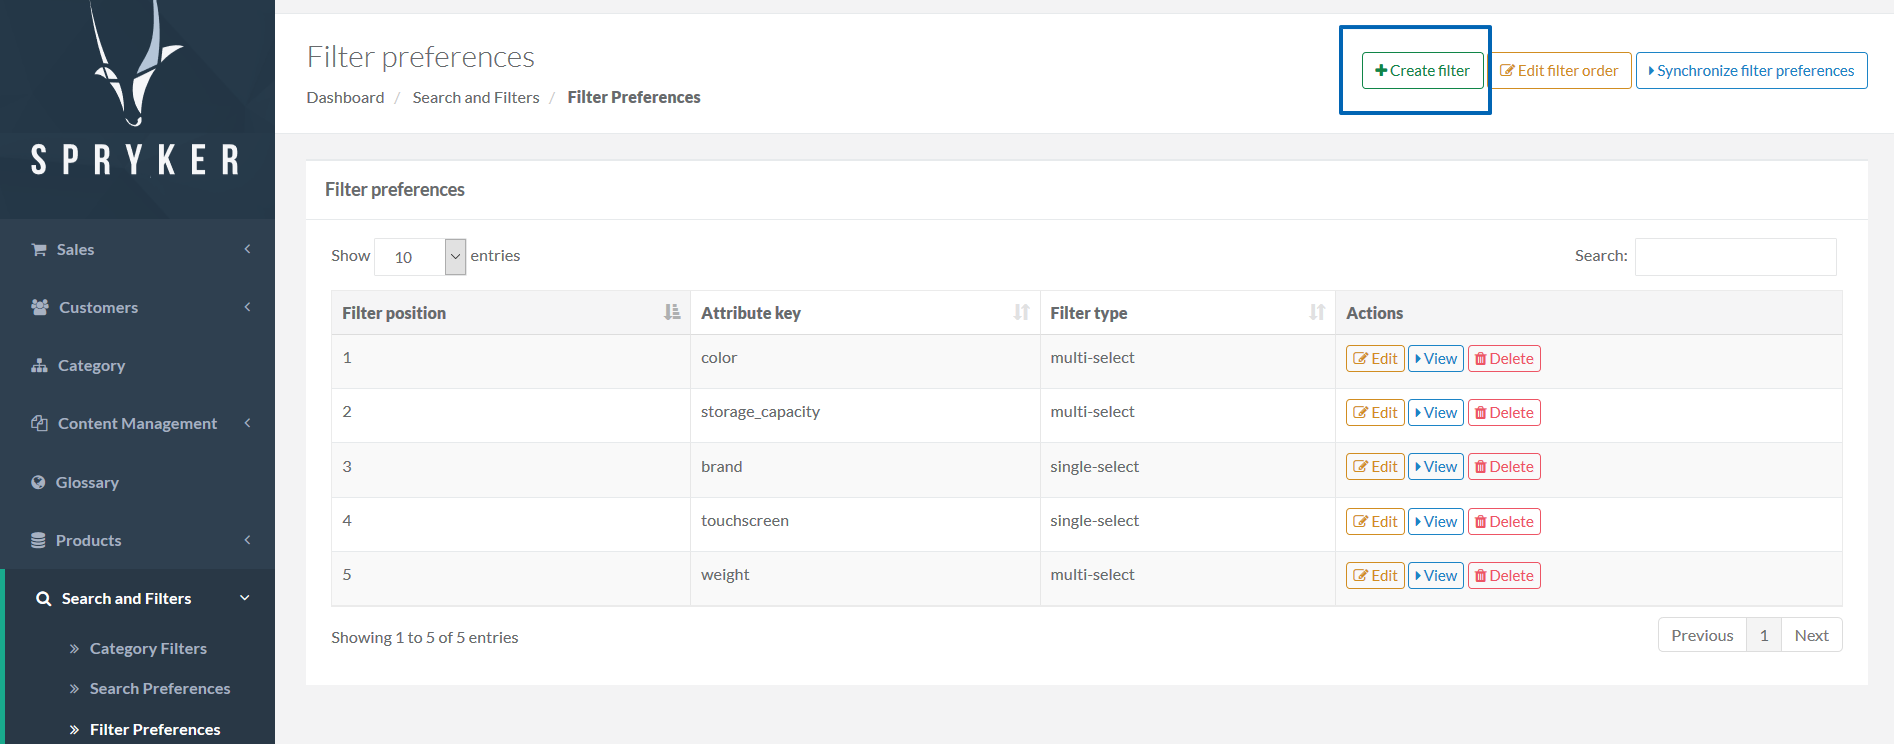
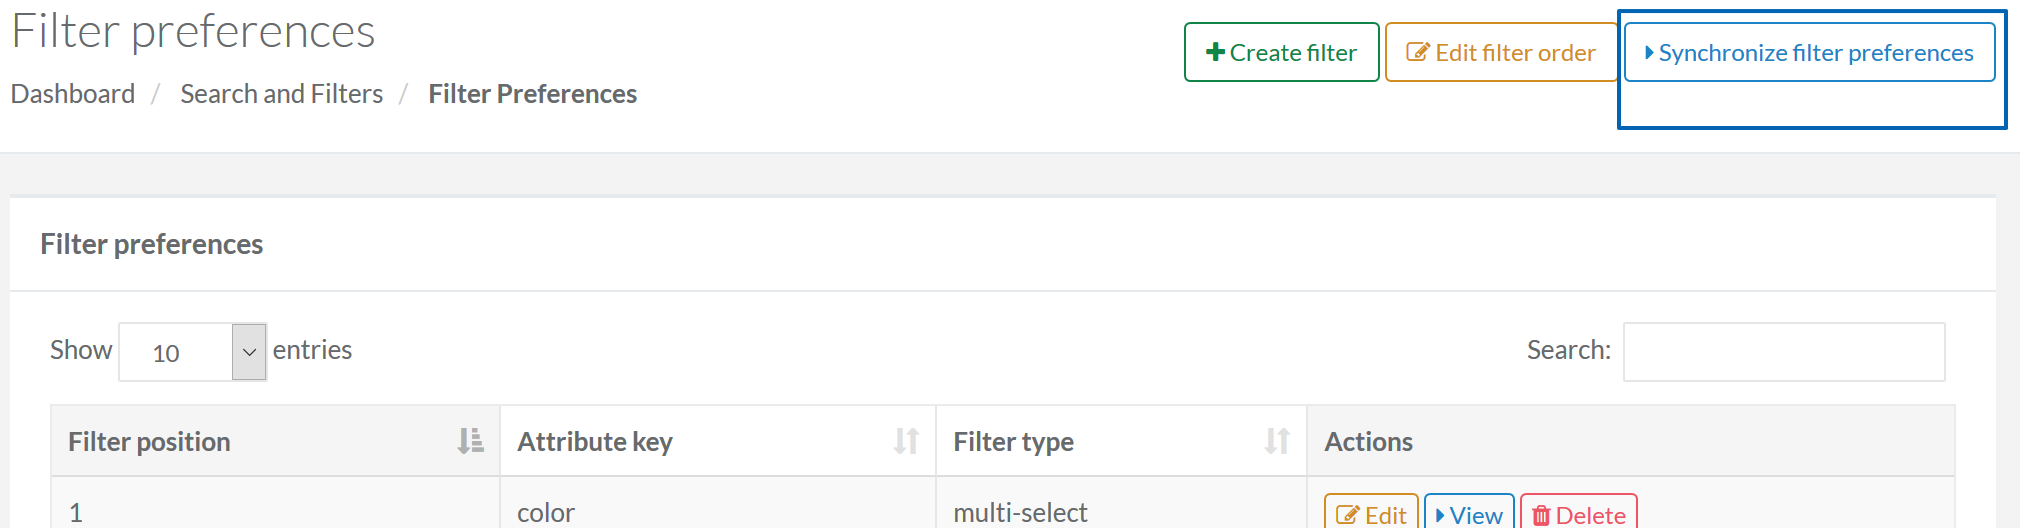
- Go to the Search and Filters section and select Filter Preferences.
- Click Create filter button in the top right corner.
- Specify Attribute key, Filter type and Filter name.

- Click Save.
- On Filter Preferences page, click Synchronize filter preferences button.
- Click Save.
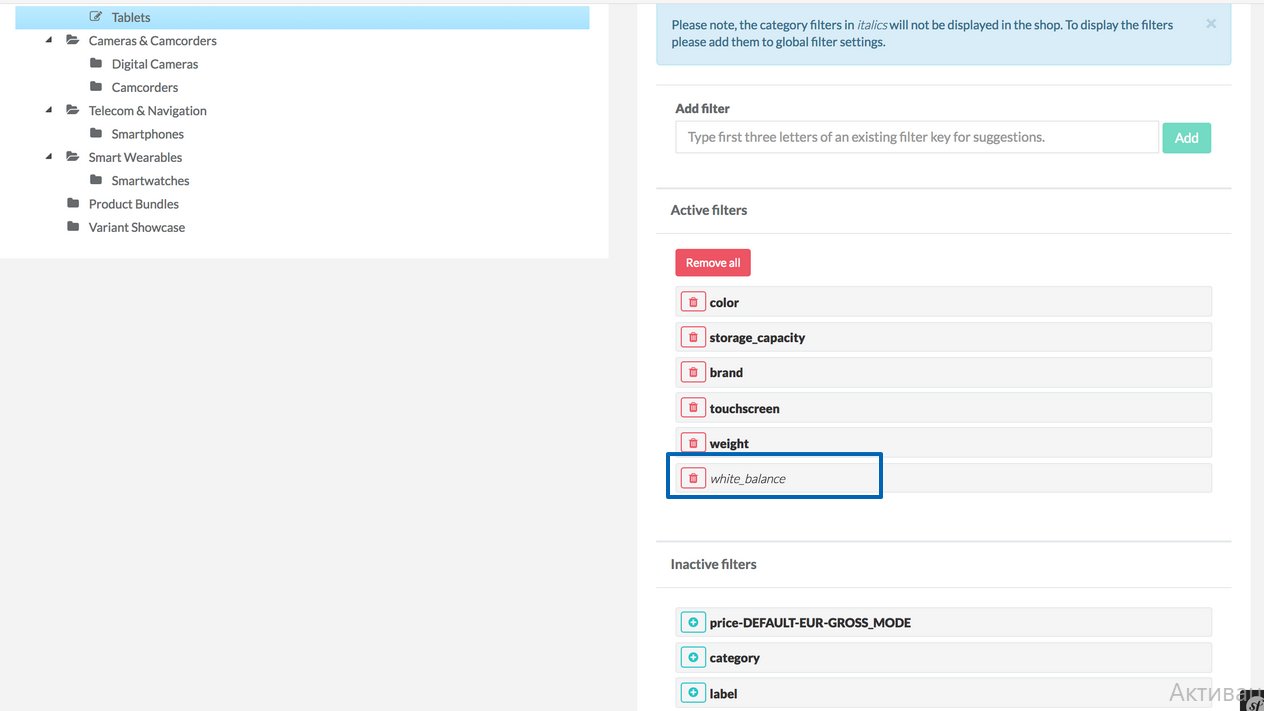
These filters will not be shown in Yves, because they are not added to global filter settings.
To add them to the global filter settings, do the following:

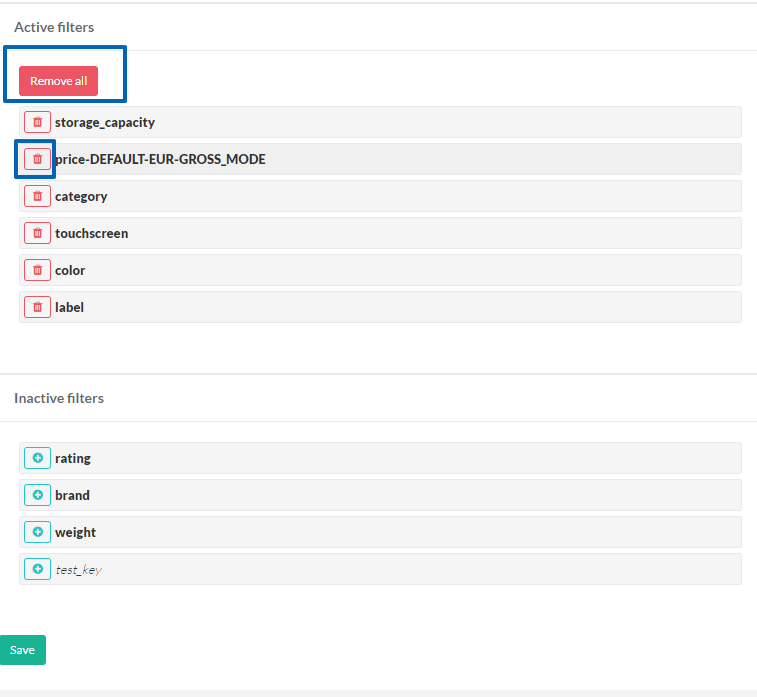
It is possible to remove either all filters from the active filters at once, or just single filters.
| To remove all filters | Click Remove all |
|
| To remove single filters |
Click a basket icon at the filter you want to remove. The removed filters will be moved to Inactive filters list. |
|
| To add the removed filters again | Click on the green plus sign at the filters you want to add back from Inactive filters. |
Last review date: Dec. 22nd, 2017