---
title: Mapping Guide
nav_order: 2
tags:
- Guide
- External
- User
# exclude-from-parent-guides-list
# exclude-from-main-guides-list
---
## Mapping Guide
This section covers how to map pedestrian infrastructure for an OpenSidewalks project in the OSM US Tasking Manager.
---
### Getting Started
#### 1. Log In to the Tasking Manager
1. **Create an OpenStreetMap account** at [openstreetmap.org](https://www.openstreetmap.org/user/new) if you don't already have one.
2. **Log in to the OSM US Tasking Manager** at [tasks.openstreetmap.us](https://tasks.openstreetmap.us) using your OSM account.
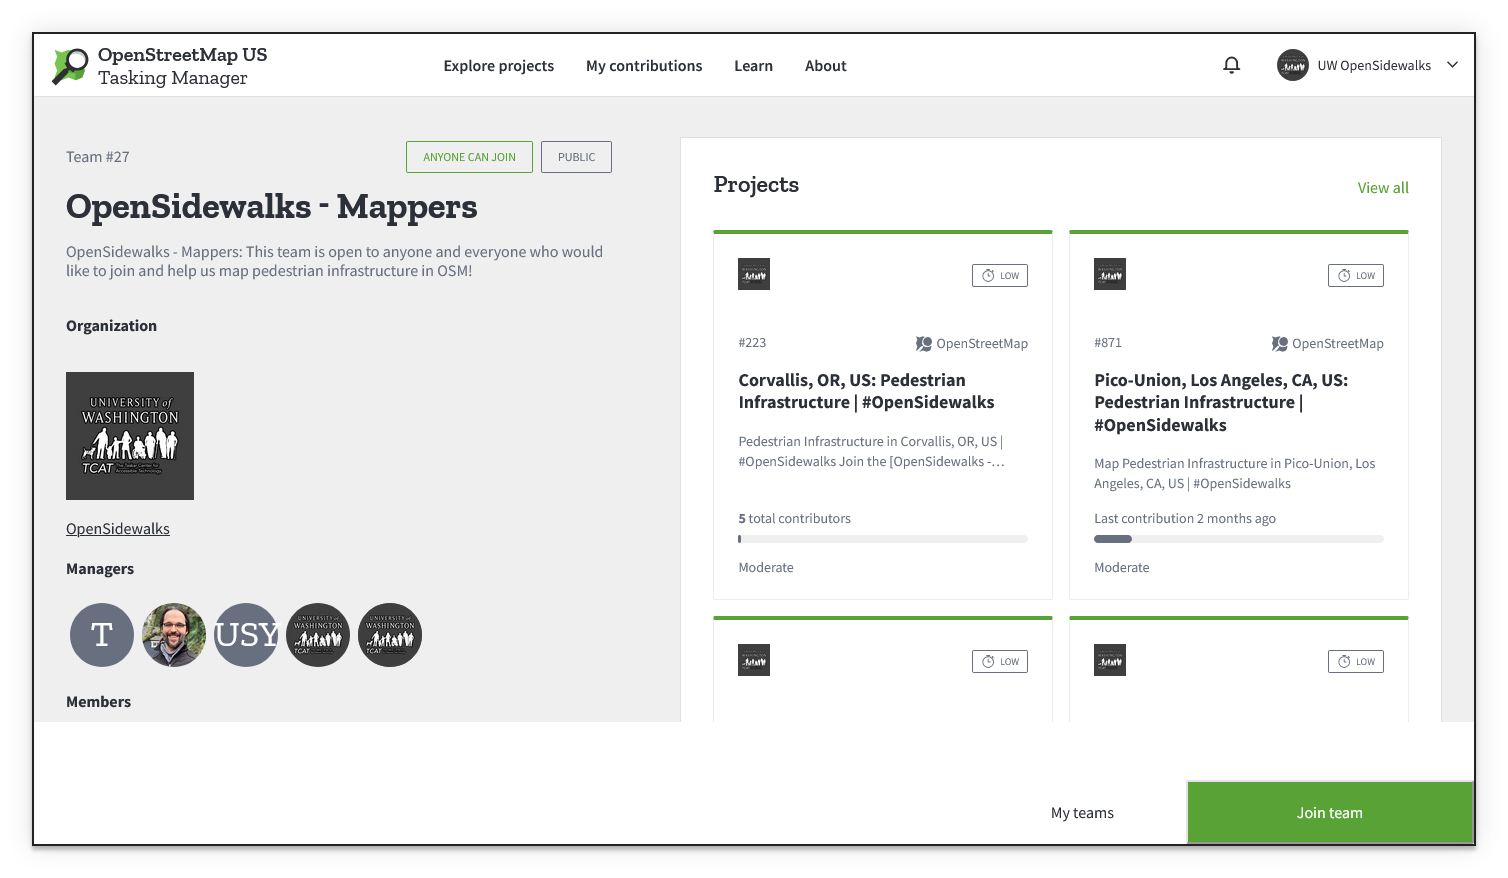
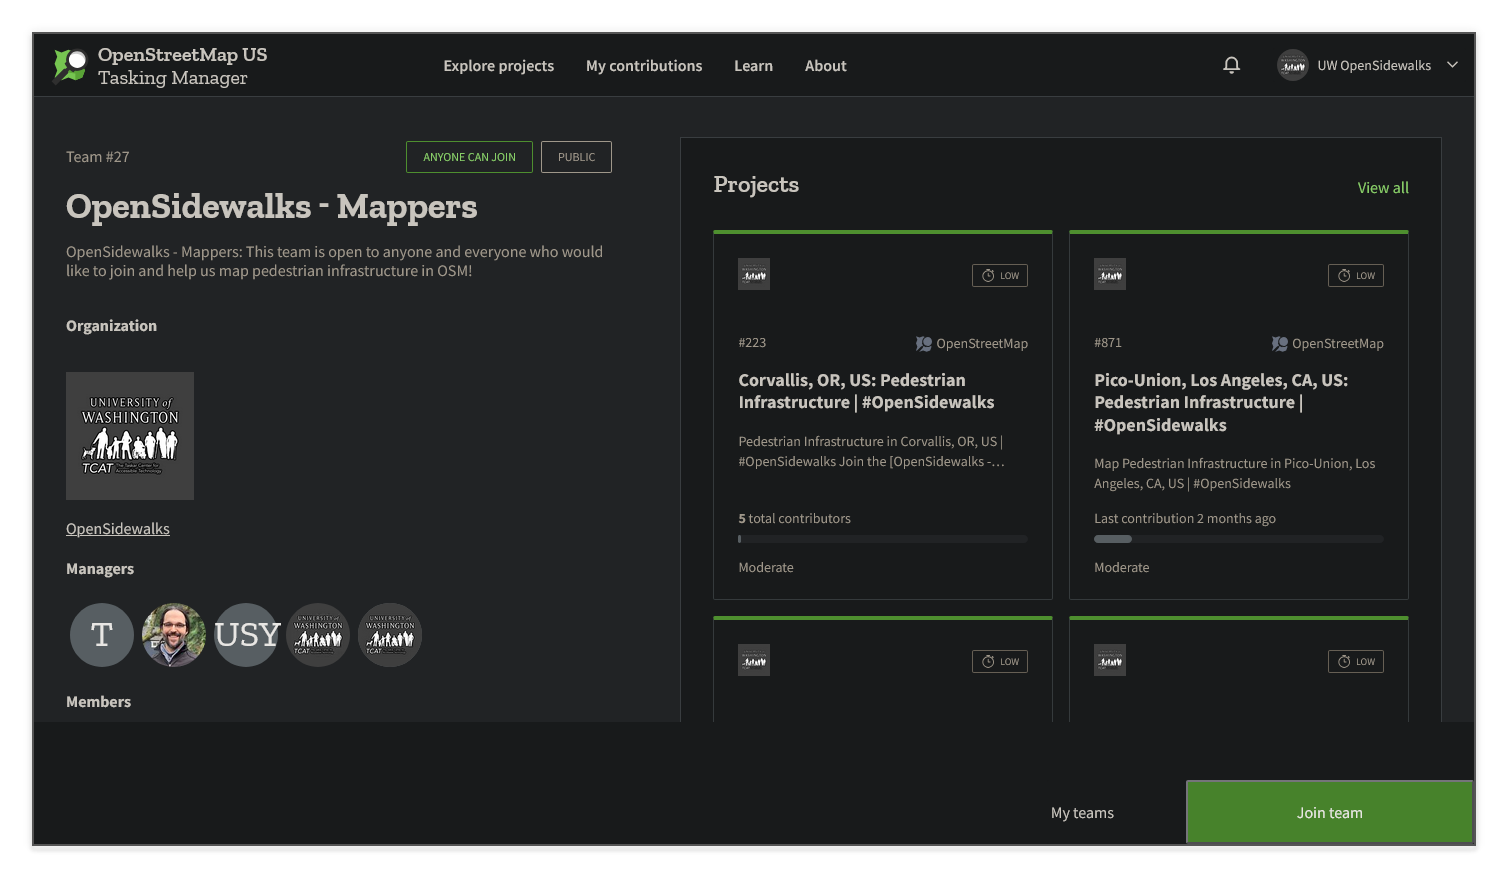
3. **Join the OpenSidewalks Mappers Team** by opening [Team #27](https://tasks.openstreetmap.us/teams/27/membership/) and selecting **Join team**{.osmustm-green} at the bottom right.
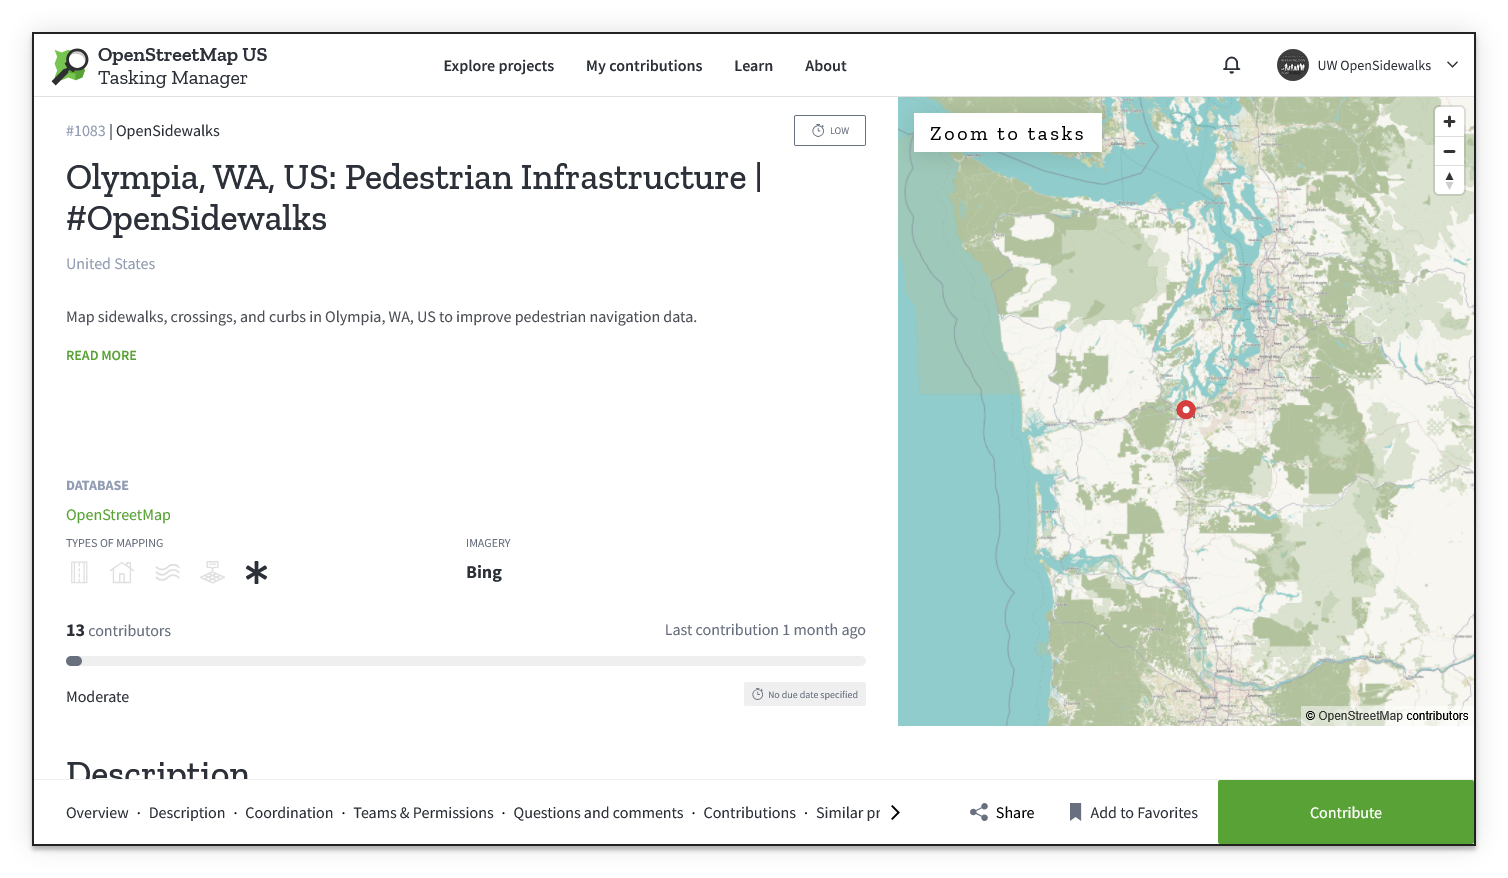
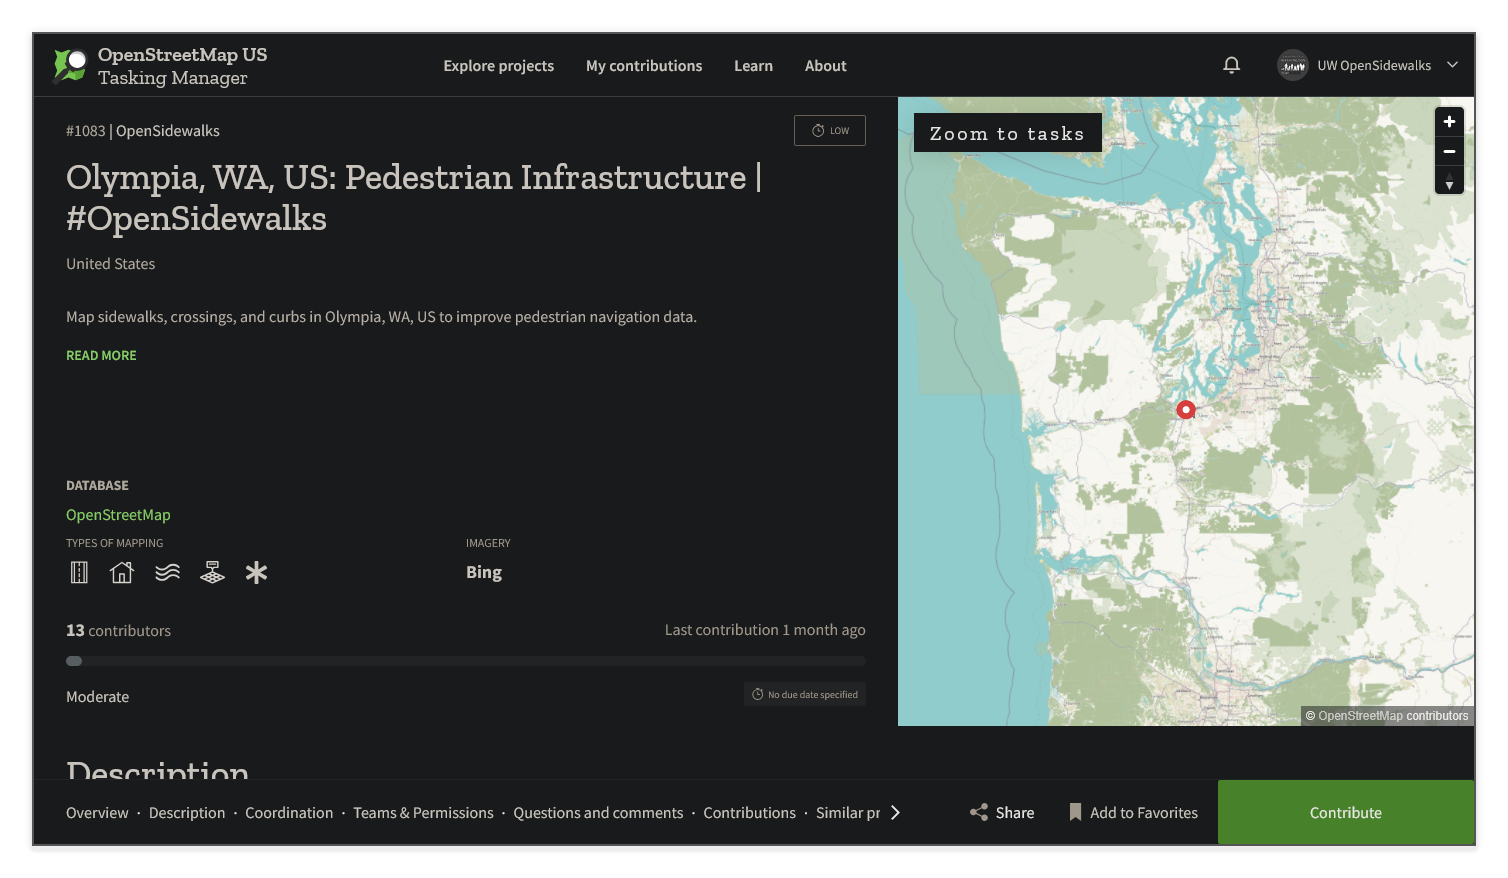
4. **Navigate to the project** you'd like to contribute to.
Example: [#1083: Olympia, WA, US: Pedestrian Infrastructure | #OpenSidewalks](https://tasks.openstreetmap.us/projects/1083)
!!! info "Email Verification Error"
After signing in, the Tasking Manager may prompt you to provide an email address for notifications. If you do, clicking the verification link in the email may show the following error:
> **Verification failed.**
>
> The verification of your email failed. Check if the URL on the browser matches with the URL sent to your email.
This is a known issue with the Tasking Manager and can be safely disregarded. Your account will still work normally.
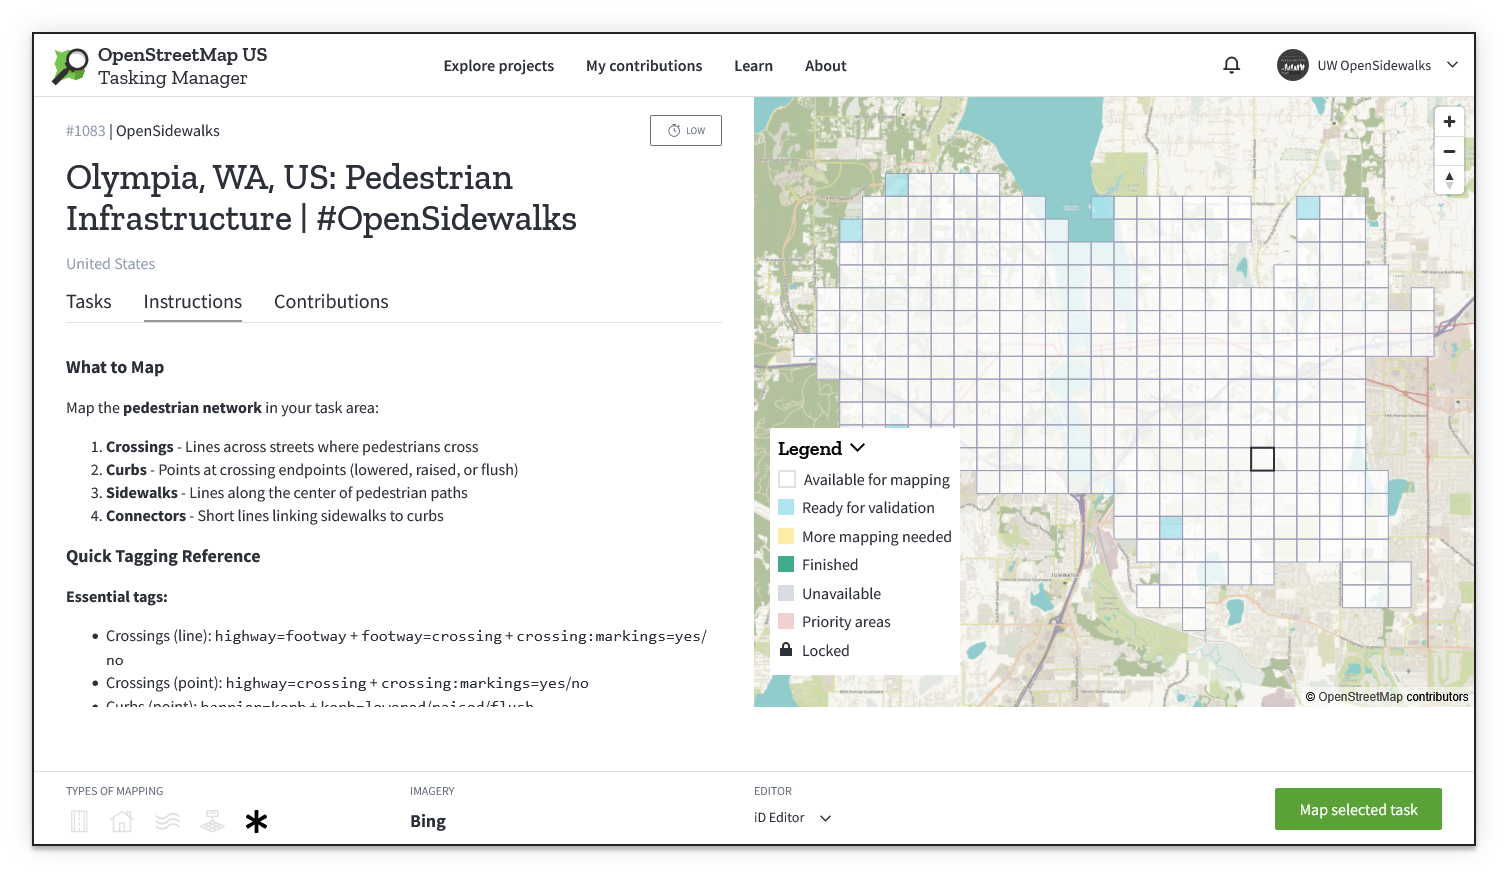
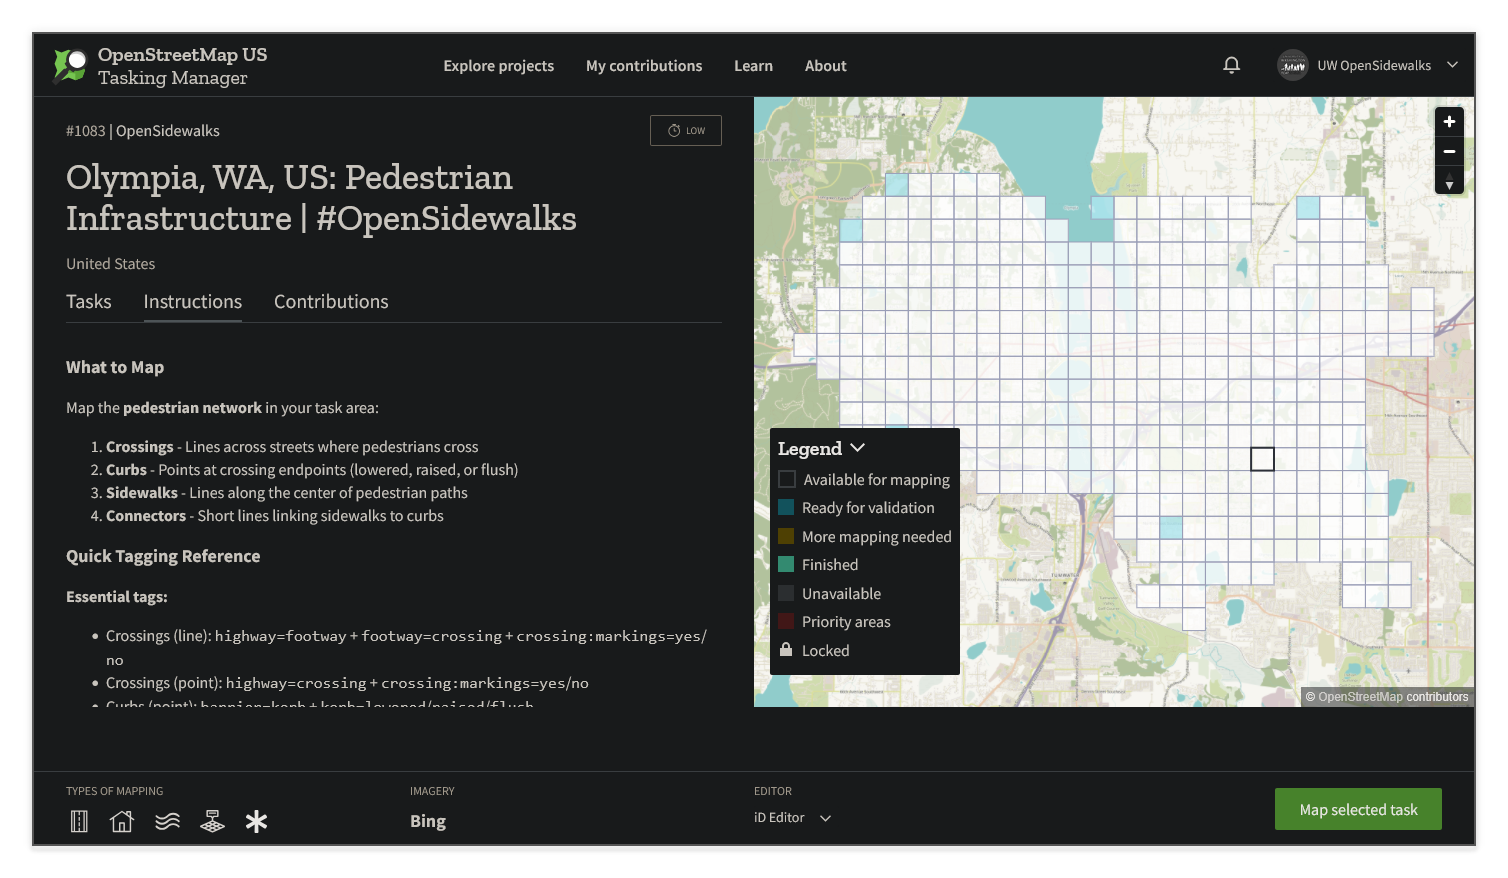
#### 2. Select a Task
1. Select **Contribute** on the bottom right of the project page
2. **Choose** an available task (any white tile on the map)
3. Select "**Rapid**" (recommended; used in examples) or "**iD**" as your _Editor_, at the bottom center of the page
4. Select **Map selected task** to open the web-based editor
---
### Working in the Editor
You'll find the editor embedded on the left and task information on the right. The magenta boundary indicates your task area.
Before you start mapping, a few editor settings changes will help you see the right data and map more accurately.
#### Map Data Panel
The **Map Data** panel controls which OpenStreetMap features are displayed on the map in the editor.
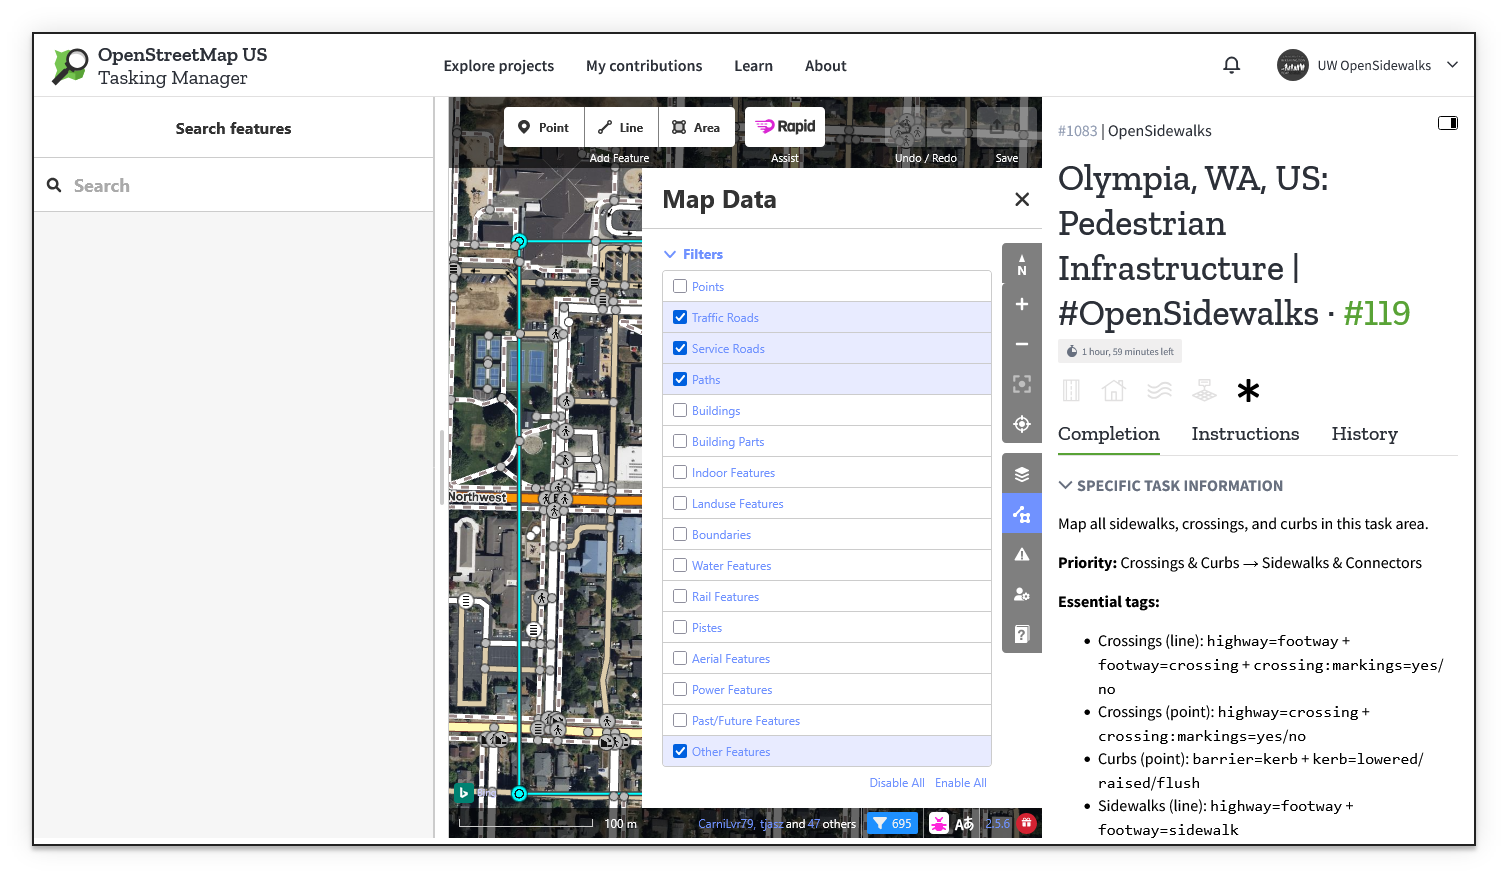
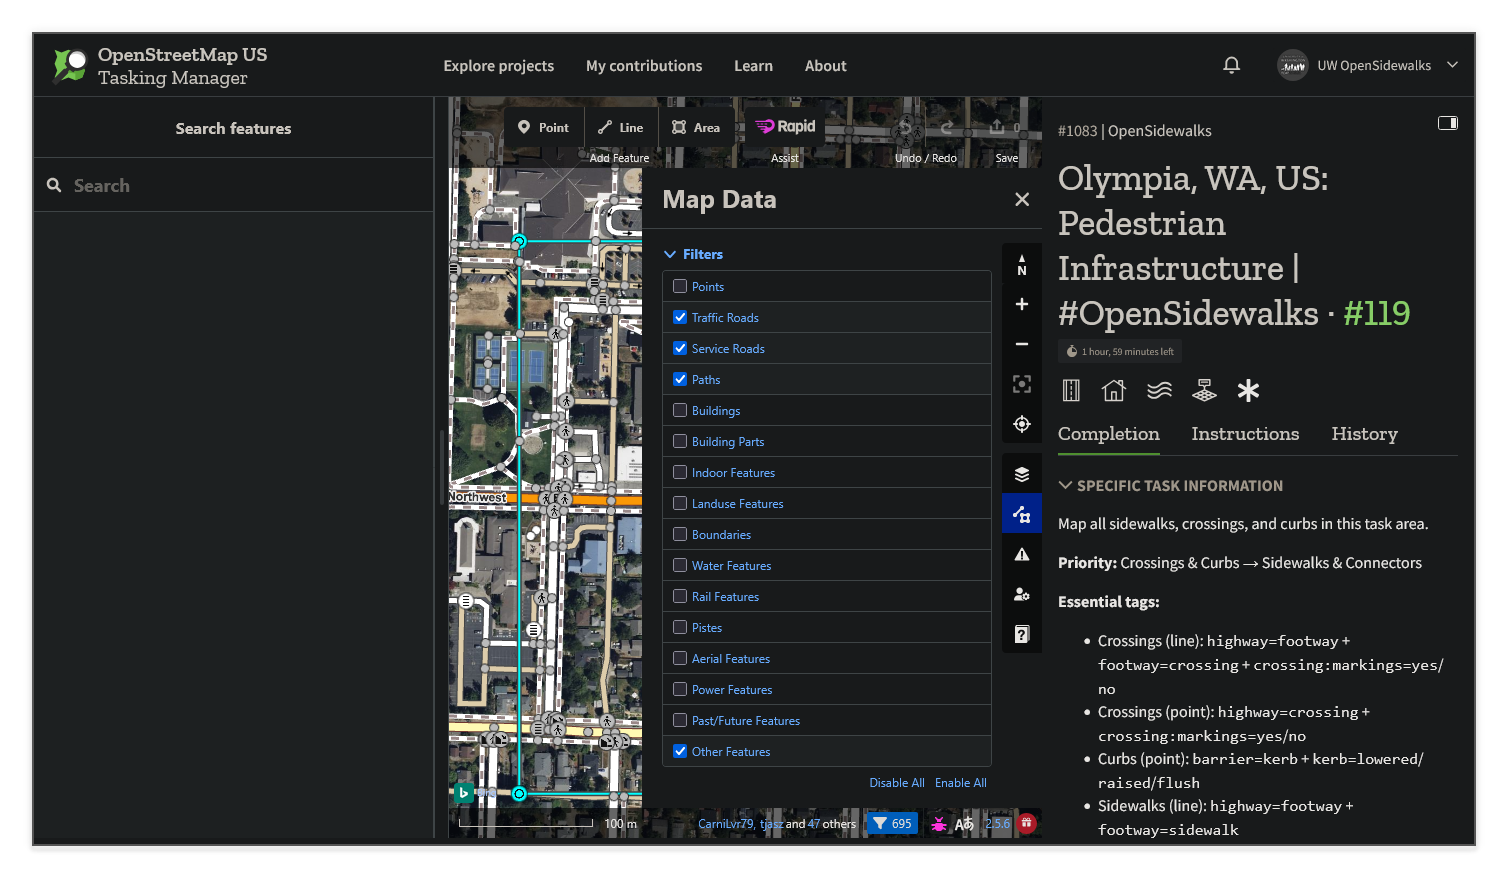
For pedestrian infrastructure mapping, enable only these layers in the **Filters** section:
- **Traffic Roads** — Shows major roads that crossings must connect to
- **Service Roads** — Shows driveways and alleys where sidewalks may intersect
- **Paths** — Shows any previously mapped sidewalks, crossings, or other paths
- **Other Features** — Shows miscellaneous features including existing kerb nodes
Disable Buildings, Landuse Features, Power Features, and other unrelated layers to reduce visual clutter and prevent accidental connections.
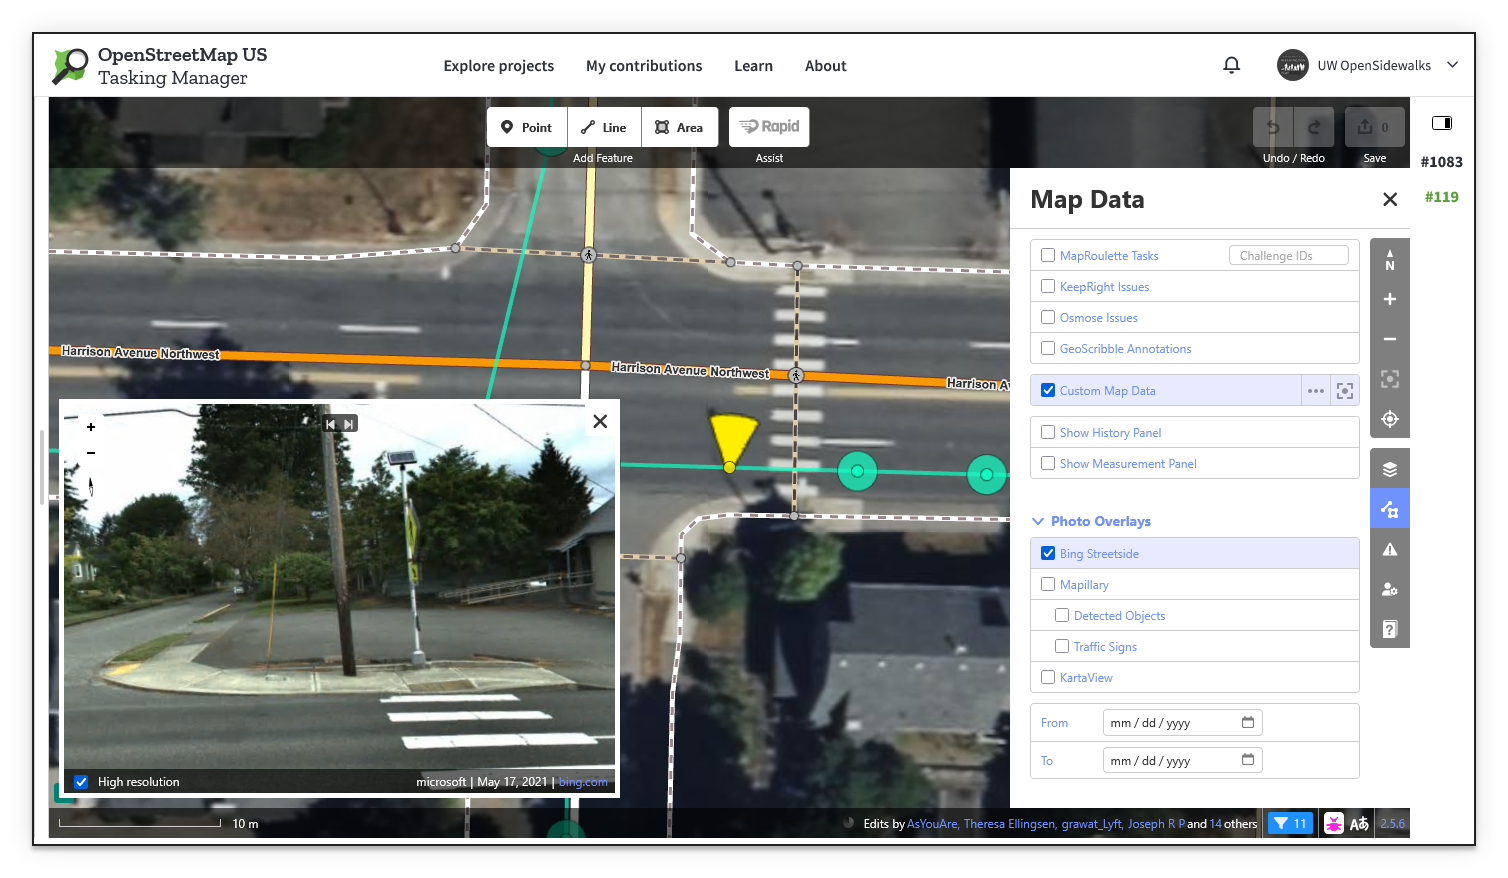
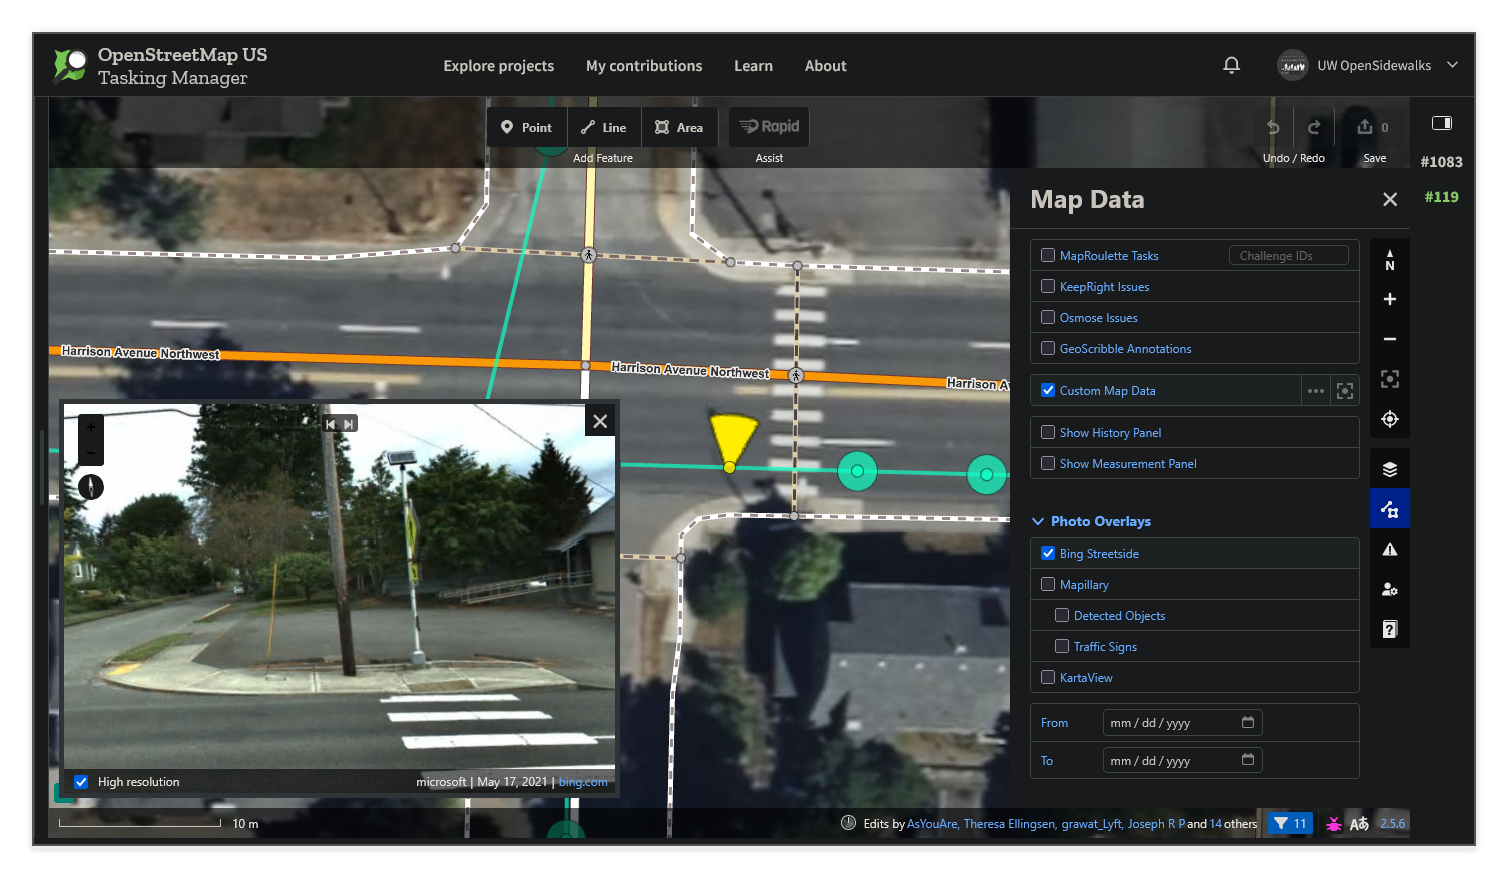
#### Street-Level Imagery
Street-level imagery is useful for confirming features that are hard to determine from aerial imagery alone — particularly curb types and the presence of tactile paving.
In the Map Data panel, scroll down to **Photo Overlays** and enable **Bing Streetside** or **Mapillary**. This overlays coverage markers on the map; click one to open an adjustable inline street-level viewer alongside the aerial view.
#### Choosing a Background Imagery Source
The default background imagery in most locations is **Bing Maps Aerial**. If the imagery is unclear in your task area, open the **Background** panel (stacked layers icon in the right toolbar) and try switching to **Mapbox Satellite**, Esri World Imagery, or another source. If present, local County Orthoimagery is often relatively recent and high-quality.
In the image comparison slider above, the same intersection is shown with Bing Maps Aerial (left) and Mapbox Satellite (right). Different sources vary in resolution, color balance, and recency — try a few to find the clearest view of sidewalk paths and curb locations in your task area.
#### Adjusting for Imagery Offset
Different aerial imagery layers are often shifted slightly from one to another, causing existing mapped features to appear misaligned with the background. If roads or previously mapped sidewalks don't line up with the imagery, use the **Imagery Offset** control at the bottom of the **Background** panel to nudge the image into alignment.
!!! tip "Tips for easier imagery alignment"
In the image comparison slider above, the same intersection is pictured with Bing imagery in the background on the left (with no offset applied) and Mapbox imagery on the right (with an offset applied).
**Temporary reference points** are present in both images; first, points are placed in the reference imagery chosen as an alignment source (Bing, in this case) at recognizable points on the ground such as utility poles and drains, then the background layer is switched to the secondary imagery layer (Mapbox) which is then offset so that the imagery lines up with the points.
_Be sure to delete any temporary markers you create while aligning imagery!_
!!! success
With your imagery and filters set up, you're now ready to begin mapping!
---
### What to Map
We're focusing on mapping the **pedestrian network**: sidewalks, crossings, and curbs. These features enable routing applications like [AccessMap](../../../../accessmap/index.md) to provide accurate, accessibility-aware pedestrian directions.
#### Priority Order
1. **Crossings** - Map these first to anchor the network at intersections
1a. **Curbs** - Mark curb types at crossing endpoints
2. **Sidewalks** - Add in sidewalk centerlines connecting intersections
2b. **Connectors** - Link sidewalks to curbs!
---
### How to Map Crossings
Crossings are paths pedestrians traverse to cross streets.
1. Select the **Line** tool (Keyboard shortcut: ++2++)
2. Click at one edge of the street (curb location)
3. Click where your line meets the road centerline (this connects to the road network)
4. Double-click at the opposite curb to finish
#### Tagging Crossing Ways
Search for one of these presets in the Rapid Editor:
| Crossing Type | Rapid Preset | Important Tags |
|---------------------------------|---------------------|------------------------------------------------------------------|
| **Marked** (has painted lines) | "Marked Crosswalk" | `highway=footway` + `footway=crossing` + `crossing:markings=yes` |
| **Unmarked** (no painted lines) | "Unmarked Crossing" | `highway=footway` + `footway=crossing` + `crossing:markings=no` |
#### Tagging Crossing Nodes
The middle point where the crossing intersects the roadway should be tagged:
- `highway=crossing`
- `crossing:markings=yes` or `crossing:markings=no`
#### Additional Crossing Tags
If you'd like to add additional detail that is helpful for accessibility-focused routing:
| Tag | Values | Description |
|--------------------|------------------------|-------------------------------------|
| `crossing:signals` | `yes` / `no` | Are there signals at this crossing? |
| `crossing:island` | `yes` / `no` | Is there a pedestrian island? |
| `surface` | `concrete` / `asphalt` | Crosswalk surface material |
---
### How to Map Curbs
Curbs are points at the edge of the street where crossings begin and end.
The endpoints of your crossing line are the curb nodes: select each endpoint and classify them as curbs.
!!! tip "Selecting multiple elements at a time"
Hold **Shift** (++shift++) and click one-by-one on elements such as curb nodes to select multiple at a time.
This is helpful when, for example, an intersection has 8 identical curb ramps - just be certain that the same properties apply to all of them!
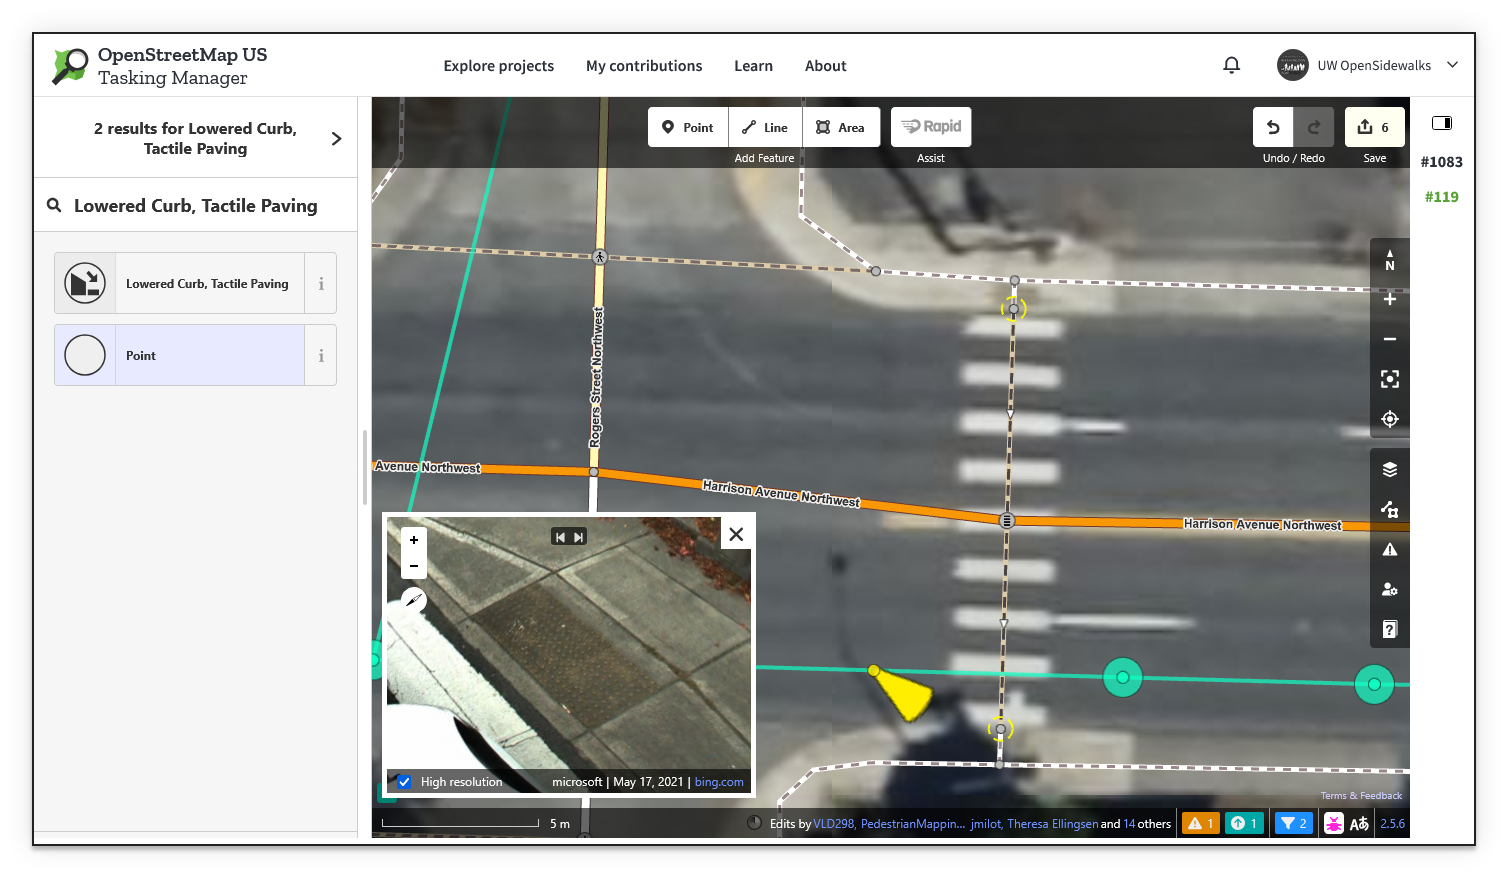
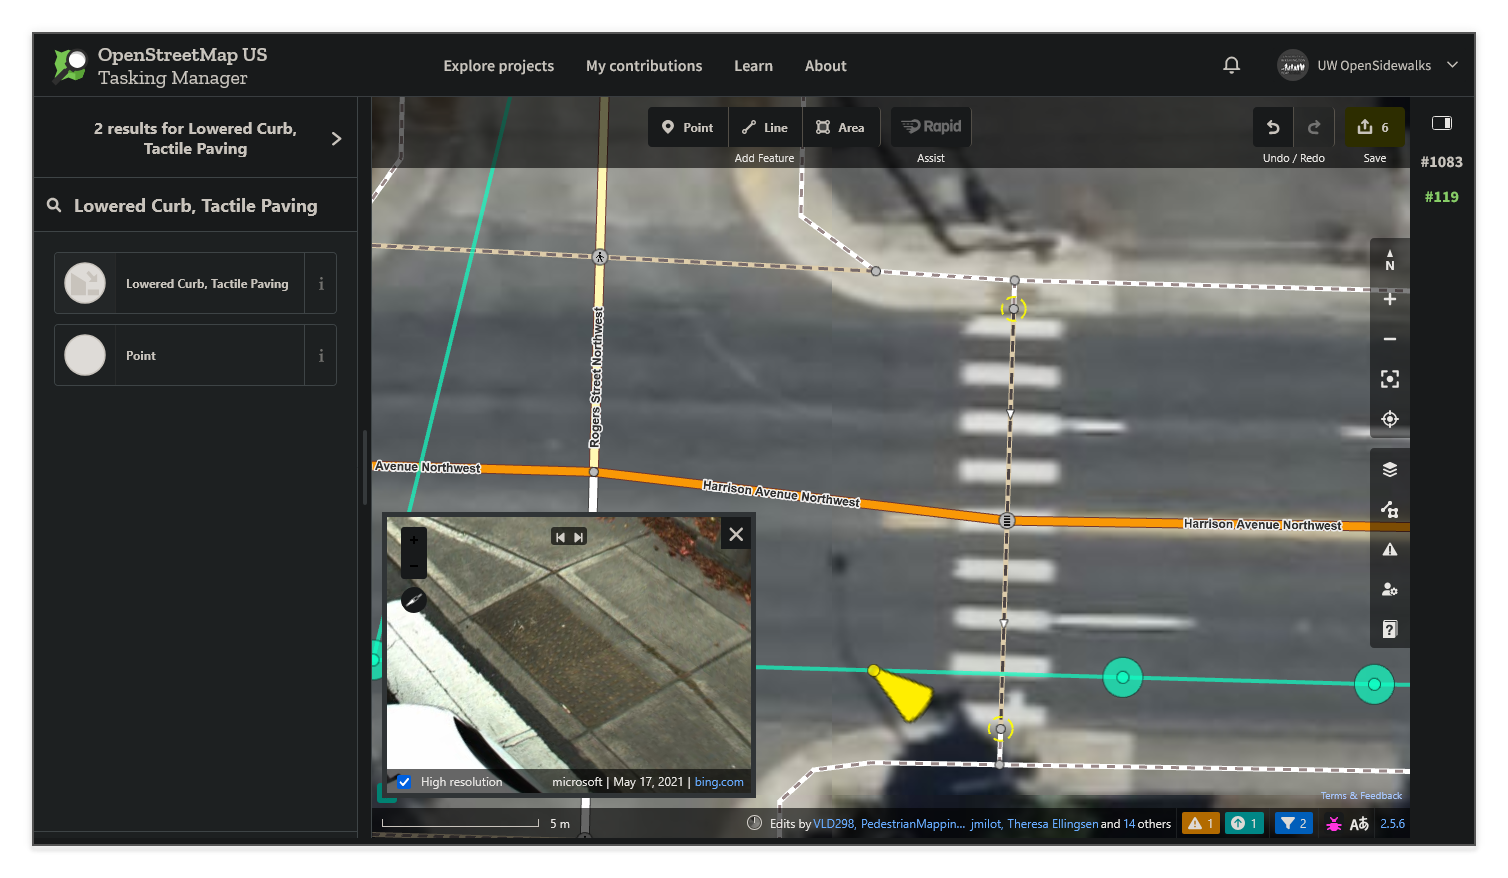
#### Tagging Curb Nodes
Select a curb point and use the search panel to find and apply the correct preset.
| Curb Type | Rapid Preset | Tags | Description |
|-------------|----------------|---------------------------------|------------------------|
| **Lowered** | "Lowered Curb" | `barrier=kerb` + `kerb=lowered` | Curb ramp present |
| **Raised** | "Raised Curb" | `barrier=kerb` + `kerb=raised` | Standard curb, no ramp |
| **Flush** | "Flush Curb" | `barrier=kerb` + `kerb=flush` | Level with street |
!!! question "Kerb?"
By convention, OSM uses British English spelling for most terms, which is why you may see _"kerb"_ in some places instead of _"curb"_! Search terms are generally localized, but the raw tags may have spellings that are unfamiliar.
Remember: use street-level imagery to help verify the curb type where the aerial view is unclear. Enable _Bing Streetside_ or _Mapillary_ under **Photo Overlays** in the Map Data panel, then click a coverage marker near the crossing to open the street-level viewer.
#### Additional Curb Tags
| Tag | Values | Description |
|------------------|--------------|--------------------------------------------------------------|
| `tactile_paving` | `yes` / `no` | Detectable "truncated dome" tactile warning surface presence |
---
### How to Map Sidewalks
Sidewalks are pedestrian paths along streets.
1. Select the **Line** (++2++) tool
2. Draw a line along the **center** of the sidewalk
3. Search for "Sidewalk" and select the preset
#### Tagging Sidewalk Ways
| Feature | Rapid Preset | Tags |
|--------------|--------------|----------------------------------------|
| **Sidewalk** | "Sidewalk" | `highway=footway` + `footway=sidewalk` |
#### Additional Sidewalk Tags
| Tag | Values | Description |
|-----------|------------------------|------------------|
| `surface` | `concrete` / `asphalt` | Surface material |
#### Important Rules
- Draw sidewalks down the **center** of the path
- Connect sidewalks to service roads (driveways, alleys) where they intersect by adding a node ("point") that both ways ("lines") share
---
### How to Map Connectors
Optionally, the short sidewalk **connector** segments between sidewalk centerlines and curb nodes can be tagged with `crossing_link=yes` to help identify these features, which often have different properties such as a notable incline or different surface material.
1. Select the **Line** (++2++) tool
2. Click on a curb node (at the end of a crossing)
3. Draw a line to the sidewalk centerline
4. Double-click on the sidewalk to connect
5. Search for "Sidewalk" and select the preset
6. Add the `crossing_link=yes` tag
#### Tagging Connector Ways
| Feature | Rapid Preset | Tags |
|--------------|--------------|----------------------------------------|
| **Sidewalk** | "Sidewalk" | `highway=footway` + `footway=sidewalk` |
---
### Tagging Quick Reference
#### Essentials
| Feature | Tags |
|------------------|-----------------------------------------------------------------------|
| Sidewalk (Line) | `highway=footway` + `footway=sidewalk` |
| Crossing (Line) | `highway=footway` + `footway=crossing` + `crossing:markings=yes`/`no` |
| Crossing (Point) | `highway=crossing` + `crossing:markings=yes`/`no` |
| Curb (Point) | `barrier=kerb` + `kerb=lowered`/`raised` |
#### Details
| Tag | Applies To | Values |
|--------------------|----------------------|-----------------------|
| `surface` | Sidewalks, Crossings | `concrete`, `asphalt` |
| `crossing:signals` | Crossings | `yes`, `no` |
| `tactile_paving` | Curbs | `yes`, `no` |
---
### Saving Your Work
1. Click **Save** in the Rapid Editor (top right)
2. The changeset comment, sources, and hashtags should be automatically filled out with the project-specific text — verify that it looks correct before uploading.
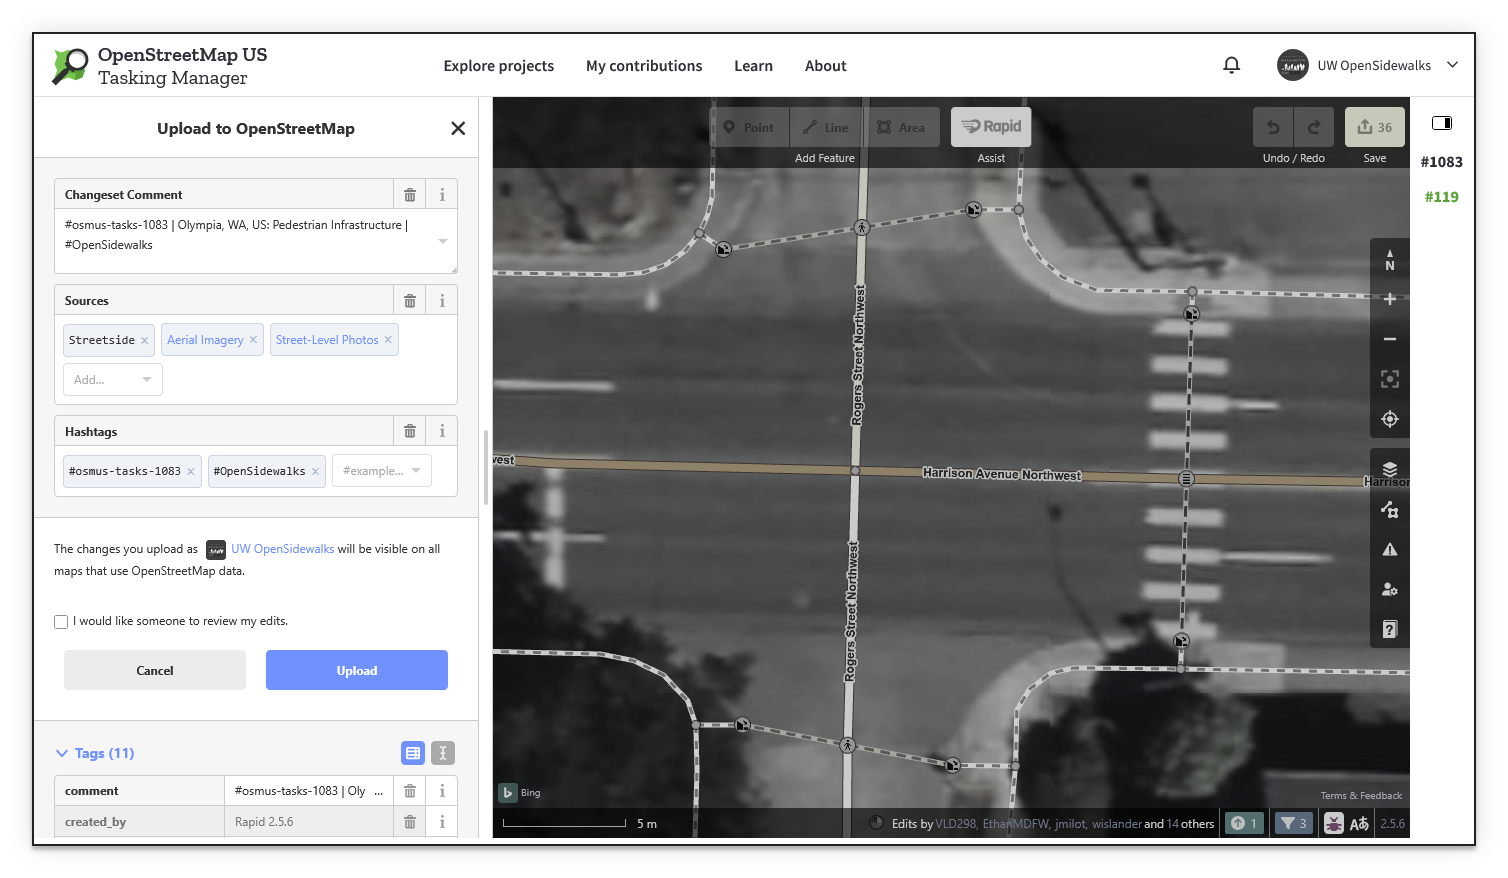
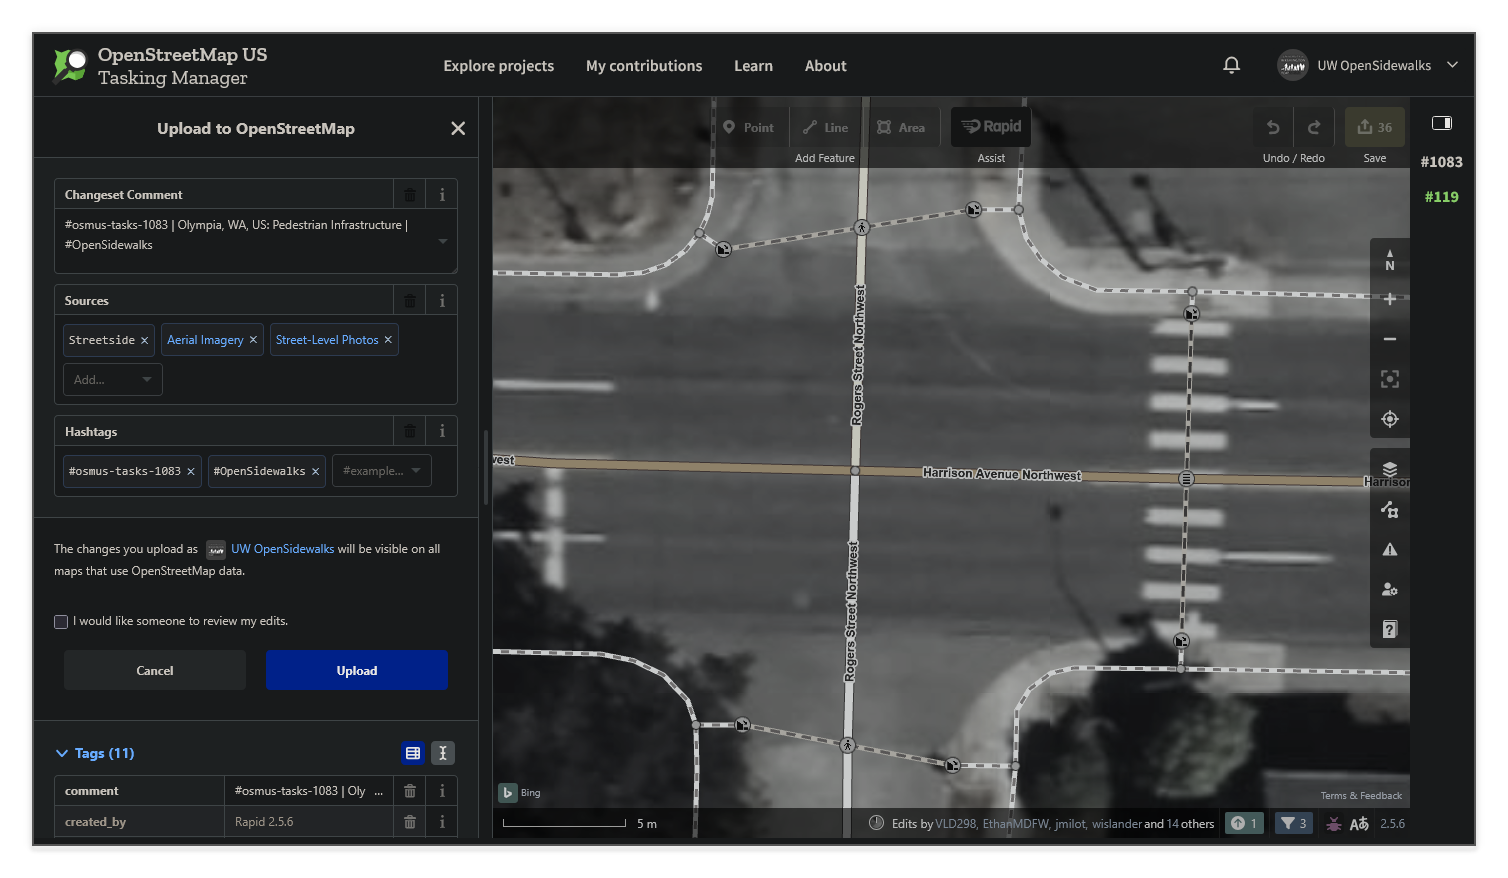
3. Click **Upload**
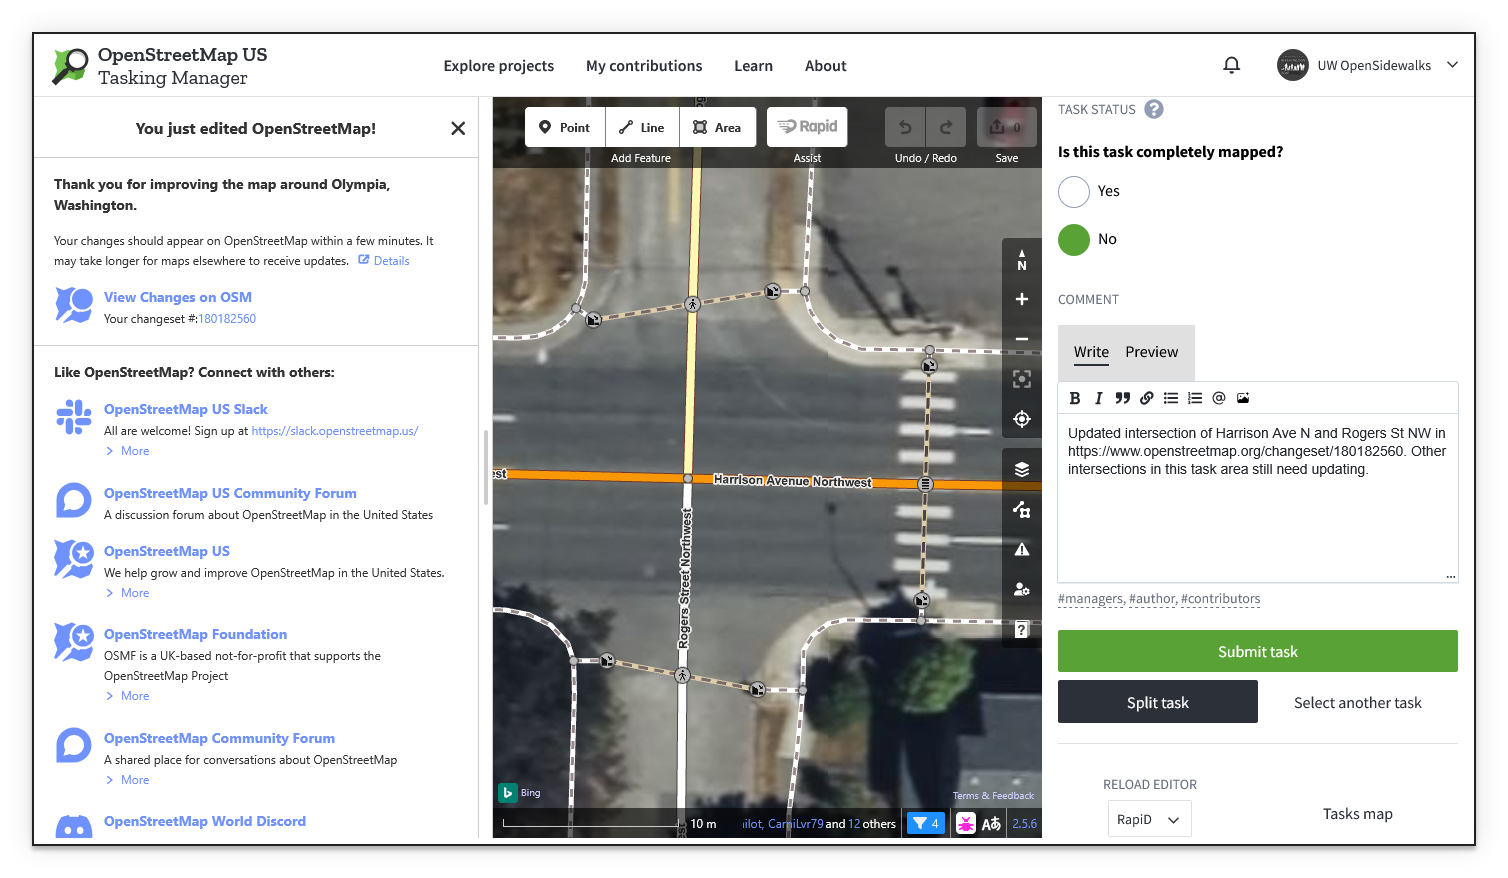
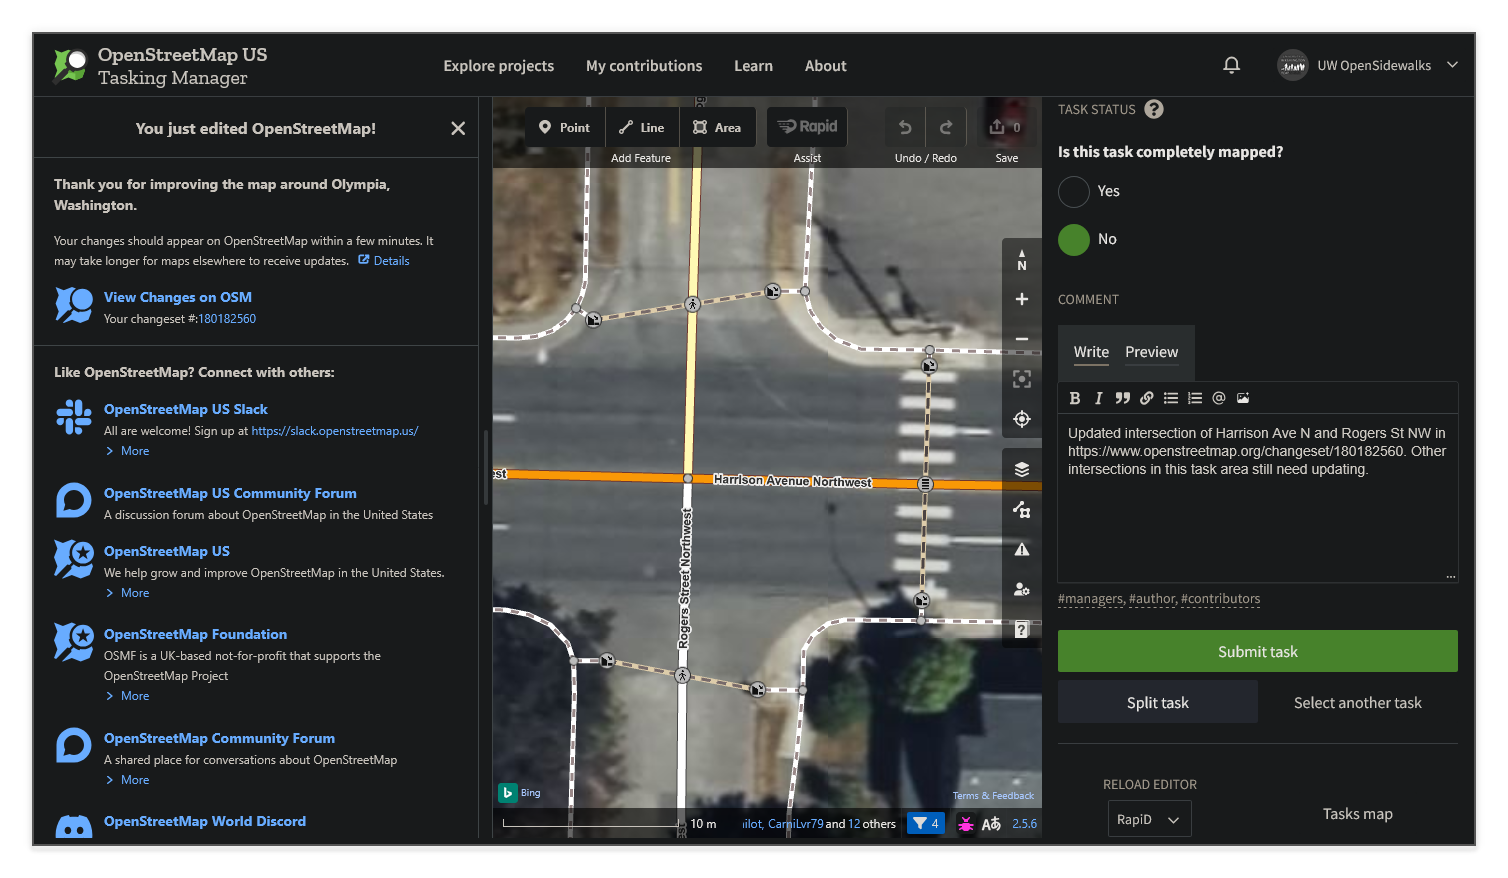
4. In the Tasking Manager panel on the right, mark the task status by answering: "_Is this task completely mapped?_"
- Select **Yes** if you finished adding all of the essentials in the entire task area indicated by the magenta border
- Select **No** if more mapping in this task area is needed.
5. Enter a **Comment** _(optional)_ that describes your edits or anything that might be useful for the next editor or reviewer.
6. Click **Submit task**
!!! success "Done!"
**Thank you** so much for contributing to this project. Your contributions directly impact the lives of pedestrians in the area that use OpenStreetMap-based applications to safely navigate their environment.
---
### Tips
- **Use street-level imagery**: Enable Bing Streetside or Mapillary under **Photo Overlays** in the Map Data panel to view street-level photos alongside the aerial view. This is especially useful for confirming curb types and tactile paving. See [Working in the Editor](#working-in-the-editor) for setup details.
- **When in doubt, don't guess!** It's better to not include a detail (such as a curb type) when you aren't confident about it - this allows on-the-ground surveyors to add the missing data and prevents routing applications from suggesting a route that isn't actually accessible.
- **Connect to roads**: Ensure crossing midpoints share a node (point) with the road they cross!
- **Check existing features**: Some areas may already have partial mapping - verify the existing data and update it as necessary.
---
### What's next?
We encourage you to check back and continue contributing another time! And, if you're an experienced mapper and want to help review and improve others' work, check out the [Validation Guide](validation-guide.md)! Thank you!


