# LCD
This repository contains all the code for interfacing with a **16x2 character I2C liquid-crystal display (LCD)**. This accompanies my **Youtube tutorial**: [Raspberry Pi - Mini LCD Display Tutorial](https://www.youtube.com/watch?v=fR5XhHYzUK0).
You can buy one of these great little I2C LCD on eBay or somewhere like [the Pi Hut](https://thepihut.com/search?type=product&q=lcd).
## Table of Contents
1. [Installation](#installation)
1. [Demos](#demos)
- [Backlight control](#backlight-control)
- [Custom characters](#custom-characters)
- [Extended strings](#extended-strings)
- [Forex](#forex)
- [Home automation](#home-automation)
- [IP address](#ip-address)
- [LCD demo](#lcd-demo)
- [NetMonitor](#netmonitor)
- [Progress bar](#progress-bar)
- [Tiny Dashboard](#tiny-dashboard)
1. [Implementation](#implementation)
- [Systemd](#systemd)
1. [Contributions](#contributions)
## Installation
- Install git
```sh
sudo apt install git
```
- Clone the repo in your home directory
```sh
cd /home/${USER}/
git clone https://github.com/the-raspberry-pi-guy/lcd.git
cd lcd/
```
- Run the automatic installation script with `sudo` permission
```sh
sudo ./install.sh
```
- During the installation, pay attention to any messages about `python` and `python3` usage, as they inform which version you should use to interface with the LCD driver. For example:
```txt
[LCD] [INFO] You may use either 'python' or 'python3' to interface with the lcd.
```
or alternatively,
```txt
[LCD] [INFO] Use 'python3' to interface with the lcd.
```
- At the end of the installation script, you'll be prompted to reboot the RPi to apply the changes made to `/boot/config.txt` and `/etc/modules`.
- After rebooting, try one of the [**demos**](#demos):
```sh
./home/${USER}/lcd/demo_clock.py
```
or
```sh
python /home/${USER}/lcd/demo_clock.py
```
or
```sh
python3 /home/${USER}/lcd/demo_clock.py
```
[top :arrow_up:](#table-of-contents)
## Demos
A list of demonstration (demo) files that illustrate how to use the LCD driver. Demos are ordered alphabetically.
### Backlight Control
- Author: [@Tomtom0201](https://github.com/Tomtom0201)
This demo showcases the backlight control of the LCD, which is available on some hardware:
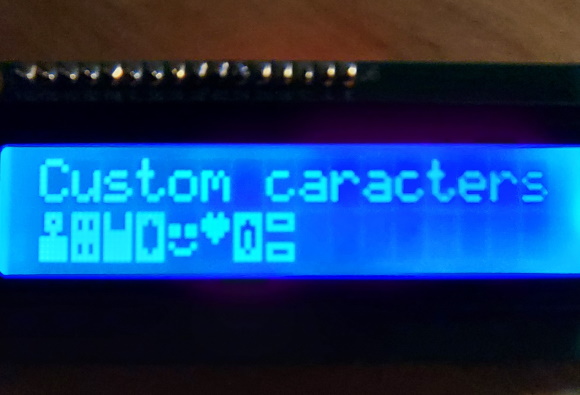
### Custom characters
- Author: [@juvus](https://github.com/juvus)
It is possible to define in CG RAM memory up to 8 custom characters. These characters can be prompted on LCD the same way as any characters from the [characters table](imgs/characters_table.png). Codes for the custom characters are unique and as follows:
1. `{0x00}`
2. `{0x01}`
3. `{0x02}`
4. `{0x03}`
5. `{0x04}`
6. `{0x05}`
7. `{0x06}`
8. `{0x07}`
Please, see the comments and implementation in the [`demo_lcd_custom_characters.py`](demo_lcd_custom_characters.py) file for more details on how to use custom characters. Thanks to [@Jumitti](https://github.com/Jumitti), there is also [a web app you can use to generate custom characters](https://custom-characters-for-lcd16x2.streamlit.app/) by drawing them on a matrix.
### Extended strings
- Author: [@juvus](https://github.com/juvus)
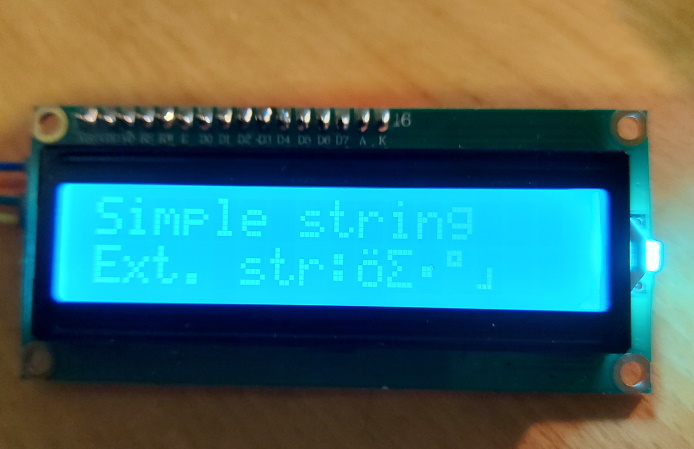
This is demo showcases how extended strings could be used. Extended strings can contain special placeholders of form `{0xFF}`, that is, a hex code of the symbol wrapped within curly brackets. Hex codes of various symbols can be found in the following characters table:
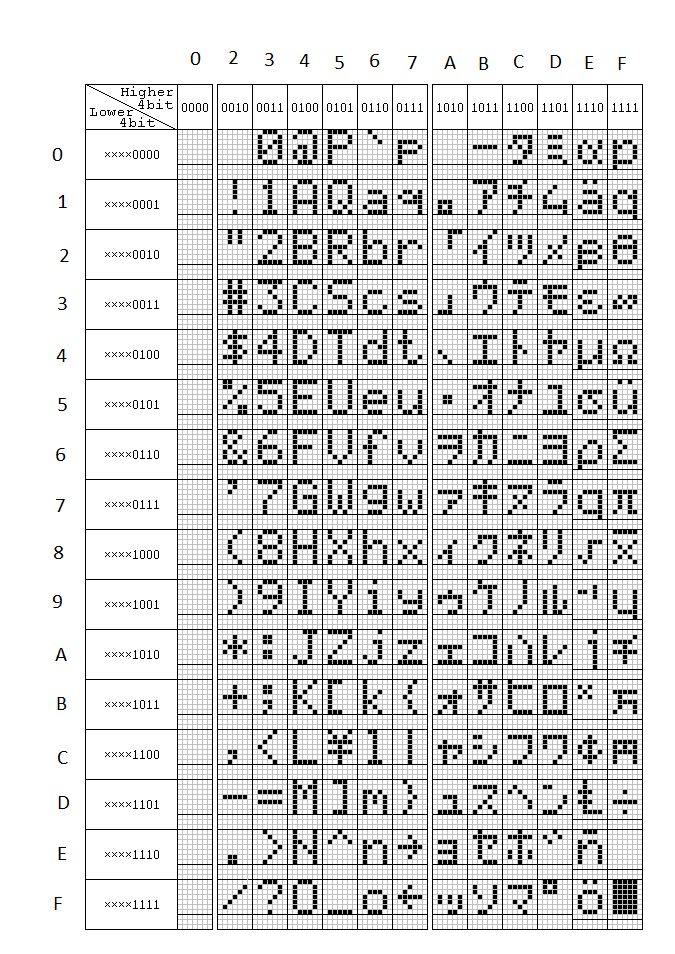
For example, the hex code of the symbol `ö` is `0xEF`, and so this symbol could be printed on the second row of the display by using the `{0xEF}` placeholder, as follows:
```Python
display.lcd_display_extended_string("{0xEF}", 2)
```
If you want to combine placeholder to write a symbol `{0xFF}` with the native Python placeholder `{0}` for inserting dome data into text, escape the non-native placeholders. Here is an example:
```Python
display.lcd_display_extended_string("Symbol:{{0xEF}} data:{0}".format(5), 2)
```
### Forex
- Author: [@bariskisir](https://github.com/bariskisir)
- Additional Python package requirements: `pip`, `requests`, `bs4`
To install the requirements, follow this procedure:
- Install `pip` and use it to install the remaining packages
```sh
sudo apt install python-pip
pip install requests bs4
```

### Home Automation
- Author: [@Jumitti](https://github.com/Jumitti)
- Repository: [Jumitti/lcd_home_automation](https://github.com/Jumitti/lcd_home_automation)
This implementation shows how to use the LCD to display messages from temperature sensors and services such as Spotify and Trakt (see below). The implementation also features an integration with Telegram to turn the LCD backlight on/off and send a few other commands to control the host machine (e.g., get the temperature, reboot, shutdown). [@Jumitti](https://github.com/Jumitti) documented the project on its own [Home Automation repository](https://github.com/Jumitti/lcd_home_automation), so make sure to check it out if you want to learn more about it.
### IP Address
- Author: [@Sierra007117](https://github.com/Sierra007117)
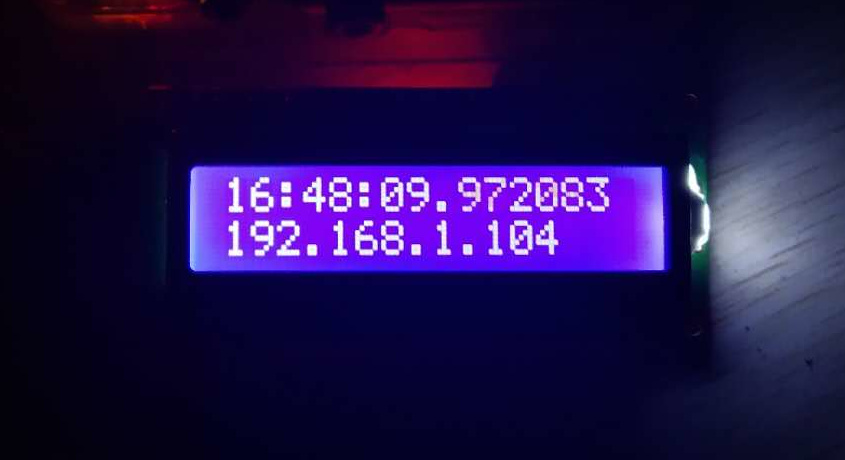
Display your Pi's IP address, which is useful for `SSH` access and more!
### LCD demo
- Author: [@Tomtom0201](https://github.com/Tomtom0201)
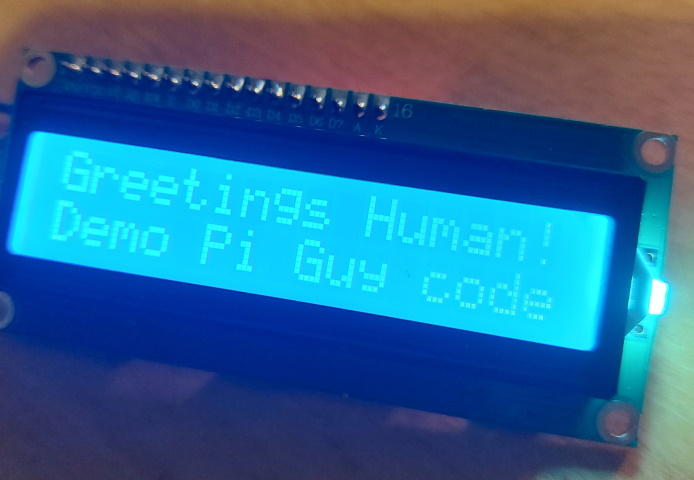
This demo shows how simple strings could be displayed on the LCD. For extended usage, take a look at [Extended strings](#extended-strings) demo instead.
### NetMonitor
- Author: [@cgomesu](https://github.com/cgomesu)
This demo uses `ping` and `nc` (netcat) to monitor the network status of hosts and services, respectively. Hosts and services can be modified by editing their respective [dictionaries](https://docs.python.org/3/tutorial/datastructures.html#dictionaries):
```Python
hosts = {
'Internet': '8.8.8.8',
'Firewall': '192.168.1.1',
'NAS': '192.168.1.2'
}
services = {
'Cameras': {'ip': '192.168.1.2', 'port': '8000'},
'Plex': {'ip': '192.168.1.2', 'port': '32400'}
}
```
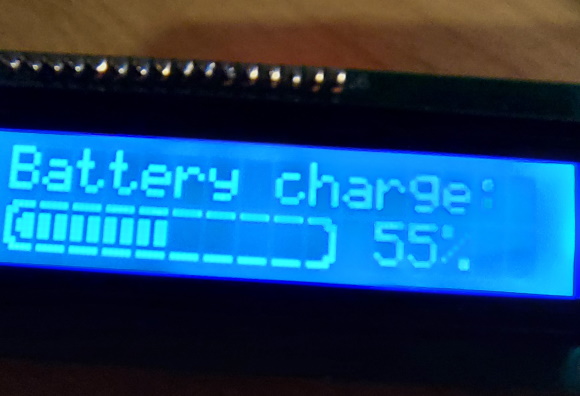
### Progress bar
- Author: [@juvus](https://github.com/juvus)
This is a demo of a graphical progress bar created with [custom characters](#custom-characters). This bar could be used, for example, for showing the current level of battery charge.
### Tiny dashboard
- Author: [@jdarias](https://github.com/jdarias)
This is a script that shows a famous quote, a currency conversion pair of your choice and the weather of a city. It also shows the last three characters from your ip address, the date in DDMM format and the hour in HH:MM format

The script takes info from the following APIs:
- [quotable.io](https://github.com/lukePeavey/quotable): Free public API that provides famous quotes from well known people. It has a public endpoint that doesn't require an API key.
- [exchangerate-api.com](https://exchangerate-api.com) / [free.currencyconverterapi.com](https://free.currencyconverterapi.com): There are a lot of currency apis but these ones offer free currency exchange info. Both are used, one as main, the other as backup. Requires an API key to use.
- [openweathermap.org](https://openweathermap.org): Provides Weather info, forecasts, etc. Requires an API key to use.
In order to use the script, you need to get **API key tokens for both exchange rate services and the weather api**. Once you've done that, edit the script to put your tokens in the USER VARIABLES section.
Also set a currency exchange pair. For currency support and the currency codes you need to use, see [exchangerate-api.com/docs/supported-currencies](https://www.exchangerate-api.com/docs/supported-currencies).
A city/country string is also needed to show weather info for such city. Search for your city on [openweathermap.org](https://openweathermap.org) and take note of the `City,country` string and put it in the script.`London,gb` is given as an example.
[top :arrow_up:](#table-of-contents)
## Implementation
Once you are done editing a `demo_*.py` file or writing your own Python script, follow the instructions on this section to run the script in the background. First, however, ensure that the script (e.g., `script.py`) has at least permission to be executed, as follows:
```sh
sudo chmod +x script.py
```
Similarly, file ownership can be configured via `chown`. For example, to set the user `${USER}` as owner of the file `script.py`, run the following:
```sh
sudo chown ${USER} script.py
```
## Systemd
Use the following procedure to run any LCD Python script as a (systemd) service:
1. Create a new unit file in `/lib/systemd/system/` called `rpi-lcd.service`:
```sh
sudo nano /lib/systemd/system/rpi-lcd.service
```
2. Copy and paste the following in the new unit file:
(*If your user is different than `pi`, remember to edit the `User=` entry.*)
```sh
[Unit]
Description=RPi Python script for a 16x2 LCD
[Service]
Type=simple
## Edit the following according to the script permissions
User=pi
#Group=users
## Edit the following with the full path to the compatible Python version and your script
ExecStart=/usr/bin/python /path/to/script.py
Restart=always
RestartSec=5
KillMode=process
KillSignal=SIGINT
[Install]
WantedBy=multi-user.target
```
3. Enable the service and start it:
```sh
sudo systemctl enable rpi-lcd.service
sudo systemctl start rpi-lcd.service
```
4. Check that the LCD is displaying the correct information; otherwise, check the service status:
```sh
systemctl status rpi-lcd.service
```
[top :arrow_up:](#table-of-contents)
## Contributions
Thank you for you interest in learning how to contribute to this repository. We welcome contributions from novices to experts alike, so do not be afraid to give it a try if you are new to `git` and GitHub. First, however, take a few minutes to read our [CONTRIBUTING.md](CONTRIBUTING.md) guide to learn how to open **Issues** and the various sorts of **Pull Requests (PRs)** that are currently accepted.
In addition, if you've never contributed to an open source project before, please take a look at the following resources:
- [Finding ways to contribute to open source on GitHub](https://docs.github.com/en/get-started/exploring-projects-on-github/finding-ways-to-contribute-to-open-source-on-github)
- [Proposing changes to your work with pull requests](https://docs.github.com/en/pull-requests/collaborating-with-pull-requests/proposing-changes-to-your-work-with-pull-requests)
[top :arrow_up:](#table-of-contents)