---
uid: Uno.GettingStarted.CreateAnApp.VSCode
---
# Creating an app with VS Code
> [!NOTE]
> Make sure to setup your environment first by [following our instructions](xref:Uno.GetStarted.vscode).
## Create the App
There are two ways to create your app. You can either use the Live Wizard or the `/mcp.uno.new` Copilot Agent prompt.
# [**Live Wizard**](#tab/live-wizard)
Creating an Uno Platform project is done [using dotnet new](xref:Uno.GetStarted.dotnet-new) and the Uno Platform Live Wizard by following these steps:
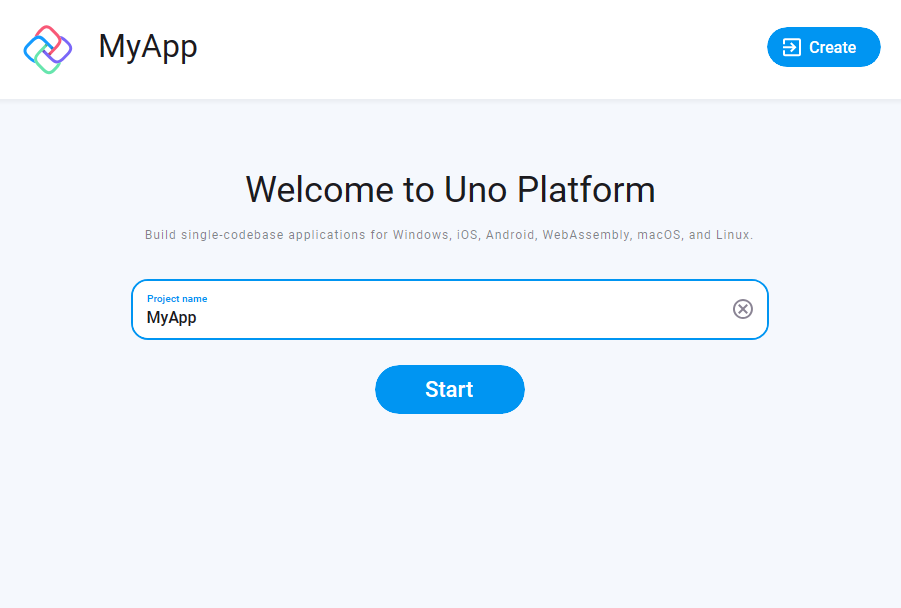
1. Open a browser and navigate to the online Live Wizard
1. Configure your new project by providing a project name, then click **Start**
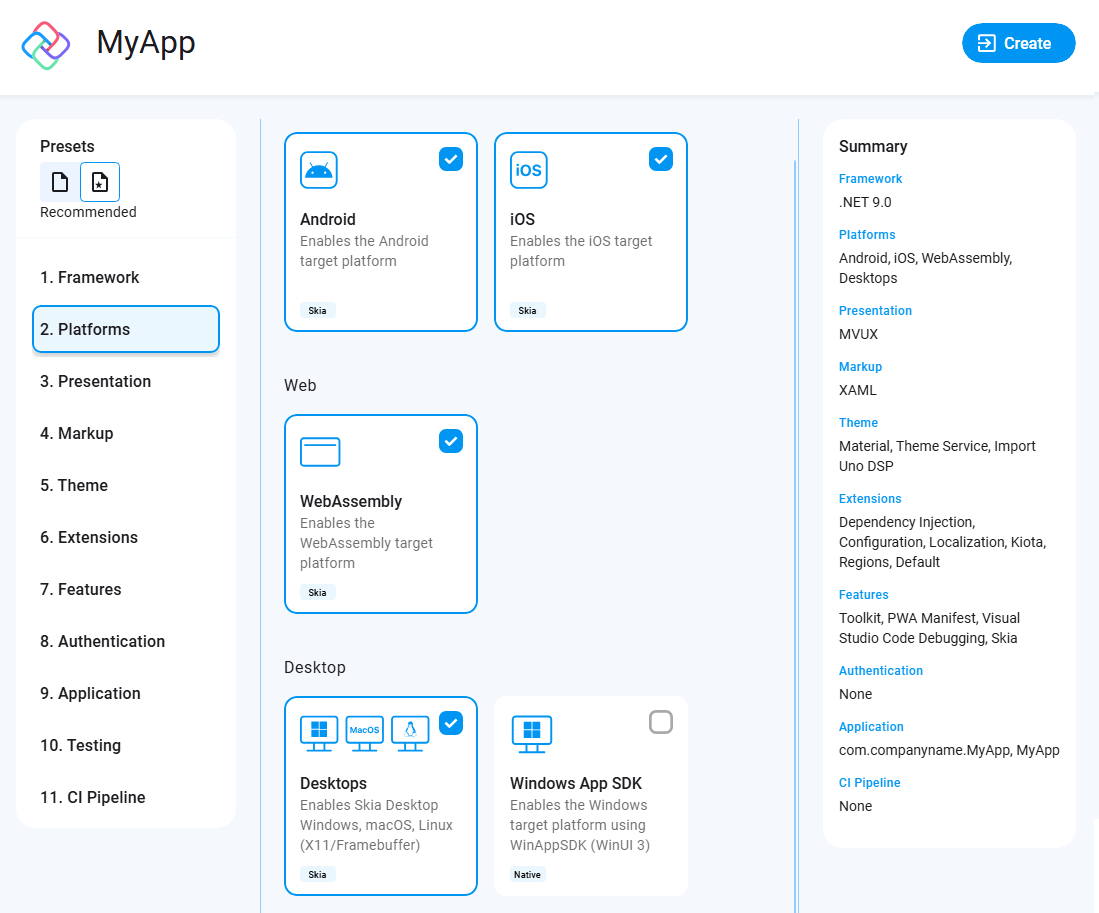
1. Choose a template to build your application
> [!TIP]
> For a detailed overview of the Uno Platform project wizard and all its options, see the [Wizard guide](xref:Uno.GettingStarted.UsingWizard).
> [!NOTE]
> Starting with Uno.Sdk 6.0, [Skia rendering](xref:Uno.Development.HowItWorks) is now the default rendering engine in Uno Platform templates for iOS/Android/WebAssembly. If you prefer native rendering instead, you can switch this setting in the `Features` tab under `Renderer`.
1. Click the **Create** button on the top right corner, then click the **Copy** button
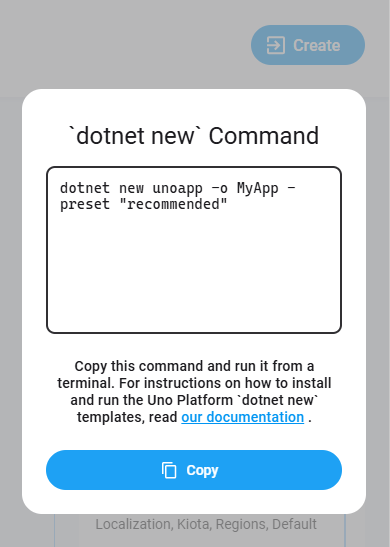
1. In your terminal, navigate to the folder that will contain your new app.
1. Create a new project by pasting and executing the command that was previously generated in the Live Wizard.
> [!IMPORTANT]
> Apple targets are automatically disabled under Linux.
Next, open the project using Visual Studio Code.
* Let's assume your project is named `MyApp` and is located inside a `Projects` folder:
* **Using the Terminal**
Ensure you are at the **parent folder** (`Projects`) level, then run:
```bash
code ./MyApp
```
* **Using Visual Studio Code**
1. Open **Visual Studio Code**.
2. Go to **File > Open Folder**.
3. Navigate to the `Projects` folder and select the `MyApp` folder.
* Visual Studio Code might ask to restore the NuGet packages. Allow it to restore them if asked.
* Once the solution has been loaded, in the status bar at the bottom left of VS Code, `MyApp.sln` is selected by default. Select `MyApp.csproj` to load the project instead.
* > [!IMPORTANT]
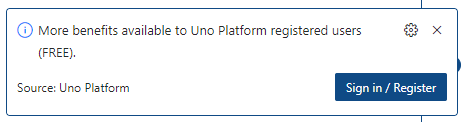
> A notification should appear prompting you to sign in or register with Uno Platform.
>
> Signing in with your Uno Platform account in Visual Studio Code unlocks powerful tools like Hot Reload, helping you speed up development.
>
> With a single registration, you also gain early access to new features and the opportunity to connect with the Uno Platform community, where you can share feedback and network.
>
> Detailed information on registration and sign-in is available here.
>
> 
# [**Copilot AI Prompt**](#tab/copilot-prompt)
## Using the `/mcp.uno.new` agent prompt
1. Open VS Code in an empty new folder
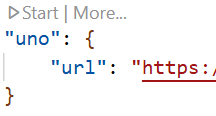
1. Add the Uno Platform MCP by creating a file named `.vscode/mcp.json`:
```json
{
"servers": {
"uno": {
"url": "https://mcp.platform.uno/v1"
}
}
}
```
1. Save the file, then on top of the registration for the uno MCP, click the **start** button.
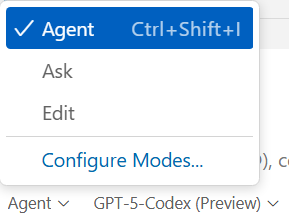
1. Open Copilot using the center title bar icon:

1. Select "Agent" on the bottom-left side:
1. In the Copilot Window, type the `/mcp.uno.new` then **Enter**.
1. The Agent will ask you for your app's description, write the following:
```text
I need a desktop app that shows the current date in the middle of the window.
```
1. Copilot will proceed for a few minutes until it asks to reload the VS Code window.
1. Once it does, in the command palette, select **Reload Window** in order the Uno Platform extension to load
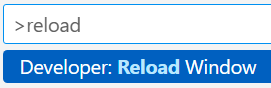
> [!IMPORTANT]
> This step is required for the uno extension to be loaded properly.
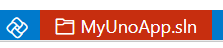
1. Select a csproj in the VS Code status bar, if there's a red rectangle
1. Wait a few seconds for the XAML Hot Reload server to become available
---
## Explore the Agent MCP tools
We can now explore the MCP:
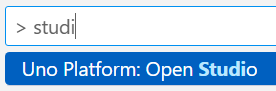
1. If you want to use our MCP tools, make sure to be logged in using your account in [Uno Studio](xref:Uno.GetStarted.Licensing) by using the command palette:
1. When clicking on the "double wrench" icon on the right side of Copilot, you should be seeing the Uno Platform MCP tools listed:

## Debug the App
Uno Platform provides integrated support for debugging your app on Windows, macOS, and Linux.
### [**WebAssembly**](#tab/Wasm)
> [!NOTE]
> VS Code's built-in JavaScript debugger currently **[only supports](https://github.com/microsoft/vscode-js-debug/blob/main/OPTIONS.md)**:
>
> * **Google Chrome**
> * **Microsoft Edge (Chromium-based)**
>
> To debug WebAssembly with VS Code, **one of these browsers must be installed**.
>
> Safari, Firefox, and other browsers are **not directly supported** via VS Code at the moment.
In VS Code :
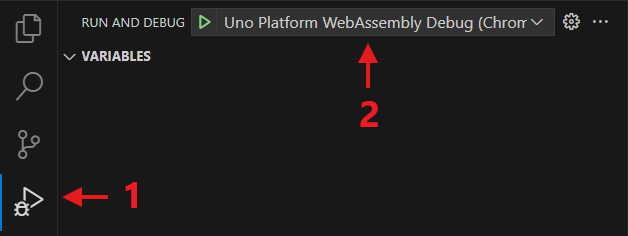
1. In the [activity bar](https://code.visualstudio.com/docs/getstarted/userinterface) select the debugger
1. Set the debugger launch to `Uno Platform WebAssembly Debug (Chrome)` or `Uno Platform WebAssembly Debug (Edge)`
In the status bar :
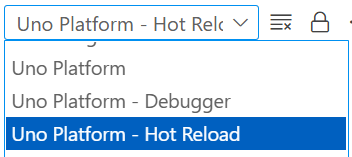
1. Just after the Uno logo, ensure the `MyApp` project is selected - by default `MyApp.sln` is selected
1. Next, click on the target framework to select `net10.0-browserwasm | Debug`

Finally, press `F5` to start the debugging session.
### [**Desktop**](#tab/skia)
In VS Code :
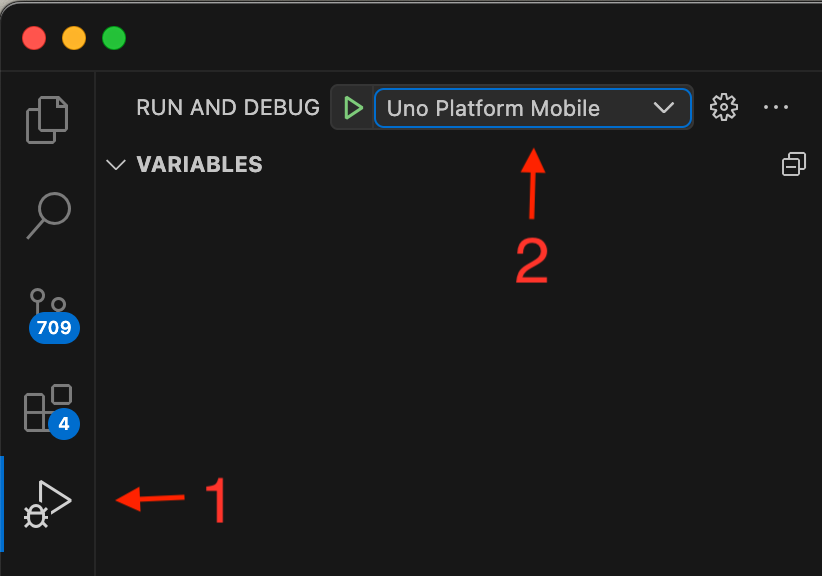
1. In the [activity bar](https://code.visualstudio.com/docs/getstarted/userinterface) select the debugger
1. Set the debugger launch to `Uno Platform Mobile` or `Uno Platform Desktop (Debug)`
In the status bar :
1. Just after the Uno logo, ensure the `MyApp` project is selected - by default `MyApp.sln` is selected
1. Next click on the target framework to select `net10.0-desktop | Debug`

Finally, press `F5` to start the debugging session.
#### Debugging using WSL 2 on Windows
VS Code supports debugging Uno Platform Desktop apps through the WSL Extension:
1. Install the [WSL extension](https://marketplace.visualstudio.com/items?itemName=ms-vscode-remote.remote-wsl)
1. In the control palette, select **WSL: Connect to WSL**
1. Once connected to WSL, ensure that the [Uno Platform extension](https://marketplace.visualstudio.com/items?itemName=unoplatform.vscode) is installed
1. Once the extension is installed, follow the same steps as the section above
#### Debugging on Linux Remotely
When connecting to a remote Linux machine using the [SSH Extension](https://marketplace.visualstudio.com/items?itemName=ms-vscode-remote.remote-ssh), in order for the user interface to show, it is required to specify the `DISPLAY` environment variable:
1. In the `.vscode/launch.json`, find the `Uno Platform Desktop (Debug)` section
1. In the `env` section, add the following:
```json
"env": {
"DISPLAY": ":0"
},
```
This will allow the application to build on the remote machine and then show on the main display.
#### Considerations for Hot Reload
Note that C# Hot Reload is not available when running with the debugger. See [this section](xref:Uno.Platform.Studio.HotReload.Overview) for more information on Hot Reload.
### [**Android**](#tab/androiddebug)
In VS Code :
1. In the [activity bar](https://code.visualstudio.com/docs/getstarted/userinterface) select the debugger
1. Set the debugger launch to `Uno Platform Mobile`

In the status bar :
1. Just after the Uno logo ensure the `MyApp` project is selected - by default `MyApp.sln` is selected
1. Next click on the target framework to select `net10.0-android | Debug`
1. Then select the device to debug with. You will need to connect an Android device or [create an Android emulator](https://developer.android.com/studio/run/managing-avds).

Finally, press `F5` to start the debugging session.
### [**iOS**](#tab/iosdebug)
> [!NOTE]
> Debugging for iOS is only possible when running locally (or remotely through [Remote SSH](https://marketplace.visualstudio.com/items?itemName=ms-vscode-remote.remote-ssh)) on a macOS machine.
In VS Code :
1. In the [activity bar](https://code.visualstudio.com/docs/getstarted/userinterface) select the debugger
1. Set the debugger launch to `Uno Platform Mobile`

In the status bar :
1. Just after the Uno logo ensure the `MyApp` project is selected - by default `MyApp.sln` is selected
1. Next click on the target framework to select `net10.0-ios | Debug`
1. Then select the device to debug with. You will need to connect an iOS device or [use an installed iOS simulator](https://developer.apple.com/documentation/xcode/installing-additional-simulator-runtimes).

Finally, press `F5` to start the debugging session.
> [!TIP]
> When deploying to an iOS device, you may encounter the following error: `errSecInternalComponent`. In such a case, you'll need to unlock your keychain from a terminal inside VS Code by running the following command: `security unlock-keychain`
### [**Windows**](#tab/windowsdebug)
> [!NOTE]
> Debugging for Windows is only possible when running locally (or remotely through [Remote SSH](https://marketplace.visualstudio.com/items?itemName=ms-vscode-remote.remote-ssh)) on a Windows computer.
In VS Code :
1. In the [activity bar](https://code.visualstudio.com/docs/getstarted/userinterface) select the debugger
1. Set the debugger launch to `Uno Platform Mobile`

In the status bar :
1. Just after the Uno logo ensure the `MyApp` project is selected - by default `MyApp.sln` is selected
1. Next click on the target framework to select `net10.0-windows10.0.xxxxx | Debug`
1. The `This Computer` device will be pre-selected. On ARM64-based computers, you will have the option to use `This Computer using emulation` to debug `x64` applications

Finally press `F5` to start the debugging session.
---
You're all set!
You can also find [additional VS Code topics](xref:Uno.vscode.additional), such as using snippets, updating existing apps to use VS Code.
## Next Steps
Now that you've created and debugged your app, you can continue development or you can [**use Copilot**](xref:Uno.BuildYourApp.AI.Agents) to accelerate your workflow.
You can also learn more about:
* [Uno Platform features and architecture](xref:Uno.GetStarted.Explore)
* [Hot Reload features](xref:Uno.Features.HotReload)
* [Uno Platform App solution structure](xref:Uno.Development.AppStructure)
* [Troubleshooting](xref:Uno.UI.CommonIssues)
* [How-tos and Tutorials](xref:Uno.Tutorials.Intro) See real-world examples with working code.
* [List of views implemented in Uno](implemented-views.md) for the set of available controls and their properties.