# Recovering/Erasing Video or Audio Firmware Using MAX32625PICO
If the programming of Audio or Video Firmware fails repeatedly (due to incomplete firmware update, application entering low power or shutdown mode too soon, etc.), you can use the following instructions to erase the existing audio or video firmware and recover. To proceed, a MAX32625PICO loaded with the latest DAPLINK Firmware and enabled automation is required.
## Update MAX32625PICO DAPLINK Firmware
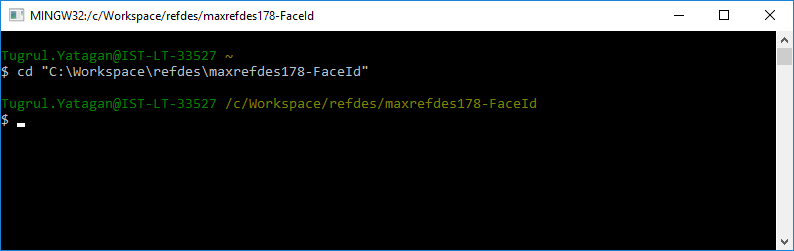
Open MinGW console and cd into one of the demo directories:
## Debugging MAX32666 Firmware
1. Press and hold the SW on MAX32625PICO and then connect it to the USB port to enter the maintenance mode. A MAINTENANCE drive should appear.
2. Drag and drop the latest bin firmware to the MAINTENANCE drive. The latest DAPLink binary can be found here: https://github.com/MaximIntegratedAI/MaximAI_Documentation/raw/master/MAX78000_Feather/MAX32625PICO_files/max32625_max78000fthr_if_crc_v1.0.2.bin
3. Following the Drag-and-Drop, the debug adapter should reboot and reconnect as a drive named DAPLink.
## Enable Automation in MAX32625PICO
1. Open the DETAILS.TXT file on the DAPLINK drive and make sure the ‘Automation allowed’ field is set to 1. If not, proceed to the next step.
2. To set the ‘Automation allowed’ field to 1, create an empty text file called “auto_on.cfg”. Connect MAX32625PICO to USB and wait for the DAPLINK drive to appear. Press and hold the SWD and drag and drop the “auto_on.cfg” to the DAPLINK drive. Then release the SW button when the drive unmounts.
3. After it remounts, confirm ‘Automation allowed’ in details.txt is set to 1.
## Erase Video/Audio Firmware of MAXREFDES178 Cube Camera
1. Turn off the cube camera and disconnect MAXDAP-TYPE-C if connected.
2. Carefully open the camera from the top side (Maxim logo) while making sure that the flex cable connecting the two boards is not damaged or disconnected:
3. Remove the battery and connect the MAX32625PICO DAPLink 10-pin ribbon cable to **J2** (for video firmware) or **J3** (for audio firmware). Connect the MAX32625PICO to the USB port. A DAPLink drive should appear.

4. Create an empty file named `erase.act`.
5. Have a USB-C cable to Power up the Cube Camera using a power bank to USB power handy. But do NOT power up yet.
6. Drag and drop the empty `erase.act` file to the DAPLink drive. A copying box opens and the progress stays at 0%.
7. Power up the Cube Camera using the USB-C cable. The copying progress quickly goes to 100% and the DAPLink drive remounts. The flash of the target device is now erased
8. Disconnect the DAPLink ribbon cable from **J2** or **J3**, reconnect the battery and close the camera case.