
**小核心,大轰鸣 | Small Core, Big Buzz**
一个用几行 Python 代码即可搭建完整 Agent Loop 的轻量 SDK。
[](https://pypi.org/project/bumblehive/)
[](https://www.python.org/)
[](https://github.com/wxhcore/bumblehive/actions/workflows/sdk-ci.yml)
[](https://modelcontextprotocol.io/)
[](https://opensource.org/licenses/Apache-2.0)
[](https://linux.do)
[English](./README.md) | 简体中文
---
## 30 秒体验
安装 Python SDK:
```bash
python -m pip install bumblehive
```
准备好 `BUMBLEHIVE_MODEL`、`BUMBLEHIVE_API_KEY` 和 `BUMBLEHIVE_BASE_URL`,然后运行:
```python
import asyncio
import os
import bumblehive
async def main() -> None:
config = bumblehive.RuntimeArguments(
model=os.environ["BUMBLEHIVE_MODEL"],
api_key=os.environ["BUMBLEHIVE_API_KEY"],
base_url=os.environ["BUMBLEHIVE_BASE_URL"],
)
async with bumblehive.from_config(config) as runtime:
await runtime.run_console("请用一句话解释 Agent Loop。")
asyncio.run(main())
```
`run_console()` 会在终端直接展示运行过程和最终回答。
## 选择运行方式
| 接口 | 适用场景 |
| --- | --- |
| `run_console()` | 在终端快速体验或调试 |
| `run()` | 一次性获得结构化结果 |
| `stream()` | 流式输出并监听运行事件 |
## 核心能力
- 使用 Runtime 管理模型调用、Agent Loop 和资源生命周期。
- 将 Python 函数、内置工具或 MCP 服务提供给 Agent。
- 按需使用流式事件、对话历史、持久化 Session、Skills 和可观测 Hooks。
## 桌面端
Bumblehive Desktop 是使用 Bumblehive Python SDK 构建的可选参考应用,展示了如何把 Runtime、工具和会话能力组合成完整产品。
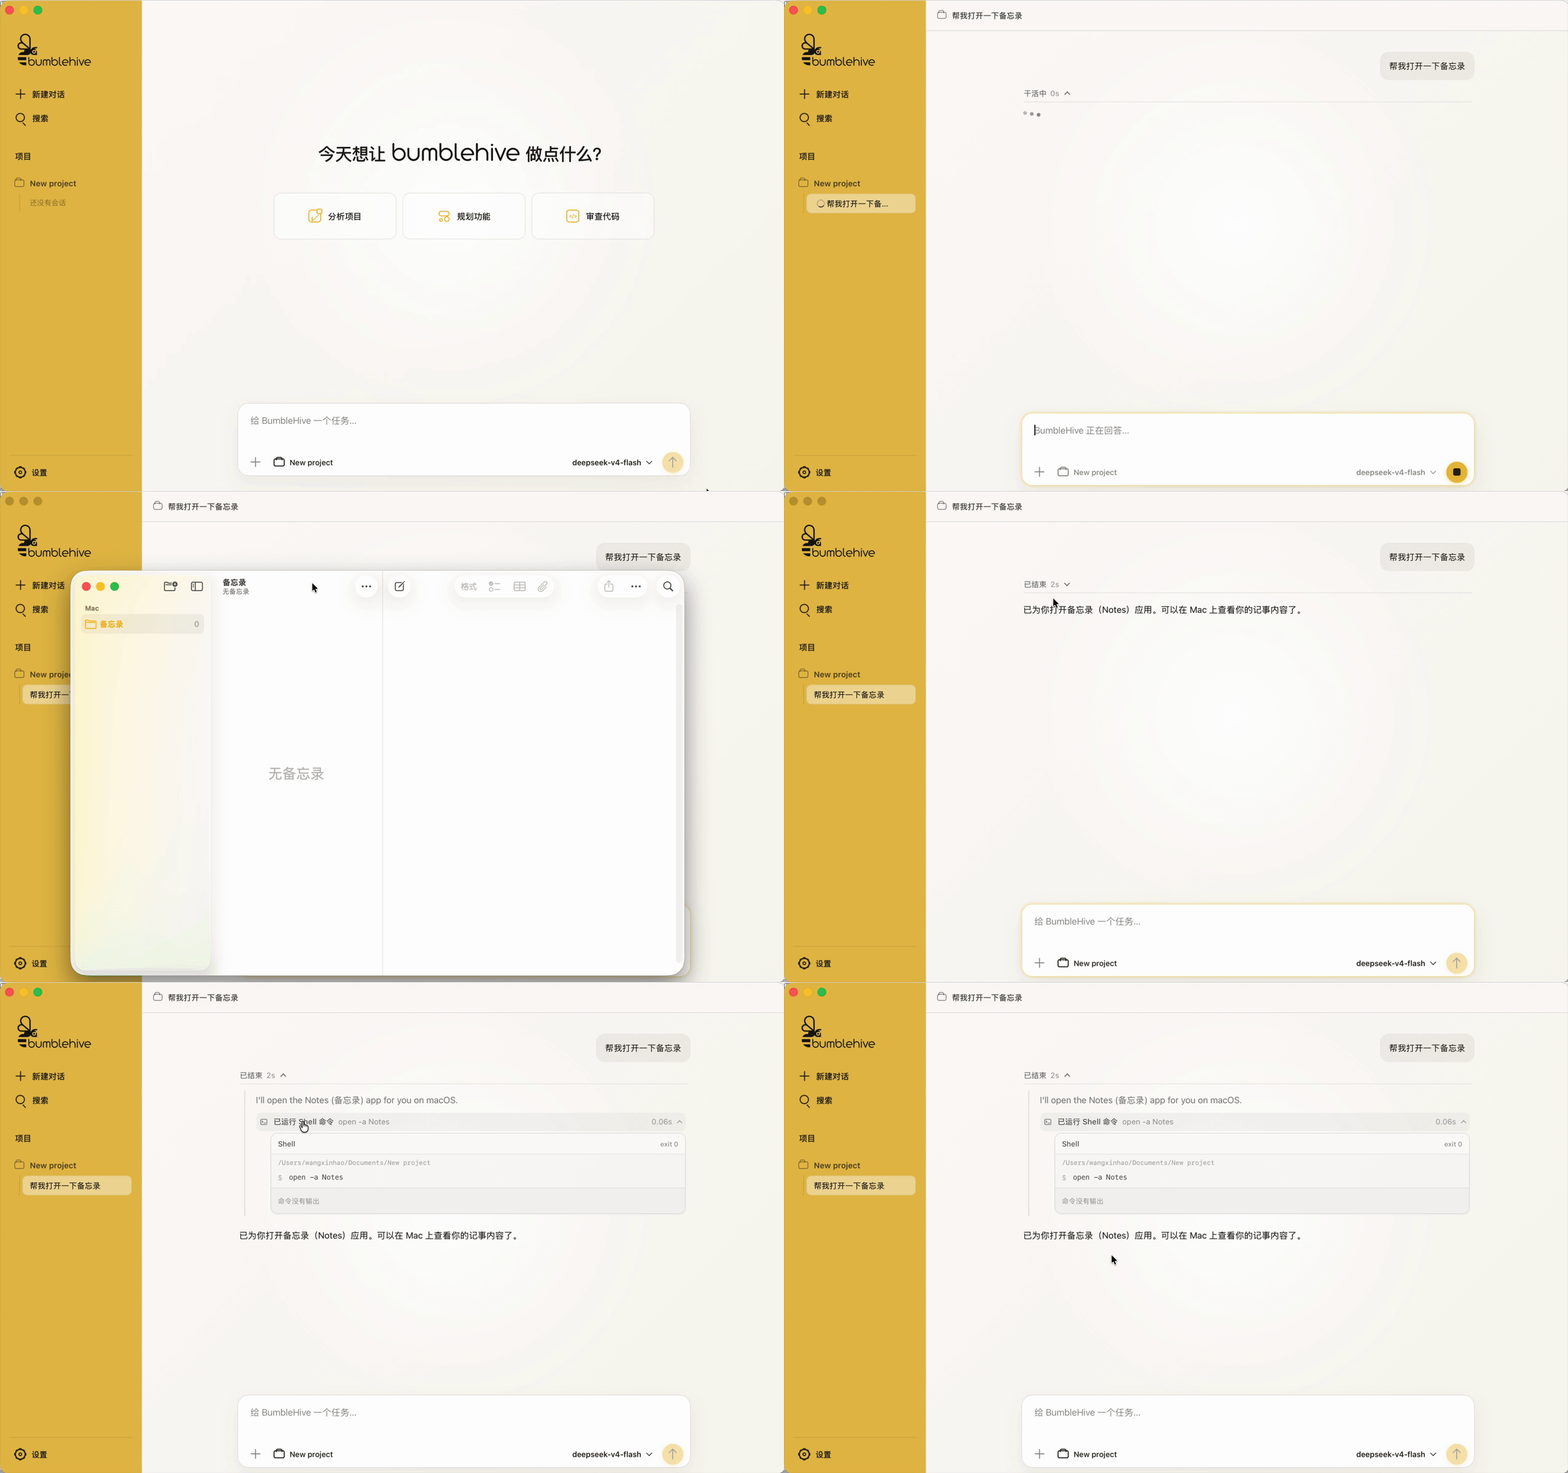
桌面安装包将通过 [GitHub Releases](https://github.com/wxhcore/bumblehive/releases) 发布。
## 下一步
完整内容请访问 [Bumblehive Python SDK 中文文档](https://wxhcore.github.io/bumblehive/)。
| 目标 | 从这里开始 |
| --- | --- |
| 运行第一个 Agent | [安装与快速开始](https://wxhcore.github.io/bumblehive/getting-started/installation/) |
| 添加 Python 工具 | [注册第一个工具](https://wxhcore.github.io/bumblehive/getting-started/first-tool/) |
| 保存对话 | [消息历史与 Session](https://wxhcore.github.io/bumblehive/how-to/memory-and-sessions/) |
| 加载工作方法 | [Skills](https://wxhcore.github.io/bumblehive/how-to/skills/) |
| 连接外部工具 | [MCP](https://wxhcore.github.io/bumblehive/how-to/mcp/) |
| 查询公开接口 | [API Reference](https://wxhcore.github.io/bumblehive/reference/runtime/) |
| 查看可运行代码 | [Examples](examples/README.md) |
## 本地开发
Python SDK、Server 和 WebUI 的开发流程支持 macOS、Windows 和 Ubuntu Linux。环境要求为 Python 3.11+、Node.js 22.12+ 和 pnpm 10.33.0。推荐使用独立的 Conda 环境:
```bash
pnpm run setup
```
`pnpm run setup` 是唯一的项目安装入口。它会按照根目录锁文件安装全部 Node workspace 依赖,并使用当前激活的 Python 安装 SDK、Server、测试和桌面打包依赖,最后检查核心环境。`pnpm run dev` 也会在启动两个进程前重复这项轻量预检。缺少任何必要条件时,命令都会停止并给出明确提示。Ubuntu Linux 使用相同命令,该流程不要求安装桌面系统工具链。如需覆盖当前解释器,可以通过 `BUMBLEHIVE_PYTHON` 指定 Python 路径。
日常开发只需:
```bash
pnpm run dev
```
该命令同时启动 Server(`127.0.0.1:18421`)和 WebUI(`127.0.0.1:1420`)。也可以单独运行 `pnpm run dev:server` 或 `pnpm run dev:web`,使用 `pnpm test` 执行 Python 测试。
### 桌面端
可选的桌面端流程目前面向 macOS 和 Windows。macOS 还需要 Rust 和 Xcode Command Line Tools;Windows 还需要 Rust MSVC toolchain、WebView2,以及包含“使用 C++ 的桌面开发”工作负载的 Microsoft C++ Build Tools。
完成统一的 `pnpm run setup` 后,可以启动桌面开发模式,或为当前平台生成安装包:
```bash
pnpm run dev:desktop
pnpm run build:desktop
```
这两个命令会检查 Rust、Tauri 和平台工具链,再使用当前 Python 环境自动将 Server 打包成 sidecar,然后启动 Tauri。`build:desktop` 在 macOS 生成 app 和 DMG,在 Windows 生成 NSIS 安装包。