| Invite your team to collaborate | Add team members to your organization and set permissions | 25_12_10_invite_your_team_to_collaborate_1.png | invite-members-to-your-organization.md | 25_12_10_invite_your_team_to_collaborate.png | 25_12_10_invite_your_team_to_collaborate.png | | | |
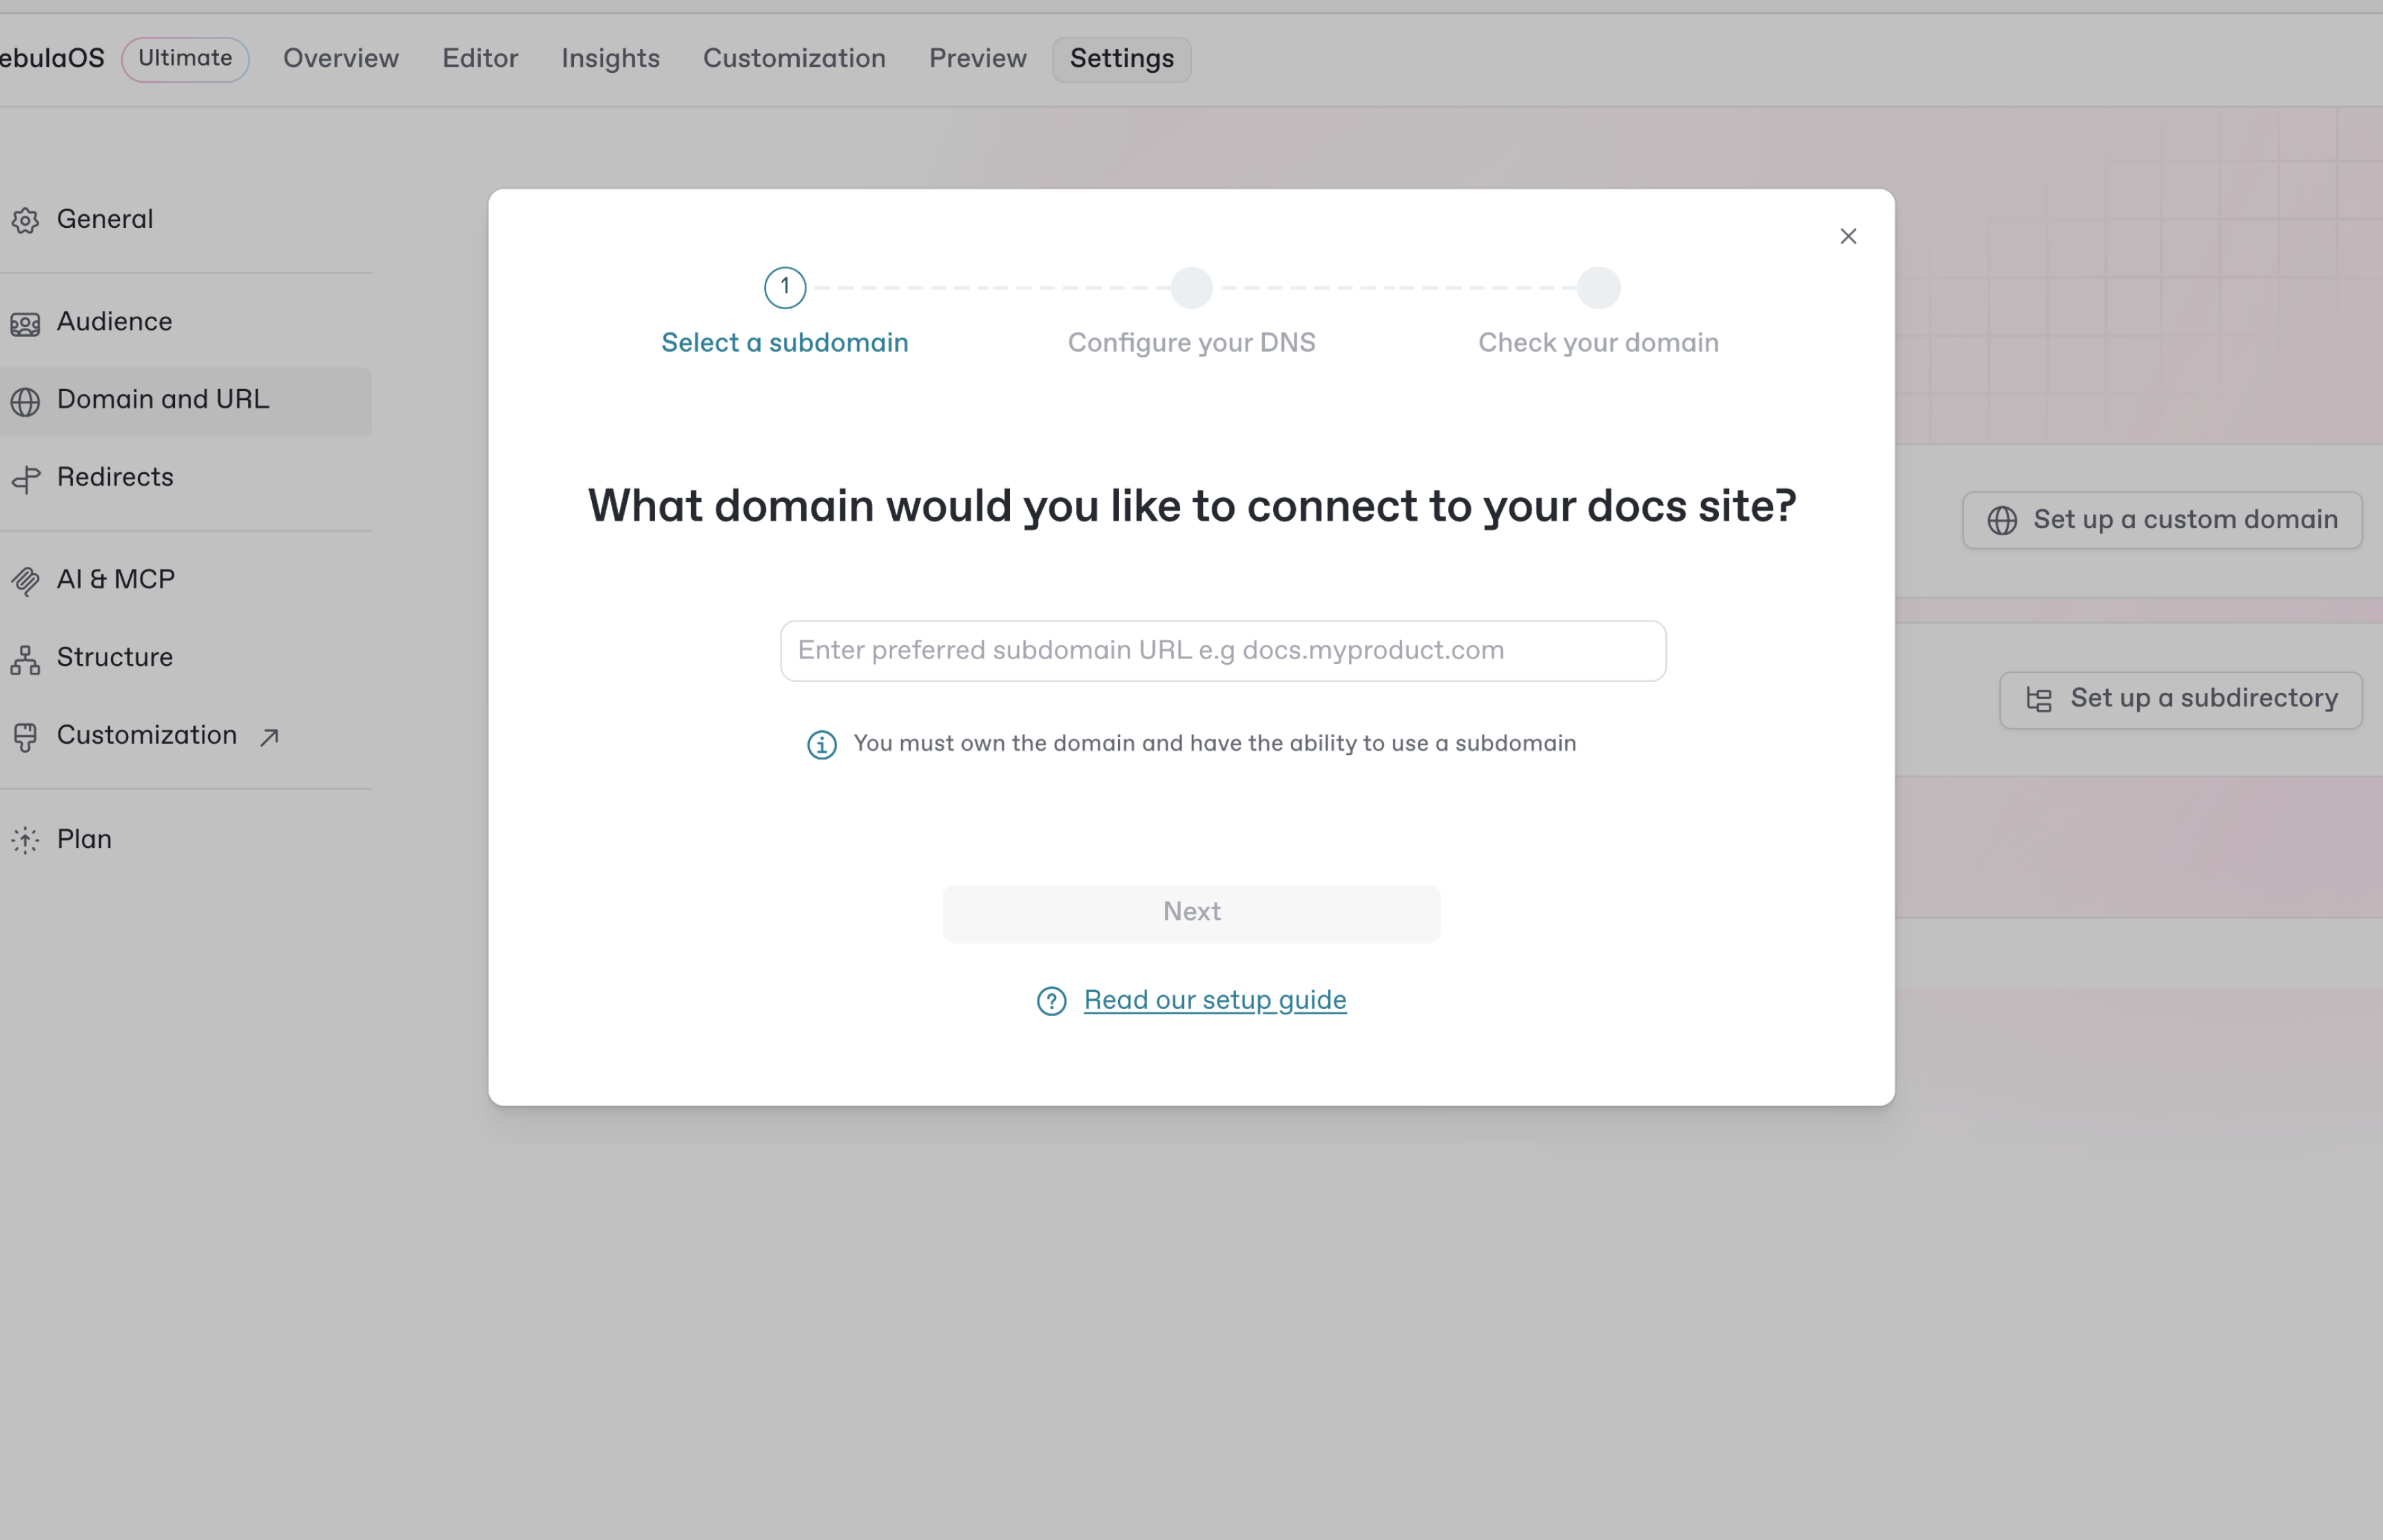
| Change site visibility | Control who can see your content with share links and authenticated access | 25_12_10_change_site_visibility_1.png | #publish-a-docs-site | 25_12_10_change_site_visibility.png | | 25_12_10_change_site_visibility.png | 25_12_10_change_site_visibility.png | |
| Add auto-translations | Create one-click translations that update automatically | 25_12_10_add_auto_translations_1.png | site-settings.md | 25_12_10_add_auto_translations.png | | | 25_12_10_add_auto_translations.png | |
| Install integrations | Integrate with your stack and extend functionality with powerful integrations | 25_12_10_install_integrations_1.png | Broken link | 25_12_10_install_integrations.png | | | | 25_12_10_install_integrations.png |
| Add an API reference | Create auto-updating, interactive API reference docs from an API spec | 25_12_10_add_an_api_reference_1.png | Broken link | 25_12_10_add_an_api_reference.png | | | | |
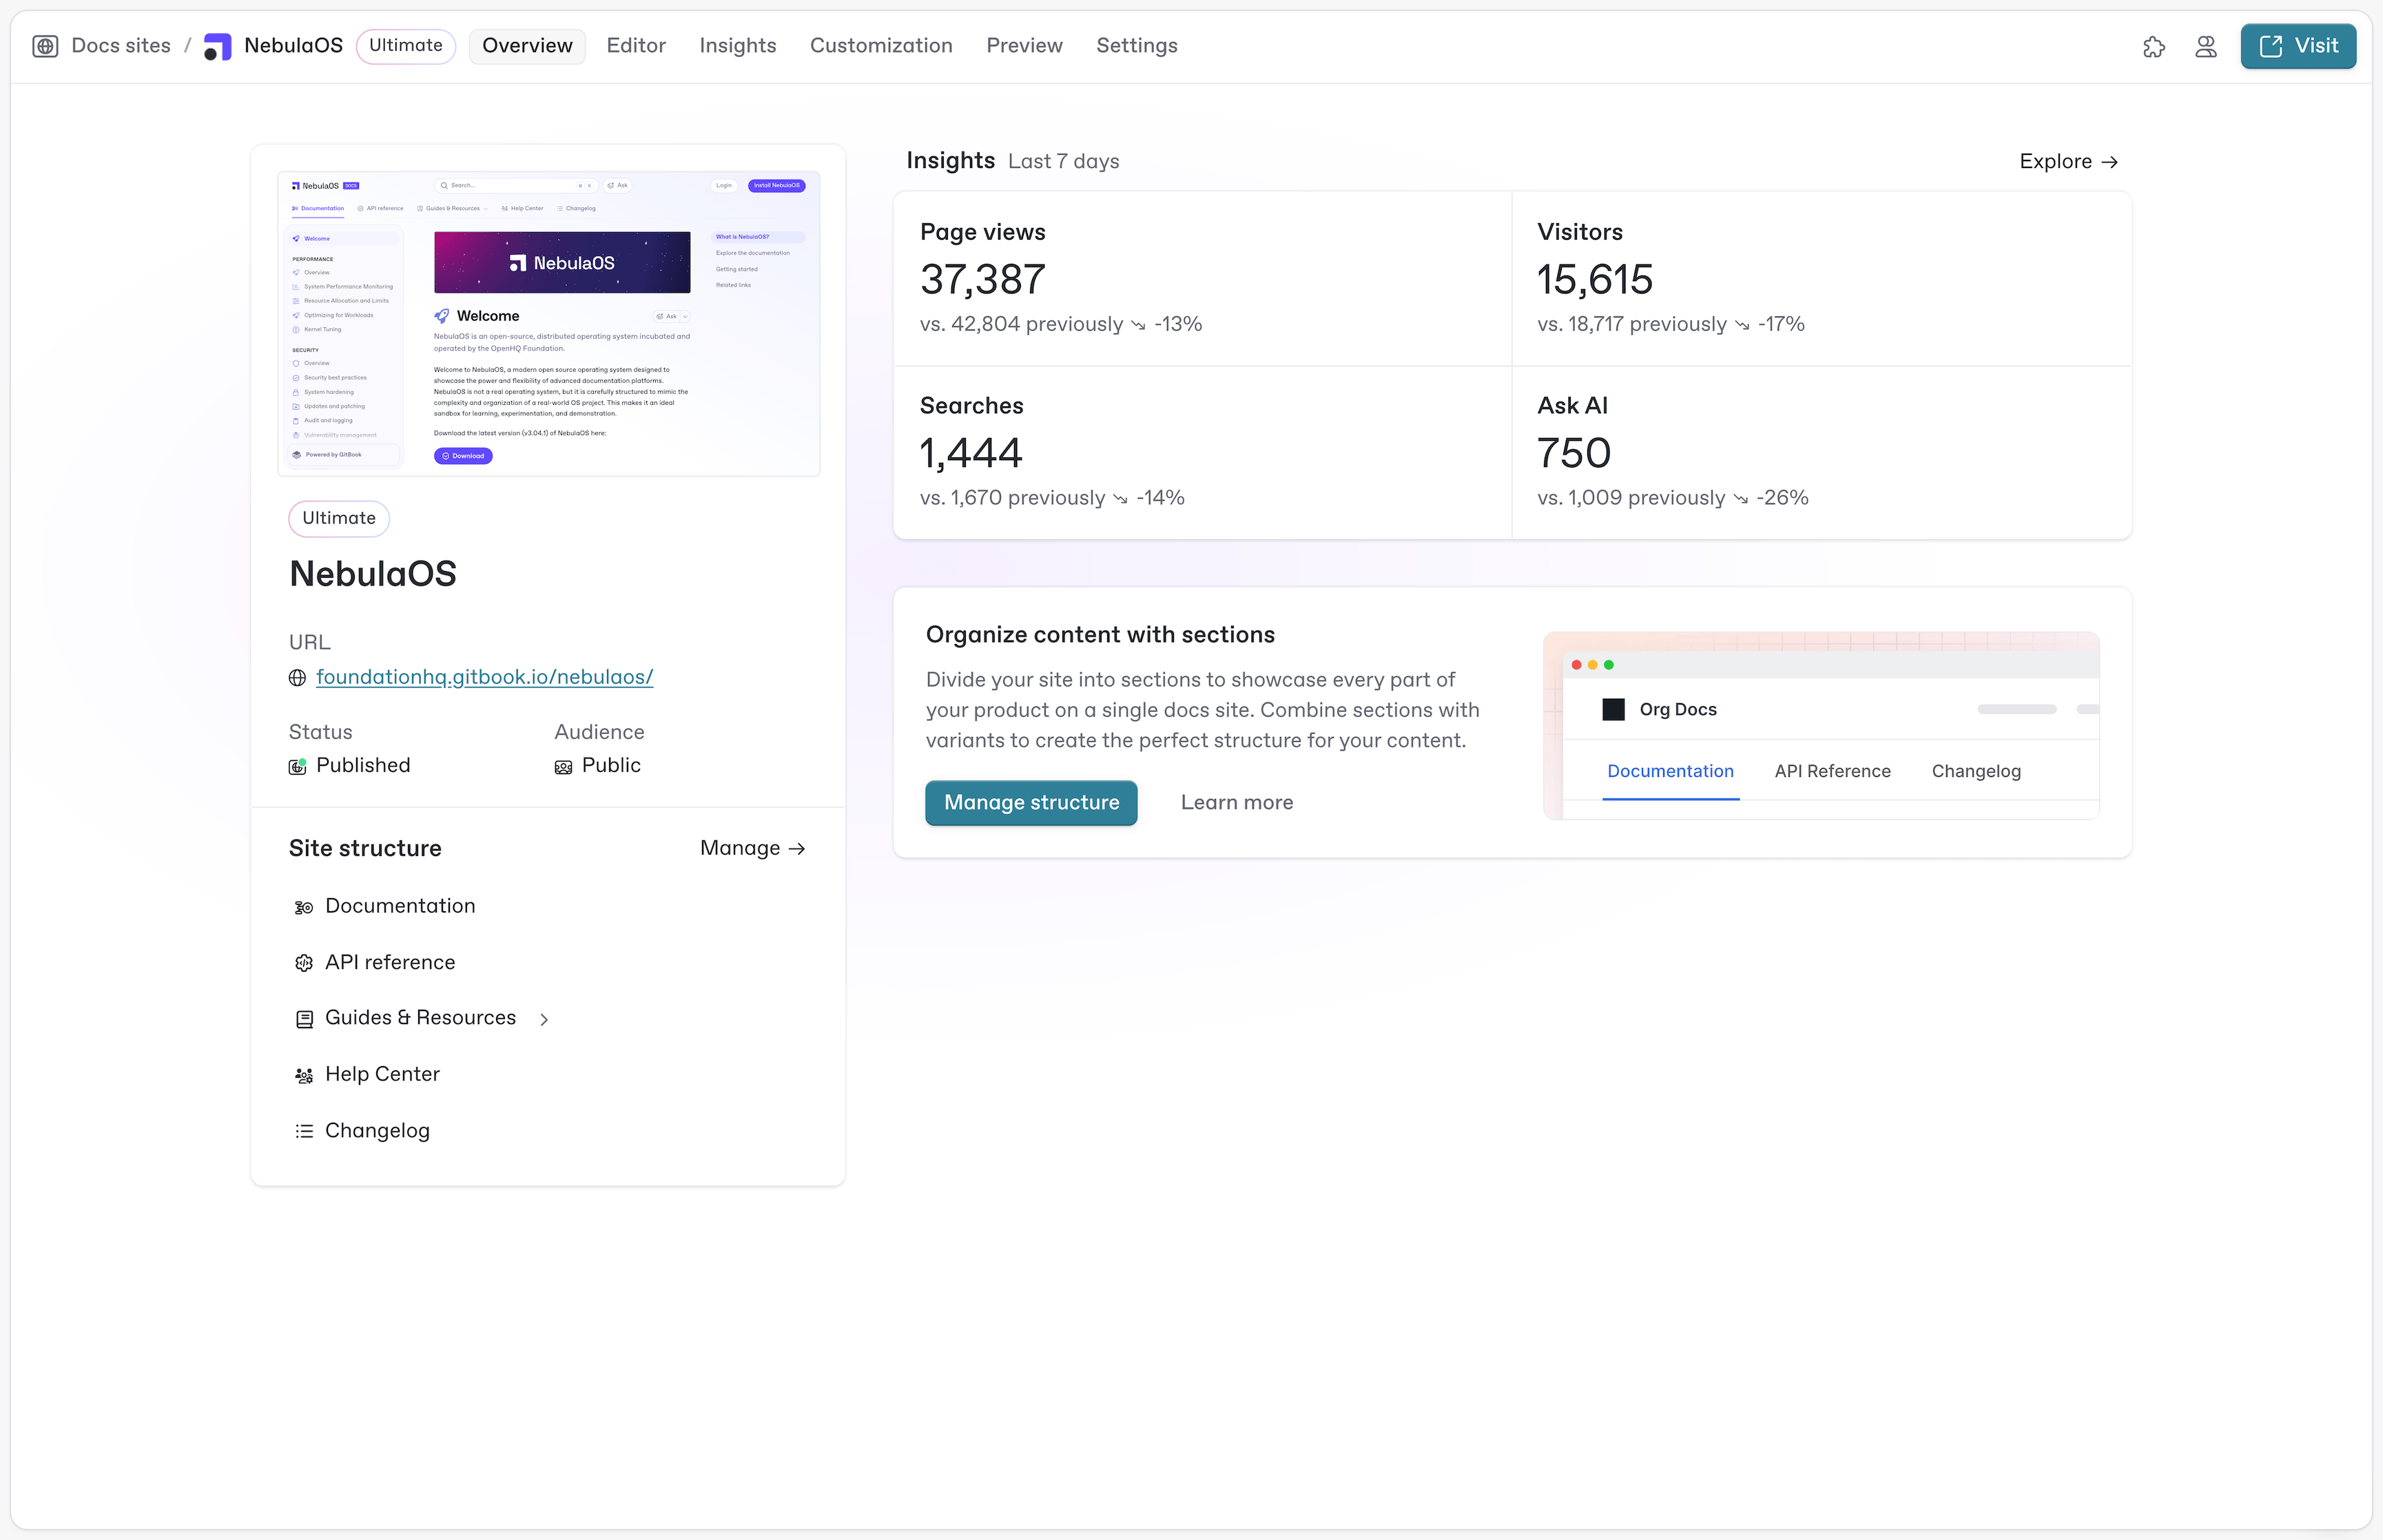
| Track docs analytics | Use the built-in insights to measure success and understand user behavior | 25_12_10_track_docs_analytics_1.png | insights.md | 25_12_10_track_docs_analytics.png | | | | |