Using JMRI® to Operate Trains
Operations Routes Window
A route is a list of locations that a train will visit. Later you can decide if the train stops at a location for work. Routes can be point to point or out and back. The current Routes are shown in the Routes window with their status, i.e. Orphan means it has not been assigned to a train.
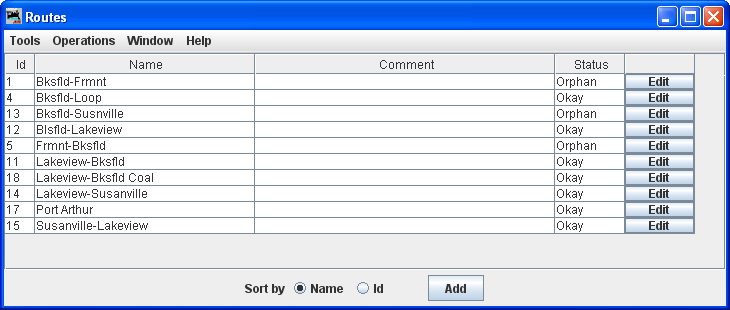
Panel showing possible routes that are in the Routes table.

Menu Bar
Tools
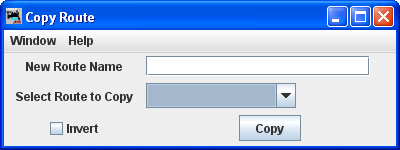
- Copy Route opens the Route Copy dialog. This allows you to copy an existing route.
Type the New Route Name
Select Route to Copy this route will be copied and saved with the new name.
Invert will reverse the sequence of the route when copied.
press to copy the route into your Route file.
- Set Train Icons Coordinates
This tool is used to set the default X and Y coordinates of your train icons for each location. The tool allows you to specify the icon coordinates based on the trains direction. You can also update all of your existing routes and locations with these new coordinates. As an alternative, you can use a route's Tools-->Set Train Icon Coordinates for this Route to create coordinates unique to a specific route.
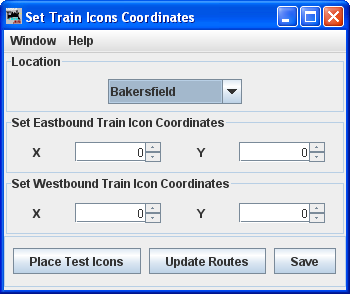
Location
Select location fromSet Eastbound Train Icon Coordinates
Set Westbound Train Icon Coordinates
Set the X, Y coordinates where you want the icon located at the selected location,check location on your layout
update the routes with icon data
saves the icon data in the Routes files
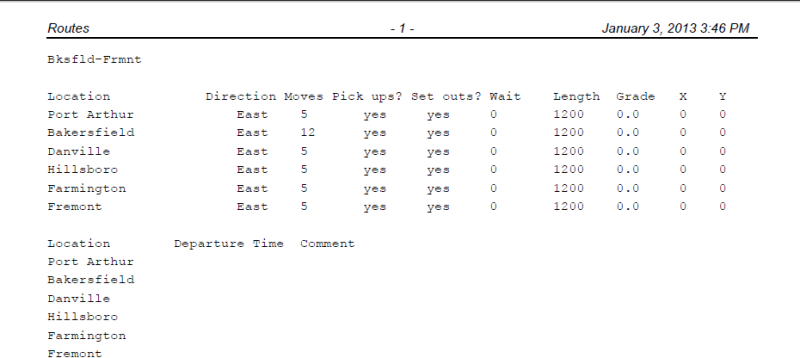
- Preview
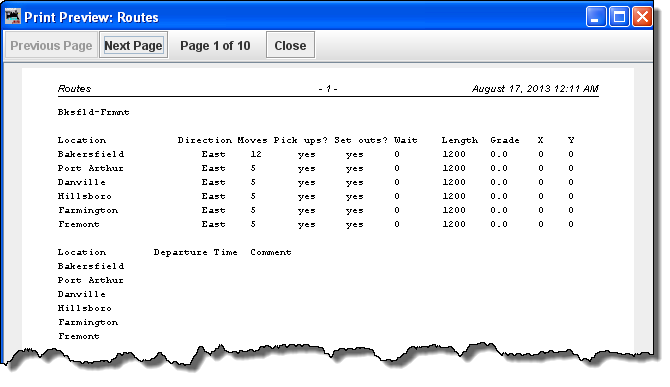
Operations (Same as Main Operations menu)
Window -- Standard JMRI® window menu.
Help -- Standard JMRI® Help menu.
Route List - middle of window
Lists routes Id, Name, Comment, Status and Edit Route
Bottom of window
Sort by Name Id establishes the sort order of the routes.
opens the Add Routes window to allow you to add routes to your Operations data base.
