Configuring Google authentication
By Rick Anderson, Pranav Rastogi, and Valeriy Novytskyy
This tutorial shows you how to enable your users to sign in with their Google+ account using a sample ASP.NET Core project created on the previous page. We start by following the official steps to create a new app in Google API Console.
Creating the app in Google API Console
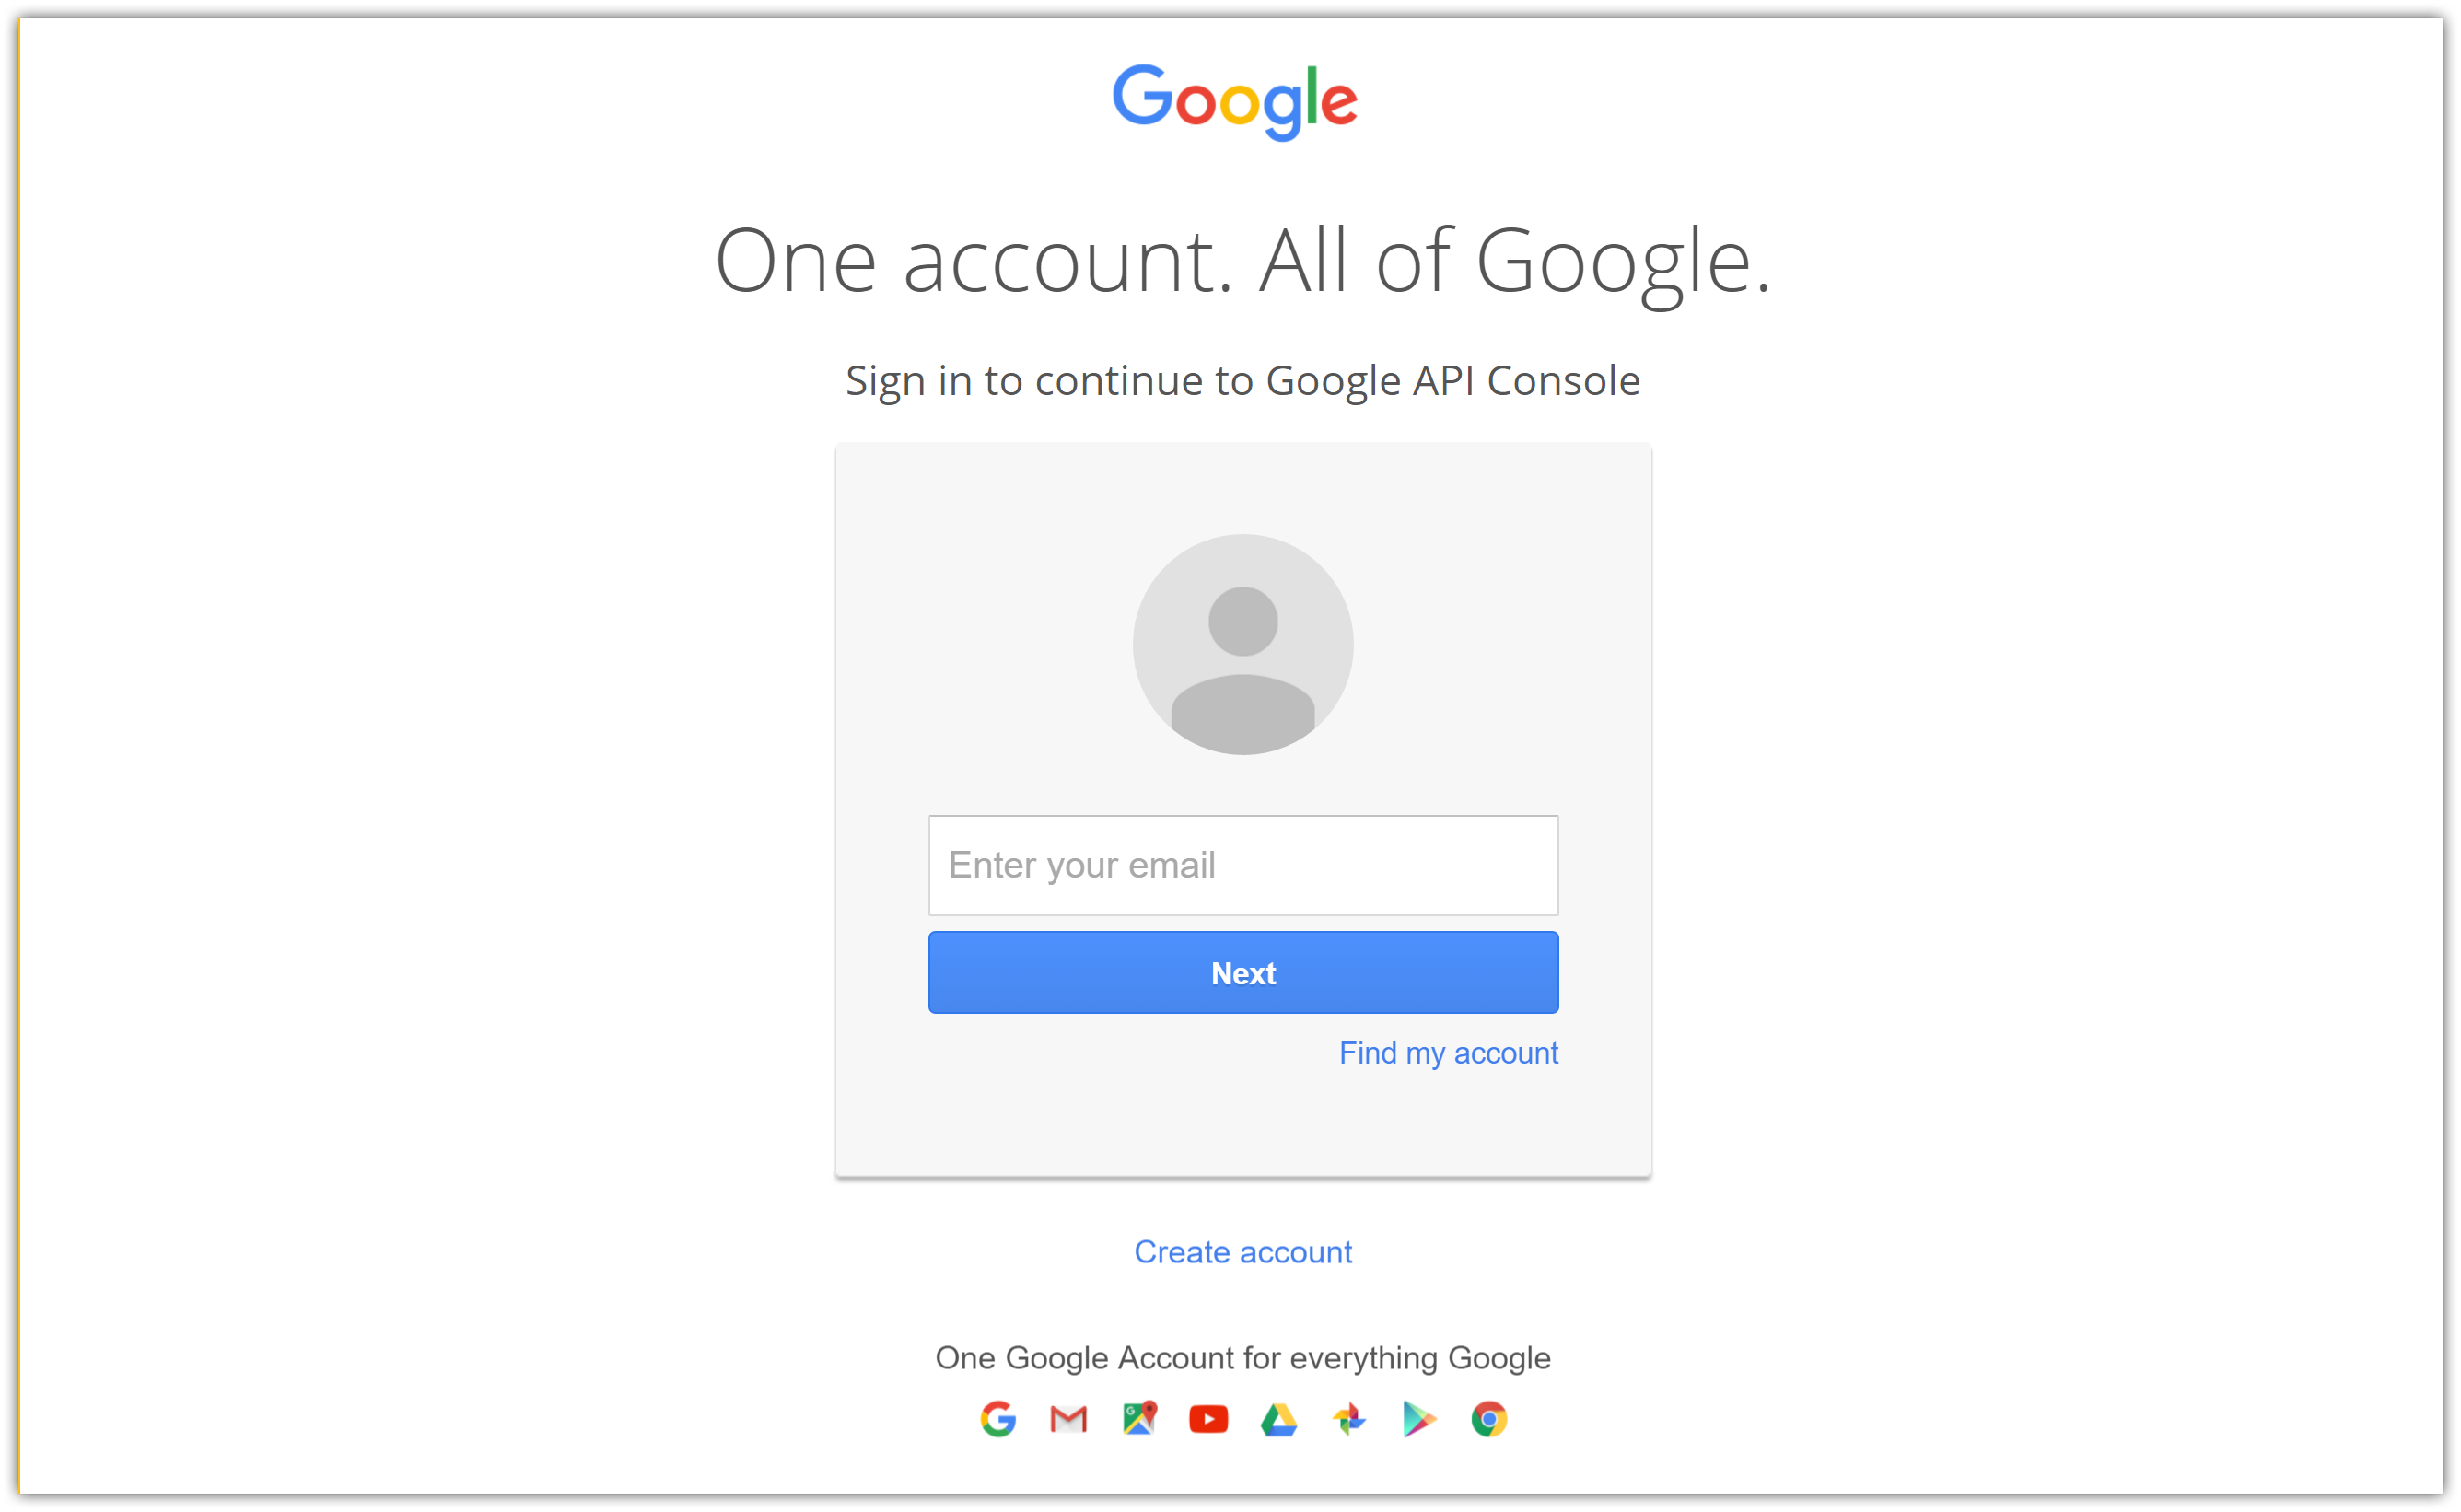
- Navigate to https://console.developers.google.com/projectselector/apis/library and sign in. If you don't already have a Google account, use the Create account link to create one:
- You are redirected to API Manager Library page:
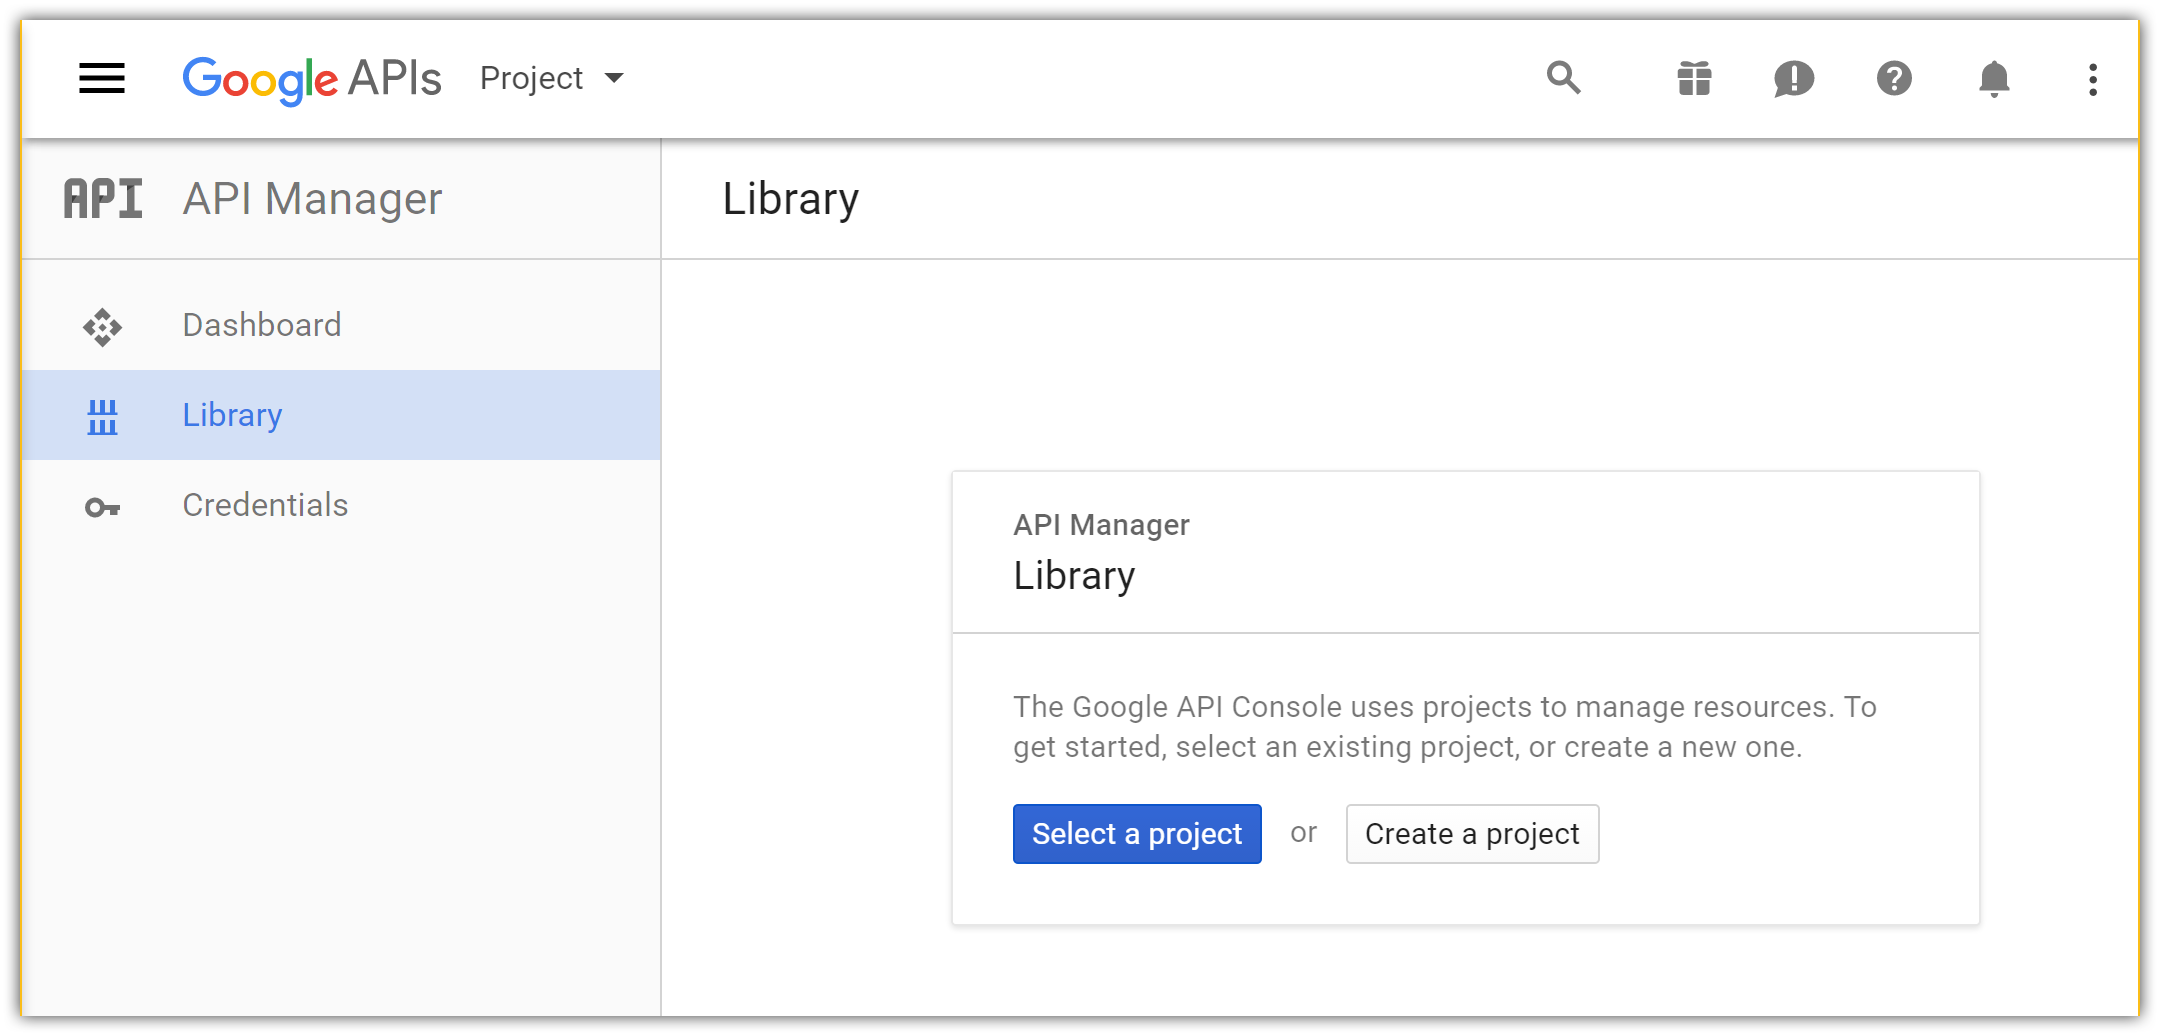
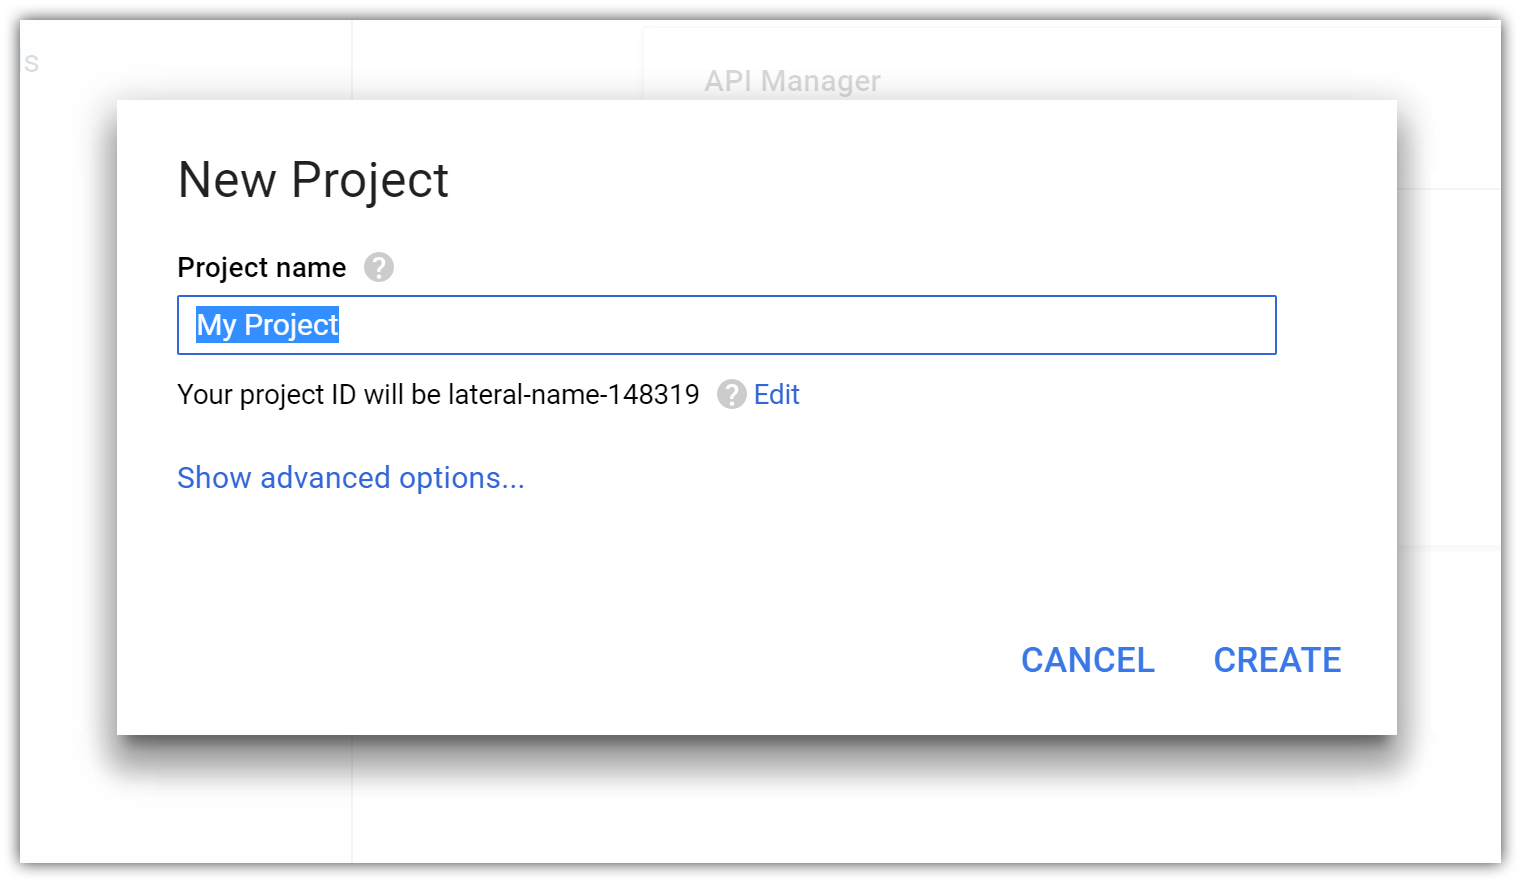
- Tap Create a project and enter your application name:
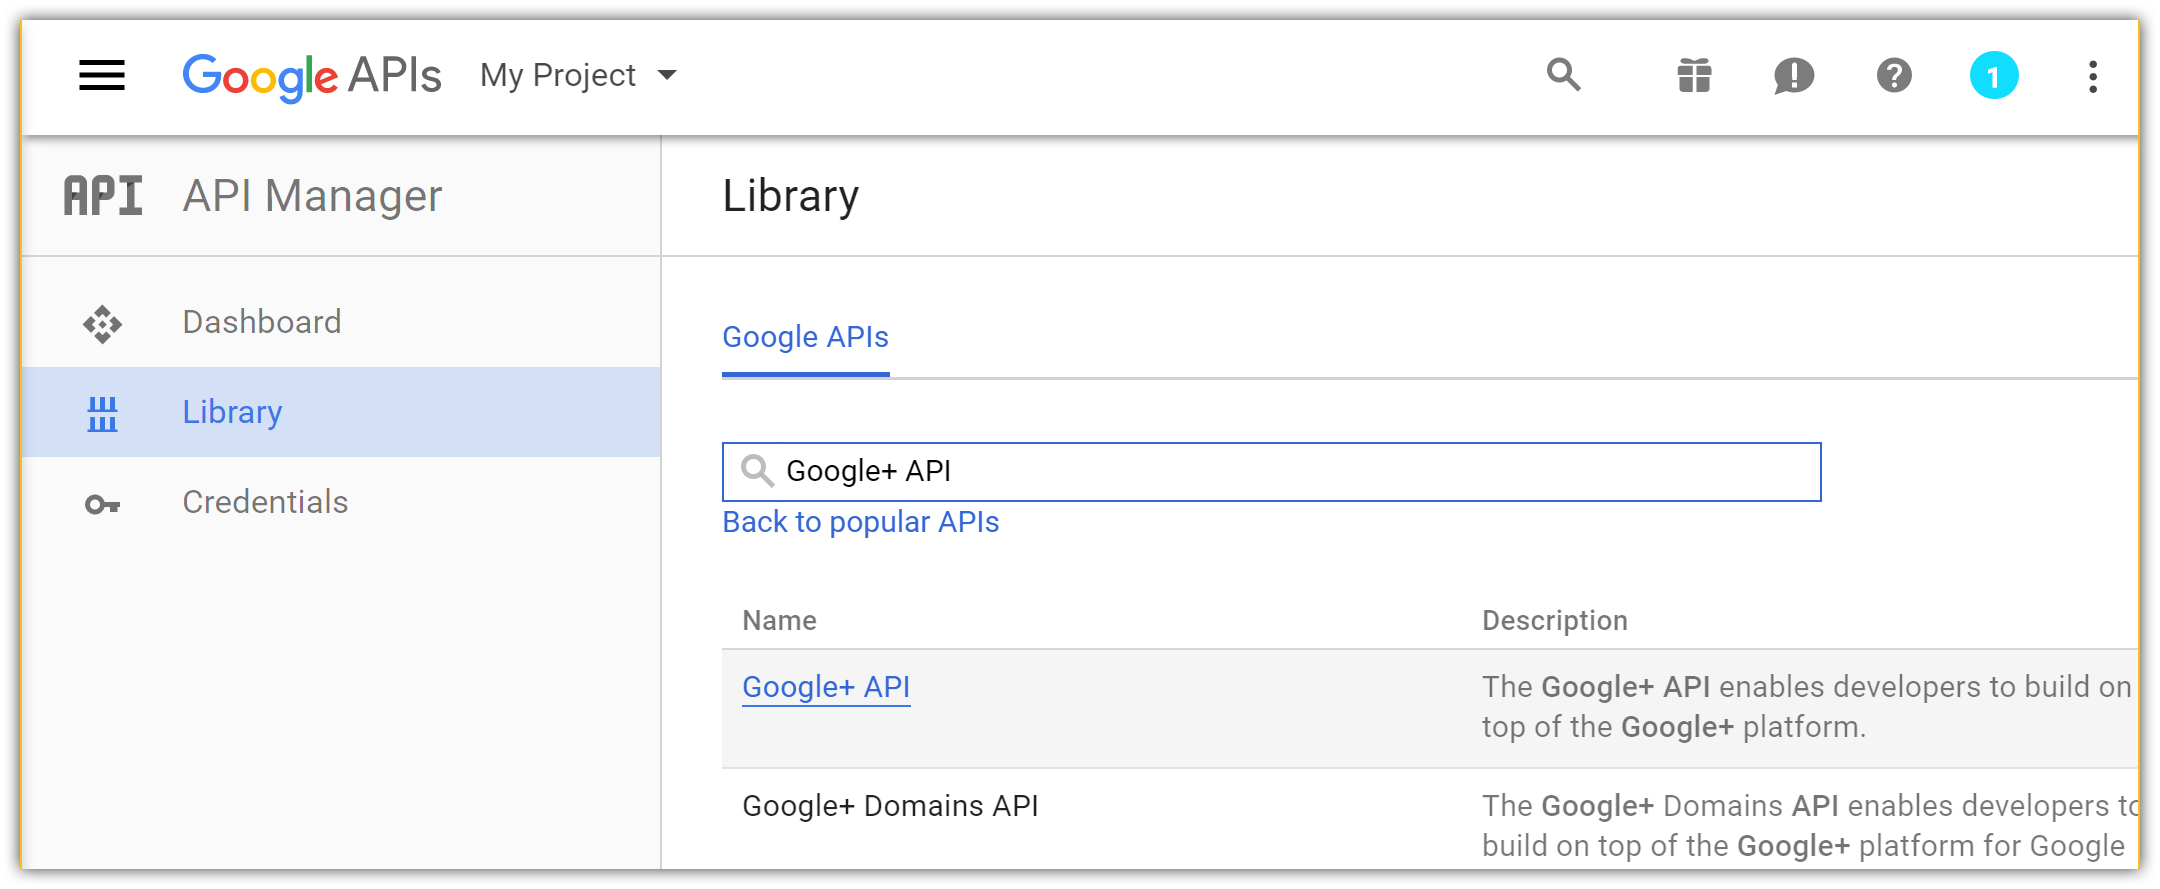
- After accepting the dialog, you are redirected back to the Library page allowing you to choose features for your new app. Find Google+ API in the list and click on its link to add the API feature:
- The page for the newly added API is displayed. Tap Enable to add Google+ sign in feature to your app:
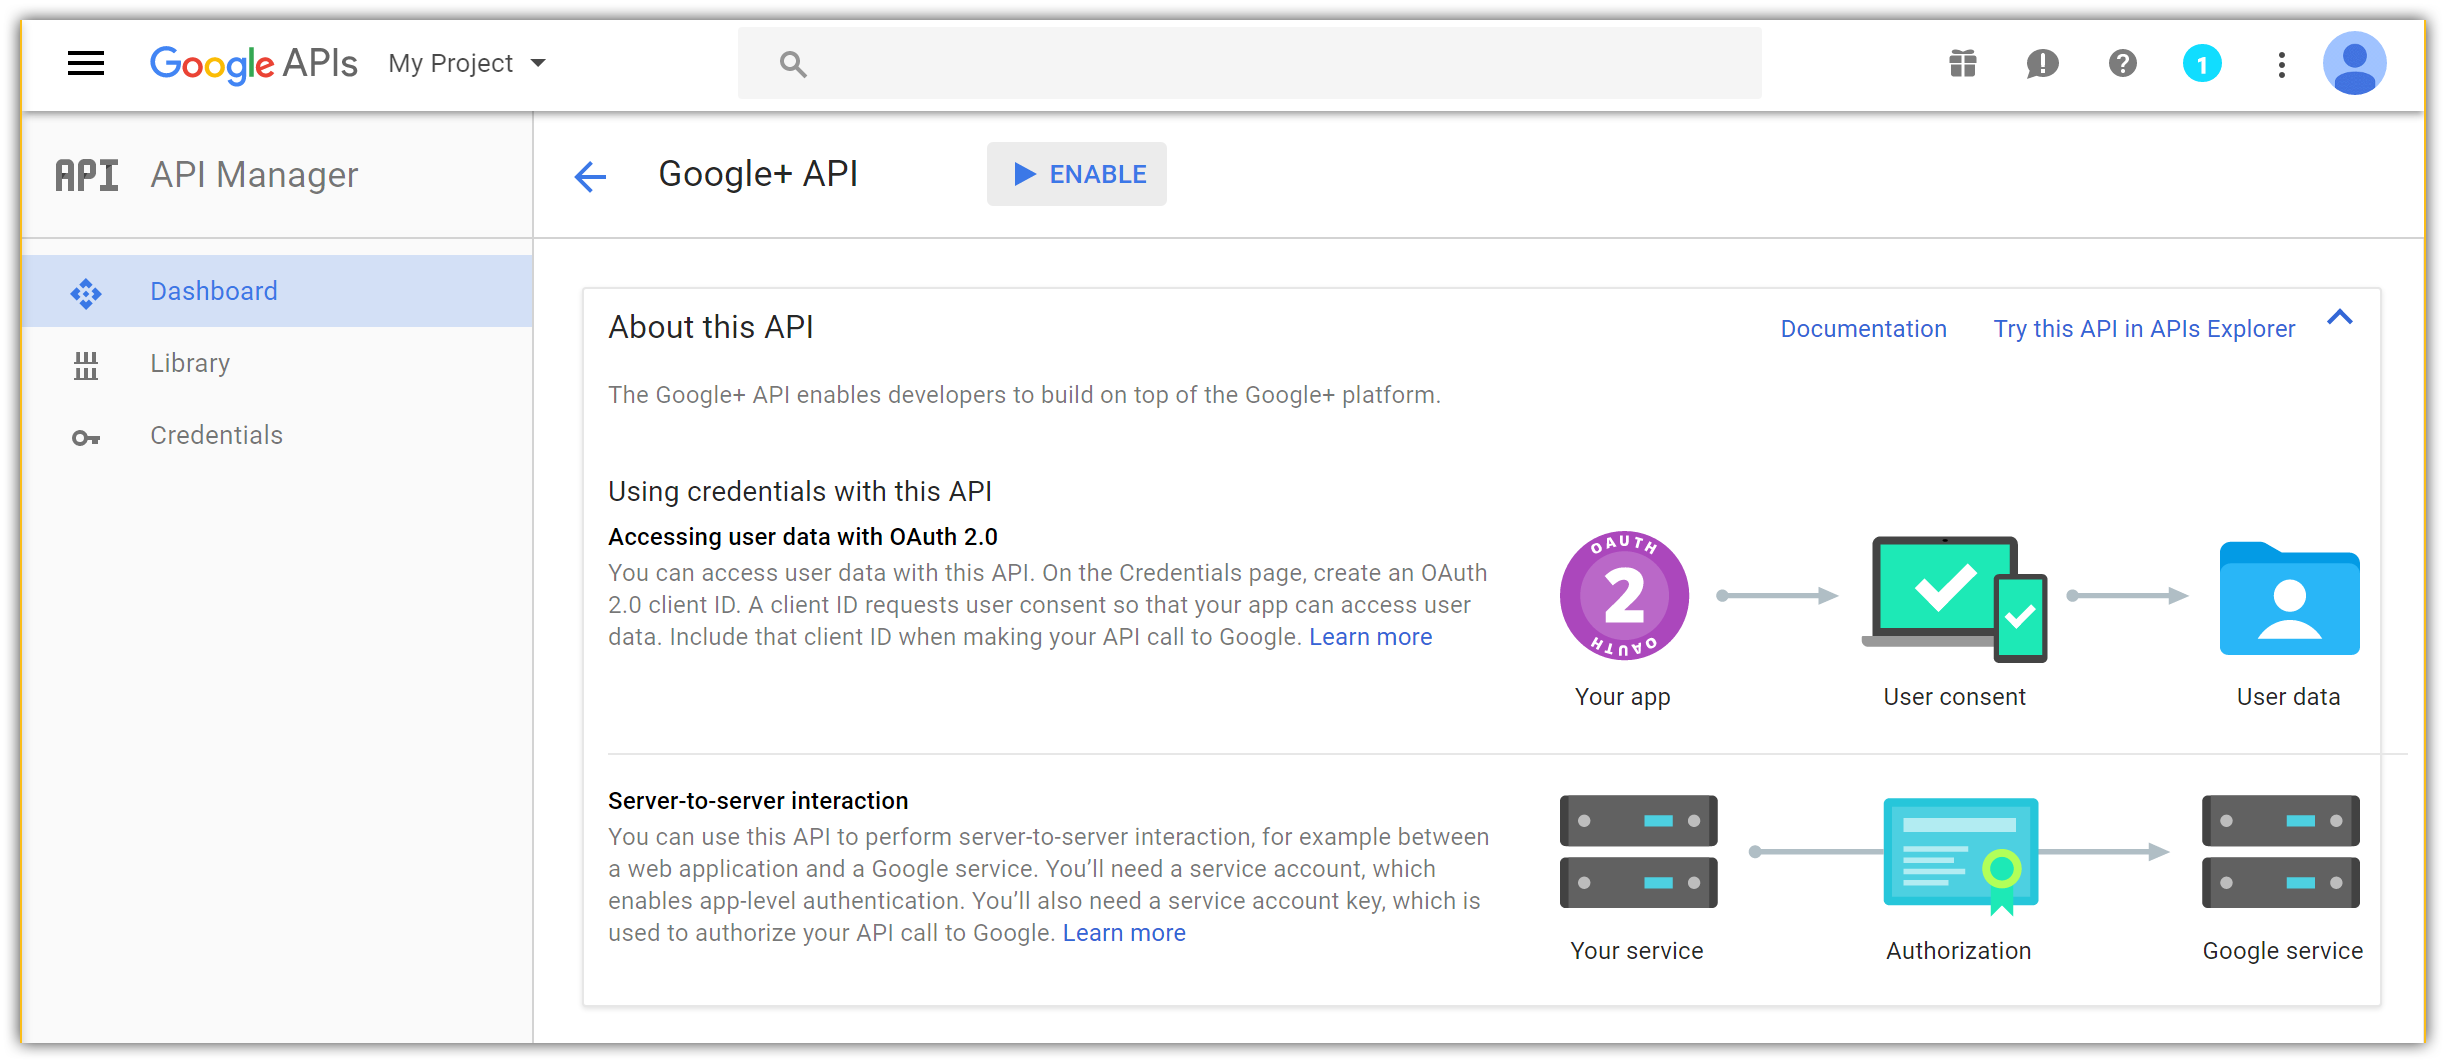
- After enabling the API, tap Go to Credentials to configure the secrets:

- Choose:
- Google+ API
- Web server (e.g. node.js, Tomcat), and
- User data:
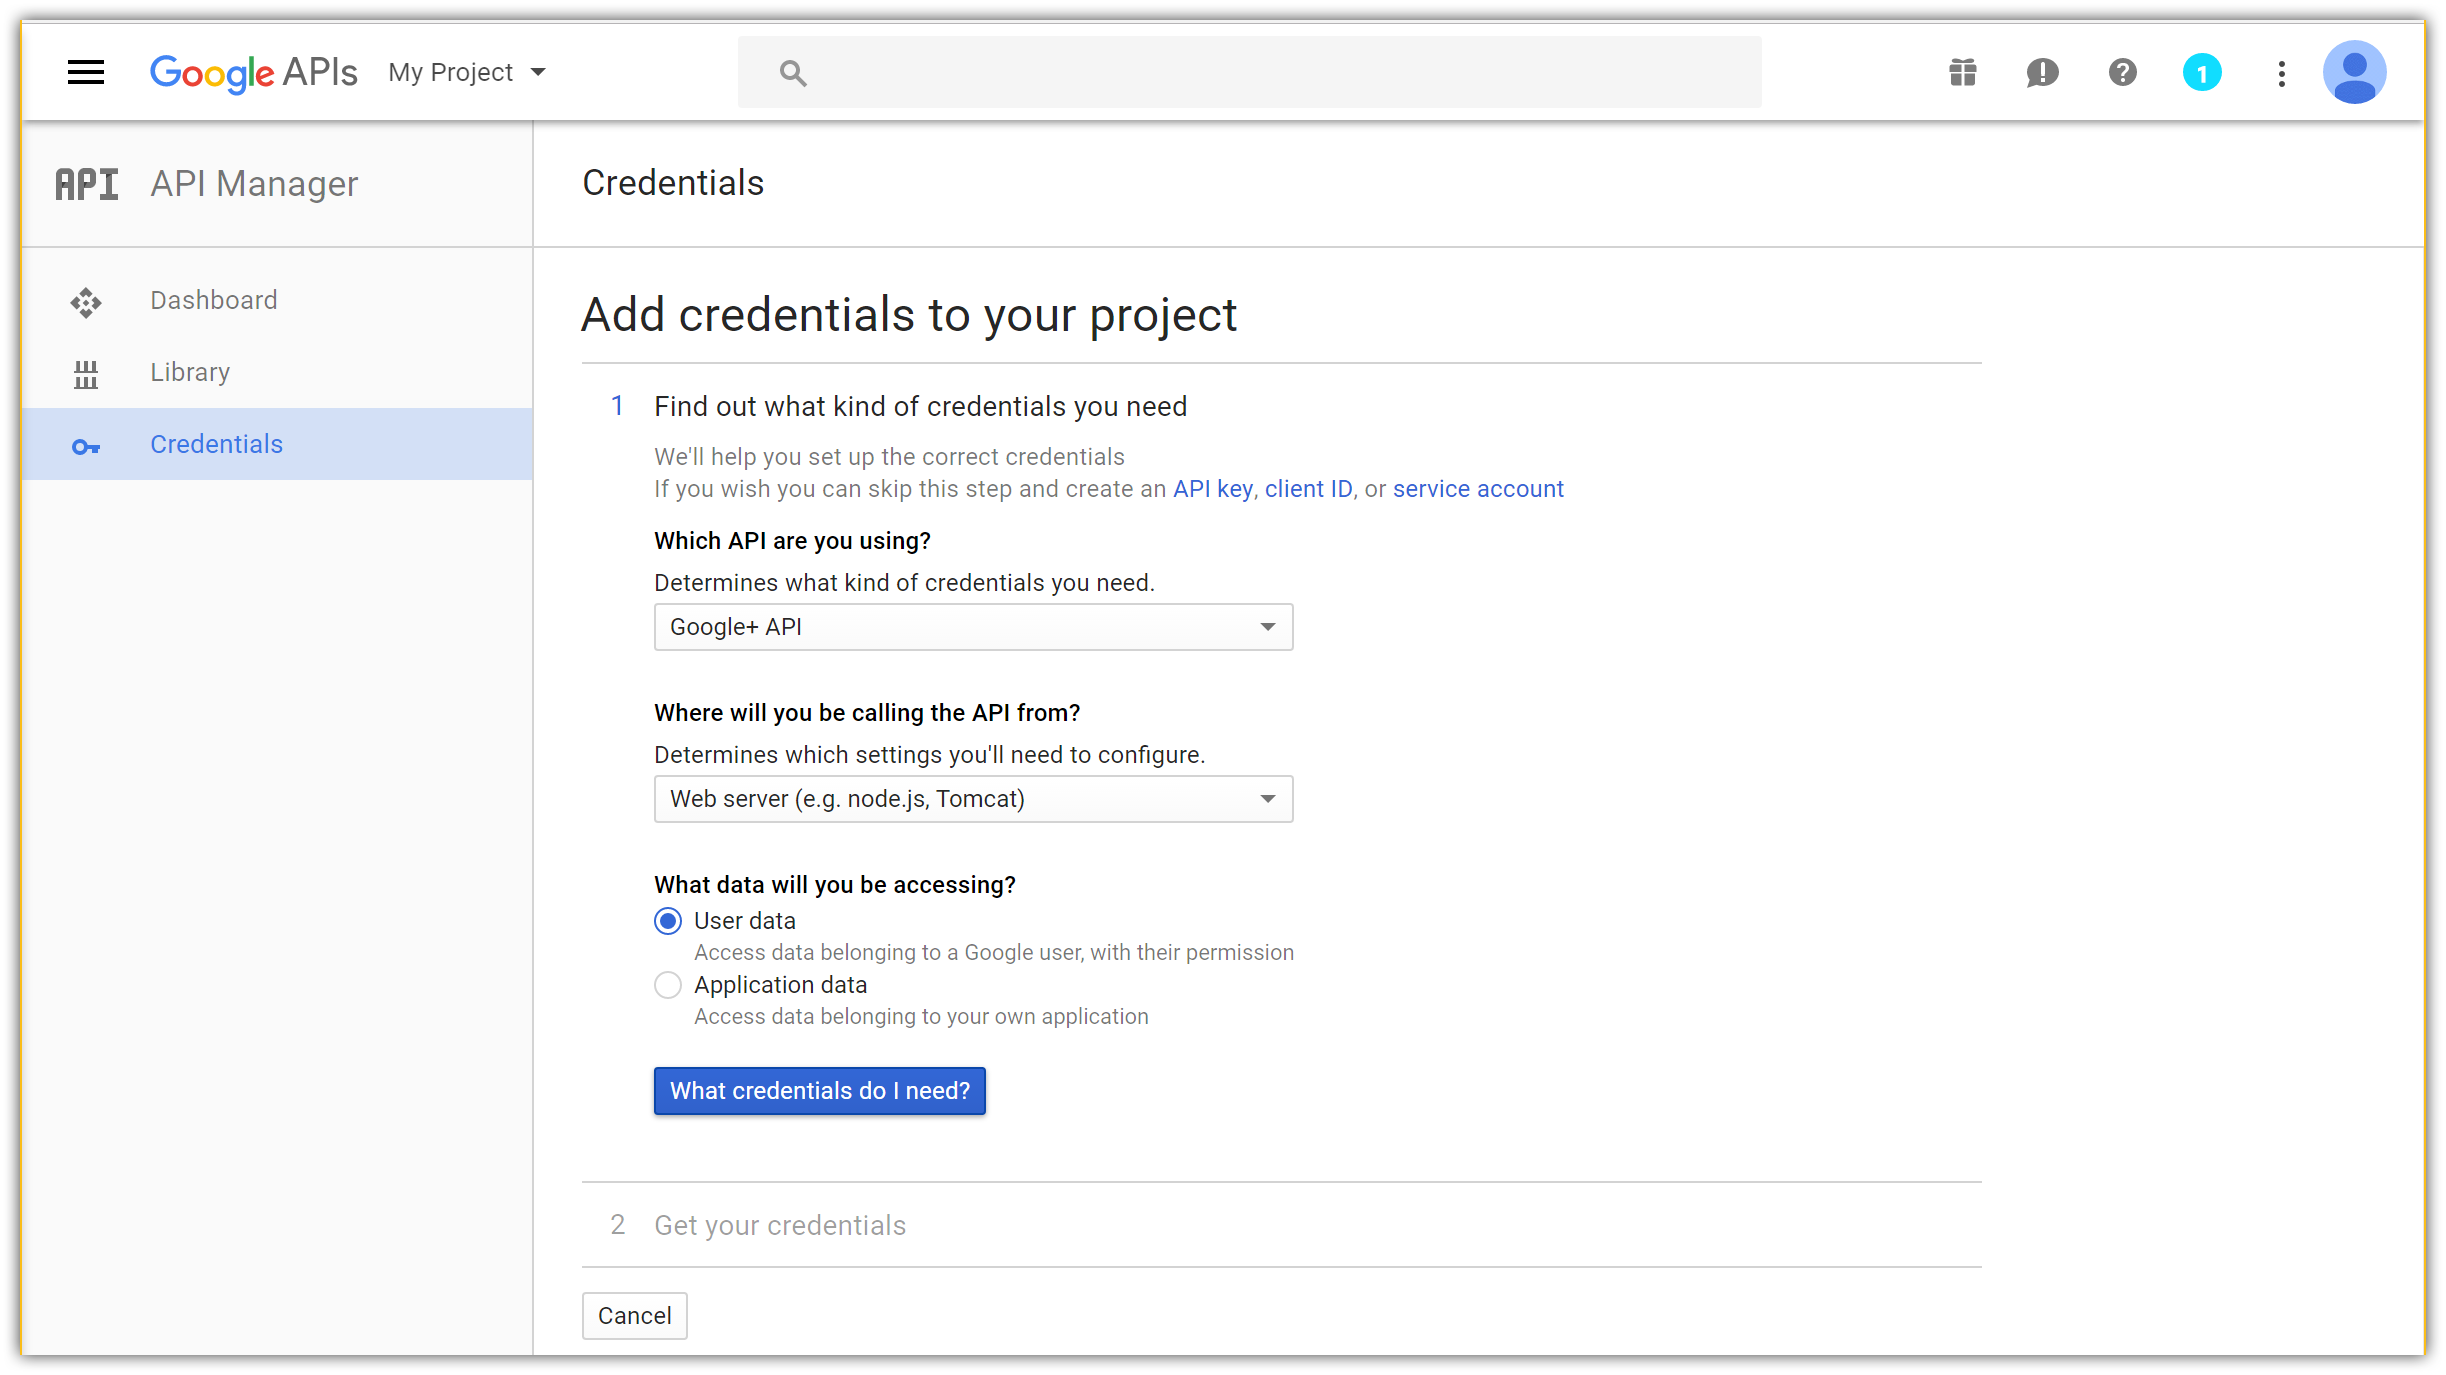
- Tap What credentials do I need? which takes you to the second step of app configuration:
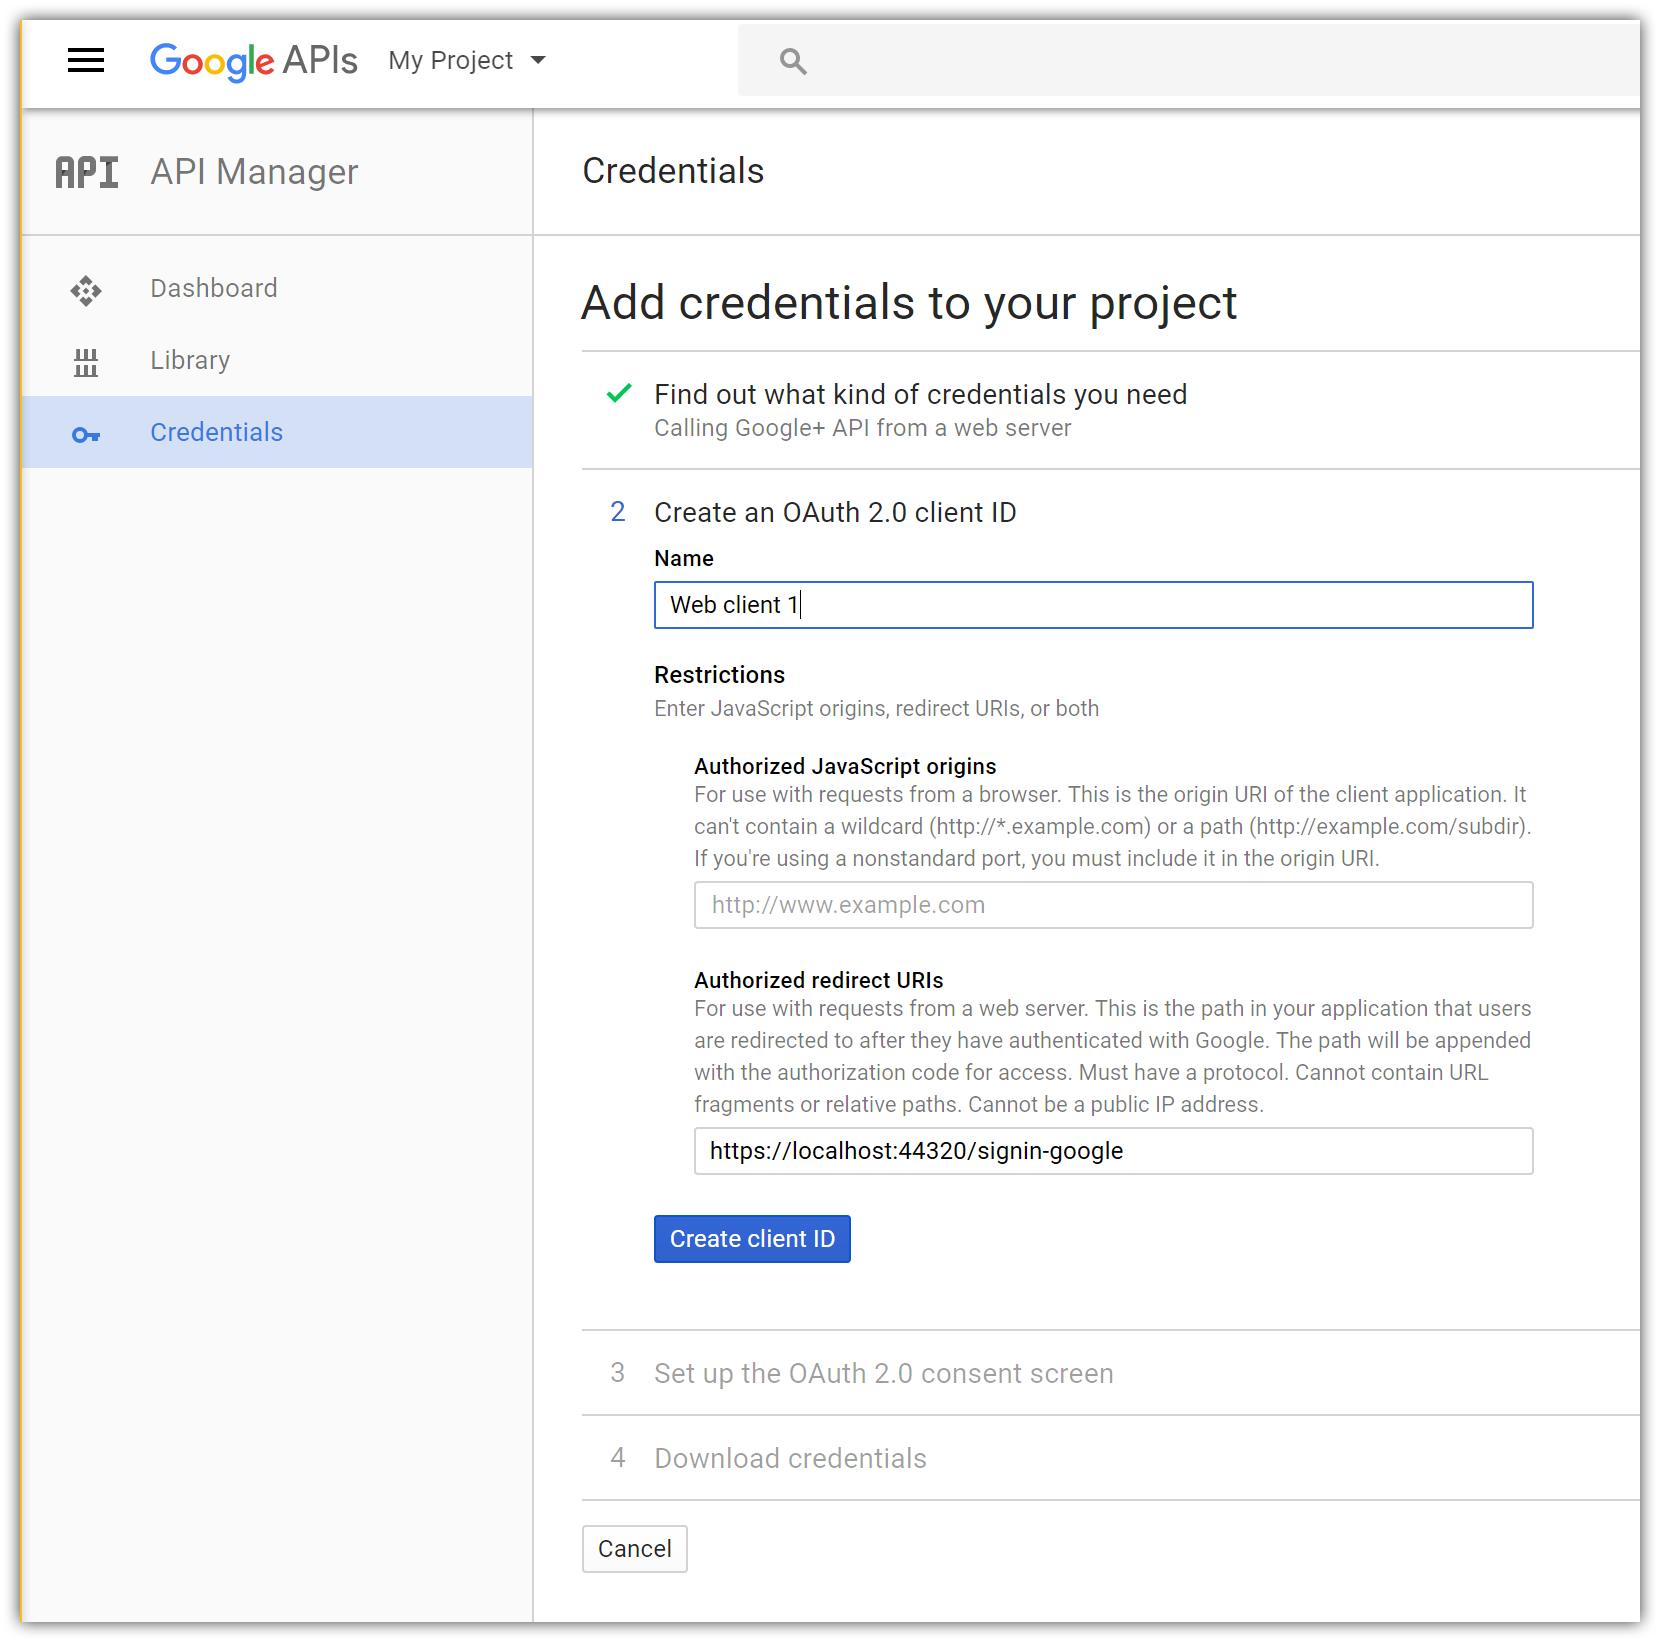
Because we are creating a Google+ project with just one feature (sign in), we can enter the same Name for the OAuth 2.0 client ID as the one we used for the project.
Enter your current site URL with signin-google appended into the Authorized redirect URIs field. For example,
https://localhost:44320/signin-google.备注
When deploying the site you'll need to register a new public url.
备注
You don't need to configure signin-google as a route in your app. The Google middleware automatically intercepts requests at this route and handles them to implement the OAuth flow.
Tap Create client ID, which takes you to the third step:
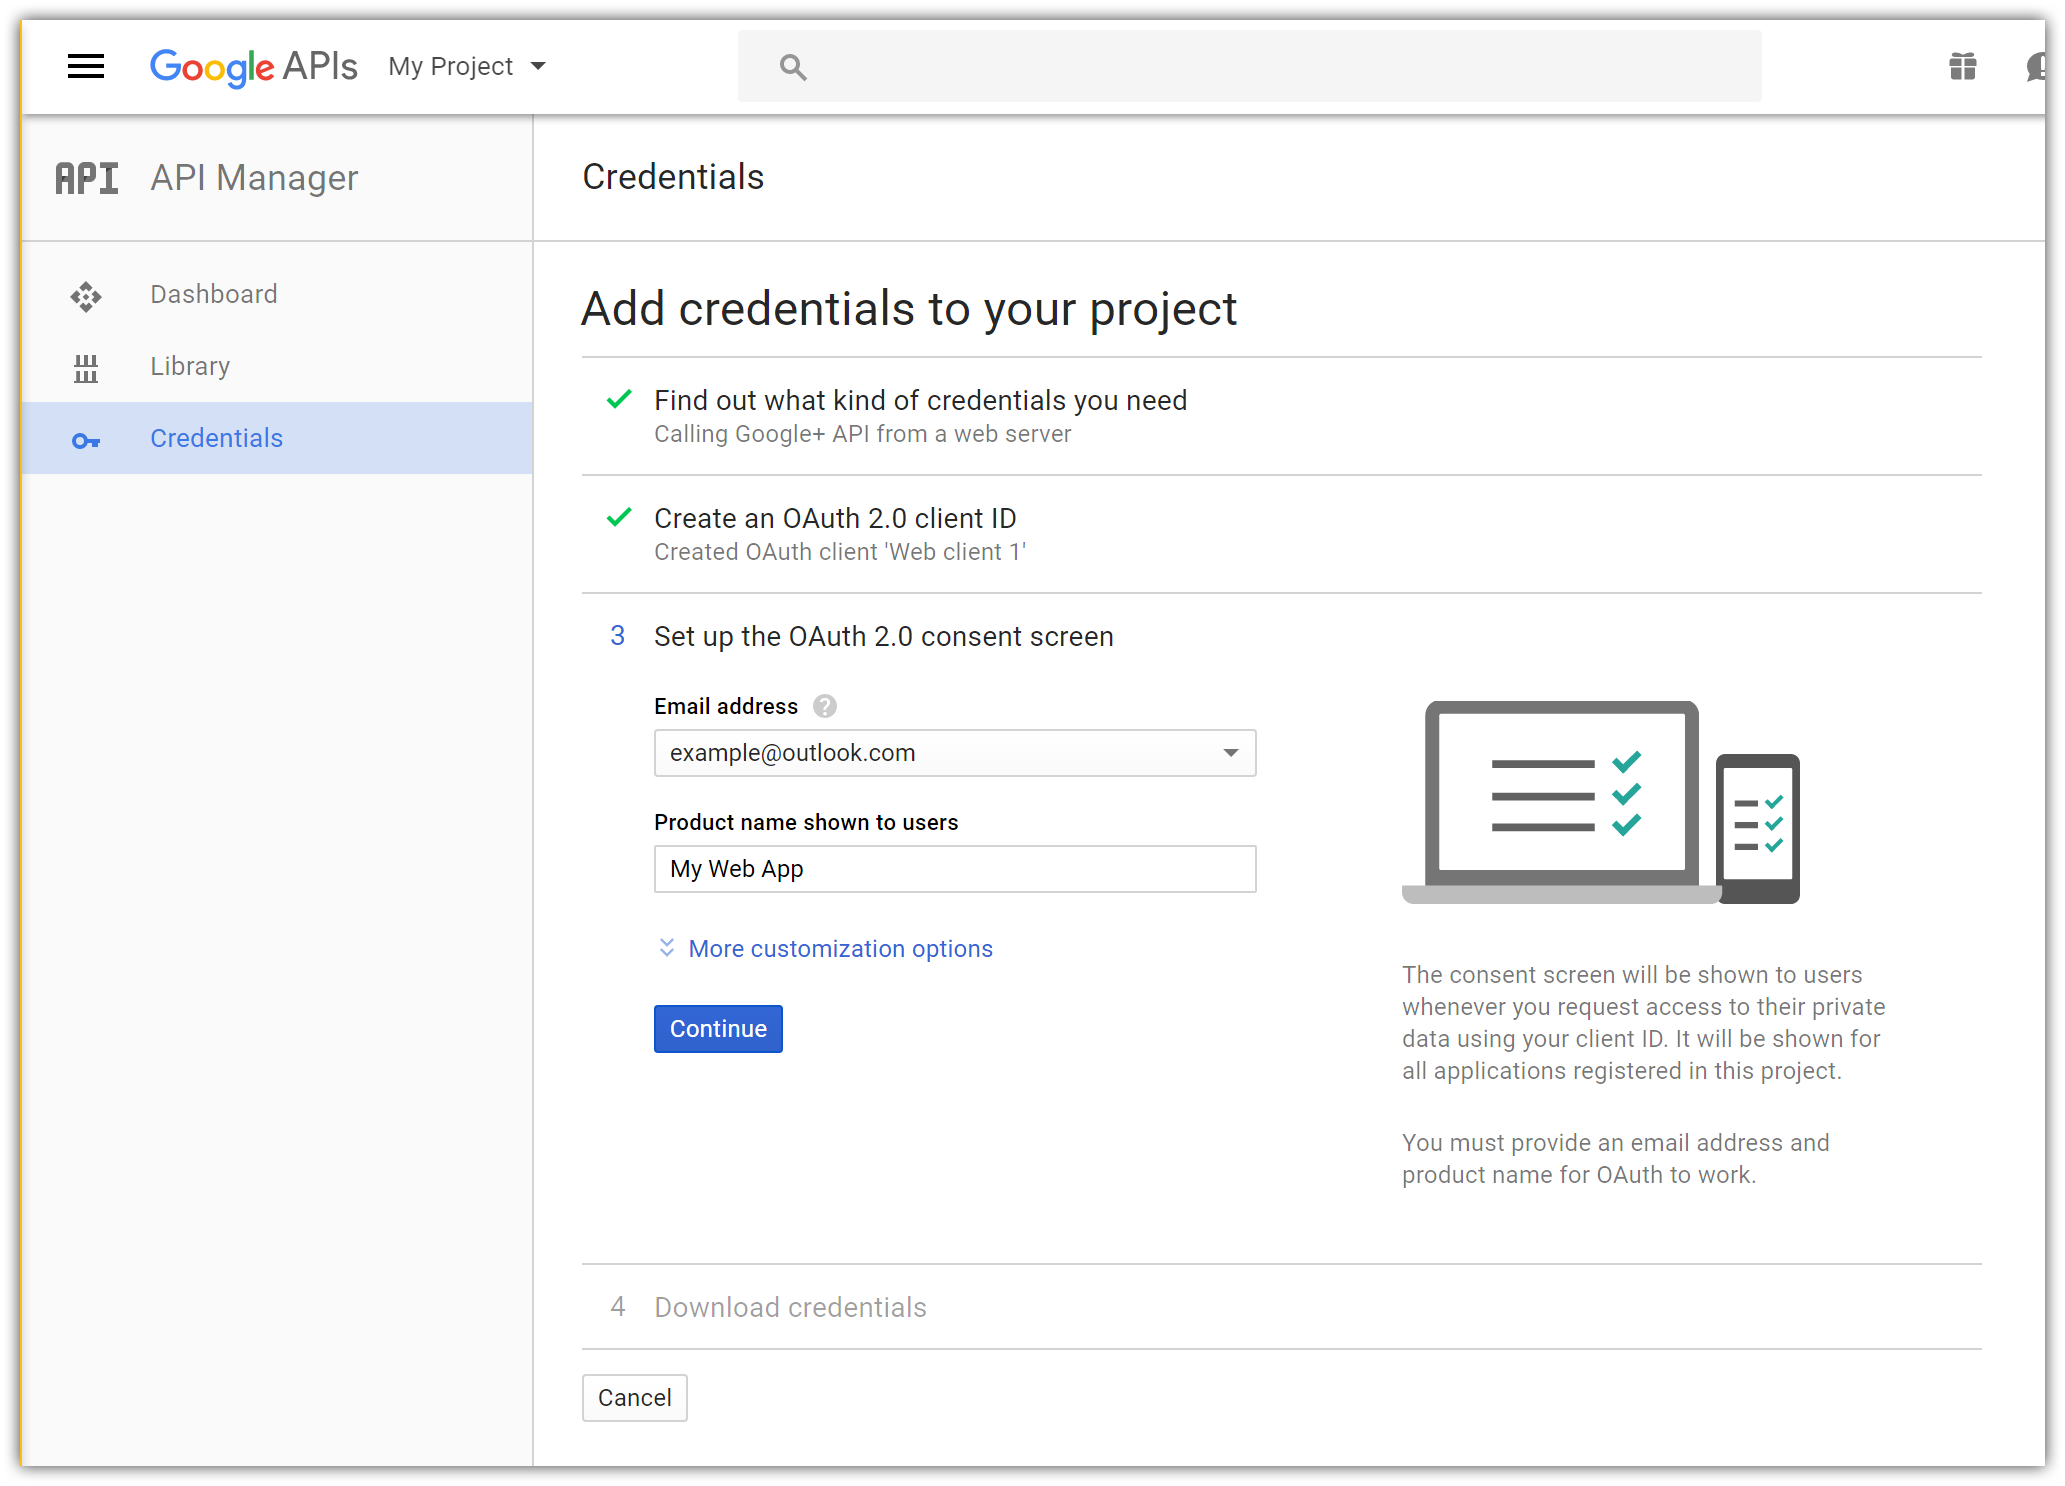
Enter your public facing Email address and the Product name shown for your app when Google+ prompts the user to sign in.
Tap Continue to proceed to the last step:
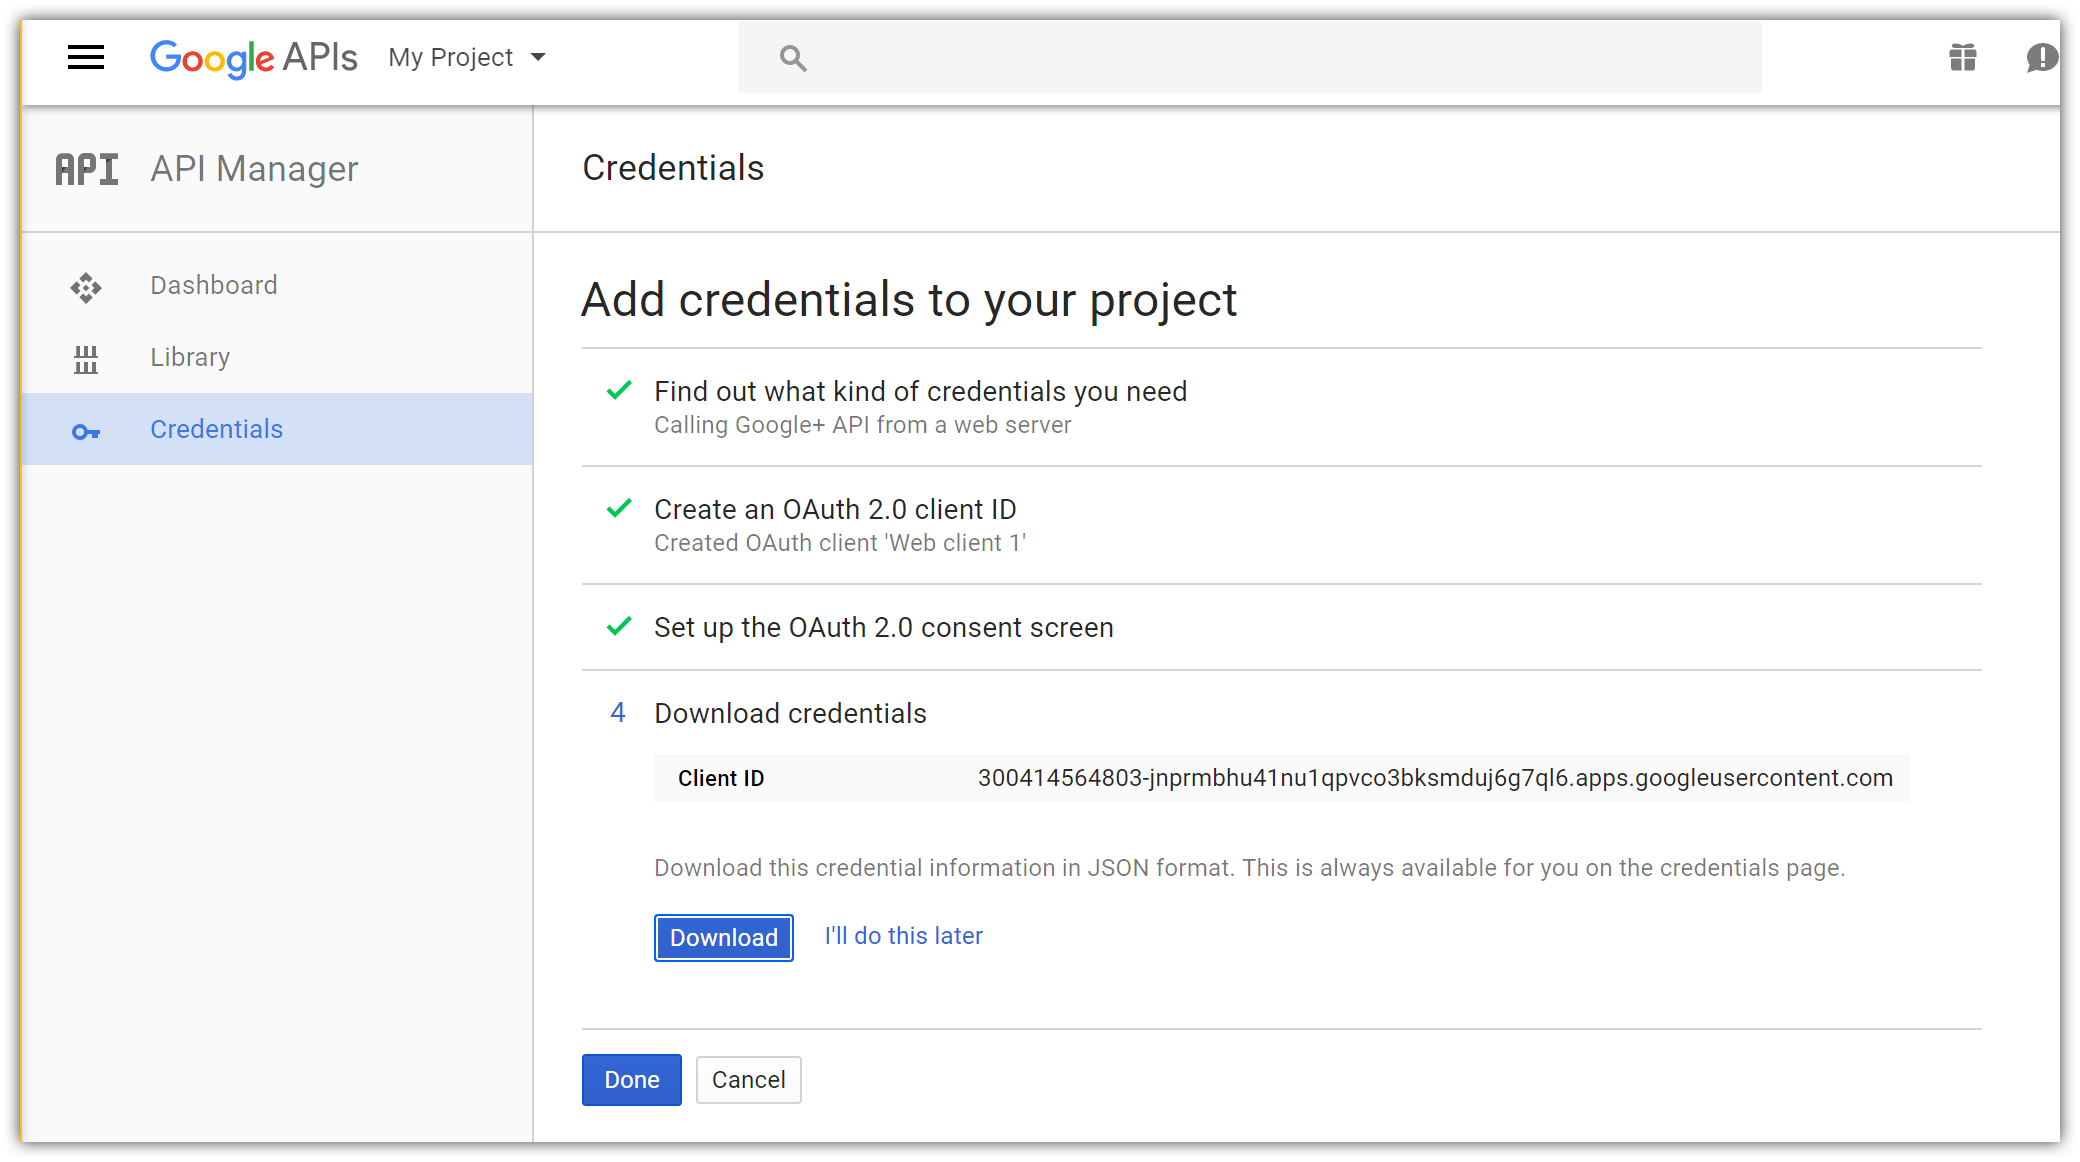
- Tap Download to save a JSON file with application secrets, and Done to complete creation of the new app.
Storing Google ClientID and ClientSecret
Link sensitive settings like Google ClientID and ClientSecret to your application configuration by using the Secret Manager tool instead of storing them in your configuration file directly, as described in the social authentication overview page.
Open the JSON file downloaded in the last step. Note the
client_idandclient_secretvalues present in the JSON structure.Execute the following commands in your project working directory to store the Google secrets:
dotnet user-secrets set Authentication:Google:ClientID <client_id>
dotnet user-secrets set Authentication:Google:ClientSecret <client-secret>
The following code reads the configuration values stored by the Secret Manager:
public Startup(IHostingEnvironment env)
{
    var builder = new ConfigurationBuilder()
        .SetBasePath(env.ContentRootPath)
        .AddJsonFile("appsettings.json", optional: true, reloadOnChange: true)
        .AddJsonFile($"appsettings.{env.EnvironmentName}.json", optional: true);

    if (env.IsDevelopment())
    {
        // For more details on using the user secret store see http://go.microsoft.com/fwlink/?LinkID=532709
        builder.AddUserSecrets<Startup>();
    }

    builder.AddEnvironmentVariables();
    Configuration = builder.Build();
}
Enable Google middleware
备注
Use NuGet to install the Microsoft.AspNetCore.Authentication.Google package if it hasn't already been installed. Alternatively, execute the following commands in your project directory:
dotnet add package Microsoft.AspNetCore.Authentication.Google
Add the Google middleware in the Configure method in Startup.cs:
app.UseGoogleAuthentication(new GoogleOptions()
{
    ClientId = Configuration["Authentication:Google:ClientId"],
    ClientSecret = Configuration["Authentication:Google:ClientSecret"]
});
备注
Call UseIdentity before you call UseGoogleAuthentication. See the social authentication overview page.
Sign in with Google
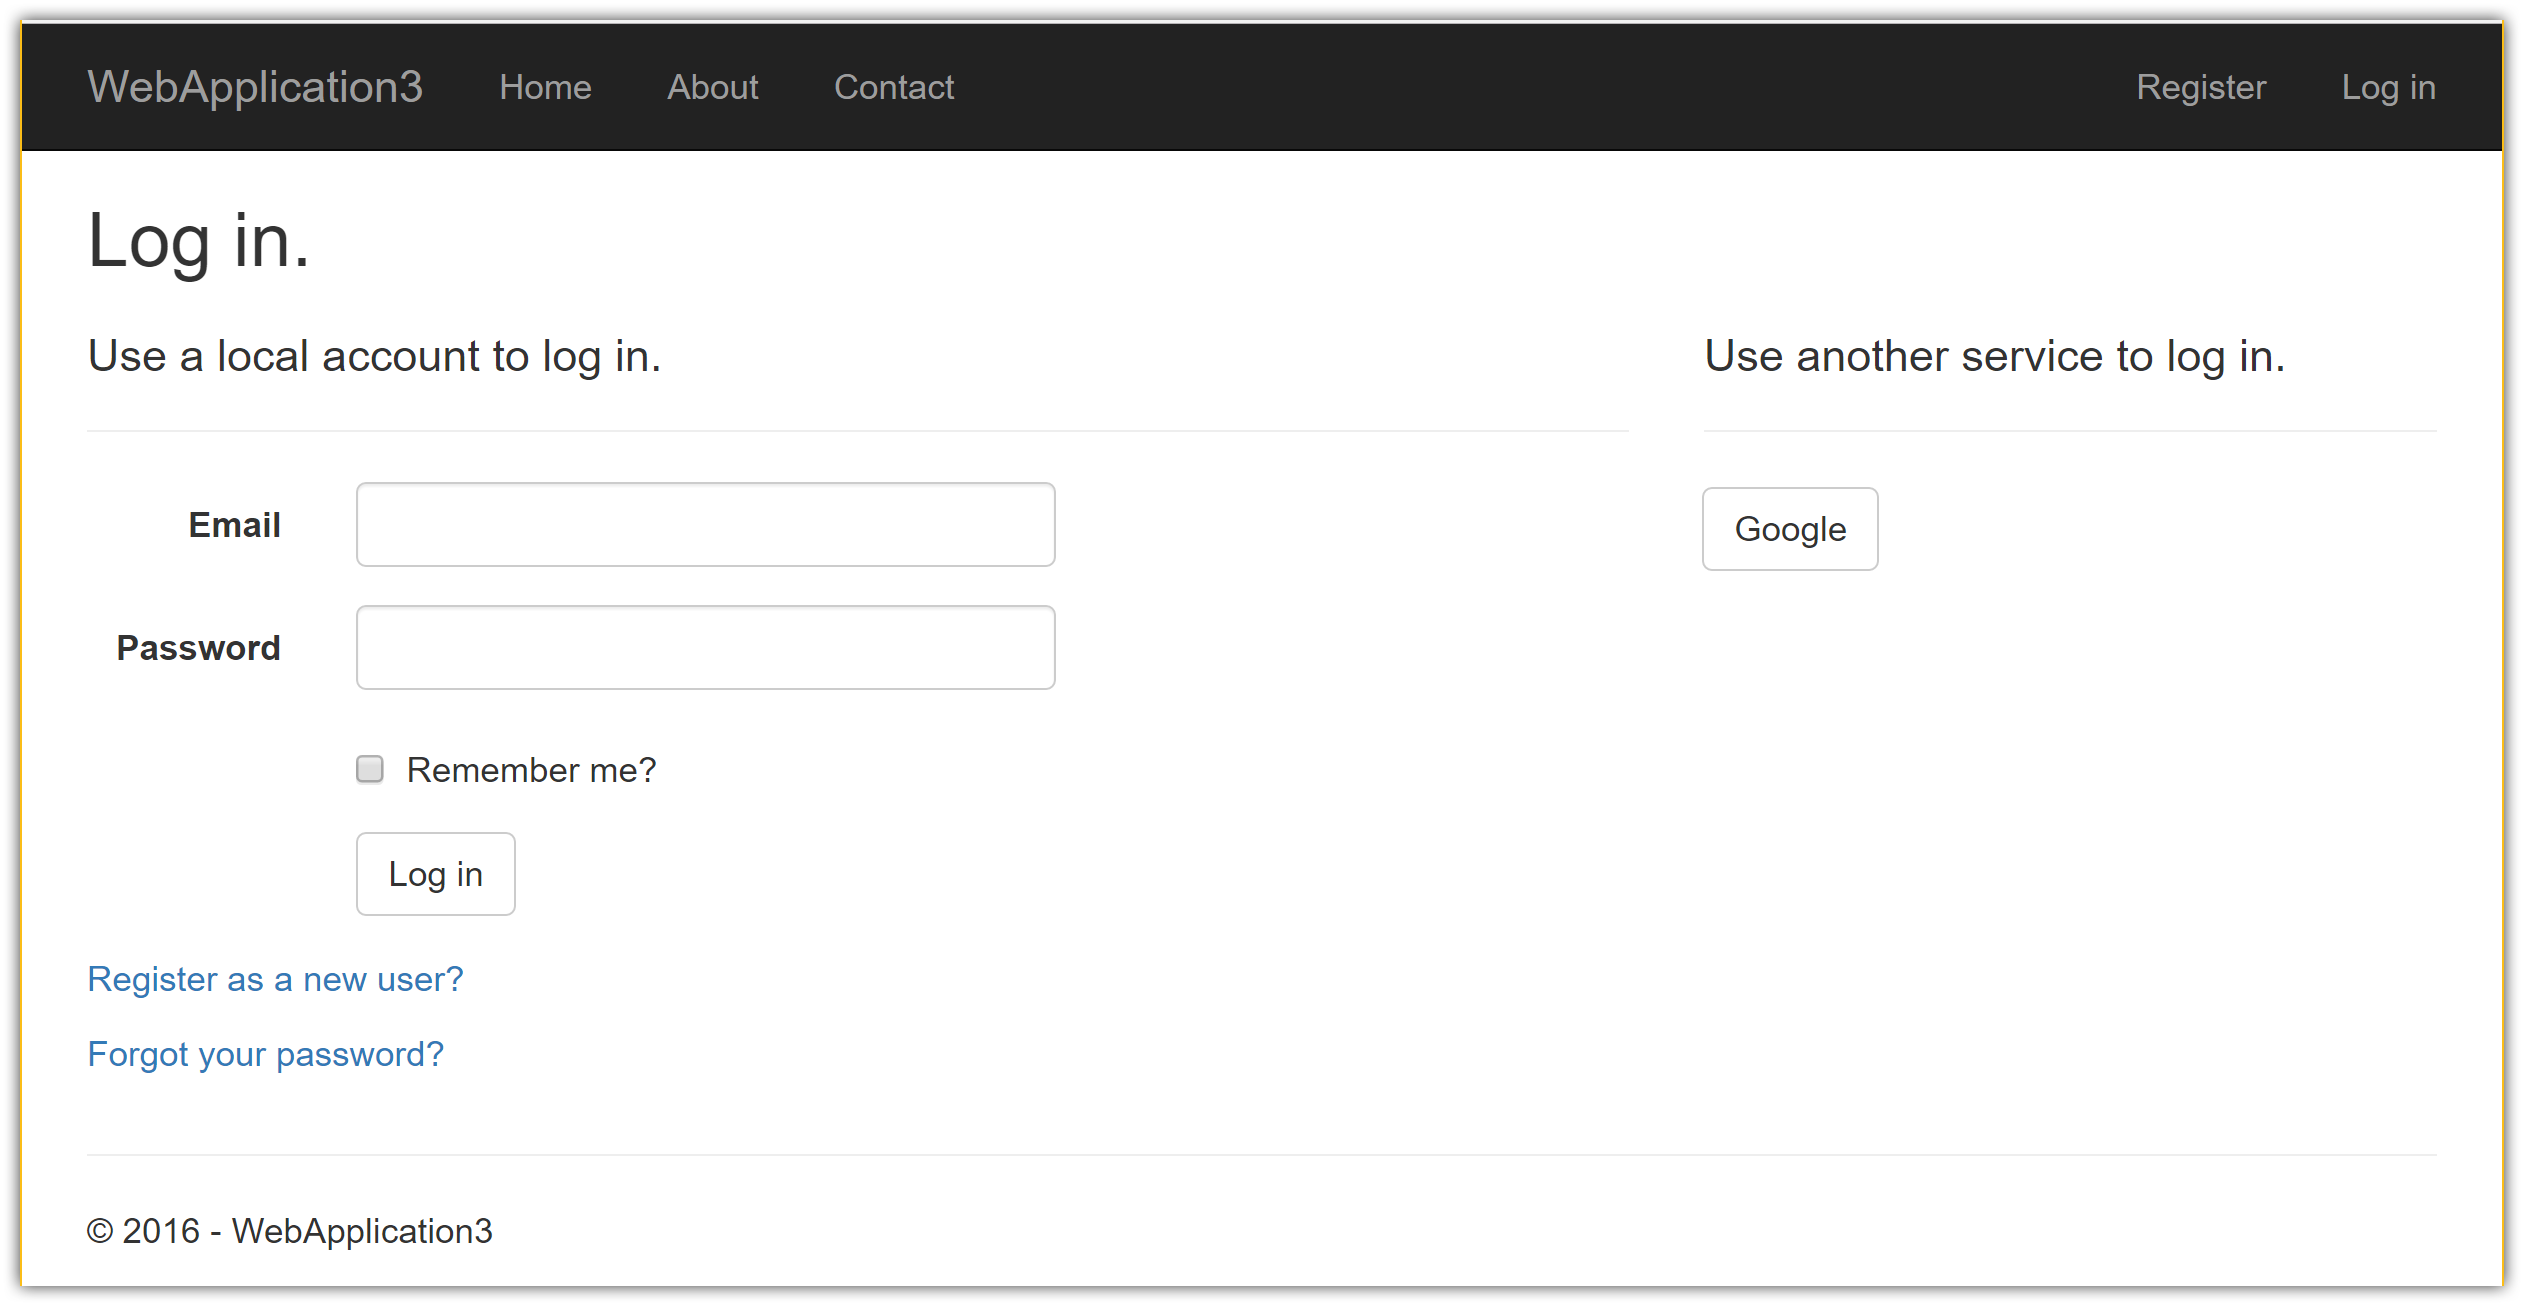
Run your application and click Log in. An option to sign in with Google appears:
When you click on Google, you are redirected to Google for authentication:
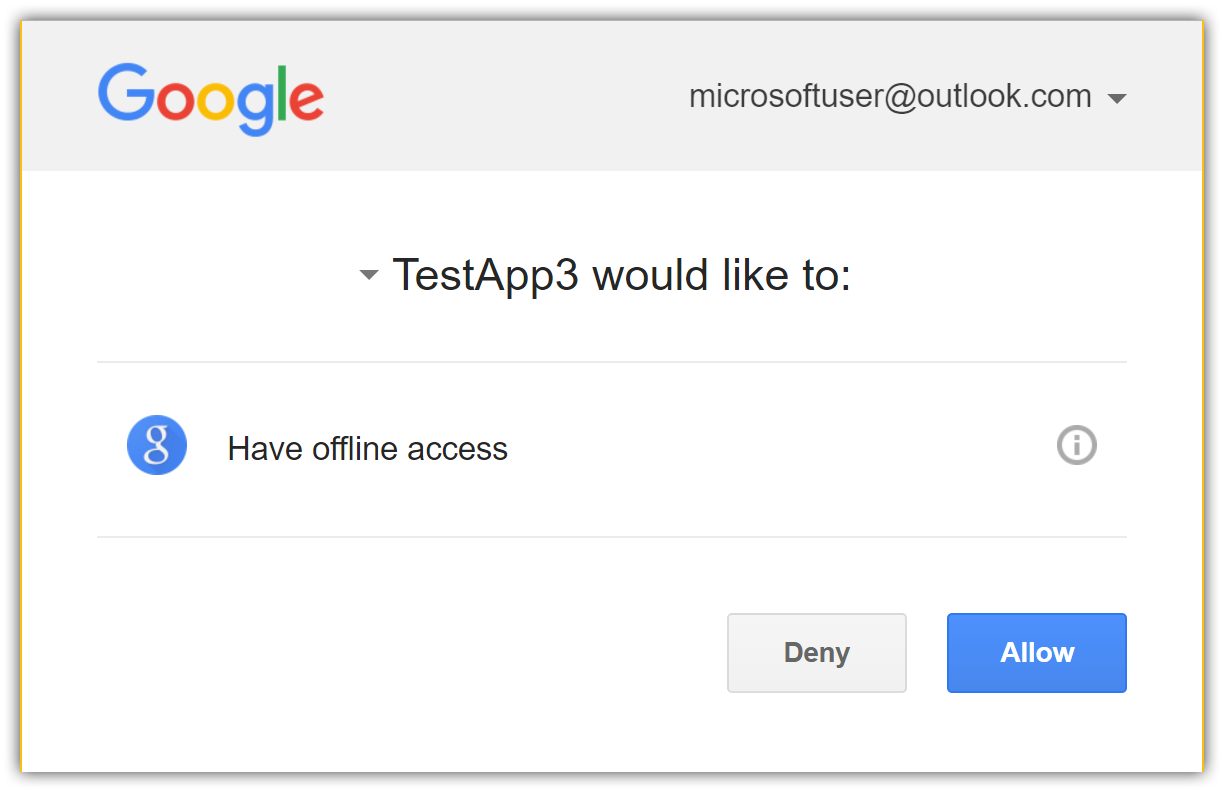
After entering your Google credentials, then you are redirected back to the web site where you can set your email.
You are now logged in using your Google credentials:

备注
If instead you receive a 403 (Forbidden) error page from your own app when running in development mode (or break into the debugger with the same error), ensure that Google+ API has been enabled in the API Manager Library by following the steps listed earlier on this page. If the sign in doesn't work and you aren't getting any errors, switch to development mode to make the issue easier to debug.
Next steps
This article showed how you can authenticate with Google. You can follow a similar approach to authenticate with other providers listed on the previous page.
Once you publish your web site to Azure web app, you should reset the
ClientSecretin the Google API Console.Set the
Authentication:Google:ClientIdandAuthentication:Google:ClientSecretas application settings in the Azure portal. The configuration system is set up to read keys from environment variables.