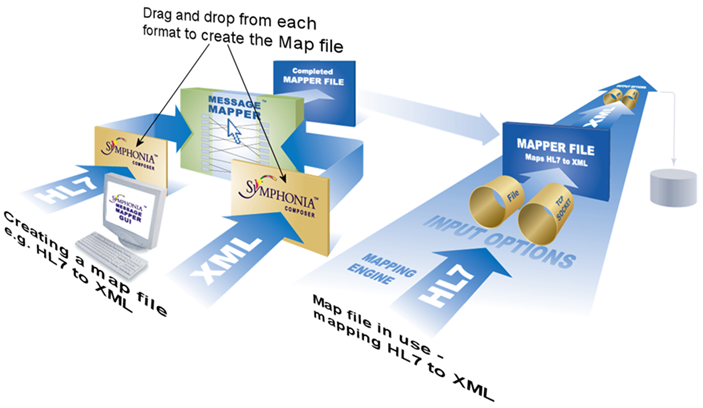
The mapper solves communications problems between information systems with different formats by mapping one format to another.
Mapping is about reformatting structured information; for example:
Two pieces of information need to be communicated: A name and a date of birth. The name consists of a first name, a space and a surname. At the end of the name, there is a comma and a space. There is also a '/' character to separate the day, month and year of the date. At the end of the communication, there will be a new line character:
Firstname Surname, Date of Birth Fyodor Dostoevsky, 06/07/1821
When working with computers, the information describing how this data is presented is important, as the program must process this information in the correct way. What happens when someone else needs the same information formatted differently? For example, someone else might accept the surname and then the first name. We would need to map the information from the original format to the recipient's format.
Mapping is about changing the way structured data is formatted.
Using the Mapper
Mapping can be carried out between two hierarchical objects; for example, between an EDI HL7 message and an XML document.
Using the Mapper tool, you can define how to map between an input and an output object. When compiled, the Mapper generates a mapping file (*.ecc) to be used by the Mapping Engine.
A basic overview of the process for creating a map is detailed below:
- Import an input and output object into the Data Engine's Mapper. This is achieved by selecting a message definition file or XML schema/DTD which is then imported by the Mapper.
- Define how fields in the input object are mapped to fields in the output object. This can be achieved by dragging and dropping fields from one side to the other, or by writing code for custom processing of items.
- Generate (compile) the mapping file.
Starting the Mapper
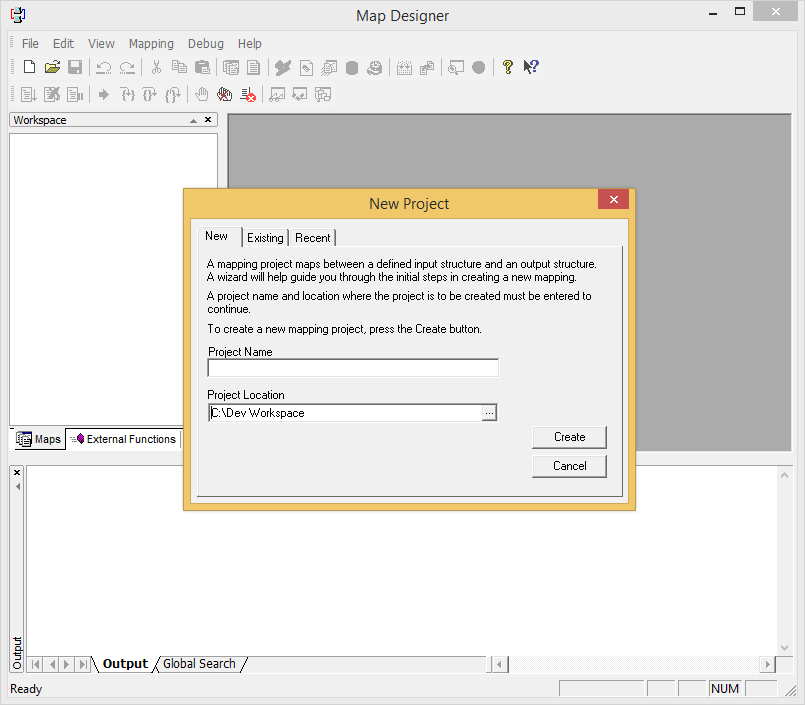
Select the Map Designer command from the Tools drop-down menu. The Map Designer is launched and the New Project dialog is displayed:
From the New Project dialog, you can:
Create a new mapping project on the New tab. A project name cannot include spaces and may be saved to any location on the local machine or network.
Open an existing project on the Existing tab. A standard Windows® dialog allows navigation to any location on the local machine or network.
Open a recent project on the Recent tab. The dialog lists the most recently opened projects.
Creating a New Mapping Definition
- On the New tab of the New Project screen, enter the following details and then select the Create button.
- Enter a name for the mapping definition.
- Enter the location where you want to save the mapping definition.
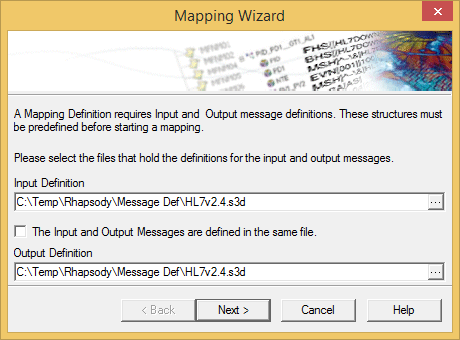
The Mapping Wizard dialog is displayed:
- A mapping definition requires Input and Output message definitions:
- The Input Definition is the file that holds the object definition that is to be the source of the mapping; that is, the object to be mapped from.
The Output Definition is the file that holds the object definition that is to be created; that is, the object to be mapped to.
A single file may be specified for both definitions; for example, to map an input message to a different output message type (ADTA02 to ADTA011). In this example, we are mapping messages from HL7 v2.4 to HL7 v2.5
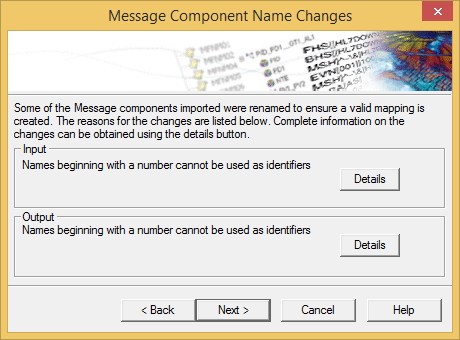
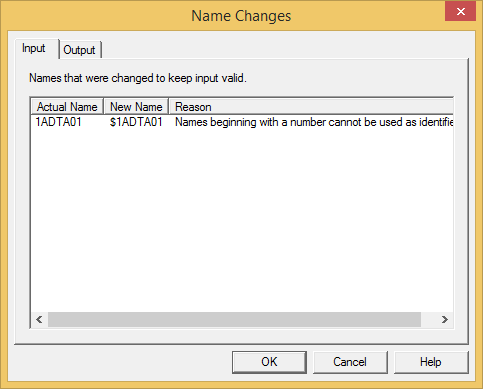
- Select the input and output definition files and click the Next button. The mapper importer then loads the selected files and checks to see if any object names need to be changed; for example, if one or more names conflict with Mapper Language keywords, or if a message name begins with a number. If a message name begins with a number, the dollar sign (
$) character is added to the beginning of the name to make it legal. If modifications are made, the Message Components Name Changes dialog is displayed identifying each change:
Select the Details button to display further information relating to the object names that were changed, and why the change was made:
Alternatively, select the Next button to continue creating the mapping definition.
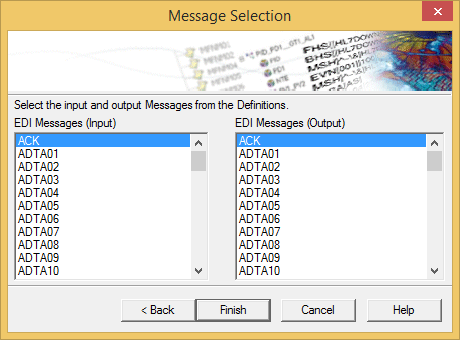
The Message Selection dialog is displayed:
The Message Selection dialog lists all root messages in the specified message definitions.
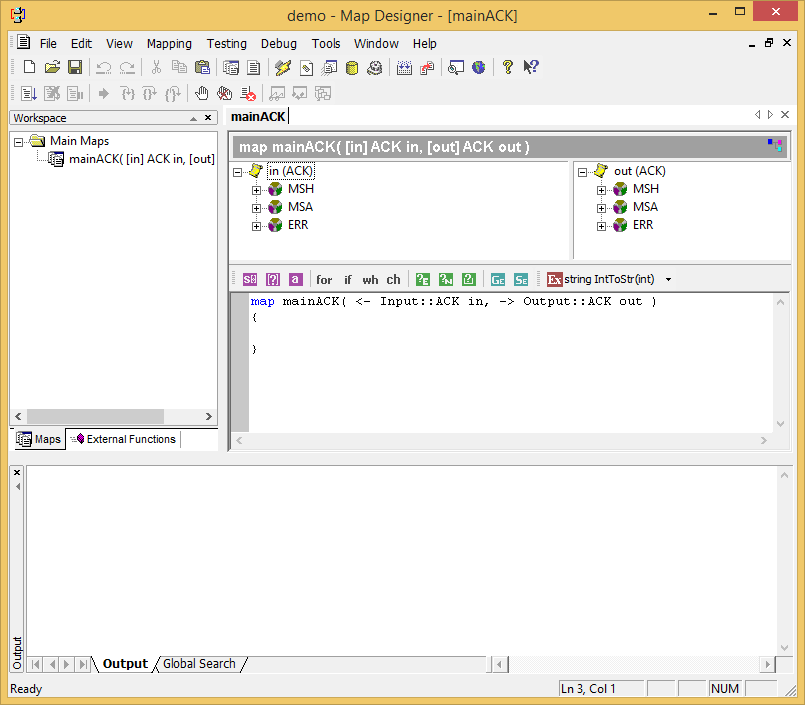
Select the input and output message structure to be mapped, and select the Finish button. The Mapper then creates an empty mapping definition between the two files:
The new mapping is automatically named
Main<MSG>, whereMSGis the type of the message/document as listed in this dialog, for exampleMainACK. This name cannot be changed. The two root messages selected are used as parameters to the new main map. The parameters are namedinandoutby default and can be changed by right clicking the map in the workspace and, from its shortcut menu, selecting Properties.
