With App Inventor, you build the user interface for your app in the Designer and the app behavior in the Blocks Editor, then test your app right on your phone. When you complete the app, you can email your app to your friends, put a link to it on the web, and even put it in the Play Store.
App Inventor is a cloud tool, so no download is required. To get started, go to ai2-test.appinventor.mit.edu and login with your Google account. This tour describes what you will see and do:
1. Design the User Interface
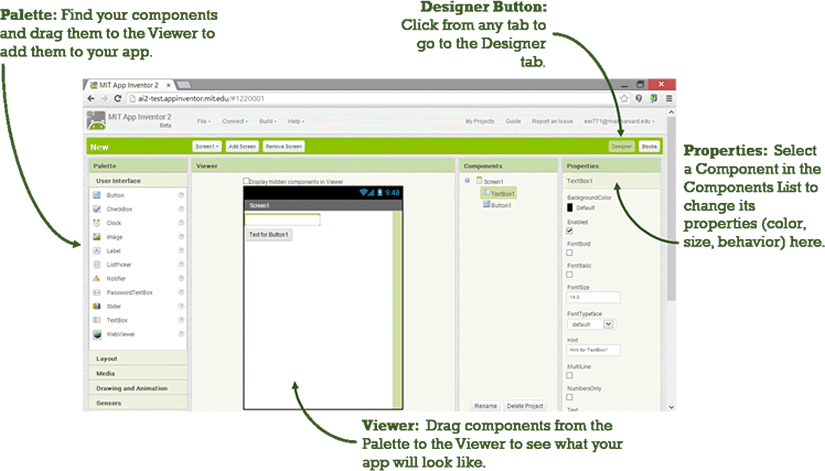
With the Designer, you setup the look and feel of your app by arranging both on and off-screen components.
2. Program the Behavior
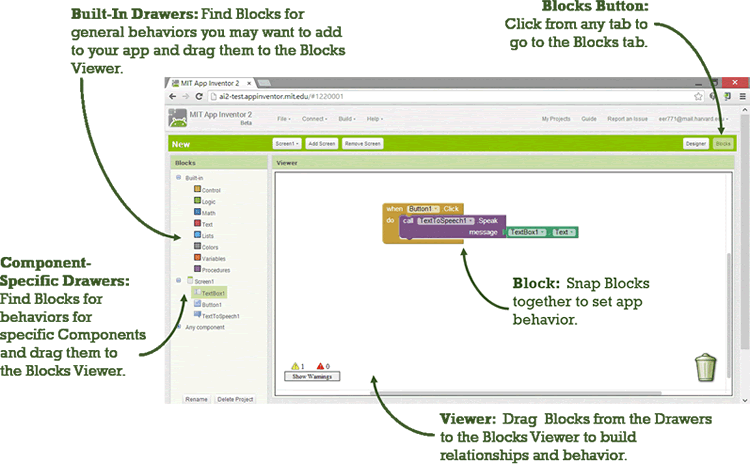
With the Blocks Editor, you program the behavior of your app.
3. Test
App Inventor allows you to test your app as you build it. To do this, connect your project to either your Android device or the Android emulator.
4. Share
You can share your app in an executable form (.apk) that can be installed on a device, or in source code form (.aia) that can be loaded into App Inventor and remixed.
Sharing your app for use
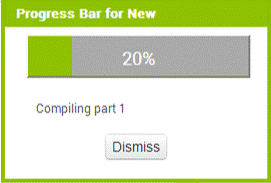
Package the app by going to the "Build" menu on the App Inventor toolbar.

Select "Application (Save to my Computer)." A pop-up box should alert you that your download has begun.

Once it completes, you can email the app to your friends who can install it by opening the email from their phone. If you want to distribute it more widely, you can upload it to a website that both you and your friend can access. Note that people installing your app may need to change the settings of their phone to allow installation of non-market applications.
Sharing your app for remix
Choose File | Export Project to export the source code (blocks) for your project. The source code is downloaded in a .aia file. If you send it to a friend, they can open it with File | Import Project.
