FlowVision
Waterfall-style Image Viewer for macOS
[中文说明]
[](https://github.com/netdcy/FlowVision/releases/latest "GitHub release") [](https://github.com/netdcy/FlowVision/releases/latest "GitHub downloads") 
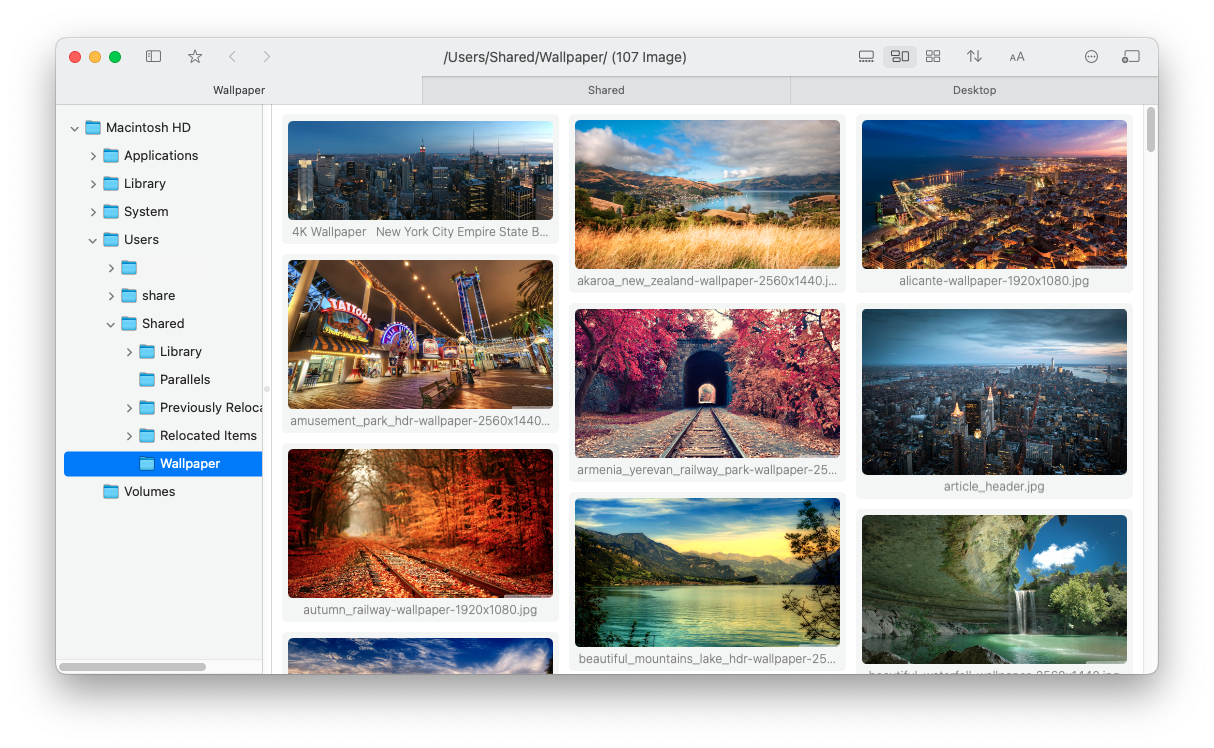
## Screenshots
### Light Mode
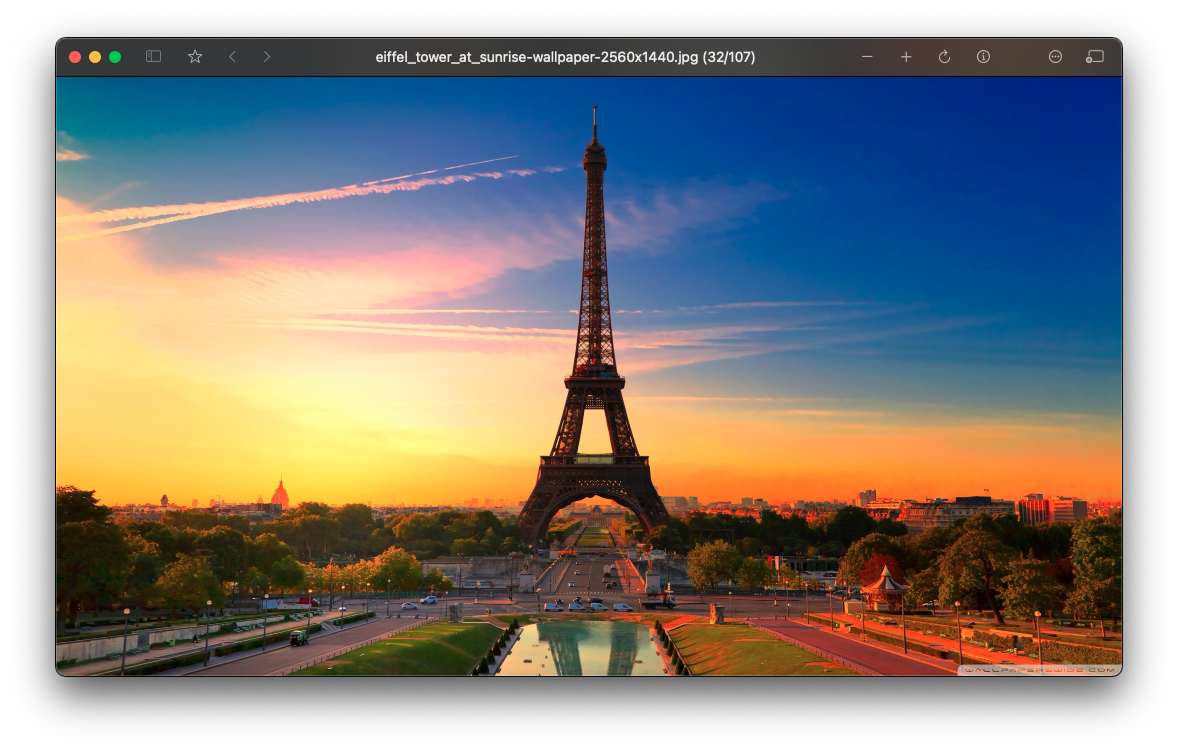
### Dark Mode
## Features:
- Adaptive layout mode, light/dark mode
- Convenient file management (similar to Finder)
- Right-click gestures, quickly find the previous/next folder with images/videos
- Performance optimizations for directories with a large number of images
- High-quality scaling (reduces moiré and other issues)
- Support for video playback
- Support for HDR display
- Recursive mode
## Installation and Usage
### System Requirements
- macOS 11.0 or Later
### Privacy and Security
- Open source
- No Internet connection
### Homebrew Install
Initial Installation
```
brew install flowvision
```
Upgrade
```
brew update
brew upgrade flowvision
```
## Instructions:
### In Image View:
- Double-click to open/close the image
- Hold down the right/left mouse button and scroll the wheel to zoom
- Hold down the middle mouse button and drag to move the window
- Long press the left mouse button to switch to 100% zoom
- Long press the right mouse button to fit the image to the view
### Right-Click Gestures:
- Right/Left: Switch to the next/previous folder with images/videos (logically equivalent to the next folder when sorting all folders on the disk)
- Up: Switch to the parent directory
- Down: Return to the previous directory
- Up-Right: Switch to the next folder with images at the same level as the current folder
- Down-Right: Close the tab/window
### Keyboard Shortcuts:
- W: Same as the right-click gesture Up
- A/D: Same as the right-click gesture Left/Right
- S: Same as the right-click gesture Down
## Build
### Environment
Xcode 15.2+
### Libraries
- https://github.com/arthenica/ffmpeg-kit
- https://github.com/attaswift/BTree
- https://github.com/sindresorhus/Settings
### Steps
1. Clone the source code of the project and libraries.
2. For ffmpeg-kit, it need to be built to binary first. If you want to save time, you can directly download its pre-built binary, named like `ffmpeg-kit-full-gpl-6.0-macos-xcframework.zip` (not LTS version). Unzip it, then execute this in terminal to remove its quarantine attribute:
```
sudo xattr -rd com.apple.quarantine ./ffmpeg-kit-full-gpl-6.0-macos-xcframework
```
(Due to the project being discontinued and copyright reasons, the prebuilt binaries have been removed. Here is a [backup](https://github.com/netdcy/ffmpeg-kit/releases/download/v6.0/ffmpeg-kit-full-gpl-6.0-macos-xcframework.zip) of original file.)
3. Organize the directory structure as shown below:
```
├── FlowVision
│ ├── FlowVision.xcodeproj
│ └── FlowVision
│ └── Sources
├── ffmpeg-kit-build
│ └── bundle-apple-xcframework-macos
│ ├── ffmpegkit.xcframework
│ └── ...
├── BTree
│ ├── Package.swift
│ └── Sources
└── Settings
├── Package.swift
└── Sources
```
4. Open `FlowVision.xcodeproj` by Xcode, click 'Product' -> 'Build For' -> 'Profiling' in menu bar.
5. Then 'Product' -> 'Show Build Folder in Finder', and you will find the app is at `Products/Release/FlowVision.app`.
## Donate
If you found the project is helpful, feel free to buy me a coffee.
[](https://buymeacoffee.com/netdcyn)
 ## License
This project is licensed under the GPL License. See the [LICENSE](https://github.com/netdcy/FlowVision/blob/main/LICENSE) file for the full license text.
## License
This project is licensed under the GPL License. See the [LICENSE](https://github.com/netdcy/FlowVision/blob/main/LICENSE) file for the full license text.