Refer to Rhapsody Datastore Setup for important information on configuring your data store.
To install the Rhapsody Engine on a Windows® environment:
Double-click the installation file (
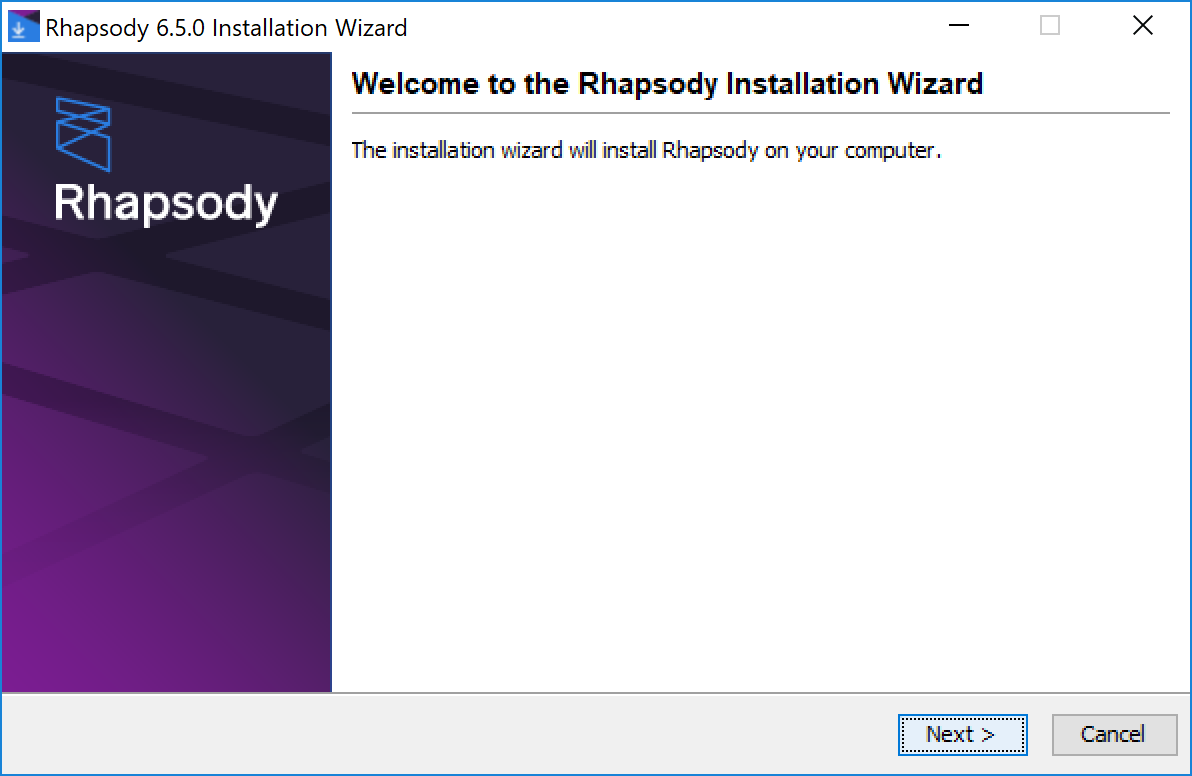
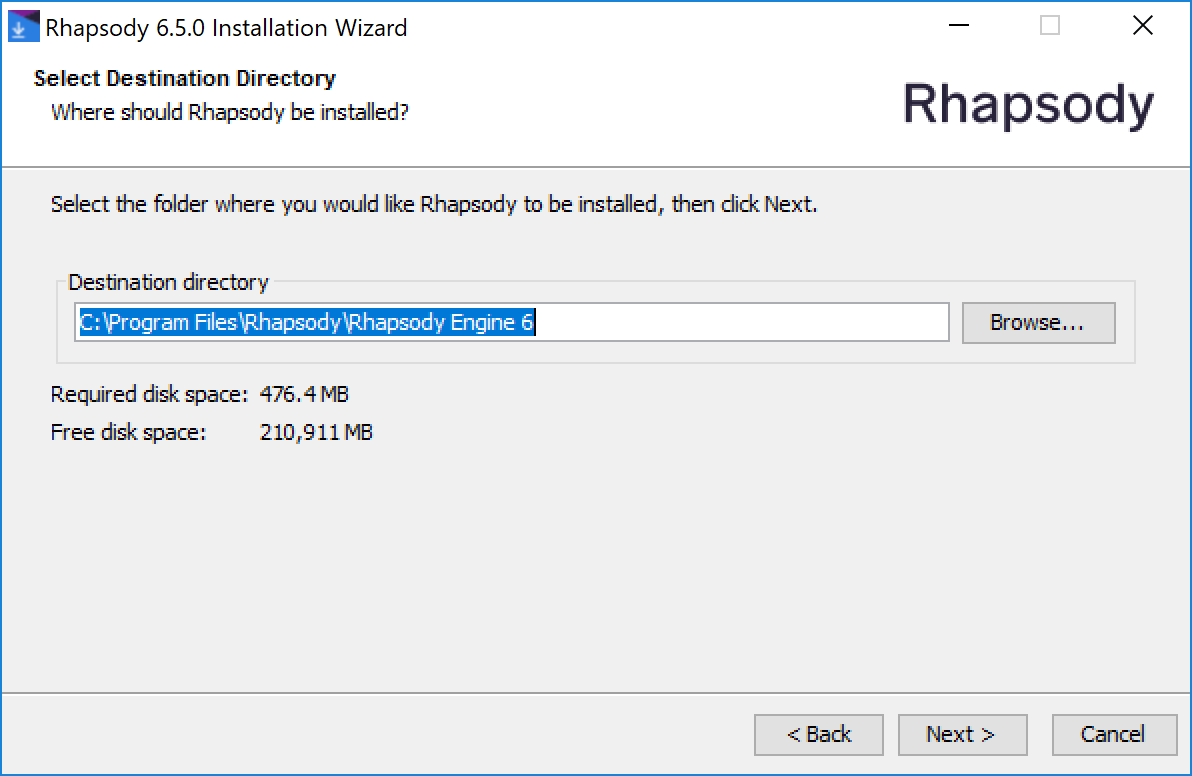
rhapsody-<version>-windows-x64.exeorrhapsody-) to display the Welcome dialog:<version>-windows-x86.exeOn the Welcome dialog, select the Next button to display the Select Destination Directory dialog:
If required, select the Browse button to change the Destination directory to which you want to install the engine, then select the Next button.
Refer to Rhapsody Directory Structure for details on the Destination directory structure where Rhapsody is installed.
If you are:
Performing a new installation, skip to step 5.
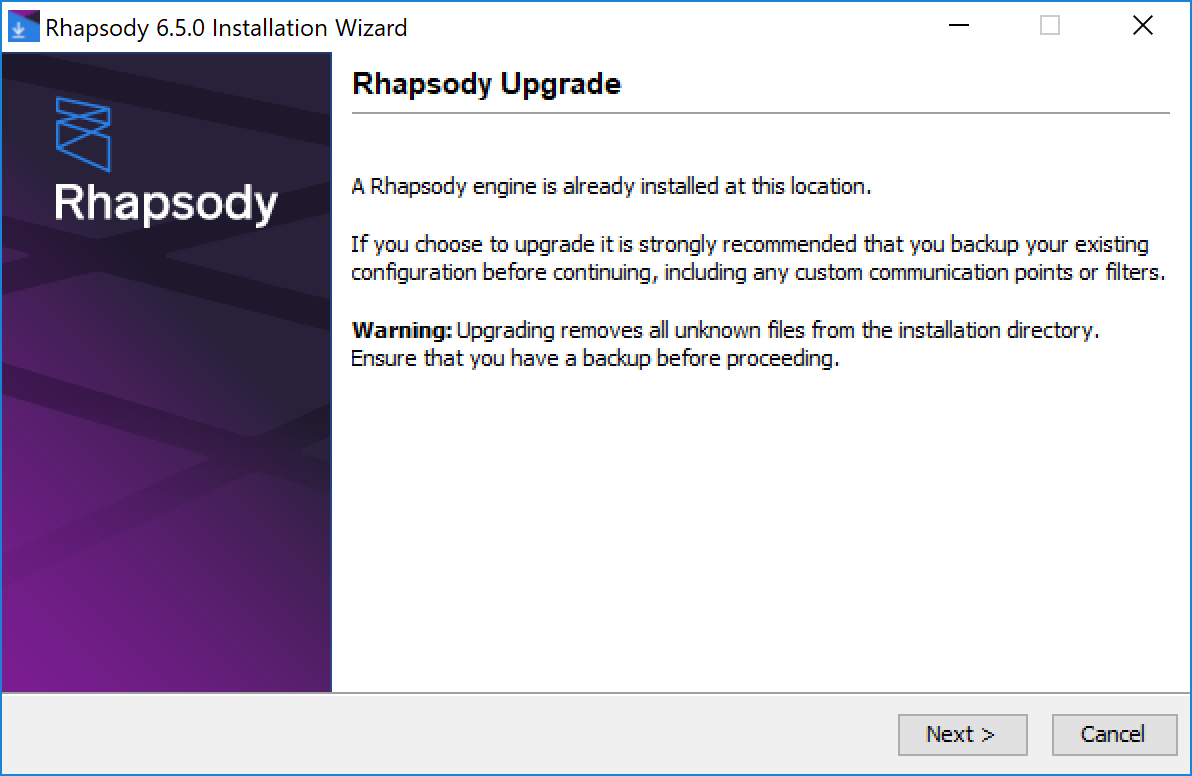
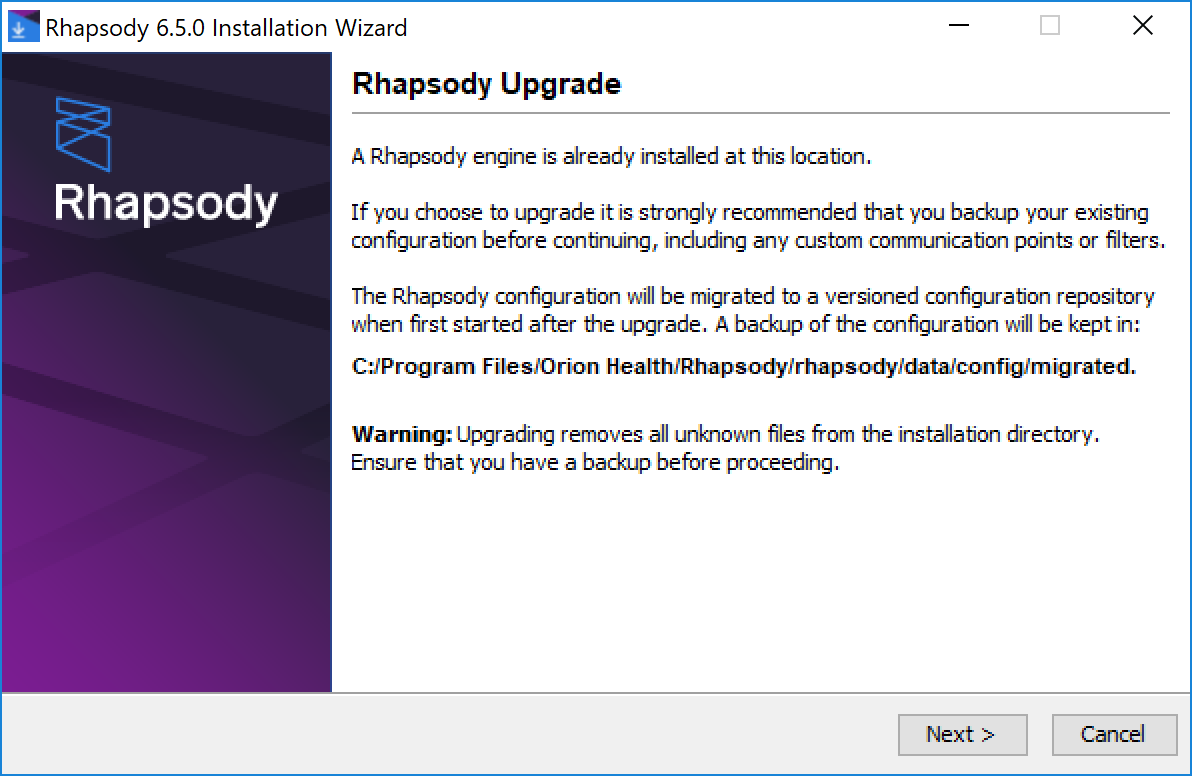
Upgrading Rhapsody, select the Next button to display the Rhapsody Upgrade dialog:
If you are upgrading from Rhapsody 5 or earlier a data store migration is performed. Refer to Configuration Migration for details.
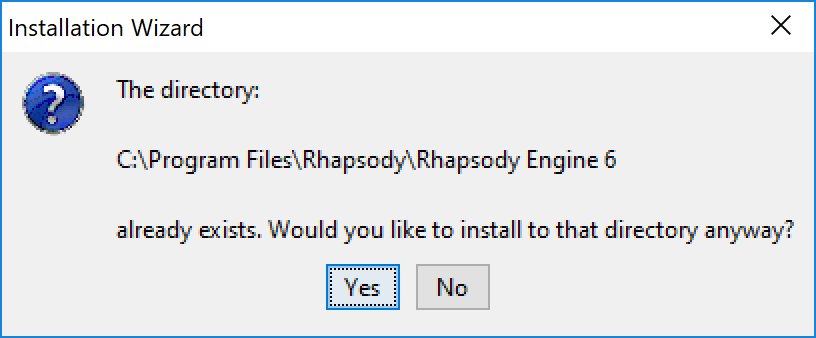
If the directory you specify already exists, the following dialog is displayed:
Select the Yes button to install to the same directory.
Alternatively, select the No button to select a different directory.
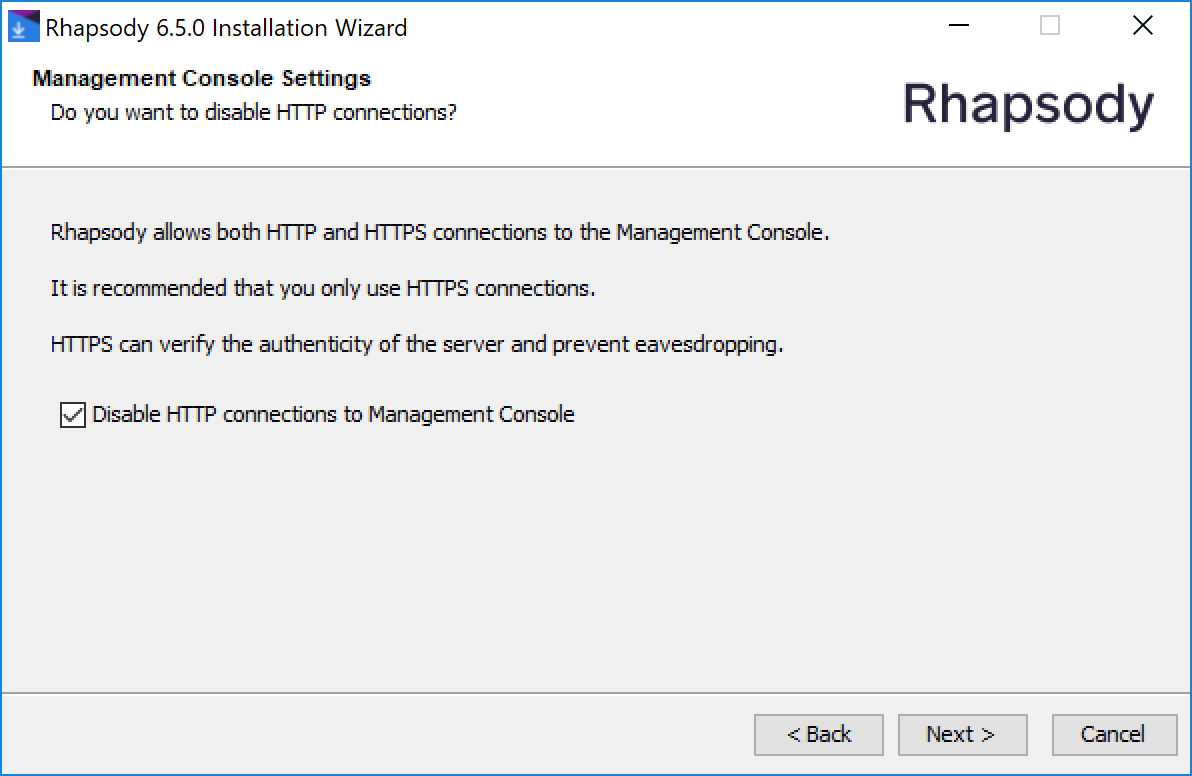
Select the Next button to display the Management Console Settings dialog:
If you want to disable HTTP connections to the Management Console, ensure the Disable HTTP Connections to the Management Console is checked.
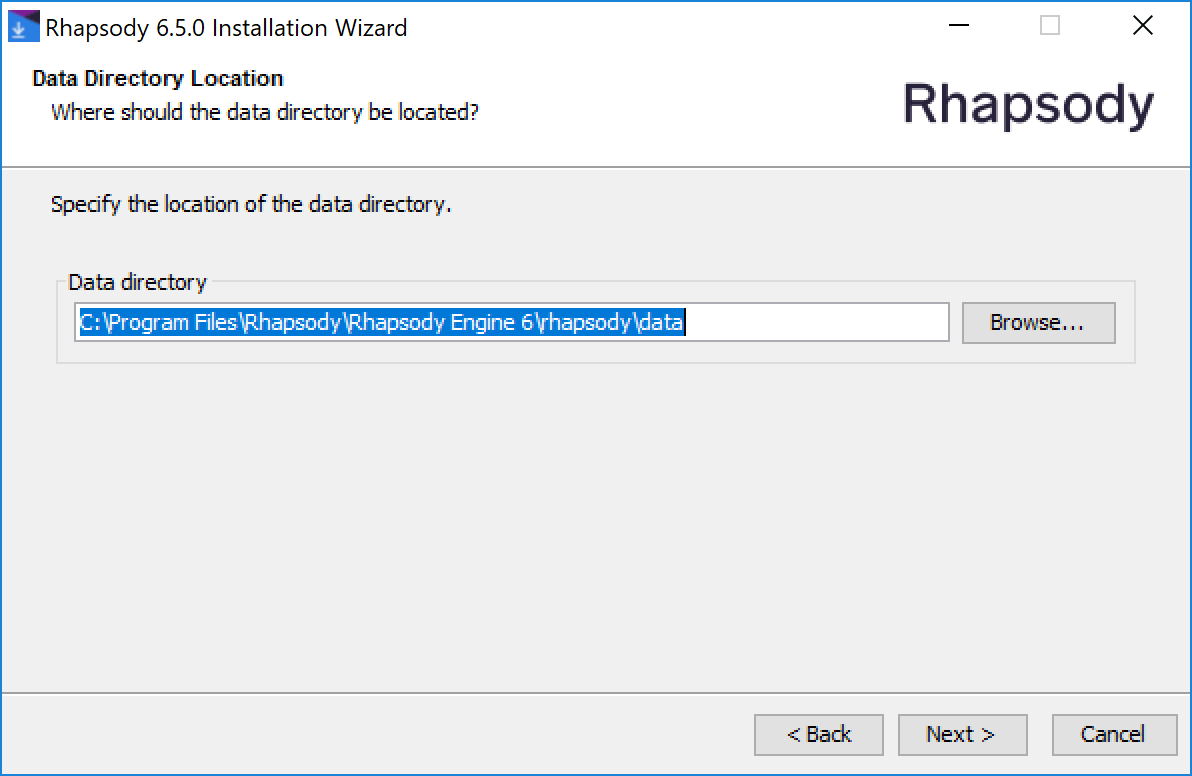
Select the Next button to display the Data Directory Location dialog:
It is recommended that you install the data files on a high-performance disk with a raid array. The disk must be fast and reliable because the messages are stored in the data files.
Non-ASCII characters cannot be used in the names of the installation directory and the data folder.
From the Data Directory Location dialog, select the location of the data directory (datastore).
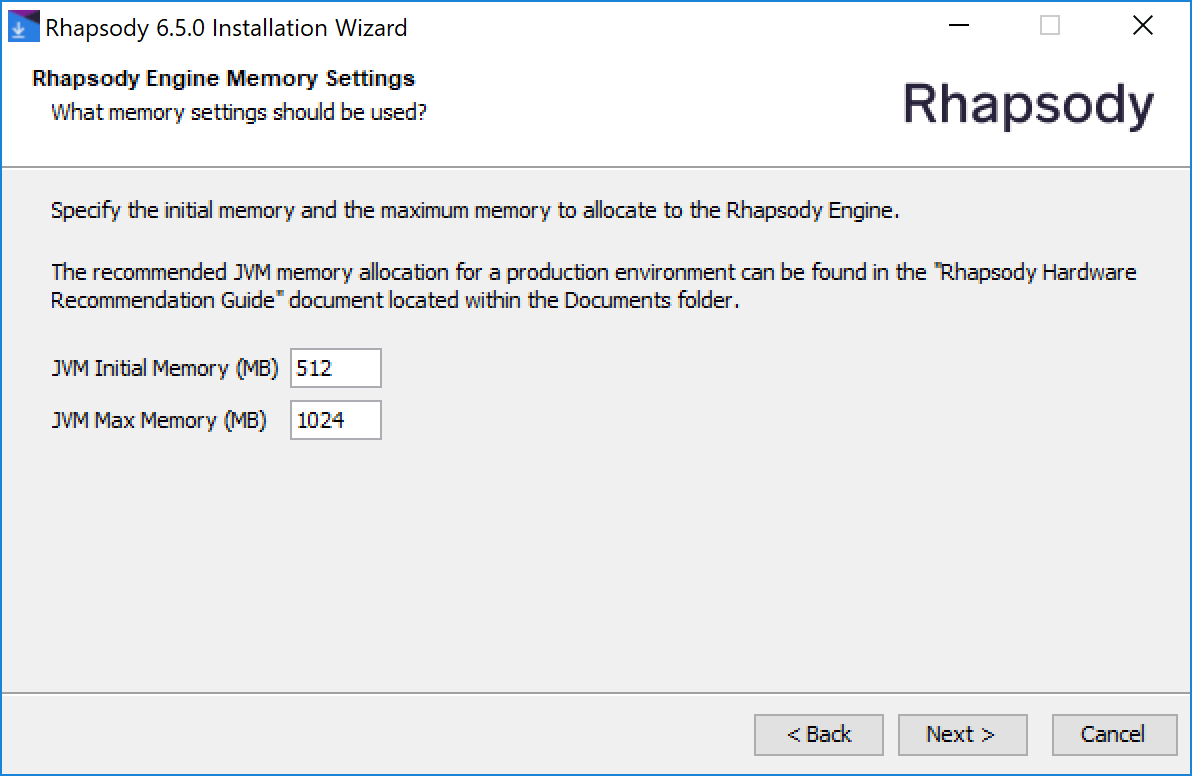
Select the Next button to display the Rhapsody Engine Memory Settings dialog:
Specify:
The initial JVM heap memory that Rhapsody can use in the JVM Initial Memory (MB) field.
The maximum JVM heap memory that Rhapsody can use in the JVM Max Memory (MB) field. The maximum JVM heap memory provided must be greater than 512MB and not less than the initial JVM heap memory.
When installing on a dedicated server, the JVM memory should be set to approximately half the physical memory. The maximum heap size supported for 32-bit Windows® environments is approximately 1200MB. If you have a larger heap size requirement, you must use a 64-bit operating system.
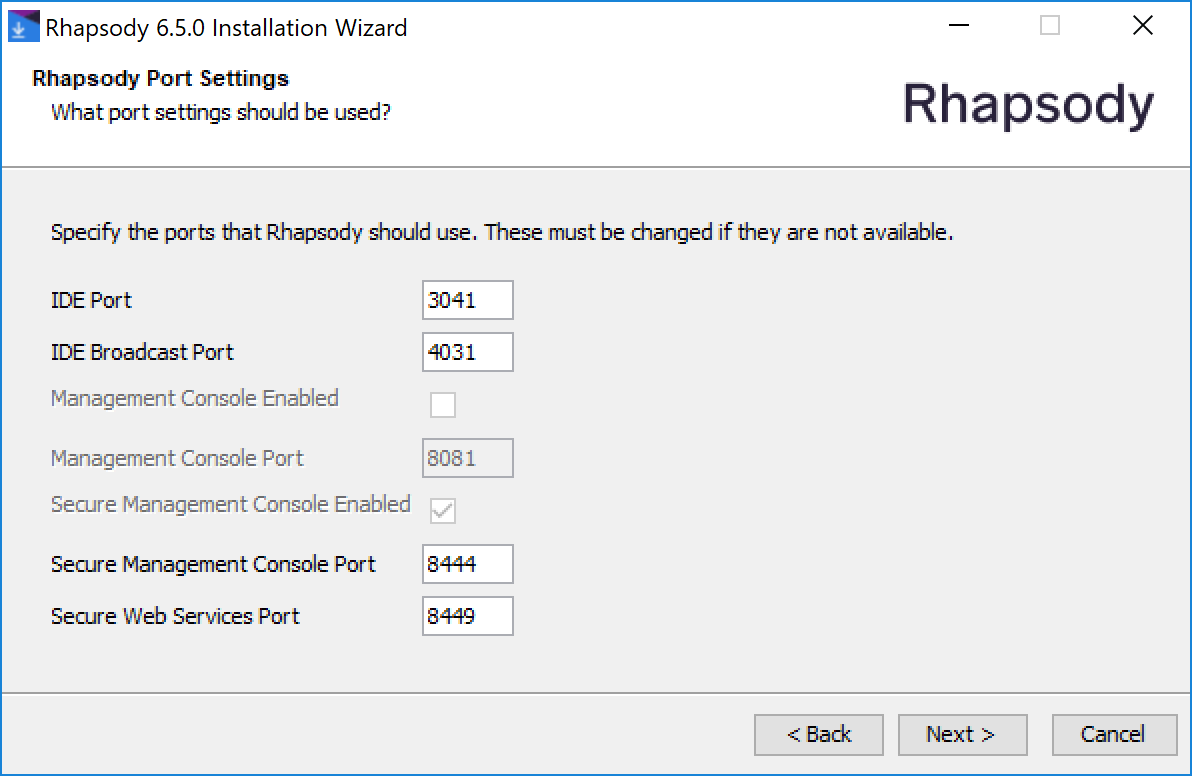
Select the Next button to display the Rhapsody Port Settings dialog:
Refer to Using a User-defined Certificate for the HTTPS Mode for how to configure the HTTPS certificate, and enable or disable the HTTP port after installation has completed.
If required, change Rhapsody's port numbers. Ensure the default ports used by Rhapsody are free. If they are not, enter alternative port numbers.
Port Default Value
Description
IDE Port 3041Rhapsody IDE port.
IDE Broadcast Port 4031Configuration broadcast/browse port to connect to the Rhapsody engine.
Secure Management Console Port 8444Management Console HTTPS port.
Secure Web Service Port 8449Web Service API HTTPS port.
If installing on Windows®, add the ports to the firewall exclusion list, or you may not be able to connect to Rhapsody from another machine.
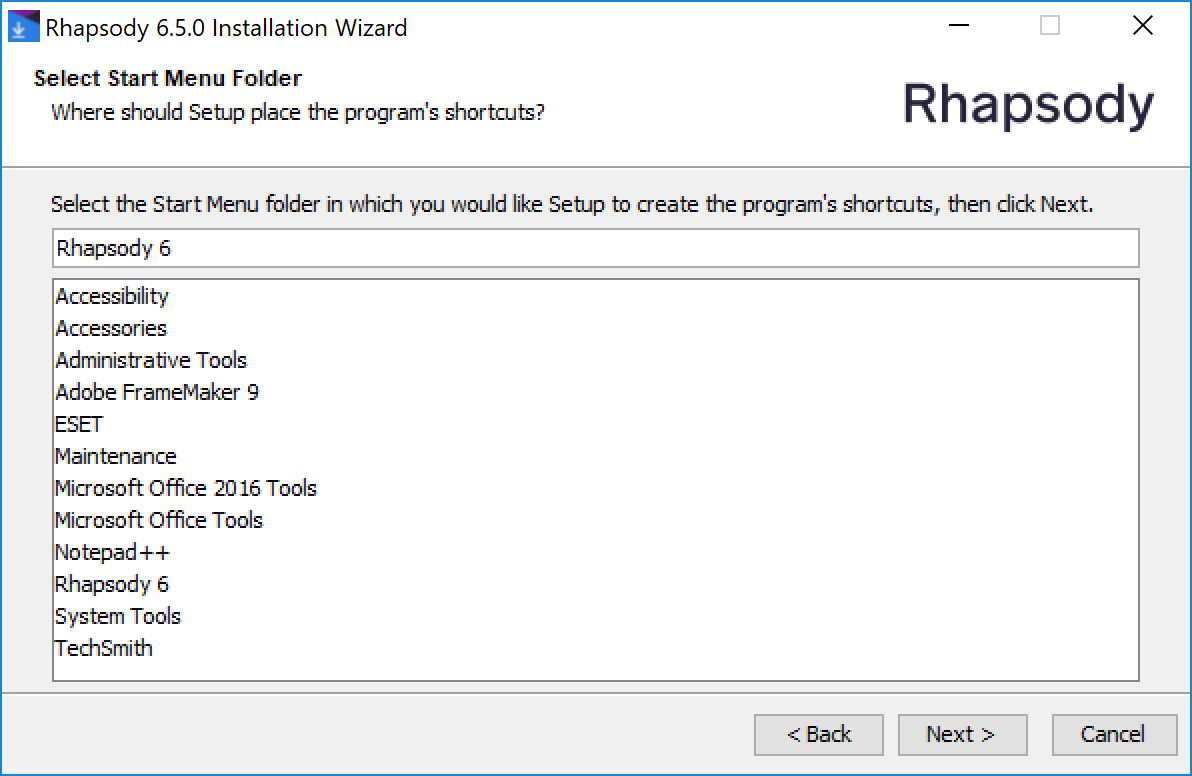
Select the Next button to display the Select Start Menu Folder dialog:
- Select the Start Menu Folder in which you want to create the Rhapsody shortcuts, then select the Next button.
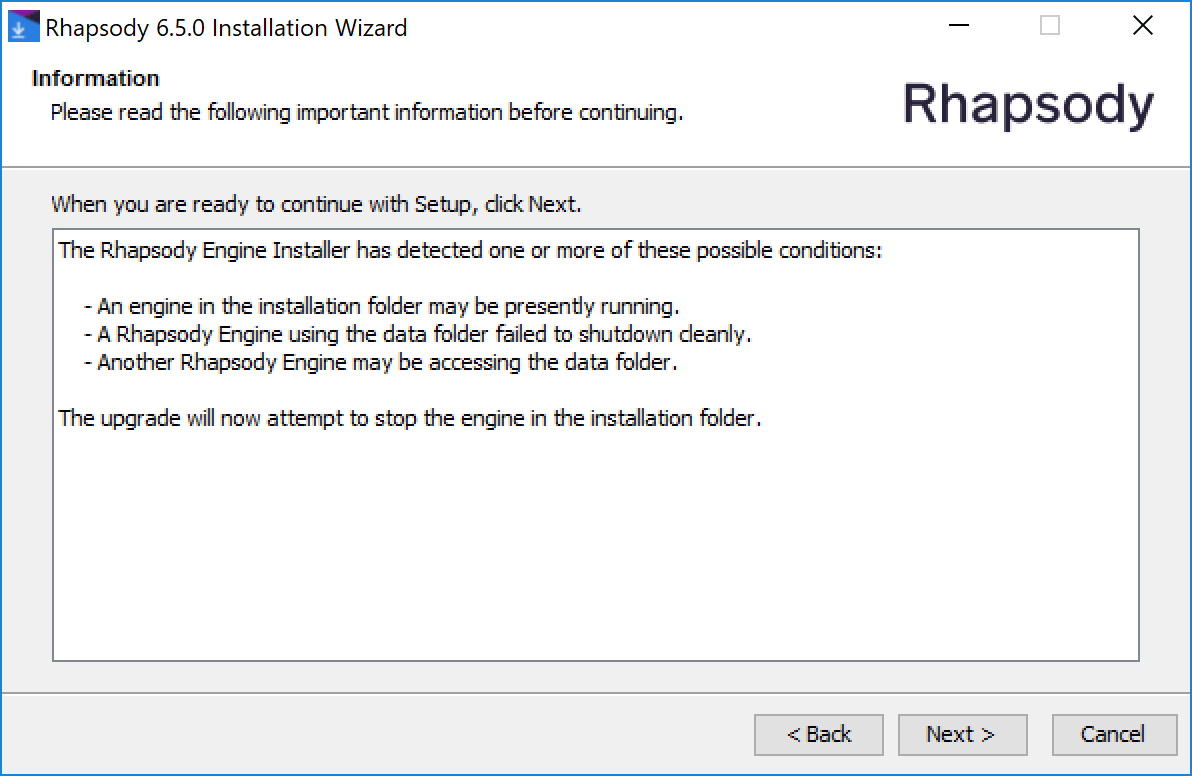
- If the installer detects one of the following conditions, it displays the Information dialog instead of the Rhapsody Service dialog and attempts to stop the engine at this point:
- An engine in the installation directory may be presently running.
- A Rhapsody Engine using the data folder failed to shut down properly.
Another Rhapsody Engine may be accessing the data folder.
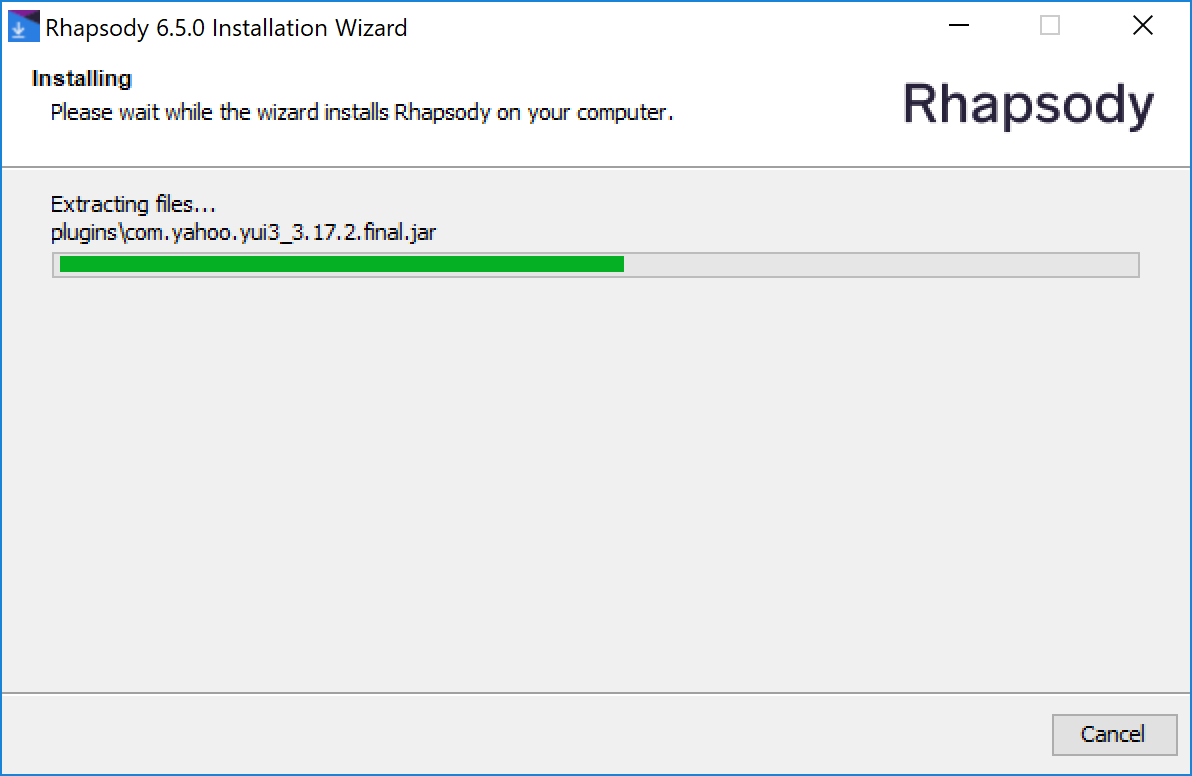
Select the Next button to display the Installing dialog:
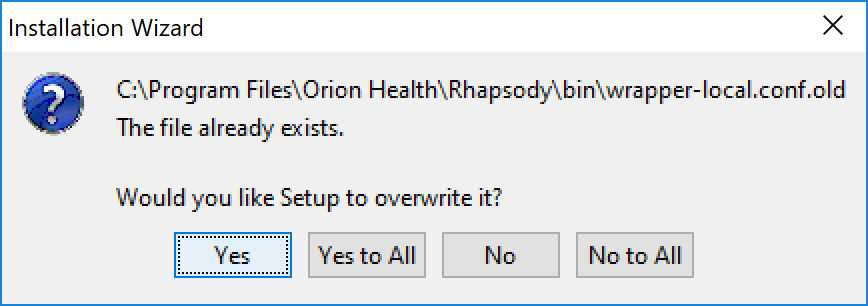
On an upgrade, if a
wrapper-local.conf.oldfile already exists, the following dialog is displayed:- Select the Yes button to overwrite the file and proceed with the installation. Refer to Wrapper Files for details.
- Otherwise, select the No button to install without overwriting the file.
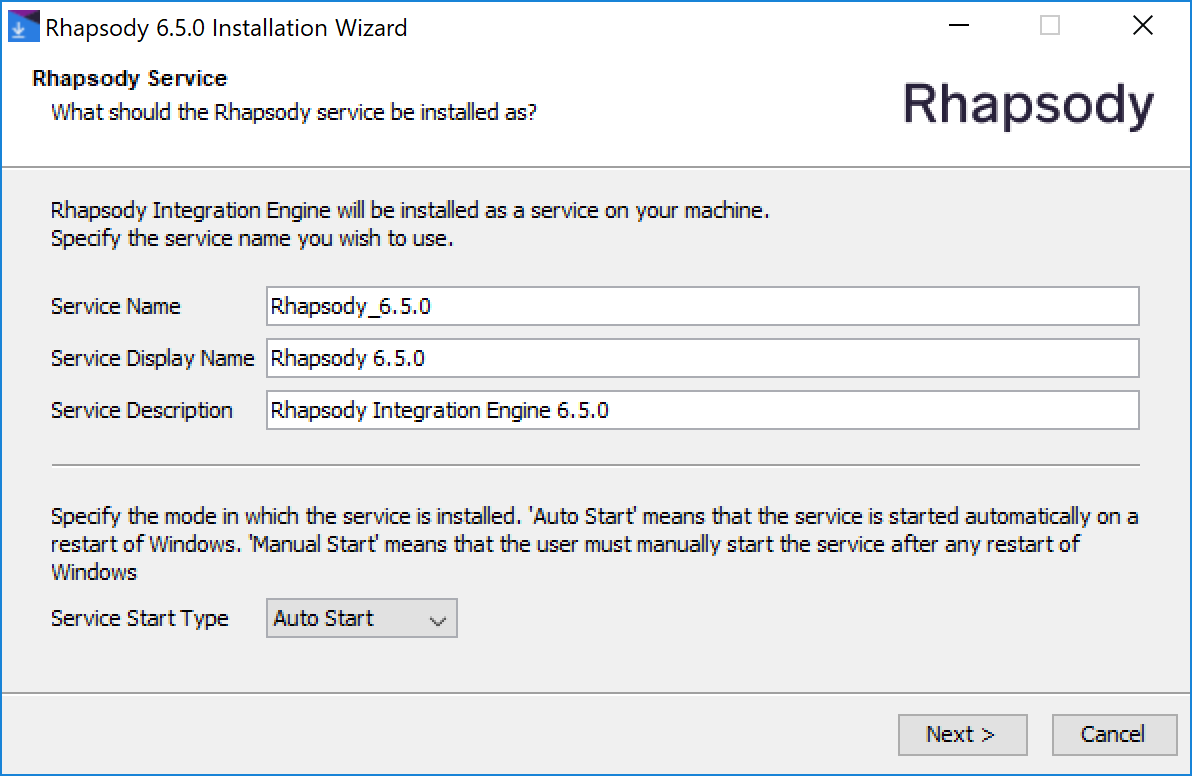
When the installation is completed, the Rhapsody Service dialog is displayed:
Review the Rhapsody Service details. If required, change the Service Name, Display Name, Description and Start Type.
Do not use spaces in the Service Name. Using spaces will result in you not being able to start Rhapsody.
In Windows®, the installation wizard automatically installs a service to start and stop Rhapsody. The Service Start Type field lets you specify whether the Rhapsody service should be started automatically or manually when the server is started or restarted.
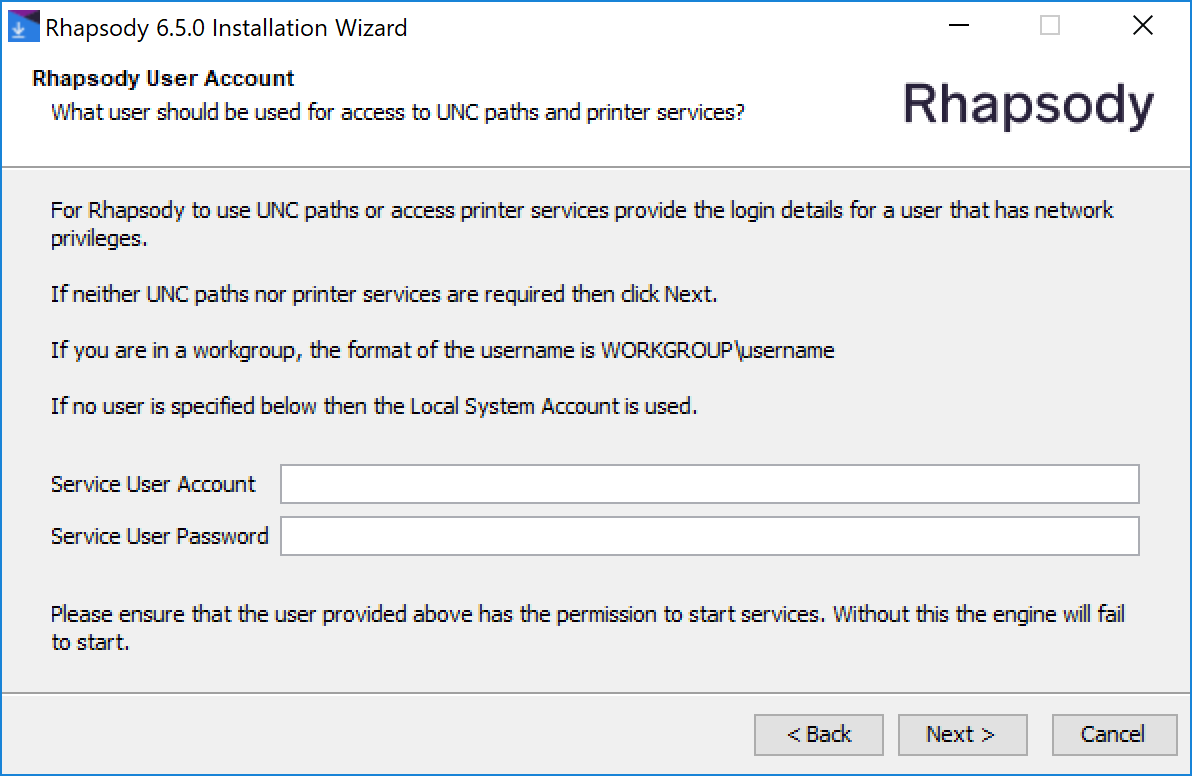
Select the Next button to display the Rhapsody User Account dialog:
If required, specify a User Account and Password for Rhapsody to use Universal Naming Convention (UNC) paths and access printer services.
The user account must have appropriate NTFS permissions to start services (
Modify,Read & execute,List folder contents,Read, andWrite), otherwise the engine will fail to start.UNC allows users to access a network resource, such as a shared file, directory or printer quickly and efficiently. If this is a requirement for using Rhapsody in the local environment, provide the details of a user account with sufficient network privileges. Often the Rhapsody engine is already running in a context that has the required permissions, in which case these fields can be left blank.
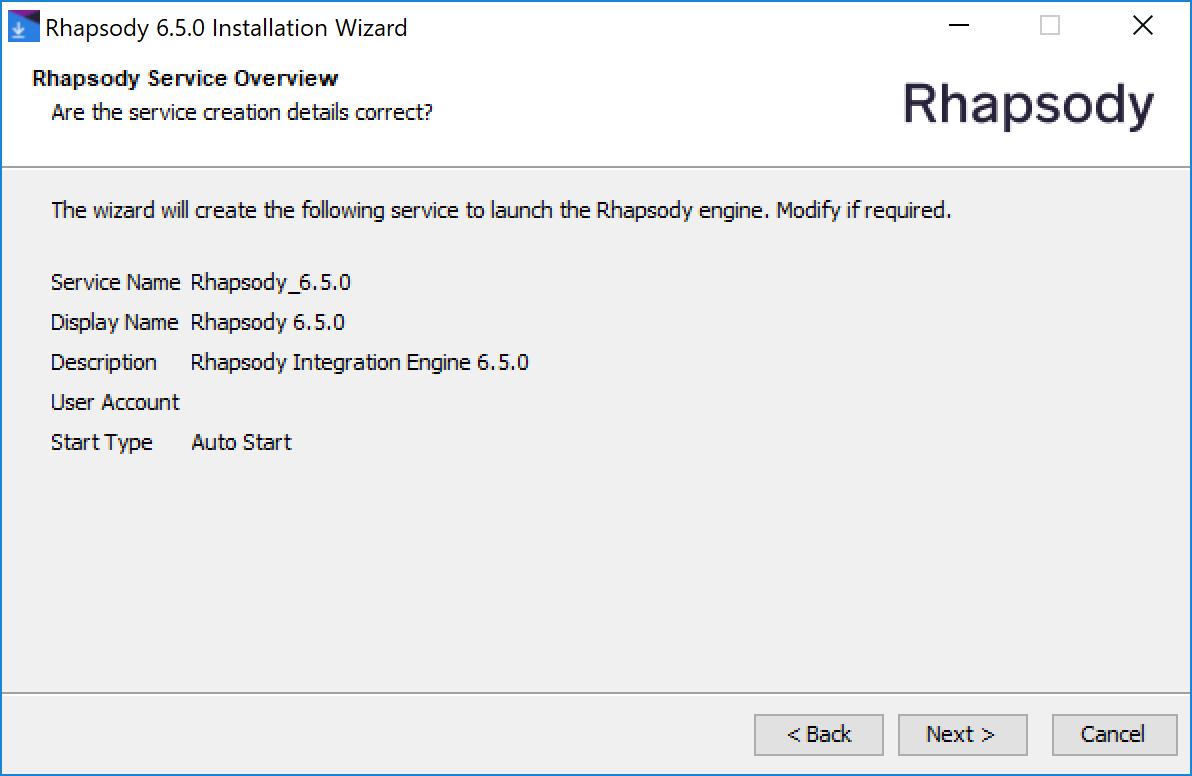
On the Rhapsody User Account dialog, select the Next button to display the Rhapsody Service Overview dialog:
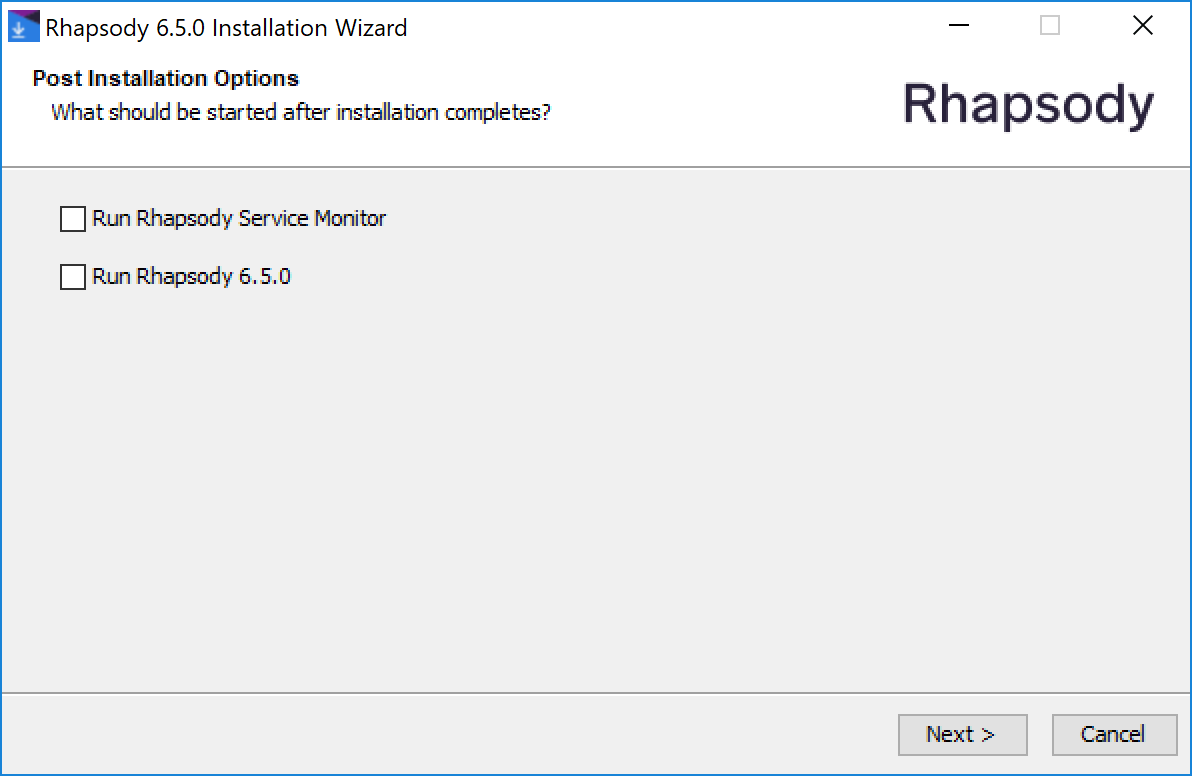
Review the Rhapsody Service Overview. If you want to change any service details, select the Back button. If the details are correct, select the Next button to display the Post Installation Options dialog:
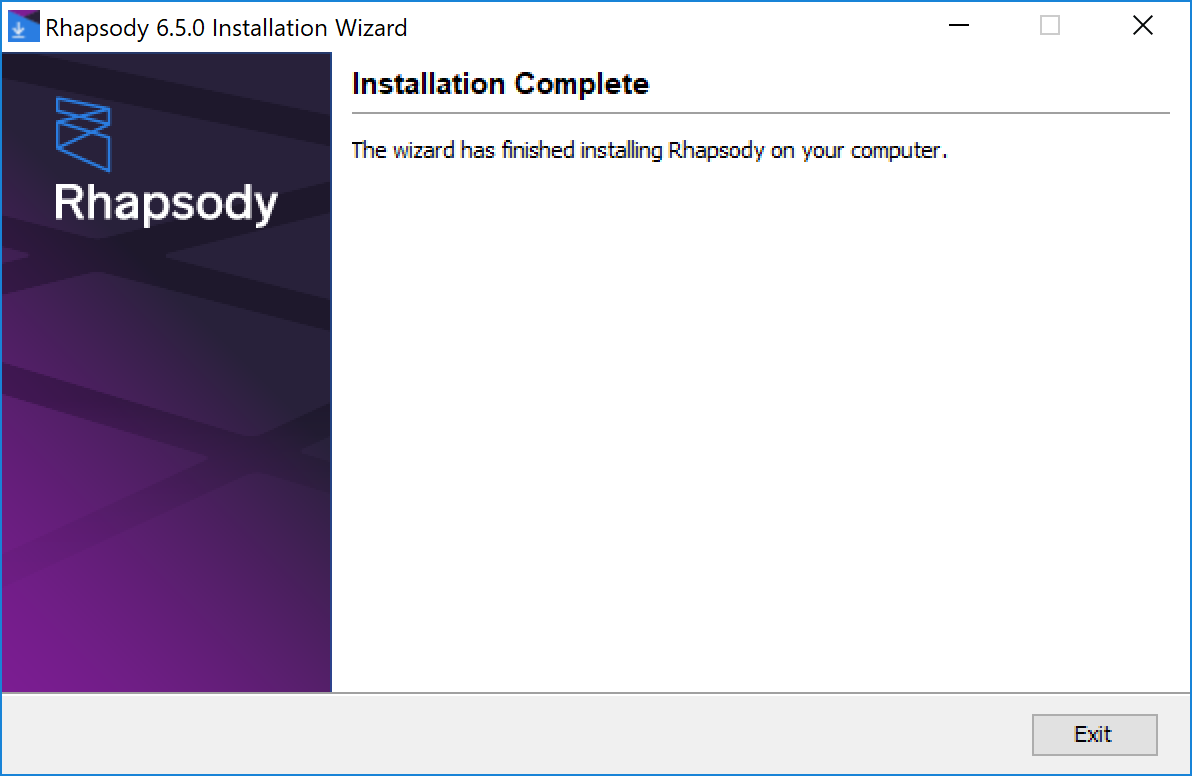
Review the Post Installation Options. Decide whether you want to start the Rhapsody engine and Rhapsody Service Monitor (via an icon on the Windows® taskbar), then select the Next button to display the Installation Complete dialog:
- Select the Exit button to exit the installation wizard.
Related Topics
