Menu Path: Insert>New Communication Point... |
|
Toolbar: |
To manage communication points, refer to:
Creating a New Communication Point
To create a new communication point:
In the Rhapsody IDE Workspace, select a locker or folder you want to create the route in.
Open the Create Communication Point dialog using one of the following actions:
From the right-click menu in the Workspace, select New Communication Point....
Select the New Communication Point iconin the Rhapsody IDE toolbar.
From the Rhapsody IDE Insert menu, select New Communication Point....
Press Ctrl+E.
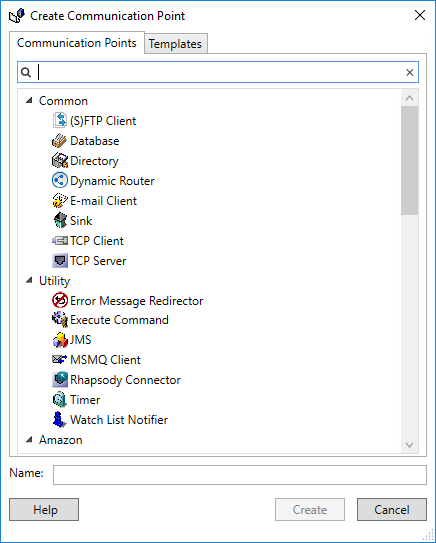
- Select the communication point you want to create:
By selecting it directly, or first searching for it using the text-based filter in the Communication Points tab.
If a template has been set as the default template for the selected communication point type, then the communication point is created using the default template's configuration settings. If no template for the selected communication point type is set to default, then the communication point is created using the default Rhapsody configuration settings.
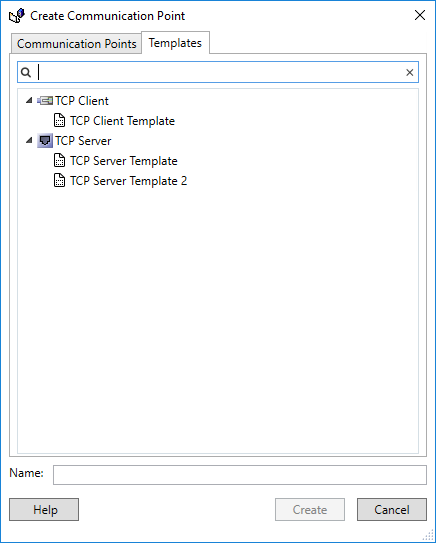
- By creating it from a template by selecting the template, or first searching for it using the text-based filter in the Templates tab.
- The Properties dialog for the communication point is displayed. In the Name field enter a name for the communication point. To configure a communication point, refer to Configuring Communication Points. If you do not enter a name, the default name for the communication point is used.
- Select the Create button to save your changes, or the Cancel button to discard them.
Configuring a Communication Point
To configure a communication point's properties, open the communication point's Properties dialog by using one of the following methods:
- Double-click on the communication point in the Route Editor.
- Right-click on the communication point in the Route Editor and select Properties....
- Right-click on the communication point in the Workspace and select Properties....
- Right-click on the communication point in the Object Browser and select the Modify Properties button.
Refer to Configuring Communication Points for details on the communication point properties you can configure.
Copying or Moving a Communication Point
To create an exact copy of a communication point, including its configuration:
- Select the communication point to copy in the Workspace.
- From the right-click menu, select Copy (or press Ctrl+C).
- Right-click on a locker or folder you want to copy the communication point to, and select Paste (or press Ctrl+V).
To move a communication point to another folder or locker, simply drag-and-drop it to the desired location in the Workspace.
Rhapsody automatically detects the message definitions and tracking schemes that the communication point uses, and gives you the option to also copy them to the destination locker. Refer to Copying or Moving Components for details.
Deleting a Communication Point
To remove a communication point from a route only:
- Select the communication point in Route Editor.
- From the right-click menu, select Delete Component (or press Del).
- Select the Yes button in the confirmation dialog to remove the communication point from the route, or the Cancel button to abort.
To delete a communication point entirely from the configuration:
- Select the communication point you want to delete in the Workspace.
- From the right-click menu, select Delete Route (or press Del).
- Select the Yes button in the confirmation dialog to delete the communication point, or the Cancel button to abort.
Finding a Communication Point in the Workspace
To locate a communication point in the Workspace from the Route Editor:
- Select the communication point in Route Editor.
- From the right-click menu, select Show in Workspace.
- The communication point is selected in the Workspace.


