Menu Path : View>Template Manager |
|
Toolbar:
>Template Manager
|
Read Access Rights:
|
Write Access Rights :
|
New routes, filters and communication points in Rhapsody are created with a set of default Rhapsody configuration settings. Templates are global Rhapsody objects that enable you to create routes, filters and communication points with user-defined configuration settings.
Templates cannot reference locker-based Rhapsody objects, but can reference global Rhapsody objects which are validated upon check-in.
The following table lists which configuration options are supported for a template of a certain component type:
|
Component Type
|
Configuration Options
|
Supported?
|
|---|---|---|
| Route | Supported except for:
|
|
| Notes | Supported. | |
| Support Notes | Supported. | |
| Communication point | Supported. |
|
Supported except for:
|
||
| Supported. | ||
Supported except for: |
||
| Supported. | ||
| Not supported. | ||
| Supported. | ||
| Supported. | ||
| Supported. | ||
| Filter | Supported. | |
Supported except for:
|
||
| Supported. | ||
| Supported. | ||
| Message Collector | Supported. | |
| Auxiliary Files | Supported. |
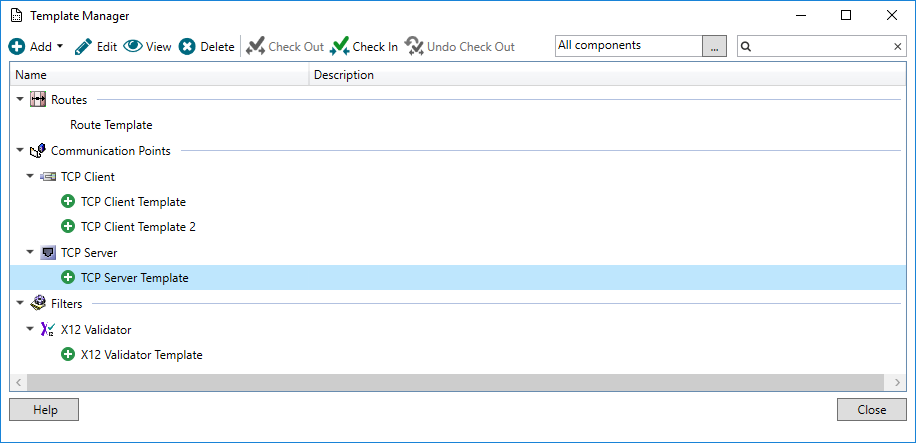
The Template Manager enables you to add, edit and remove templates:
Viewing Templates
To launch the Templates Manager:
- From the View menu, select Templates.
- Alternatively, press Ctrl+SHIFT+D.
Managing Templates
The manager provides the following functionality from either the toolbar or right-click menu, or both.
|
Action
|
Description
|
|---|---|
| Add | Add a template select one of the following options from the drop-down menu : |
| Edit | Edit the selected template in the Edit Component Template dialog. |
| View | View the selected template in the read-only View Component Template dialog. |
| Delete | Delete the selected template. |
| Check Out | Checks out the selected template for exclusive editing. |
| Check In | Show the standard Check-in dialog. |
| Undo Check Out | Undo changes to a checked out template and release the check-out lock. |
| Copy | Copy a template to the clipboard. Only available in the right-click menu, or by pressing Ctrl+C. |
| Paste | Paste a template from the clipboard. The template is renamed if there is a name conflict. Only available in the right-click menu, or by pressing Ctrl+V. |
| Set as Default (Remove Default) | Set the selected template as the default (or remove the default setting for a selected default template). Only available in the right-click menu. |
| Save Documentation | Save the selected templates to a PDF document. Only available in the right-click menu |
| Component Selection | Filter the templates to display in the Templates Manager based on the component types they relate to. |
| Search | Search for templates based on a text-based filter. |
Adding a New Template
Adding a New Route Template
To add a new route template:
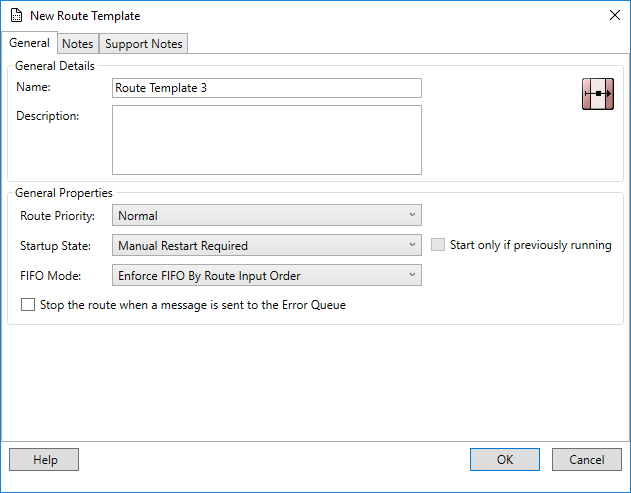
From the Add button, select the Add Route Template. The New Route Template dialog is displayed:
- Enter the appropriate route properties for your template. Refer to Configuring Routes for details on route properties.
- Select the OK button to create your template, or the Cancel button to abort.
Adding a New Communication Point Template
To add a new communication point template:
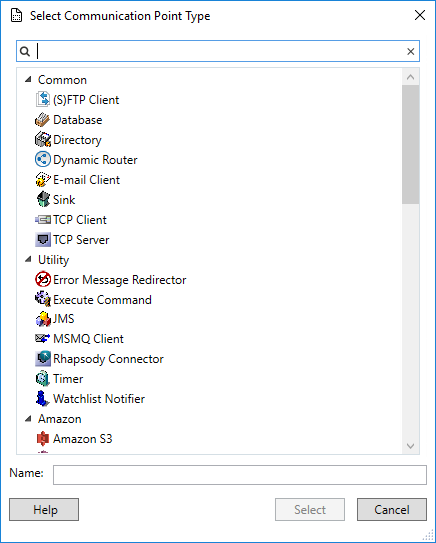
From the Add button, select the Add Communication Point Template. The Select Communication Point Type dialog is displayed:
- Select the communication point type which you want to create a template for.
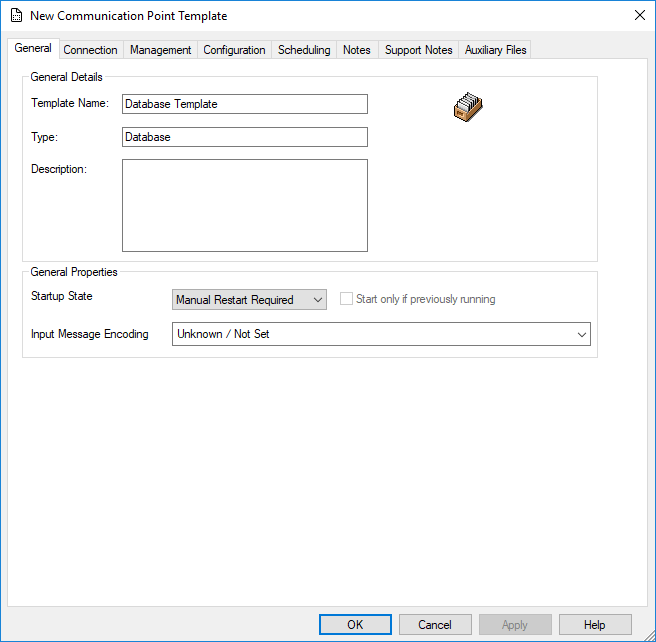
Select the OK button to display the New Communication Point Template dialog:
- Enter the appropriate communication point properties for your template. Refer to Configuring Communication Points for details on communication point properties.
- Select the Create button to create your template, or the Cancel button to abort and return to the Templates Manager.
Adding a New Filter Template
To add a new filter template:
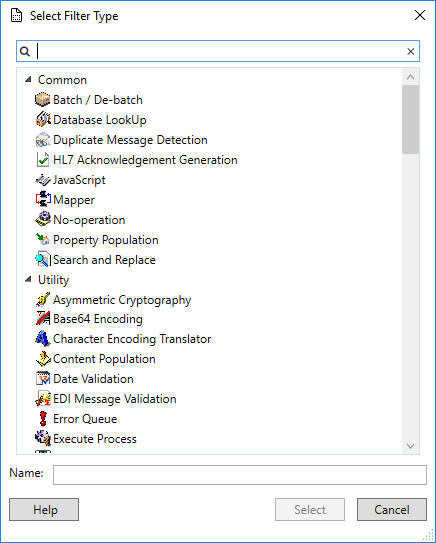
From the Add button, select the Add Filter Template. The Select Filter Type dialog is displayed:
- Select the filter type which you want to create a template for.
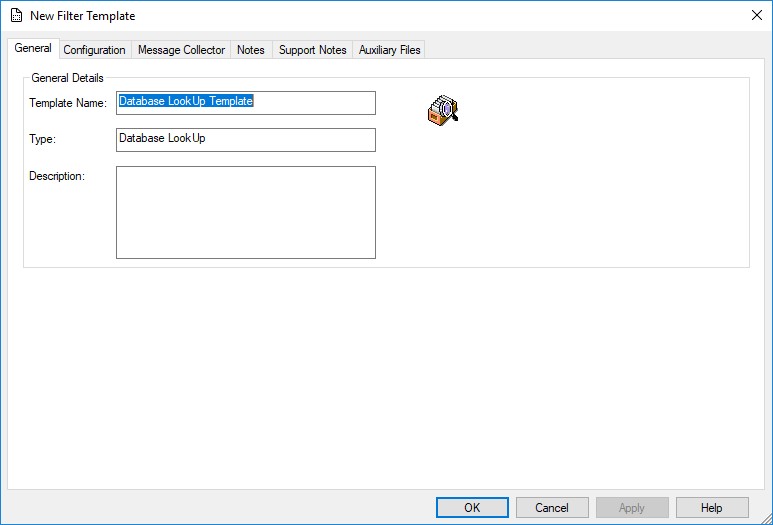
Select the OK button to display the New Filter Template dialog:
- Enter the appropriate filter properties for your template. Refer to Configuring Filters for details on filter properties.
- Select the Create button to create your template, or the Cancel button to abort and return to the Templates Manager.
Create a Template from an Existing Component
To create a template directly from an existing configured route, communication point or filter:
- Select the relevant component and select the Save as Template from the right-click menu in the:
- The New Component Template dialog is displayed. Edit any properties as required and save your changes. Refer to Adding a New Template for details.
Viewing a Template
To view an existing template in read-only mode:
- Navigate to the Templates Manager.
- Select the template whose details you want to view.
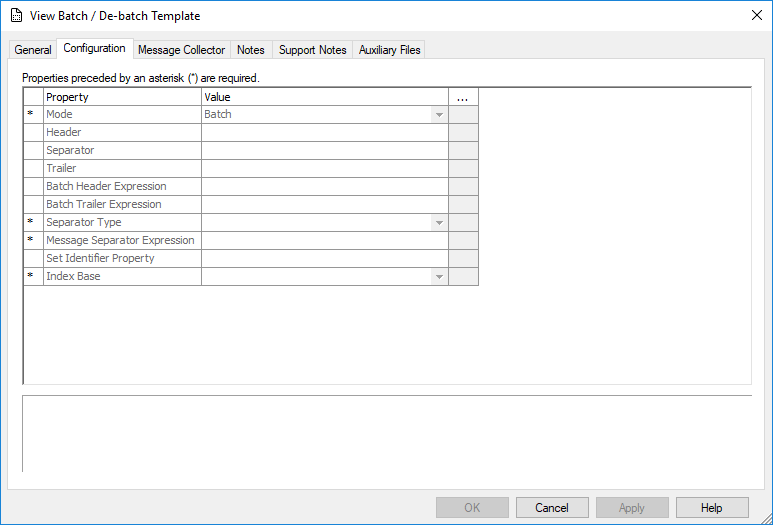
Select the View button to display the View Component Template dialog:
For details on component properties, refer to:
- Select the OK button to return to the Templates Manager.
Editing a Template
To edit an existing template:
- Navigate to the Templates Manager.
- Select the template whose details you want to edit.
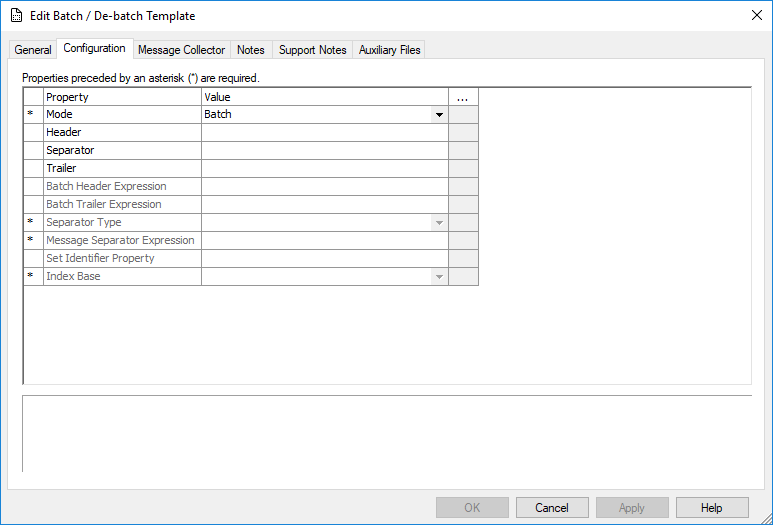
Select the Edit button to display the Edit Component Template dialog:
Edit the appropriate template properties. For details on component properties, refer to:
- Select the OK button to save your template, or the Cancel button to abort and return to the Templates Manager.
Deleting a Template
To delete a template:
- Navigate to the Templates Manager.
- Select the template you want to delete.
- Select the Delete button.
Creating a Component from a Template
To create a new component from a template, refer to:
Default Templates
The configuration settings for default templates are used for creating all new components that are created directly (in other words, that are not created using a specific template).
One template of each component type can be set as a default. If no template for a component type is set to default, the component is created using the default Rhapsody configuration settings for that component type.
To set a template as default:
- Navigate to the Templates Manager.
- Select a template for a component type that you want to set as a default template.
- From the right-click menu select Set as Default.
- The default template is displayed with the word default next to its name.
To remove a template as default:
- Navigate to the Templates Manager.
- Select the default template for a component type whose default setting you want to remove.
- From the right-click menu select Remove as Default.
- There is no longer a default template for the component type and the default Rhapsody configuration settings will be used for any newly created components of that type.
You can also set filter templates as default (or remove the default setting) from the right-click menu in the Filter Toolbox's Templates tab.
When a default template has already been set for a particular component type, and you attempt to set a different default template of the same component type, Rhapsody checks out both the old and the new default template. You must check in both as the change affects both templates. Checking in just the new default template will result in a check-in error and the check-in being aborted.

